Exercise - Create a Customer Insights - Data instance, ingest data, and unify data
You've been selected as the project manager for the implementation of Dynamics 365 Customer Insights - Data at Contoso Coffee. As an experienced project manager, you devise the following plan:
Create a Customer Insights - Data environment.
Ingest data from highest priority data sources from within the business:
Point-of-Sale (POS)
Loyalty data
E-commerce customers and web purchases
Configure a unified customer profile from ingested data.
Learning objectives
At the end of these exercises, you'll be able to accomplish the following objectives:
Sign up for a Dynamics 365 Customer Insights trial.
Ingest siloed data sources.
Follow Map, Match, and Merge to create a unified profile.
Calculate key business and customer KPIs.
Generate segments for use by the Marketing department.
Exercise 1 - Create a Customer Insights - Data instance
In this lab, you'll sign up for a Customer Insights - Data instance and review the guided demonstration tour to familiarize yourself with the application.
Task 1 - Sign up for a Customer Insights trial
Open a browser and go to Dynamics 365 Customer Insights - Data.
Select Get started.
Select the Sign-up for a free trial link beside the Prefer to get started on your own? question.
On the Get started with Customer Insights page, sign up with your work email address.
If you don't have access to a Microsoft 365 tenant, you can sign up for a Dynamics 365 trial (which will include a Microsoft 365 tenant), as detailed in the prerequisites.
You'll be redirected to
https://home.ci.ai.dynamics.com. (If you're prompted to create a new environment, provide a name and select the region into which you want to deploy the service.)
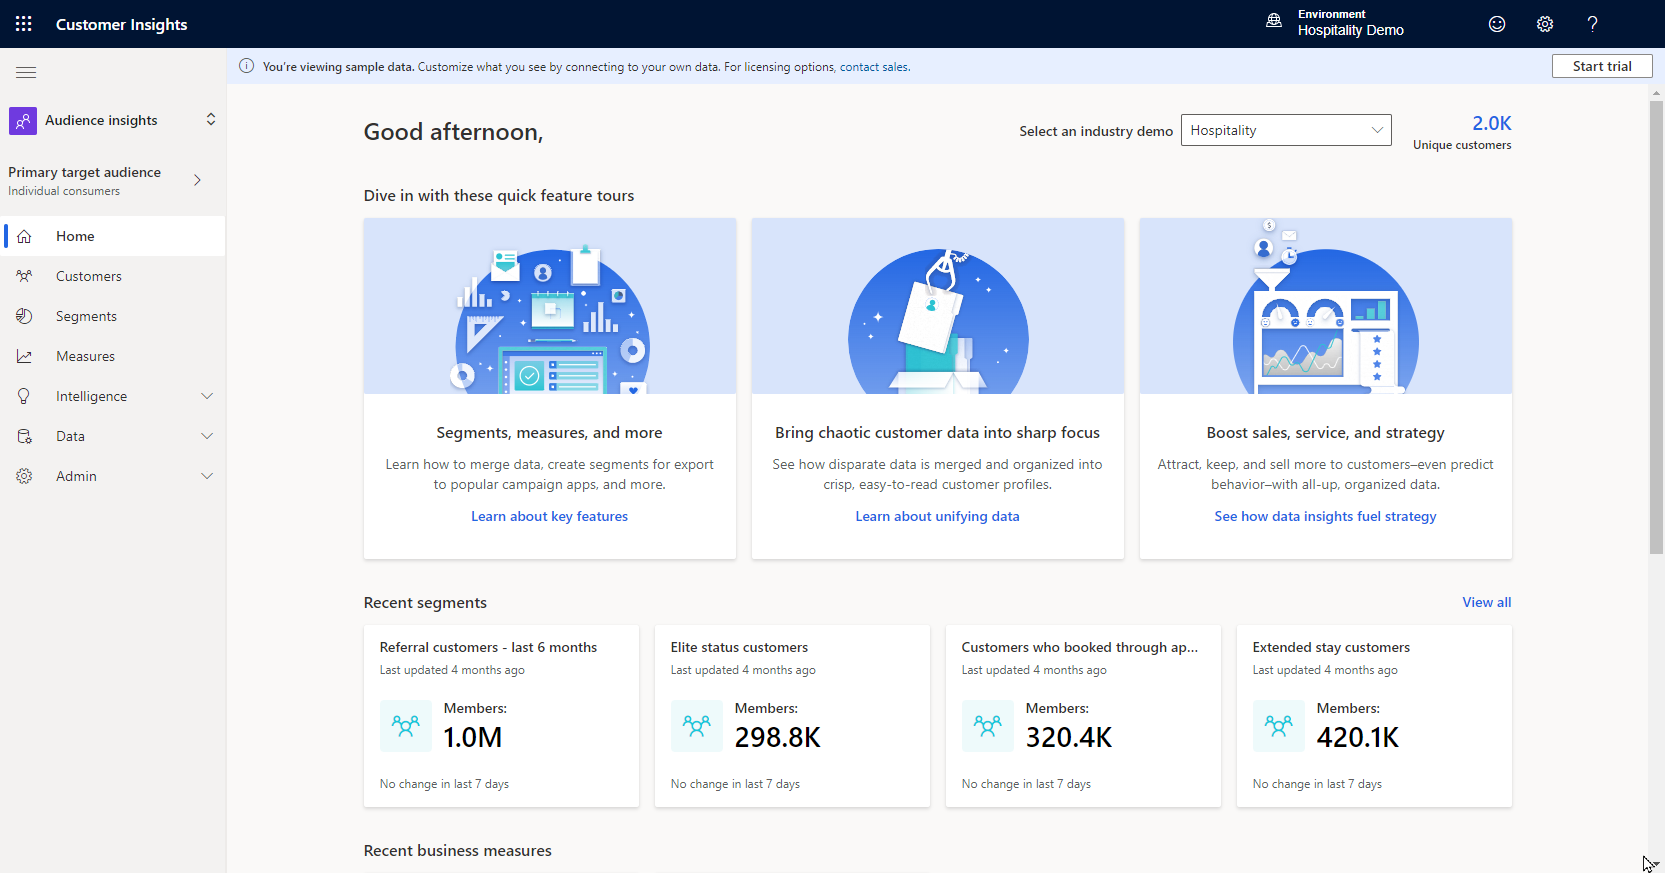
Congratulations! Now, you should be signed in to Customer Insights - Data, where you'll have access to two environments: a demo environment and the one that you've provisioned.
Exercise 2 - Ingest data into Customer Insights - Data
In this exercise, you'll become familiar with ingesting data from multiple sources.
As Project Manager for Contoso Retail, you've already identified that key sources of data include e-commerce customers, online purchases, in-store Point of Sales purchases, and data from the Contoso Retail loyalty card scheme.
Although Customer Insights - Data has connectors to over 30 data sources and applications (including Dynamics 365 and Microsoft Dataverse), for this lab, you'll be using the Text/CSV connector.
Data Sources
| Item | Description | Format | URL |
|---|---|---|---|
| eCommerce Contacts | Extract of customers who have made an online purchase | Text/CSV | Link |
| Loyalty Scheme | Extract of customers who have signed up for the Contoso Retail Loyalty Card scheme | Text/CSV | Link |
| Online Purchases | Extract of purchases made through the Contoso Retail website | Text/CSV | Link |
| POS Purchases | Extract of in-store purchase detail | Text/CSV | Link |
| Website Reviews | Online website reviews from customers | Test/CSV | Link |
Task 1 - Ingest customer data from an e-commerce platform
Sign into Customer Insights - Data and select your Environment from the drop-down menu in the upper-right corner. If prompted to create a new environment, do so.
Within Customer Insights - Data, expand Data on the left menu and then select Data sources.
Select Add Data Source.

Select Microsoft Power Query, and in the Save data source as column, enter eCommerce, and then select the Next button.
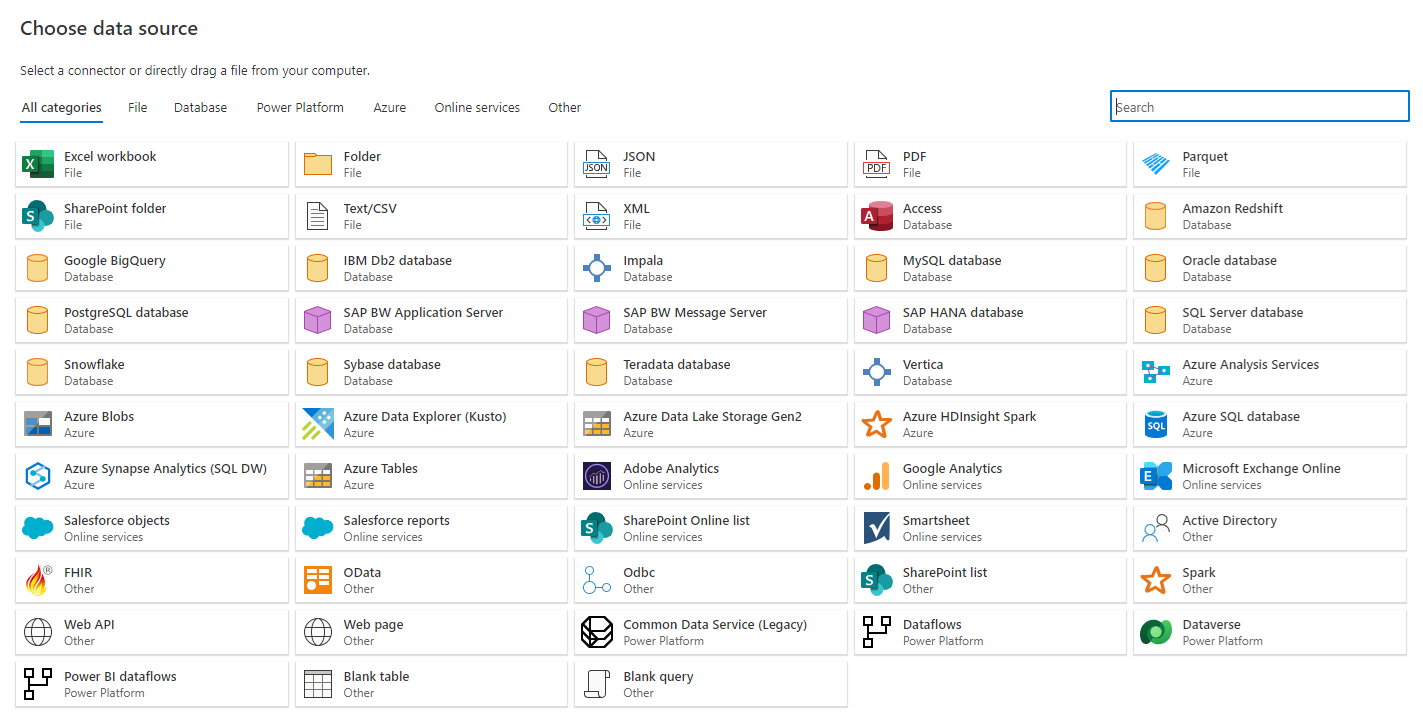
You'll be presented with a view of data source connectors that Customer Insights - Data is able to ingest. Note the connector types that are available, including Dataverse. Select the Text/CSV connector.
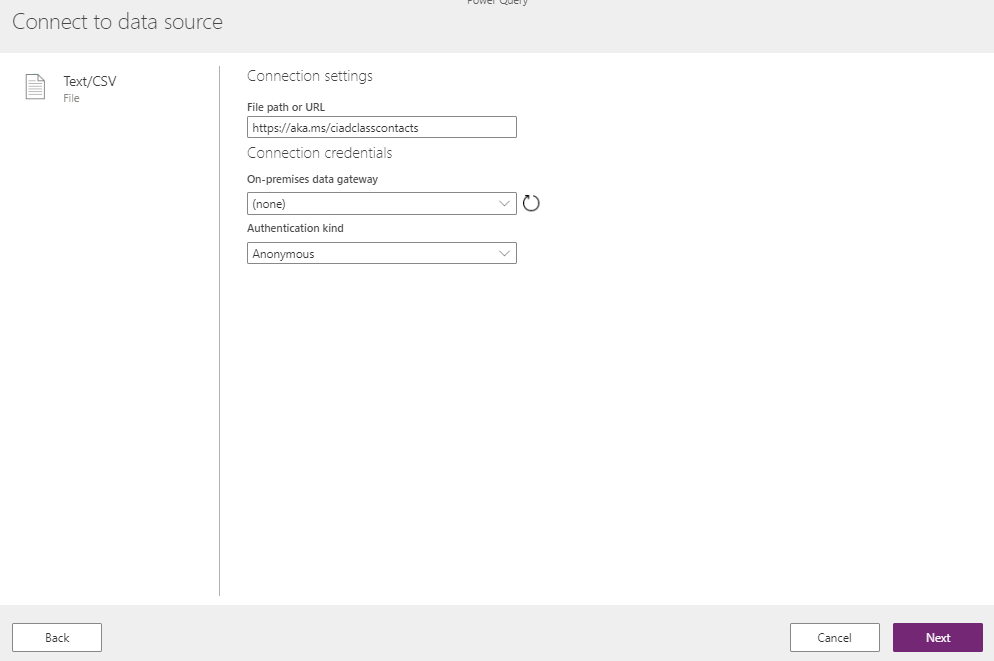
Enter the URL for the Azure BLOB named https://aka.ms/ciadclasscontacts, and then select Next. (You can find the URL in the table under the introduction to this lab.)
You'll now see the Preview File Data screen. Here you can change the delimiter, file origin type or what data is being used for the data type detection. You can select the Transform data button.
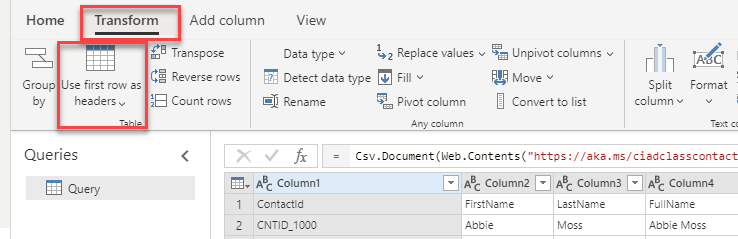
You should now see that the data from the source is tabulated. Now, you can configure the datatypes and formats for the data that you ingest. Notice that the column heading has appeared in the first row of the data. To correct this issue, select Transform table and then select Use first row as headers.
Because you have ingested data from a Text/CSV source, all columns have defaulted to a Text datatype. To successfully ingest and model the data, you can set the datatype for nontext columns.
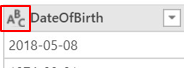
To change the datatype, select the ABC icon within the column heading.
Update the datatype for the columns that are listed in the following table.
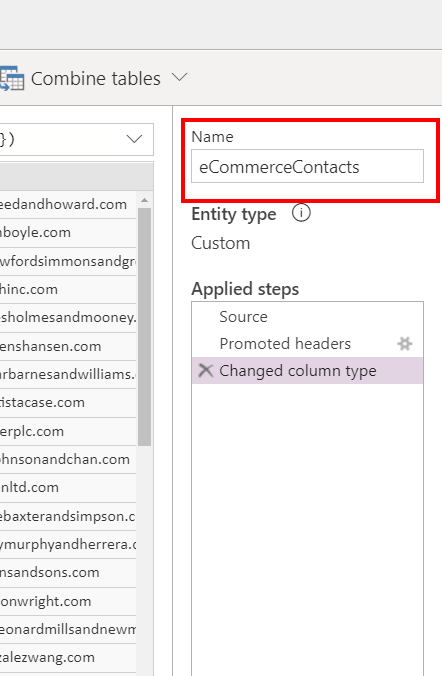
Column heading New datatype DateOfBirth DateTime CreatedOn Date/Time/Zone In the Name column on the right pane, rename your data source from Query to Contacts (eCommerce).

Congratulations! You've now successfully ingested your first data source into Customer Insights - Data.
Note
One thing to be aware of, column names can only contain letters, numbers, and underscores. They cannot contain a space and must begin with a letter. If you have data where column name(s) have a space or do not begin with a letter you will want to fix that either within Power Query or before the data is brought into Customer Insights - Data.
Task 2 - Ingest online purchase data
In this next task, you'll ingest Online Purchase data, which represents purchases made through the Contoso Coffee website.
Within Customer Insights - Data, expand Data on the left menu and then select Data sources.
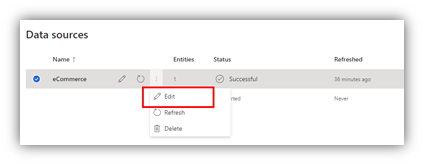
You should see your eCommerce data source. Under Actions, select the three vertical dots and then select Edit.
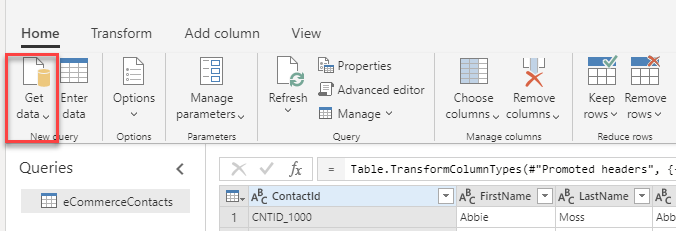
You should be presented with the view of the Contacts (eCommerce) data that you ingested in Task 1. In the action menu, select Get data.
You'll be presented with a view of data source connectors that Customer Insights - Data is able to ingest as you did in Task 1. Select the Text/CSV connector.
Enter the URL for the Online Purchases data, https://aka.ms/ciadclassonline data and then select Next.
You'll now see the Preview File Data screen. Here you can change the delimiter, file origin type or what data is being used for the data type detection. You can select the Ok button
Select Transform table and then select Use first row as headers.

Update the datatypes for the columns in the following table.
Column heading New data type PurchasedOn Date/Time/Zone TotalPrice Currency Name your query eCommercePurchases and then select Create.
Task 3 - Ingest customer data from loyalty scheme, point of sale purchases, and website reviews
Within Customer Insights - Data, expand Data on the left menu and select Data Sources.
Select Add Data Source.
Select Microsoft Power Query, in the Save data source as column, enter Loyalty and select the Next button.
You'll be presented with a view of data source connectors that Customer Insights - Data is able to ingest. Take note of the connector types available. Select the Text/CSV Connector.
Enter the URL for Loyalty Contacts and select Next.
You'll now see the Preview File Data screen. Here you can change the delimiter, file origin type or what data is being used for the data type detection. You can select the Transform data button.
You should now see the data from the source tabulated. Here you can configure the datatypes and formats for the data you ingest.
You'll notice that the column heading has appeared in the first row of the data. To correct this, select Transform and then Use First Row as Headers.
Because we have ingested data from a Text/CSV source, all columns have been defaulted to a ‘Text’ Data Type. To successfully ingest and model the data, we can set the datatype for nontext columns.
To change the datatype, select the ABC icon within the column heading. Update the datatype for the columns listed below.
Use the first row as column headings.
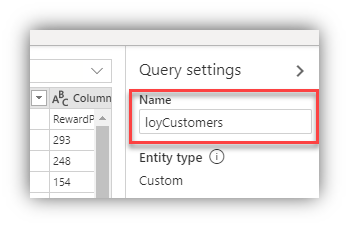
Column heading New data type DateOfBirth Date/Time RewardPoints Whole Number CreatedOn Date/Time/Zone In the Name column on the right-hand pane, rename your data source from Query to loyCustomers then select Save.
Task 4 - Ingest Customer Data
Within Customer Insights - Data, expand Data on the left menu and select Data Sources.
Select Add Data Source.
Select Microsoft Power Query, in the Save data source as column, enter PoS then select Next.
You'll be presented with a view of data source connectors that Customer Insights - Data is able to ingest. Take note of the connector types available. Select the Text/CSV Connector.
Enter the URL for PoS Purchases
https://aka.ms/ciadclasspos.You'll now see the Preview File Data screen. Here you can change the delimiter, file origin type or what data is being used for the data type detection. You can select the Transform data button.
You should now see the data from the source tabulated. Here you can configure the datatypes and formats for the data you ingest.
You'll notice that the column heading has appeared in the first row of the data. To correct this, select Transform and then Use First Row as Headers.
Because we have ingested data from a Text/CSV source, all columns have been defaulted to a ‘Text’ Data Type. To successfully ingest and model the data, we can set the datatype for nontext columns.
To change the datatype, select the ABC icon within the column heading. Update the datatype for the columns listed below.
Use the first row as column headings.
Column heading New data type PurchasedOn Date/Time/Zone TotalPrice Currency RewardPointsAdded WholeNumber In the Name column on the right-hand pane, rename your data source from Query to posPurchases and select Save.
Task 5 – Ingest Customer Data from Website Reviews
Within Customer Insights - Data, expand Data on the left menu and select Data Sources.
Select Add Data Source.
Name the source Website then select Next.
You'll be presented with a view of data source connectors that Customer Insights - Data is able to ingest. Take note of the connector types available. Select the Text/CSV Connector.
Enter the URL for Website Reviews and select Next.
You'll now see the Preview File Data screen. Here you can change the delimiter, file origin type or what data is being used for the data type detection. You can select the Transform data button.
You should now see the data from the source tabulated. Here you can configure the datatypes and formats for the data you ingest.
You'll notice that the column heading has appeared in the first row of the data. To correct this, select Transform and then Use First Row as Headers.
Because we have ingested data from a Text/CSV source, all columns have been defaulted to a ‘Text’ Data Type. To successfully ingest and model the data, we can set the datatype for nontext columns.
To change the datatype, select the ABC icon within the column heading. Update the datatype for the columns listed below.
Use the first row as column headings.
Column heading New data type ReviewRating Whole Number ReviewDate Date/Time/Zone In the Name column on the right-hand pane, rename your data source from Query to webReviews and select Save.
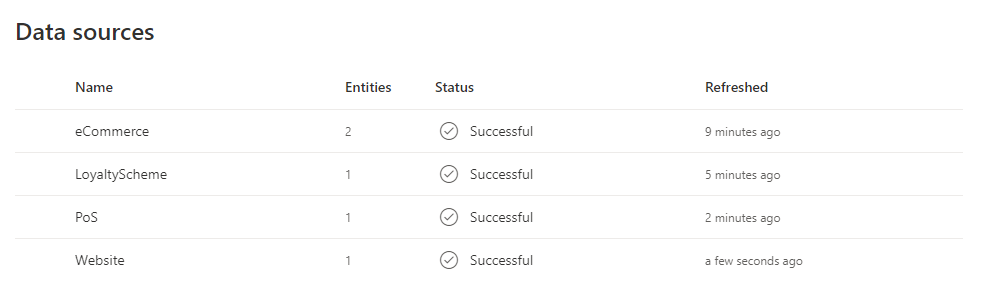
After all sources have been ingested, you should have four data sources, as shown in the following figure.
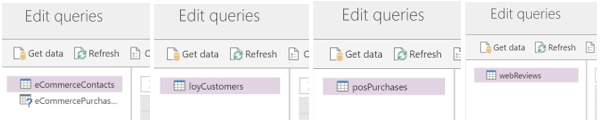
The data sources should contain the queries that are shown in the following screenshot.
Note
If you named your queries differently then you will need to make adjustments as you go through the content as this content assumes the naming providing in the steps above.
Exercise 3 - Data unification
After having ingested the raw data from your data sources into tables, you'll now begin the map, match, and merge process to create a single unified customer profile by merging data from each customer profile source.
To complete this process, you'll first map your ingested tables against a standard model and then select Primary key for each of your profiled tables. Next, you'll create your match rule, which will be used to match e-commerce customers with loyalty customers.
Finally, running the merge process will create a single set of unique customers that have matched profiles from eCommerce and Loyalty customer data by using your match rules.
Your objective is to find out how many unique customer profiles that Contoso Retail has across e-commerce and loyalty data.
Task 1 - Map e-commerce and loyalty contacts to common data types
Map the e-commerce and loyalty data contacts to common data types. On the left menu, select Unify.
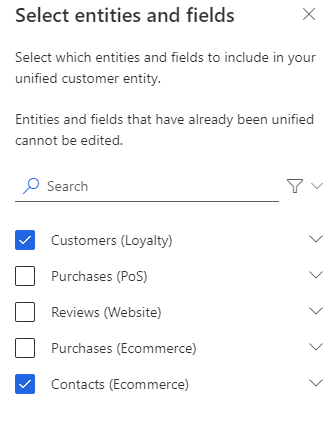
Under Source columns, select the Edit button. Select the tables that represent the Contacts (eCommerce) and loyCustomers customer profiles and then select Apply.
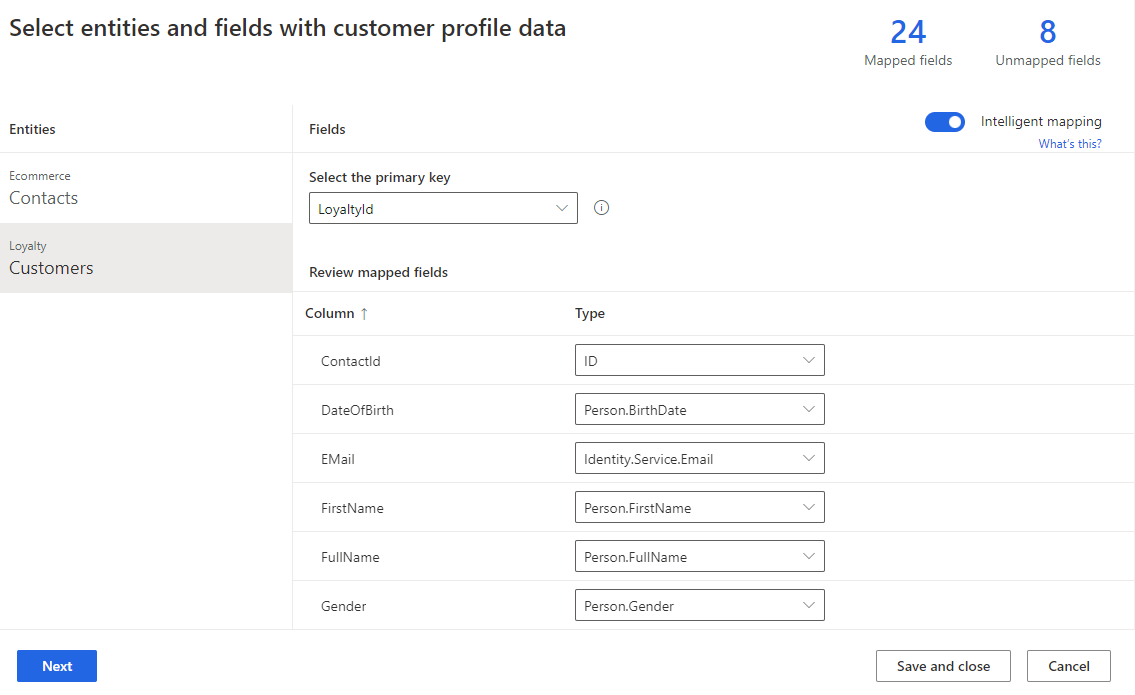
You'll now be presented with the mappings of your source table against standard model types. You can review the types in the table. Choose a primary key for each table that you've ingested. The primary key must be a unique reference. For Contacts (eCommerce), select ContactId as the primary key.

Select loyCustomers under Tables and then set LoyaltyID as the Primary key. Select Save in the top-left corner.
After you've successfully selected your source columns, select the Next button.
After you select the next button, you'll be taken to the duplicate records page. This is where you define any rules you want for handling duplicate records that might exist in your data sources. Our data sources don't have any duplicate records so we'll skip this step by selecting the Next button to move to Matching Conditions stage.
Task 2 - Specify matching conditions
For the next stage, you must select the order in which to merge the profiles. You'll be able to merge columns to ensure that the unified profiles are complete and the priority of which sources to use for those columns.
If you haven't already, ensure that you are on the Matching conditions stage.
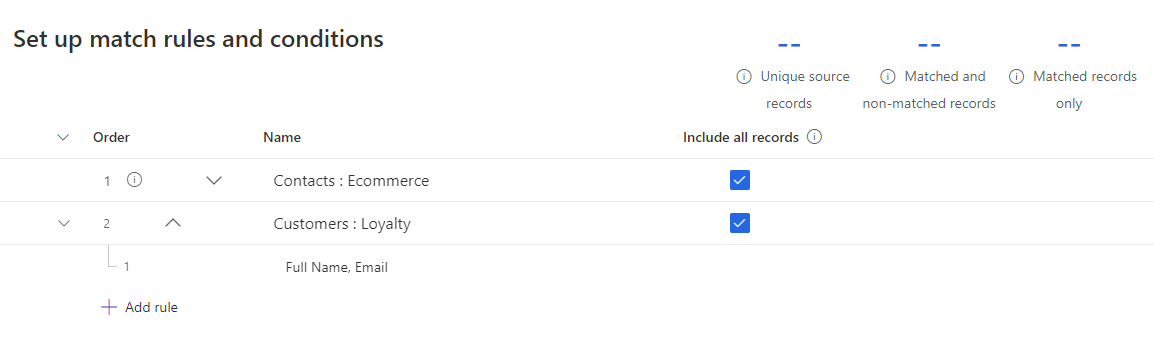
Ensure that Contacts (eCommerce): eCommerce is set as the first table on the list and if necessary select Include all records.
In the Table 2 drop-down list, select loyCustomers: LoyaltyScheme and then select Include all records.
Task 3 - Create a match rule
In this step, you'll create a rule that will be used to match records together. Rules can consist of single (for example, based on ID) or multiple (for example, full name, postcode, date of birth) conditions. For this exercise, you'll create a match rule based on full name, postcode, and email.
Under the loyCustomers: LoyaltyScheme table, select the Add rule button.
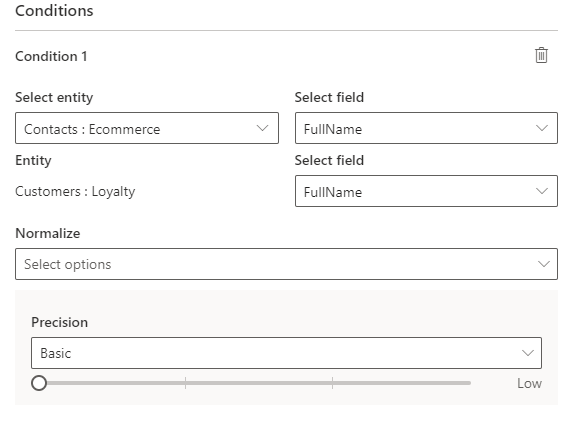
Add your first condition by using FullName.
For the Contacts (eCommerce) table, select FullName in the Column drop-down list.
For the loyCustomers table, select FullName in the Column drop-down list.
Select the Normalize drop-down menu and select Type (Phone, Name), which will normalize the values within the FullName column.
Set Precision to Basic and Value to Low.
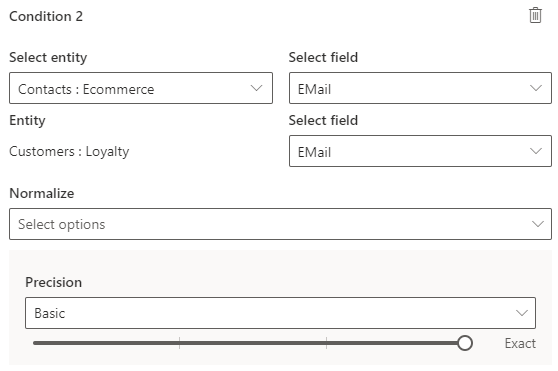
Add a second condition for email address by selecting + Add, and choosing Add condition.
For the Contacts (eCommerce) table, select Email in the Column drop-down list.
For the loyCustomers table, select Email in the Column drop-down list.
Set Precision to Exact.
In the Name column, enter the name FullName, Email for the new rule.
Select the Done button to save the rule.
Customer Insights - Data is now matching customer data from your two sources of customer information, e-commerce contacts and loyalty scheme customers, to identify how many unique customer profiles you would have based on your rules.
Select the Next button to move to the Unified customer columns stage.
Task 4 – Unified customer columns
The Unified customer columns stage is the last stage in the data unification process. Its purpose is reconciling conflicting data and to define the columns that will be used in your unified customer profile.
A merged column is a column that exists in more than one data source and represents the same piece of data. For example, you might have Email Address in both Web Customers and Loyalty Customer data sources.
Customer Insights - Data will attempt to identify columns to be merged by using their mapping to the standard data types that you used during the Matching conditions stage.
If not there already, ensure you are on the Unified customer column stage.
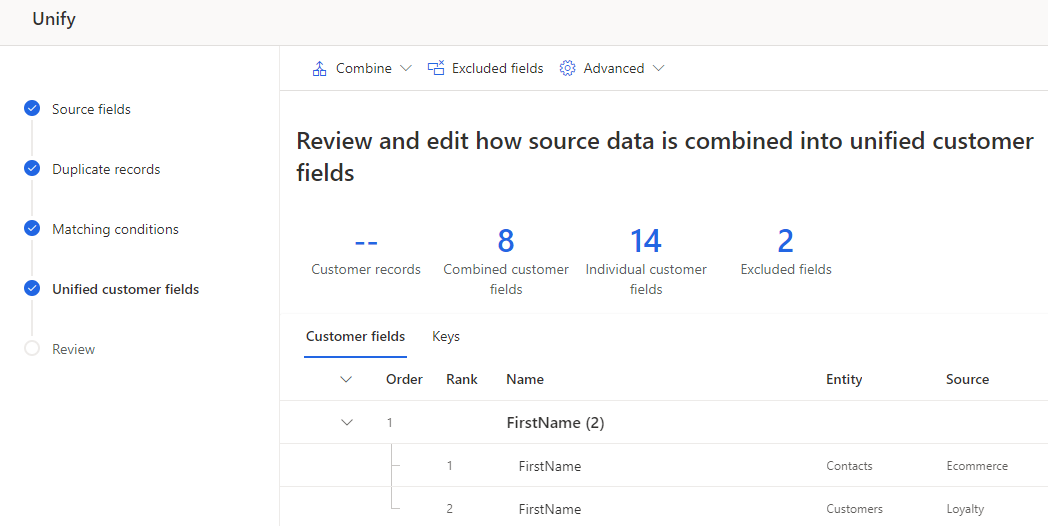
Select the chevron on the FirstName emerged column. You should see that in the FirstName column, contacts that are of the same type (for example, FirstName) have been defined as Merged and that eCommerce.Contacts (eCommerce)FirstName is ranked number one. This ranking denotes that, where you have a matching customer profile in both Loyalty and eCommerce, the first name that is taken from Contacts (eCommerce) will be the primary.
Since we aren't going to make any changes to the mapping, select the next button to advance to the Review stage.
Select the Create customer profiles button.

Congratulations! You've successfully ingested, mapped, matched, and merged data from multiple sources within Customer Insights - Data to create a unified customer profile that can be used to gain insights into your whole customer base.