Enroll Microsoft Defender for Endpoint on macOS devices into Jamf Pro
Applies to:
- Microsoft Defender for Endpoint Plan 1
- Microsoft Defender for Endpoint Plan 2
- Microsoft Defender XDR
Want to experience Defender for Endpoint? Sign up for a free trial.
Enroll macOS devices
There are multiple methods of getting enrolled to JamF.
This article will guide you on two methods:
For a complete list, see About Computer Enrollment.
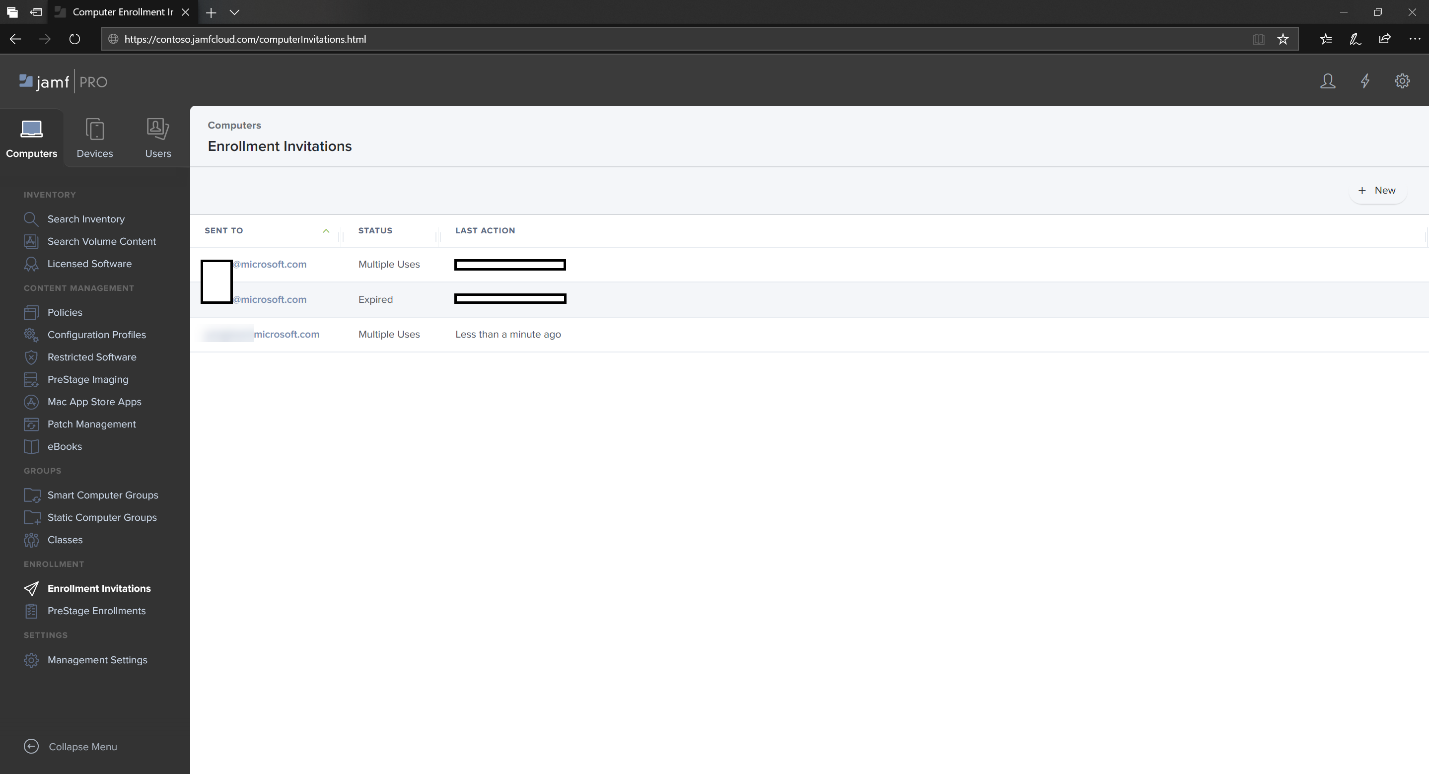
Enrollment Method 1: Enrollment Invitations
In the Jamf Pro dashboard, navigate to Enrollment invitations.

Select + New.

In Specify Recipients for the Invitation > under Email Addresses enter the e-mail address(es) of the recipients.
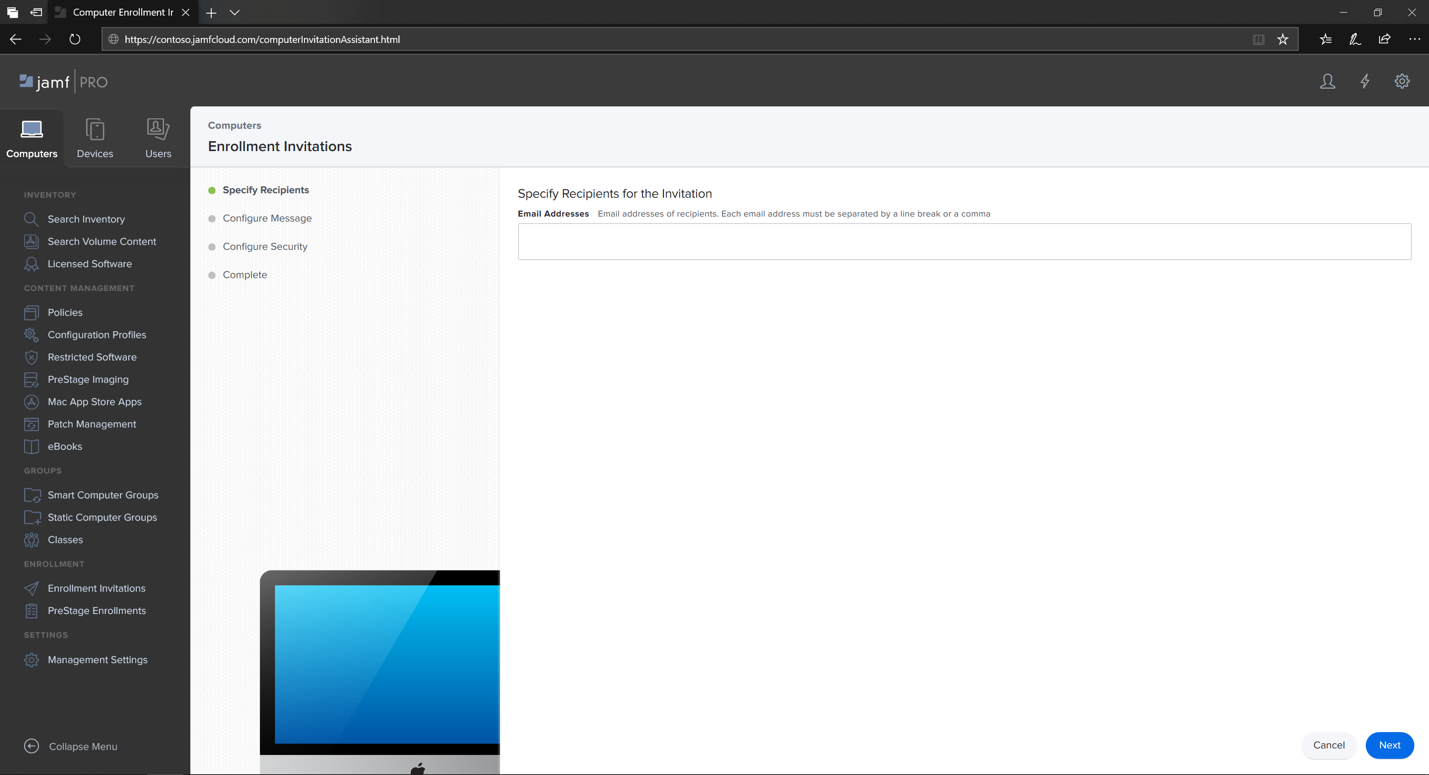
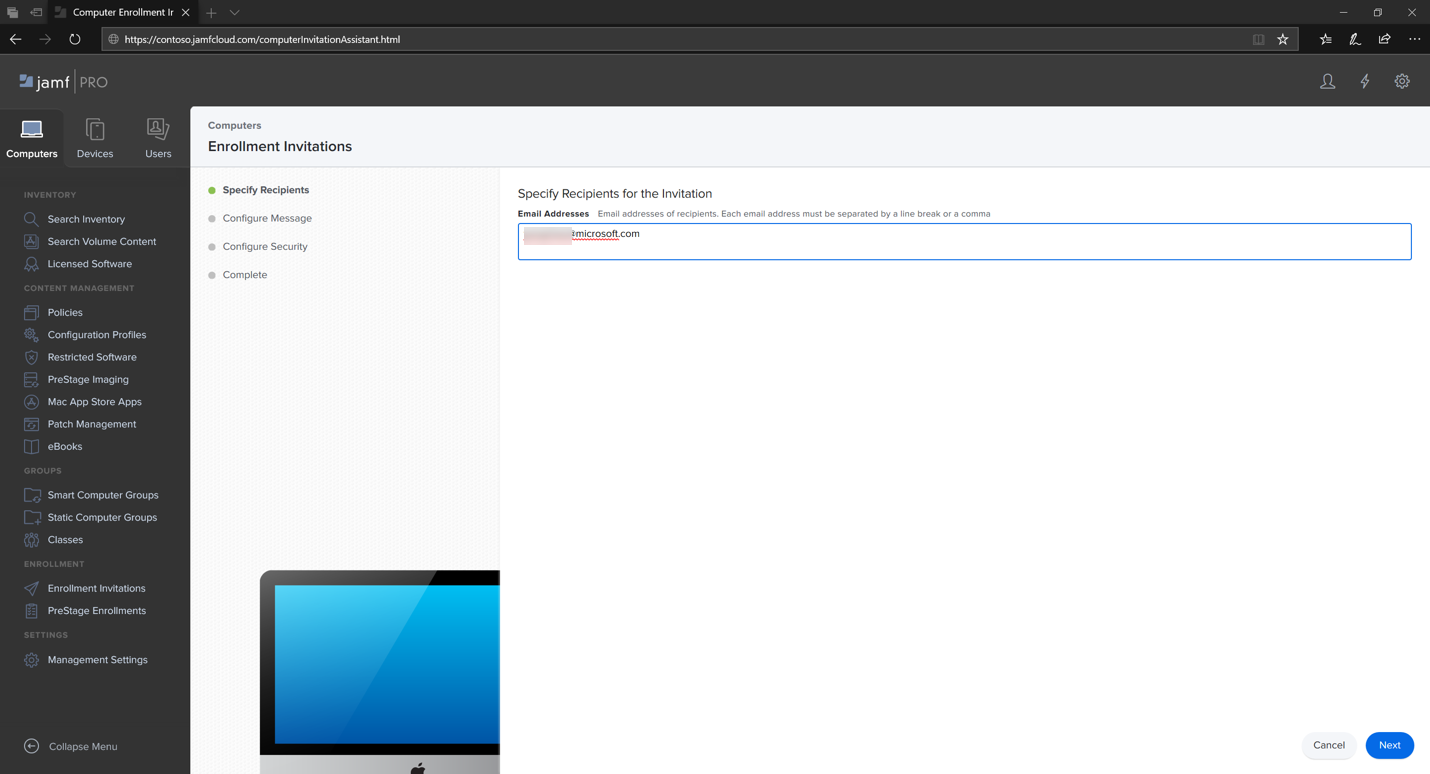
For example: janedoe@contoso.com

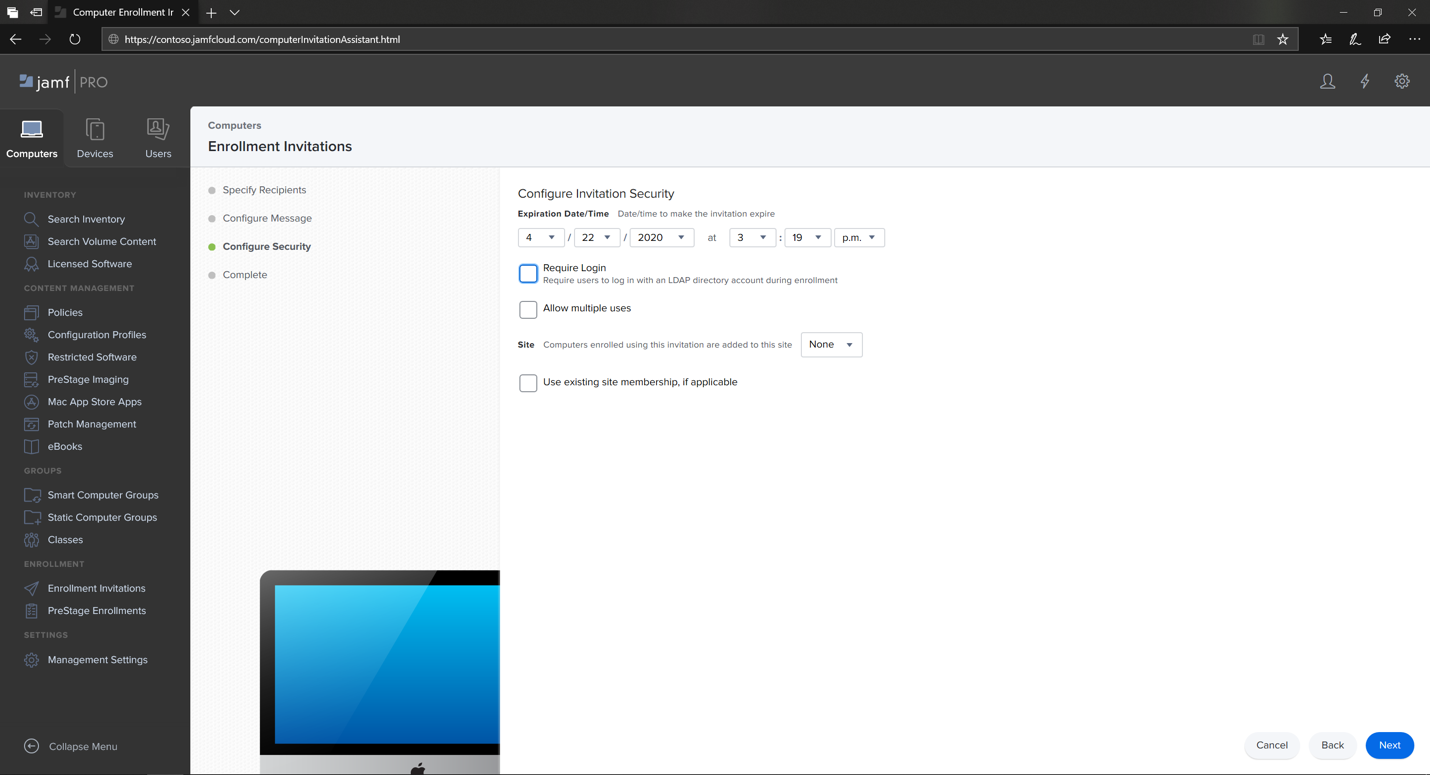
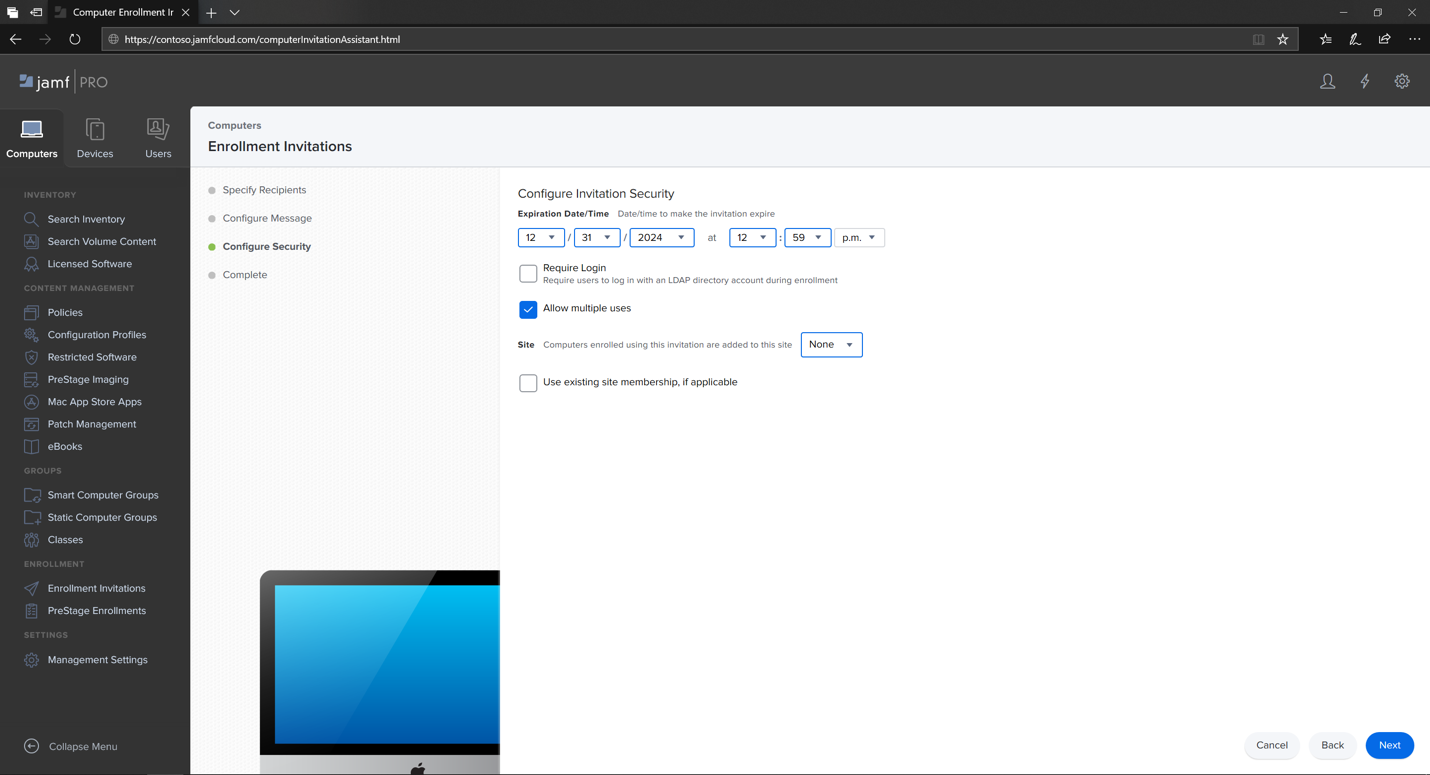
Configure the message for the invitation.


Enrollment Method 2: Prestage Enrollments
In the Jamf Pro dashboard, navigate to Prestage enrollments.

Follow the instructions in Computer PreStage Enrollments.

Enroll macOS device
Select Continue and install the CA certificate from a System Preferences window.

Once CA certificate is installed, return to the browser window and select Continue and install the MDM profile.

Select Allow to downloads from JAMF.

Select Continue to proceed with the MDM Profile installation.
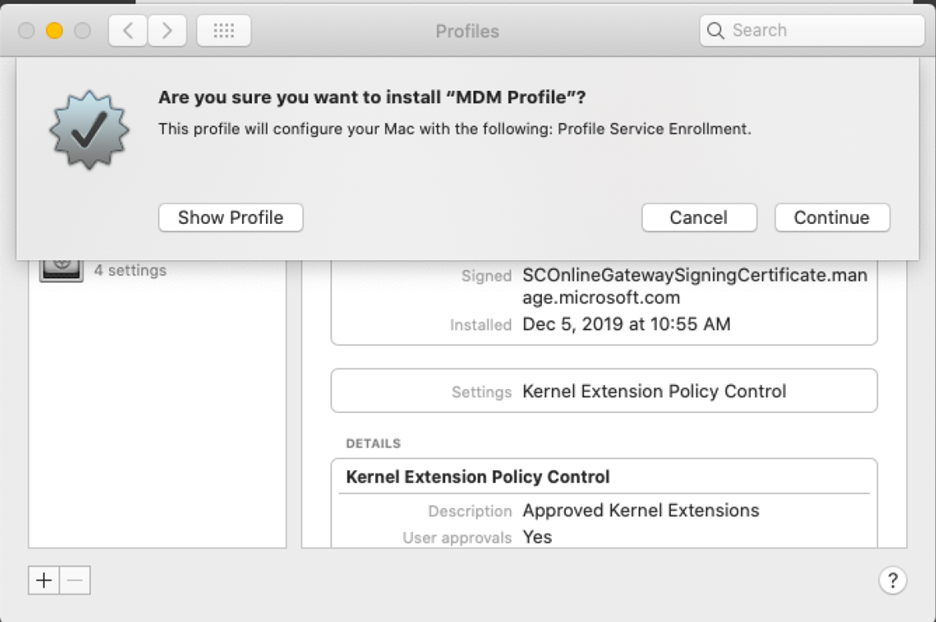
Select Continue to install the MDM Profile.
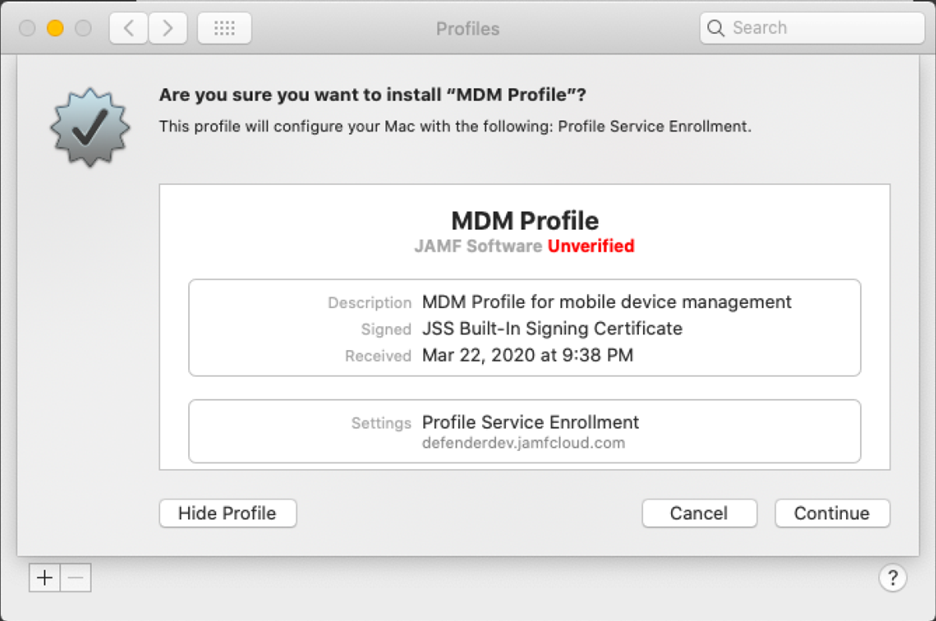
Select Continue to complete the configuration.


Tip
Do you want to learn more? Engage with the Microsoft Security community in our Tech Community: Microsoft Defender for Endpoint Tech Community.
Feedback
Coming soon: Throughout 2024 we will be phasing out GitHub Issues as the feedback mechanism for content and replacing it with a new feedback system. For more information see: https://aka.ms/ContentUserFeedback.
Submit and view feedback for