WPF sample app
This sample, WebView2WpfBrowser, is a WPF .NET app that demonstrates how to embed the WebView2 control and use WebView2 APIs to implement a web browser.
- Sample name: WebView2WpfBrowser
- Repo directory: WebView2WpfBrowser
- Solution file: WebView2WpfBrowser.sln
This sample is built as a WPF Visual Studio 2019 project. It uses C# and HTML/CSS/JavaScript in the WebView2 environment.
This sample showcases a selection of WebView2's event handlers and API methods that allow a WPF application to directly interact with a WebView and vice versa.

The WebView2WpfBrowser sample app has the following menus, containing many useful menuitems:
- File
- View
- Settings
- Scenario
If this is your first time using WebView2, we recommend first following the Getting Started tutorial, which goes over how to create a WebView2 and walks through some basic WebView2 functionality. See Get started with WebView2 in WPF apps.
For more information about events and API Handlers in WebView2, see WebView2 API Reference.
Step 1 - Install a preview channel of Microsoft Edge
If a preview channel of Microsoft Edge (Beta, Dev, or Canary) is not already installed, in a separate window or tab, see Install a preview channel of Microsoft Edge in Set up your Dev environment for WebView2. Follow the steps in that section, and then return to this page and continue the steps below.
To test the experimental APIs ahead of time and ensure your WebView2 app's forward-compatibility, see Approaches to making your app use a specific browser channel in Test upcoming APIs and features. Follow the steps in that section, and then return to this page and continue the steps below.
Step 2 - Install Visual Studio 2019 with .NET support
Microsoft Visual Studio is required. Microsoft Visual Studio Code is not supported for this sample.
- If Visual Studio 2019 (minimum required version) with .NET support is not already installed, in a separate window or tab, see Install Visual Studio in Set up your Dev environment for WebView2. Follow the steps in that section to install Visual Studio 2019 with .NET support, and then return to this page and continue the steps below.
Step 3 - Clone or download the WebView2Samples repo
- If not done already, clone or download the
WebView2Samplerepo to your local drive. In a separate window or tab, see Download the WebView2Samples repo in Set up your Dev environment for WebView2. Follow the steps in that section, and then return to this page and continue below.
Step 4 - Open the solution in Visual Studio
On your local drive, open the
.slnfile in Visual Studio, in the directory:<your-repos-directory>/WebView2Samples/SampleApps/WebView2WpfBrowser/WebView2WpfBrowser.sln
or:
<your-repos-directory>/WebView2Samples-main/SampleApps/WebView2WpfBrowser/WebView2WpfBrowser.sln
Step 5 - Install workloads if prompted
If prompted, install any Visual Studio workloads that are requested. In a separate window or tab, see Install Visual Studio workloads in Set up your Dev environment for WebView2. Follow the steps in that section, and then return to this page and continue below.
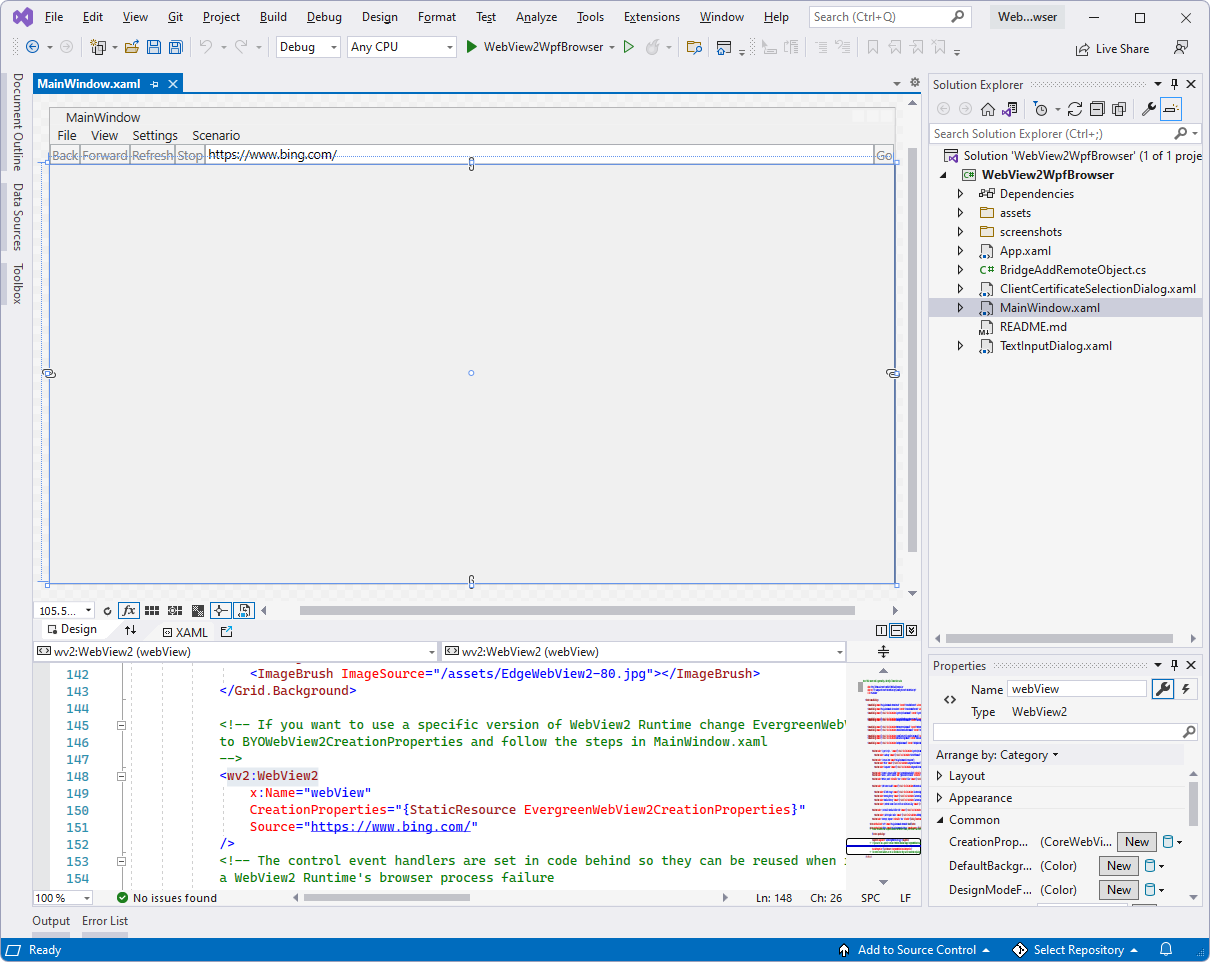
The WebView2WpfBrowser project opens in Visual Studio:
Step 6 - Build and run the project
At the top of Visual Studio, set the build target, as follows:
In the Solution Configurations dropdown list, select Debug or Release.
In the Solution Platforms dropdown list, select Any CPU.
In Solution Explorer, right-click the WebView2WpfBrowser project, and then select Build.
This builds the project file
WebView2WpfBrowser.csproj.In Visual Studio, select Debug > Start Debugging (F5).
The sample app window opens:
In Visual Studio, select Debug > Stop Debugging. Visual Studio closes the app.
Step 7 - Update the WebView2 SDK
Update the prerelease WebView2 SDK on the project node (not the solution node) in Solution Explorer. Install the latest prerelease of the WebView2 SDK, so that you can try the latest features. In a separate window or tab, see Install or update the WebView2 SDK in Set up your Dev environment for WebView2. Follow the steps in that section, and then return to this page and continue below.
Build and run the project again.
Step 8 - Explore the menus and inspect the code
Explore the WebView2WpfBrowser sample app's menus, containing many useful menuitems:
- File
- View
- Settings
- Scenario
In the Visual Studio code editor, inspect the code:

See also
Feedback
Coming soon: Throughout 2024 we will be phasing out GitHub Issues as the feedback mechanism for content and replacing it with a new feedback system. For more information see: https://aka.ms/ContentUserFeedback.
Submit and view feedback for