Install Collaboration controls
Warning
The Collaboration controls for model-driven applications are set to retire by May 2024. Retirement will be carried out in two phases to ensure a smooth transition. Following table details the timeline of the retirement process and its impacts:
| Timeframe | Action | Impact |
|---|---|---|
| February 2024 | Collaboration controls will no longer be available to install from AppSource. | - New deployments of the collaboration controls in Power Apps environments aren't possible. - Existing installations aren't affected. |
| May 2024 | The internal service that powers the controls will be retired. | - The controls will stop supporting integration with Microsoft 365 and will return errors to users. Data generated and managed through the controls won't be impacted. For more information, see the table later in this article. |
Artifacts created and managed through the controls will continue to exist after the service is retired.
| Control | Impact |
|---|---|
| Approvals | Approvals created in the Approvals control will remain in the Approvals app but will no longer be accessible in the Approvals control. |
| Files | Files managed in the Files control will remain in SharePoint but will no longer be accessible in the Files control. |
| Meetings | Meetings created in the Meeting control will remain in Outlook and Teams calendars but will no longer be accessible in the Meetings control. |
| Notes | Notes created in the Notes control will remain in the Dataverse notes table. |
| Tasks | Tasks created in the Task control will remain in Planner but will no longer be accessible in the Task control. |
We recommend removing the Collaboration controls and Collaboration connector from all Power Apps solutions and prepare users for the upcoming Collaboration controls retirement.
In this article, you'll learn how to install Collaboration Controls. The following are required to build and deploy Collaboration Manager applications using the Collaboration controls:
- Power apps: To build and run Model Driven Applications using the Collaboration controls.
- M365 E3 or higher: To deploy custom applications to Microsoft Teams and store tasks in Planner, files in SharePoint, and meetings in Outlook.
Collaboration controls are available only in public developer preview. To install the components into a Power Platform environment, the following roles are required:
- System customizer
- Environment maker
For more information on role privileges, see Configure user security in an environment
Install the Collaboration controls solutions
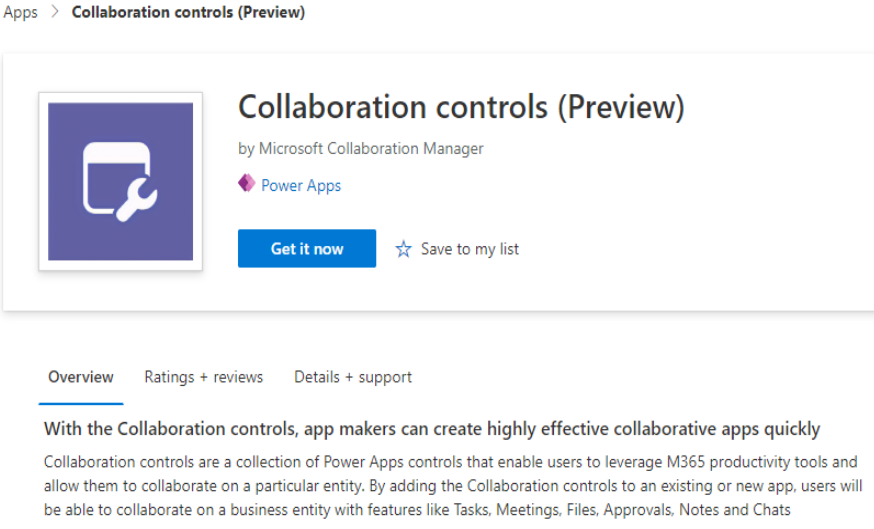
You install the Collaboration controls into your dataverse environment through Microsoft AppSource.
You'll be able to configure and use the components within your own model-driven app only after browsing to Microsoft AppSource and installing Collaboration controls into your dataverse environment.
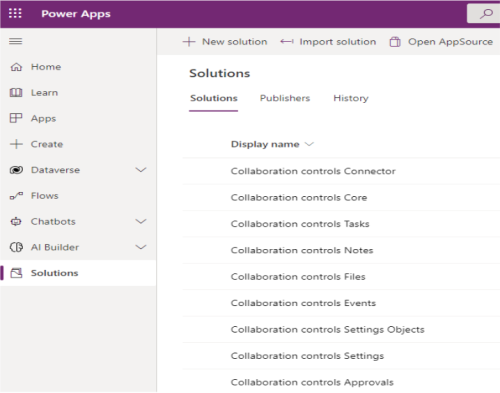
Collaboration Controls include the following solutions:
| Settings' solutions | Purpose |
|---|---|
| Collaboration controls Settings | Hold the settings infrastructure that powers Collaboration controls |
| Collaboration controls Settings Objects | Provides predefined settings values that are used by the Collaboration controls. |
| Collaboration solutions | Purpose |
|---|---|
| Collaboration controls Tasks | Includes the Tasks PCF (Power Apps component framework) control. |
| Collaboration controls Events | Includes the Events PCF control for Outlook and Teams meetings and bookings appointments. |
| Collaboration controls Notes | Includes the notes PCF control, which stores notes in Dataverse. |
| Collaboration controls Files | Includes the Files PCF control for accessing files on SharePoint. |
| Collaboration controls Core | Includes custom Collaboration APIs, the Collaboration Data Model and Virtual Tables for Events, Files and Task controls. |
| Collaboration controls Approvals | Includes the new Approvals PCF control. |
| Collaboration controls connector | Includes the new Collaboration Power Automate connector |
Note
If you have an existing version of the controls installed in your environment, you might need to create a fresh environment and complete a new install to successfully upgrade to the latest version.
Before installation, you must be in a Power Platform environment or admin tenant. You need a dataverse environment with a database. If you don't have one, you need to create a new one to continue with the installation.
To install the solutions, browse to Microsoft AppSource and complete the following steps:
Select Get it now button.
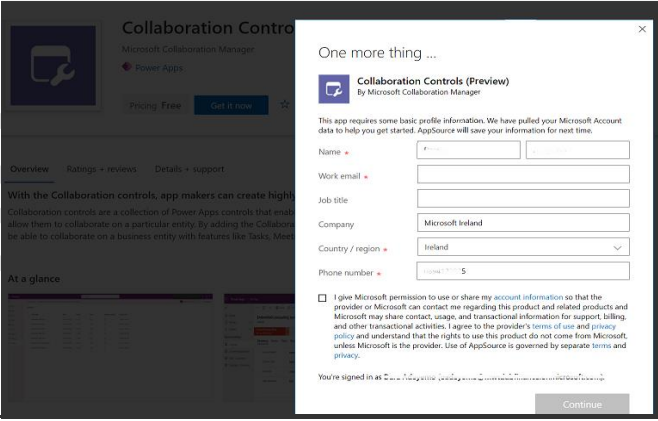
Sign in with your account, fill in the form and select Continue.
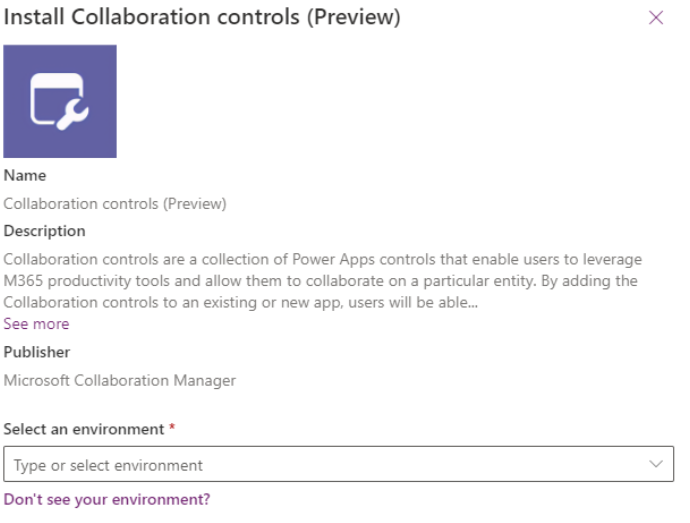
You're directed to Power Platform Admin Center. Select an environment from the dropdown menu and agree to the terms and policy statements.
Tip
If you see a permissions error when you select the environment, try selecting outside the environment dropdown menu to see if that resolves the issue.
Select Install, installation might take approximately 15 minutes to complete.
Go to https://make.powerapps.com/, https://make.preview.powerapps.com/ is also supported if you're signed up to Power Apps preview.
Ensure that you're in the environment where the controls are installed. You can view the environment and can change the environment on the upper-right corner of the Power Apps portal if necessary.
Select the Solutions tab to view all the solutions that you installed in the right environment.
Note
The Collaboration controls are preview and elements may change over time with potential for breaking changes. The Collaboration controls aren't supported in production environments.
After successful installation of all the Collaboration solutions into your environment, you'll be able to build a new model-driven app that can take advantage of the Collaboration control capabilities.
See also
Platform Docs
Feedback
Coming soon: Throughout 2024 we will be phasing out GitHub Issues as the feedback mechanism for content and replacing it with a new feedback system. For more information see: https://aka.ms/ContentUserFeedback.
Submit and view feedback for