Create and sell offers to education customers in Partner Center
Appropriate roles: Global admin | Admin agent | Sales agent
This article explains how to create an educationally qualified customer in Partner Center, so you can sell educational offers to them.
It also describes how to view verification status and resubmit a verification request if necessary. Verification can be requested up to three times per customer.
Education offers are available for license-based services and perpetual software such as Microsoft 365, Dynamics, and Intune. They aren't available for other offers, such as software subscriptions or Azure products.
Create an education customer
Important
Microsoft verifies every newly created education customer tenant to ensure they're qualified for education offers. To prevent delays caused by this verification process, be sure to enter the required information accurately and completely. For example, an accreditation certificate or document from the governing body or a letter from the department, ministry, or board of education.
To create an education customer, use the following steps:
Sign in to Partner Center and select Customers.
Select Add Customer.
From the Special qualifications dropdown, select Education.
Enter account information as required. Key information for the verification process includes:
- Company name: Enter the legal entity name. This field is required for verification.
- Country/region and Address lines: Enter the entity's full mailing address. This field is required for verification.
- Email address: Enter the entity's email address (which can't be a free or on.microsoft.com email address). This field is required for verification.
- Education Segment: Enter the entity's educational segment. This field is required for verification.
- Customer contact information This field is required for verification.
- Primary domain name: Enter a name similar to the company name with no spaces or special characters, for example contosoforedu for Contoso Elementary School. This information is used to create the customer's account and email addresses and can't be changed later.
- Education website: Enter an official website for the entity. This information expedites the customer verification process.
When you're finished, select Next: Review to see a summary of the information you provided.
You can update account information if needed, or select Submit when account details are final.

After your Submit, you'll receive an In Review status if the information submitted is valid.
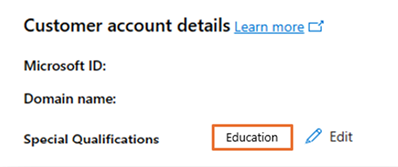
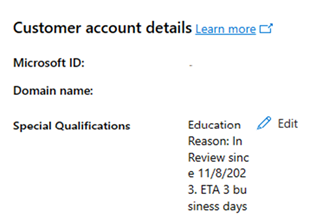
After you successfully submit your customer's account information, a special qualification status message is sent. Your customer's account might be Approved, In Review, or Denied. If your Special Qualification is undergoing further review, the review typically takes three or fewer business days.
An approved Special Qualification
A Special Qualification in review
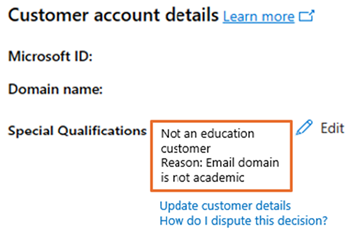
A denied Special Qualification


Note
Customers who don't meet Microsoft's educational licensing requirements can be denied education qualification. A denial reason will be provided in the Customer account details section. If you believe qualification denial to be in error, you can dispute the review up to three times for a customer. Special qualification review exceeding three attempts isn't allowed.
Correct the customer account information
If your customer information failed the initial special qualification verification, you can correct the information and resubmit it using the information in the following sections. To revise customer account information and request special qualification verification you:
- Must have Global admin privileges to update a customer's information
- You must update the information in the Microsoft 365 portal, because this data can't be updated at Partner Center (to update information, a MAC user role must be either Global Admin or Billing Admin)
To revise customer account information when Special qualification hasn't been approved, use the following steps:
- Select a customer's account from the Customer list.
- Navigate to the Service Management page.
- Select Microsoft 365. You're redirected to the Microsoft 365 Admin Center on a new tab of your browser. You might be required to sign in.
- From Microsoft 365 admin center, in the Navigation menu, go to Settings > Org settings.
- Select the Organization profile tab, and then select Organization information.
- Update your organization's information, then select Save. You must fill in all required fields marked with an asterisk (*) before you can save your changes.
Resubmit the customer information for verification
To resubmit the customer information for verification, use the following steps. Reverification can take up to three business days.
- Go to your Partner Center tab and to the customer Account page.
- Refresh the browser and verify the Company details were updated with the new information.
- Select Edit to request reverification of eduction status. If the updated customer details are eligible for education offers, Special qualifications is updated to Education. If you still see Not an Education Customer, you can contact Support for manual verification.
Next steps
Feedback
Coming soon: Throughout 2024 we will be phasing out GitHub Issues as the feedback mechanism for content and replacing it with a new feedback system. For more information see: https://aka.ms/ContentUserFeedback.
Submit and view feedback for