Power Automate console
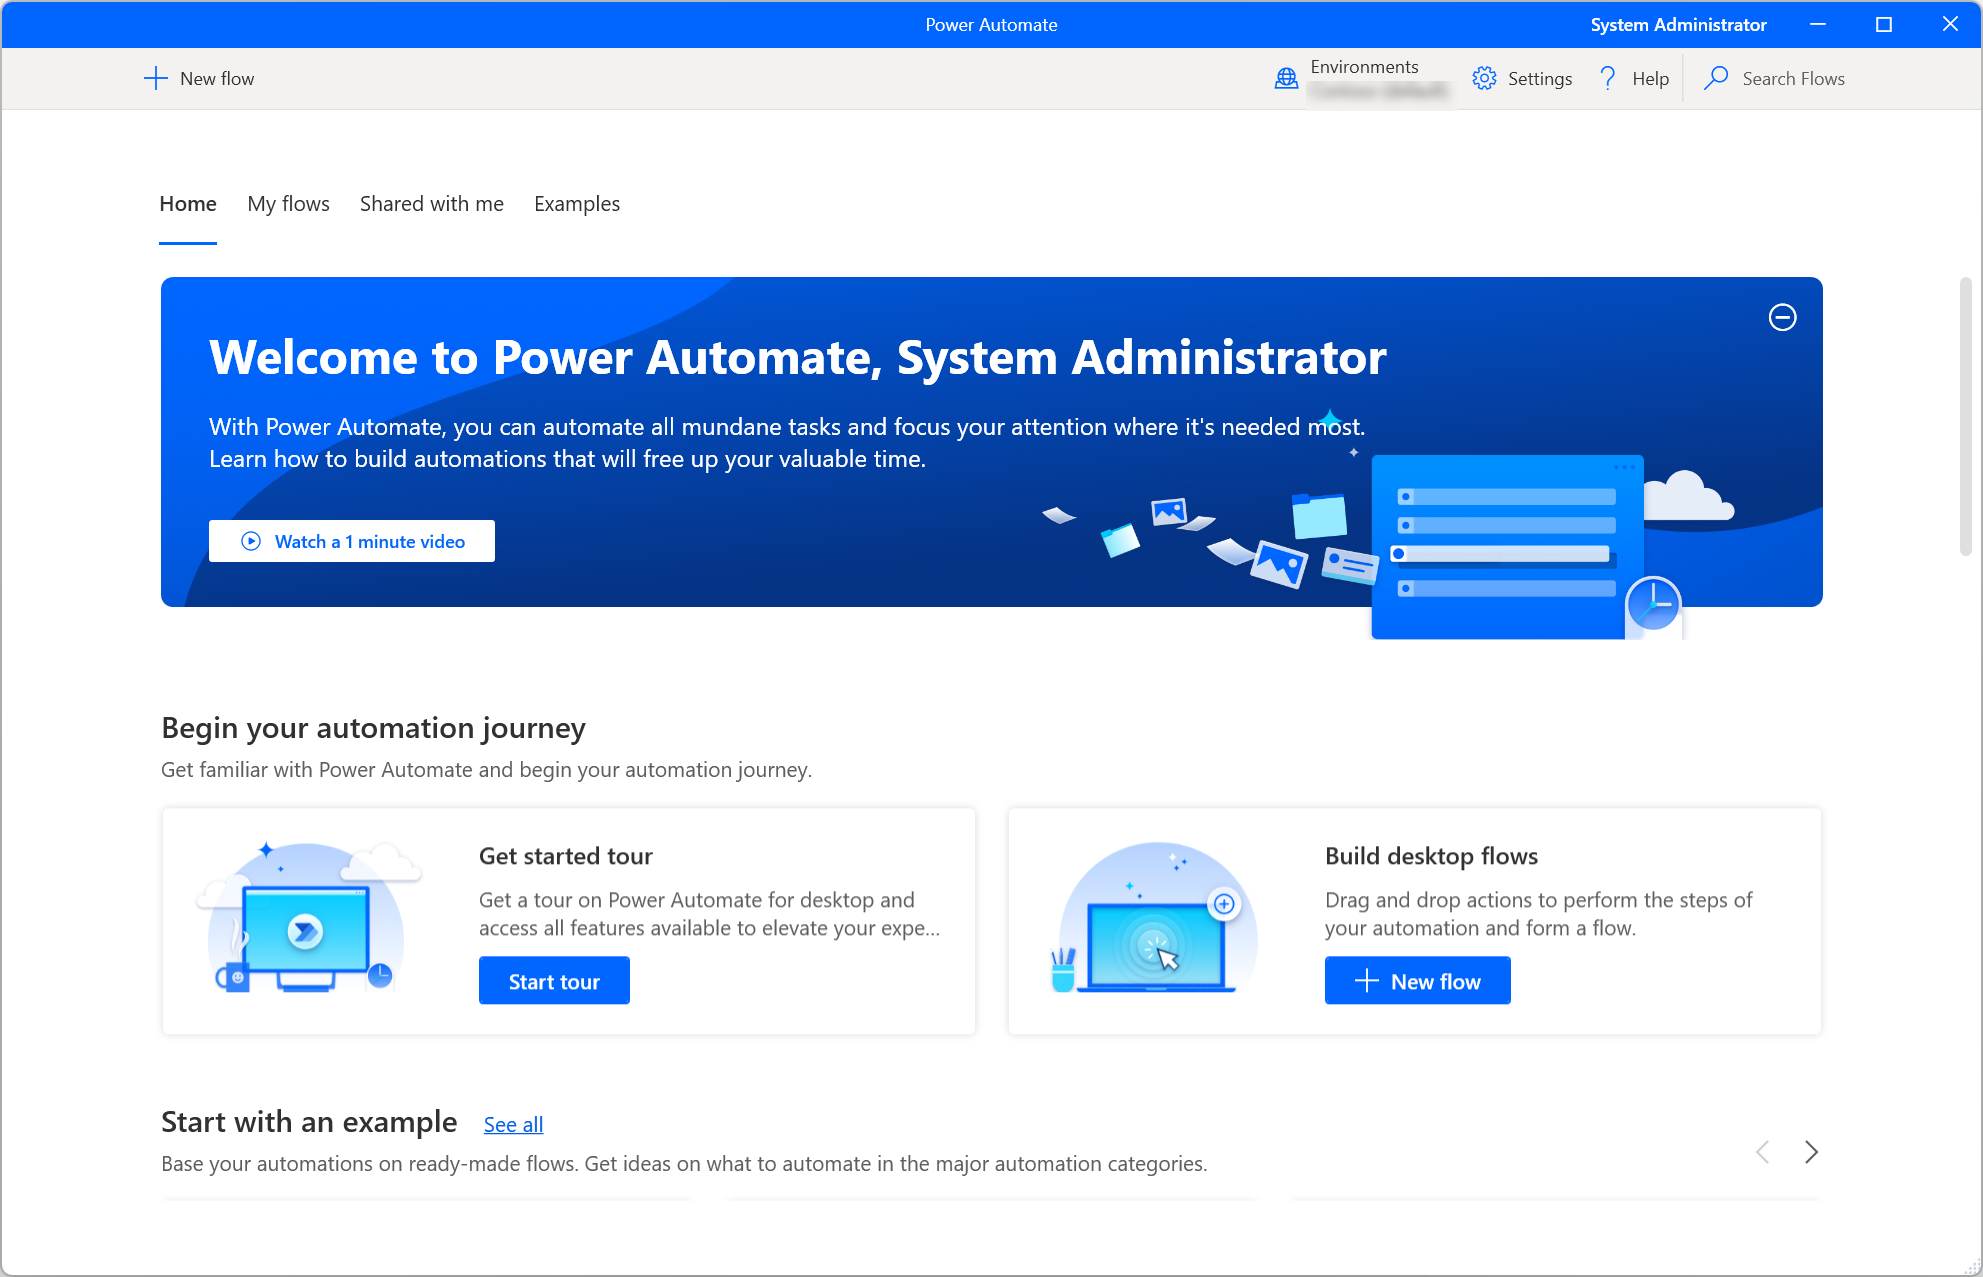
The console is the central interface of Power Automate for desktop.
The main area of the console contains four tabs that display different kind of information: a home screen, your desktop flows, shared desktop flows, and built-in examples.
On the top of the window, you can see the current user, while on the command bar, you can see all the available actions, a dropdown list to switch environments, the Settings and Help buttons, and a search bar.
Note
Some options in the console may be disabled due to insufficient permissions in the current environment. Contact your administrator to grant you access or switch to another environment. To find more information about security roles, go to Configure user security.
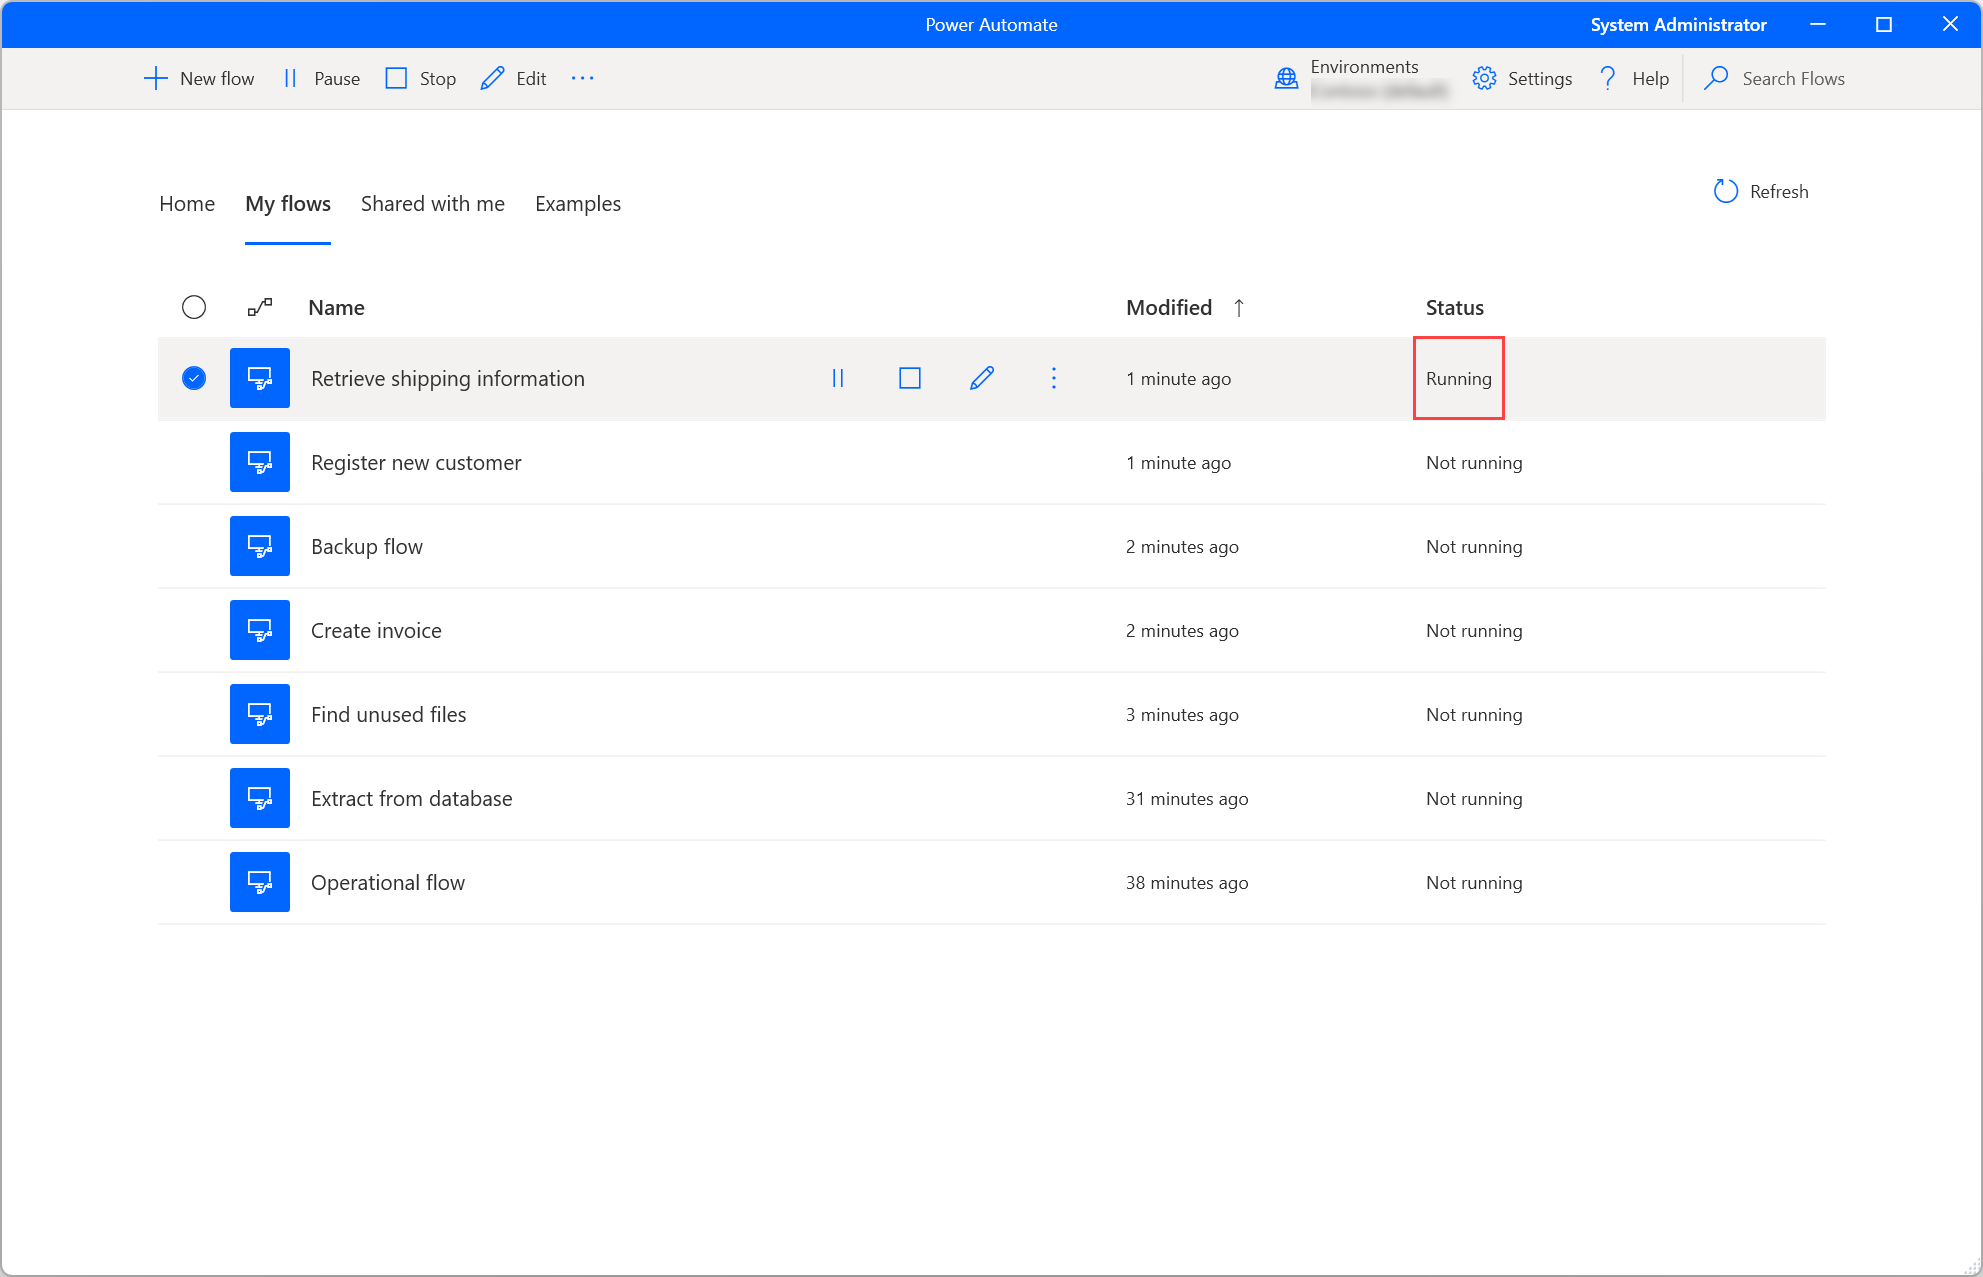
Starting a desktop flow
To run a desktop flow as local attended, use the Start button next to the selected flow or on the command bar. The Status column allows you to review the current status of each flow.
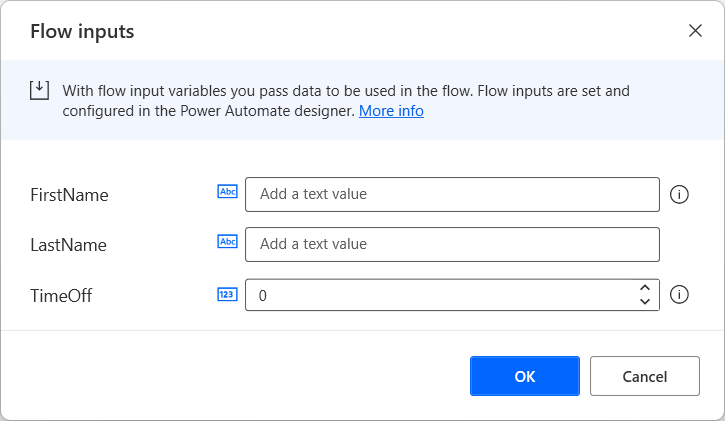
If a running flow contains input variables, a dialog box prompts you to provide the appropriate values.
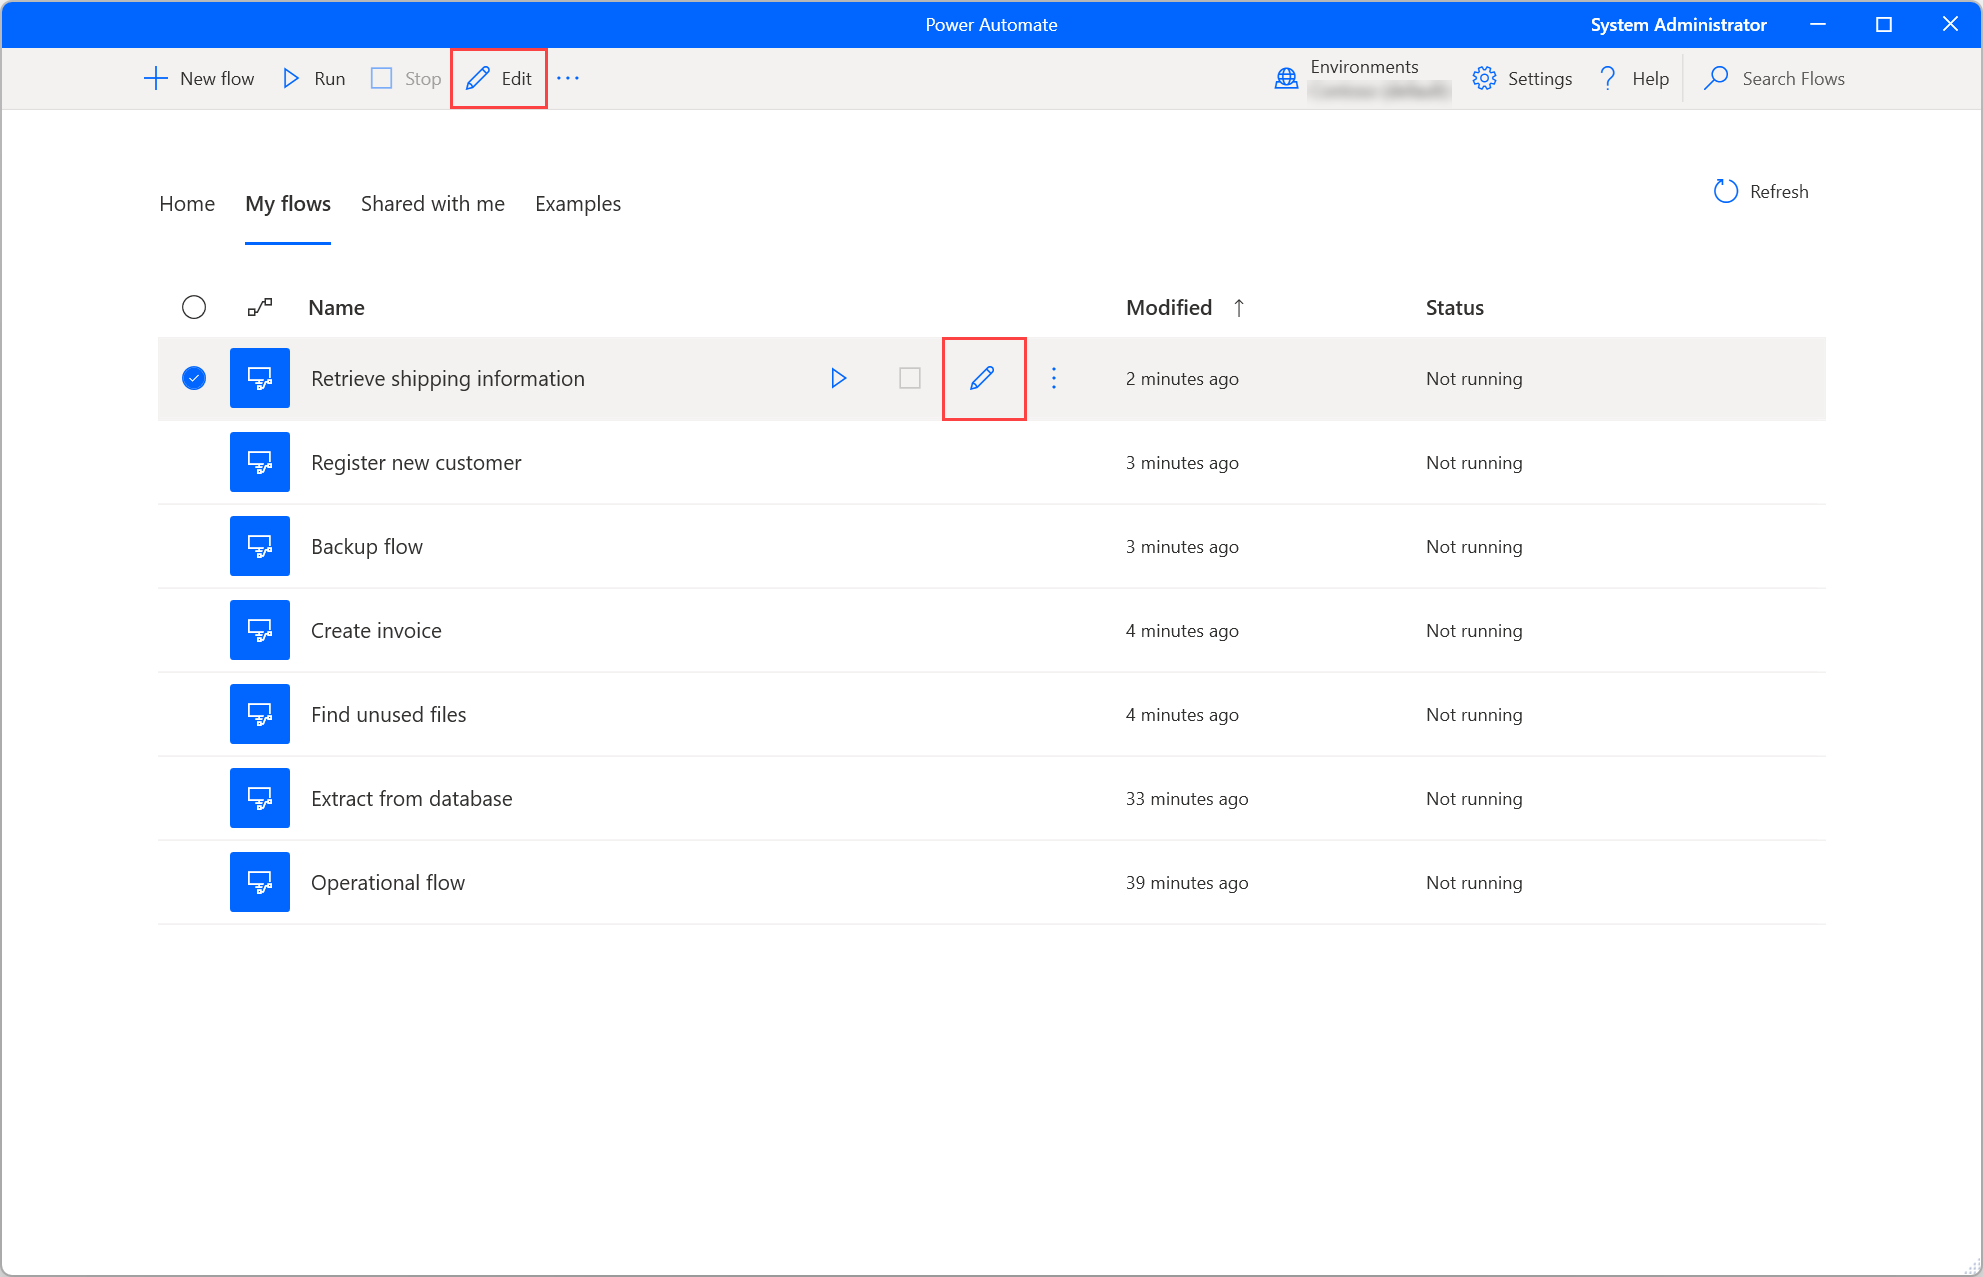
Editing a desktop flow
Apart from creating new desktop flows, you can edit existing flows using the Edit button next to the selected flow or on the command bar.
The development of new flows and the editing of existing flows occur in the flow designer. To find more information regarding the flow designer and how to develop desktop flows, refer to Desktop flow designer.
Important
When more than one person changes a shared desktop flow, the last person who saves the flow overrides all previous actions.
Console Settings
To configure Power Automate for desktop to your liking, select the Settings button.

Under the Application category, select whether Power Automate should launch automatically and whether closing the console also closes the application. You can also set a hotkey combination to stop running flows instantly.
Using the Monitoring/Notifications dropdown list, you can choose whether Power Automate displays integrated Windows notifications, a custom monitoring window, or no notifications at all. To find more information regarding Power Automate notifications, go to Runtime notifications.
By default, Power Automate always prompts you to confirm the triggering of a desktop flow via URL or desktop shortcut. The Display confirmation dialog when invoking flows externally option allows you to disable this functionality. You can find more information about external links in Run desktop flows via URL or desktop shortcuts.
To decide whether Microsoft should collect diagnostic data to improve user experience, navigate to the Data collection settings tab.
Important
Only admins can change data collection settings.
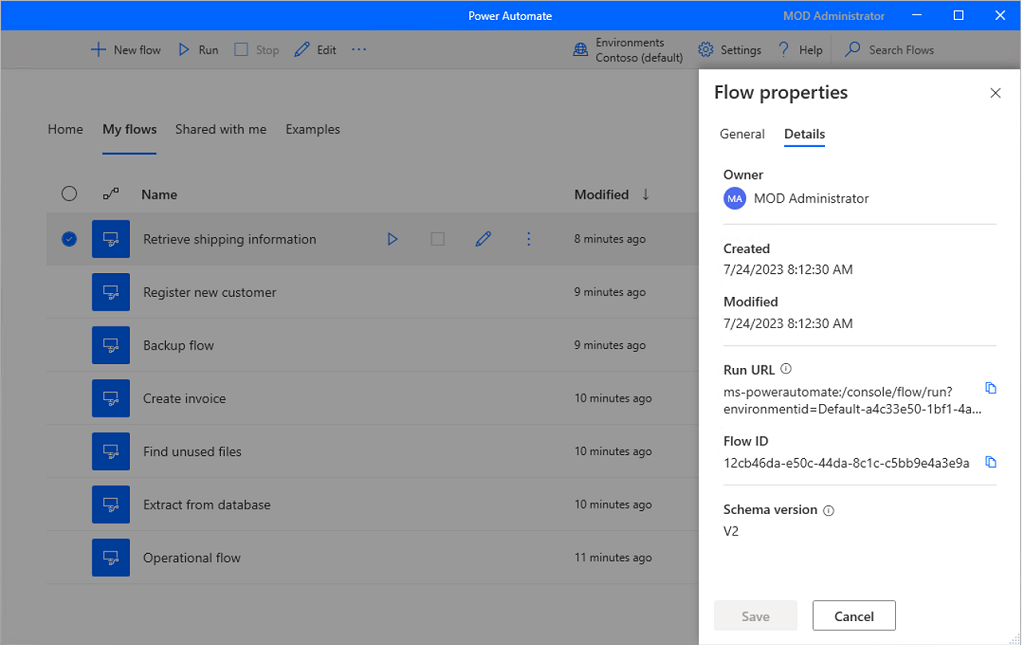
Desktop flow properties
To review the properties of a desktop flow, right-click on it and select Properties. In the General tab, you can edit the name and description of the flow, set up a keyboard shortcut to trigger the flow locally, and define the On error behavior of the flow run.
If the Add screenshot to logs option is enabled, a screenshot is captured upon flow run failure and is uploaded to the flow run action details.
Important
- Access to the flow run logs is a premium feature, which requires a Power Automate subscription.
- The Add screenshot to logs property applies only to flows stored in Power Automate v2 schema.
In the Details tab, you can see the owner, the creation and last modification dates, the flow ID and the flow’s storage schema version in Dataverse. For more information on the enhanced desktop flows schema, go to Power Automate v2 schema.
Additionally, there's the Run URL that you can use to run the flow through many different sources, such as browsers, the Windows Run application, and the Command Prompt. You can find more information regarding this functionality in Run desktop flows via URL or desktop shortcuts.

Generate flow description using Copilot (preview)
[This topic is prerelease documentation and is subject to change.]
Generate a flow description for flows that you own or are a co-owner by the press of a button. Copilot then analyzes the flow and generates a description for it. This feature is also available from the flow details in make.powerautomate.com. More information: Manage desktop flows
Important
- This is a preview feature.
- Preview features aren’t meant for production use and might have restricted functionality. These features are available before an official release so that customers can get early access and provide feedback.
- To understand the capabilities and limitations of this feature, go to FAQ for generating a flow description using Copilot.
Prerequisites
- Currently, the generate flow description using Copilot functionality is only available in environments located in the United States.
- Currently, the generate flow description using Copilot functionality is only available for users with a work or school account.
Use Copilot to generate the description
To generate a flow description, navigate to the properties of the flow where you want to generate the description. Under the Description text area, select Let Copilot create a description. Copilot analyzes your flow and populates the description with a summary of your flow.

Help us improve this feature
Send feedback by selecting the thumb up or thumb down icon underneath the AI-generated content. Once you do, a dialog box appears, which you can use to submit feedback to Microsoft.

Note
If you can't see the dialog box, your Power Platform admin might have turned it off. More information: Disabling the user feedback functionality
Disabling the generate flow description using Copilot functionality
To disable the generate flow description using Copilot functionality, Power Platform admins can contact Microsoft support. More information: Get Help + Support
Disabling the user feedback functionality
As a Power Platform admin you can prevent users from sending feedback to Microsoft by disabling the disableSurveyFeedback tenant setting using PowerShell. More information:
Data subject rights requests on user feedback
Tenant administrators can view, export, and delete the feedback from users by signing in to the Microsoft 365 admin center, and then select Health > Product feedback.
See also
FAQ for generating a flow description using Copilot
Update Power Automate for desktop
Power Automate frequently checks for updates and displays appropriate notifications.
Update notifications offer you the option to delay the update and proceed with it at a later time. If you don't wish to receive any update notifications, clear the Show update notifications option in the general settings.
To manually update Power Automate for desktop, select Check for updates in the general settings.
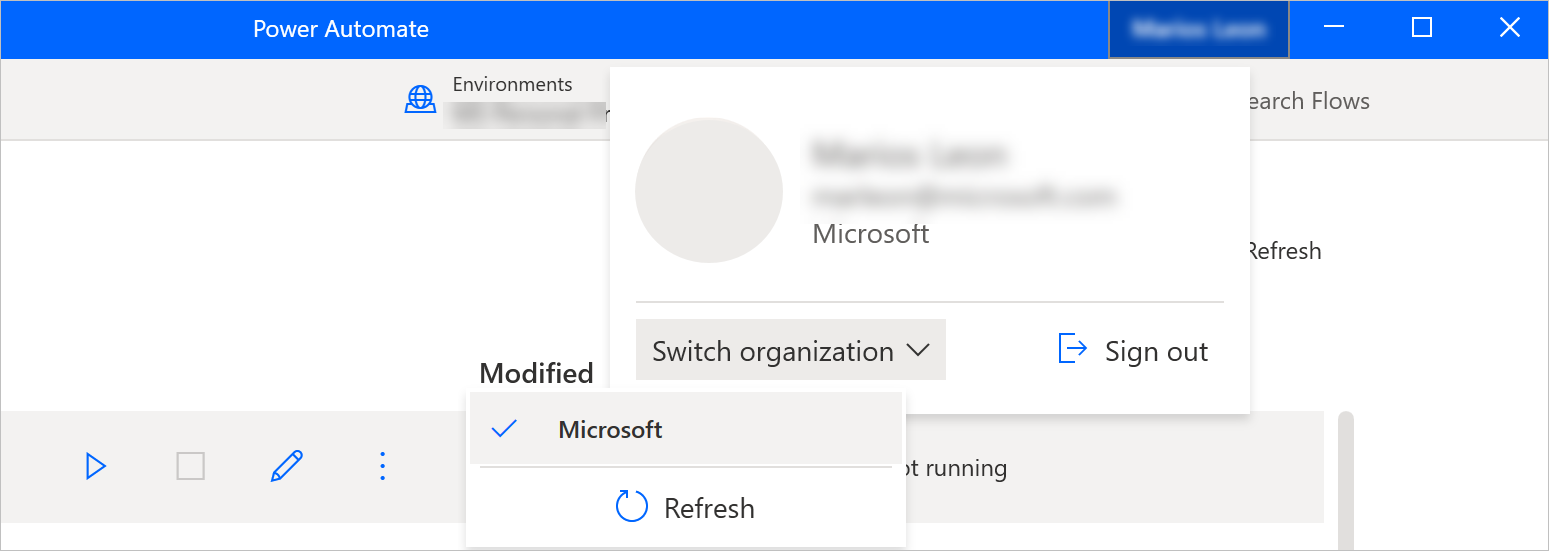
Switch organization
If you're a member of more than one tenant, you can switch organizations by selecting the organization name at the top right corner of the console and then select Switch organization.
Feedback
Coming soon: Throughout 2024 we will be phasing out GitHub Issues as the feedback mechanism for content and replacing it with a new feedback system. For more information see: https://aka.ms/ContentUserFeedback.
Submit and view feedback for