Tutorial: Use Cognitive Services in Power BI
Power BI provides access to a set of functions from Azure Cognitive Services to enrich your data in the self-service data prep for dataflows. The services that are supported today are sentiment analysis, key phrase extraction, language detection, and image tagging. The transformations run on the Power BI service and don't require an Azure Cognitive Services subscription. This feature requires Power BI Premium.
Cognitive Services transforms are supported in the self-service data prep for dataflows. Use the step-by-step examples for text analytics and image tagging in this article to get started.
In this tutorial, you learn how to:
- Import data into a dataflow
- Score sentiment and extract key phrases of a text column in a dataflow
- Connect to the results from Power BI Desktop
Prerequisites
To complete this tutorial, you need the following prerequisites:
- A Power BI account. If you're not signed up for Power BI, sign up for a free trial before you begin.
- Access to a Power BI Premium capacity with the AI workload enabled. This workload is turned off by default during preview. If you are in on a Premium capacity and AI Insights aren't showing up, contact your Premium capacity administrator to enable the AI workload in the admin portal.
Text analytics
Follow the steps in this section to complete the text analytics portion of the tutorial.
Step 1: Apply sentiment scoring in the Power BI service
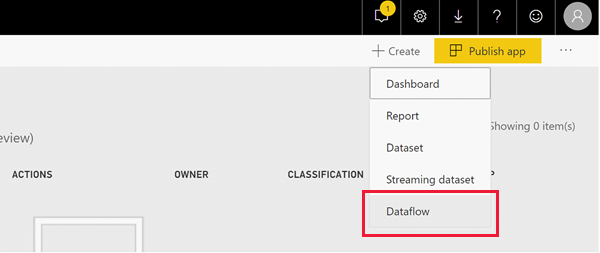
To get started, navigate to a Power BI workspace with Premium capacity and create a new dataflow using the Create button in the upper right of the screen.
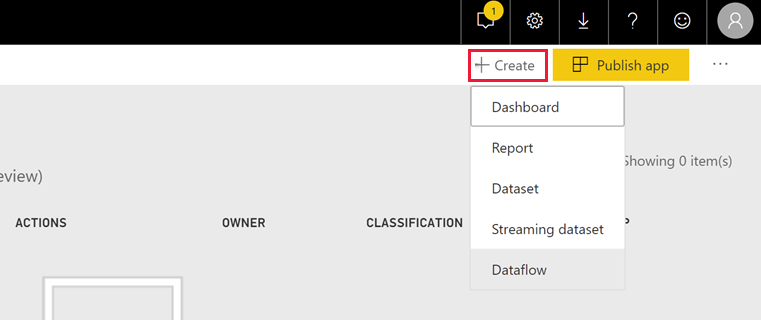
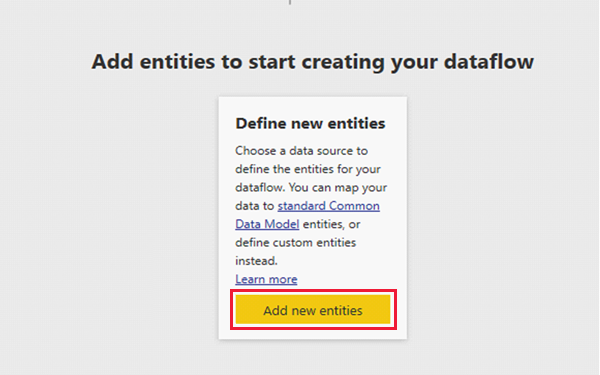
The dataflow dialog shows you the options for creating a new dataflow, select Add new entities. Next, choose Text/CSV from the menu of data sources.

Paste this URL into the URL field: https://pbiaitutorials.blob.core.windows.net/textanalytics/FabrikamComments.csv and select Next.

The data is now ready to use for text analytics. You can use Sentiment Scoring and Key Phrase Extraction on the customer comments column.
In Power Query Editor, select AI Insights

Expand the Cognitive Services folder and select the function you would like to use. This example scores the sentiment of the comment column, but you can follow the same steps to try out Language Detection and Key Phrase Extraction.

After you select a function, the required and optional fields appear. To score the sentiment of the example reviews, select the reviews column as text input. Culture information is an optional input and requires an ISO format. For example, enter en if you want the text to be treated as English. When the field is left blank, Power BI first detects the language of the input value before it scores the sentiment.

Now select Invoke to run the function. The function adds a new column with the sentiment score for each row to the table. You can go back to AI insights to extract key phrases of the review text in the same way.
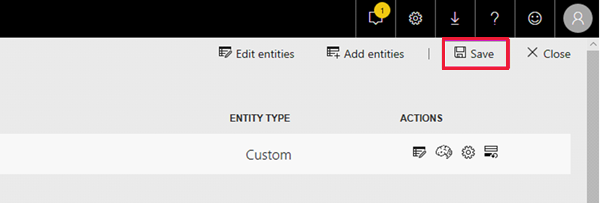
Once you finish the transformations, change the query name to Customer comments and select Done.

Next, Save the dataflow and name it Fabrikam. Select the Refresh Now button that pops up after you save the dataflow.
After you save and refresh the dataflow, you can use it in a Power BI report.
Step 2: Connect from Power BI Desktop
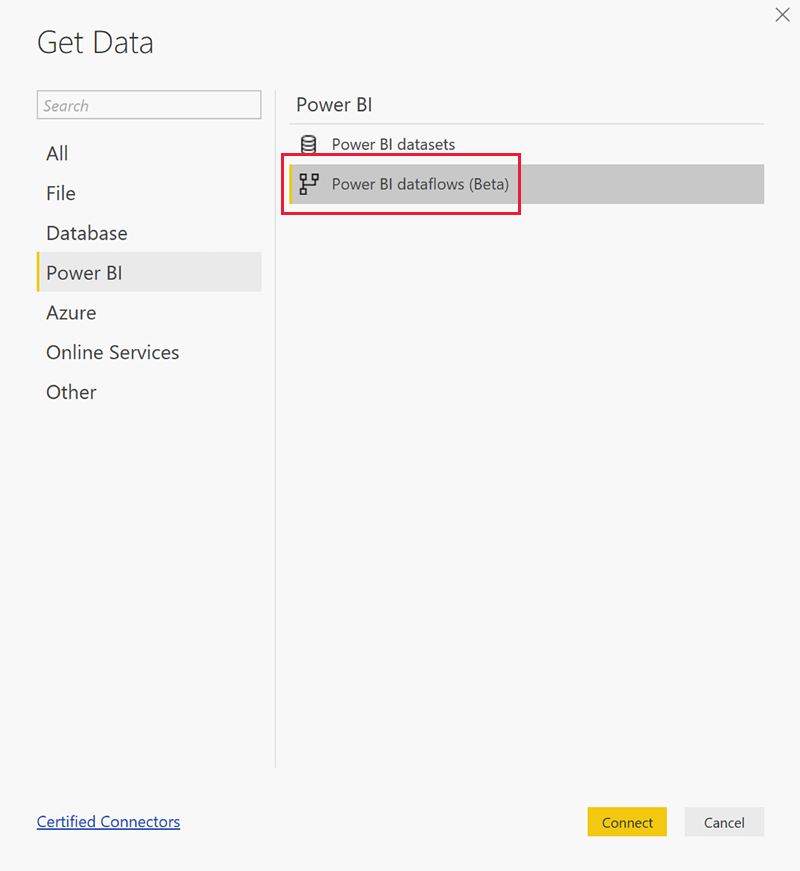
Open Power BI Desktop. In the Home ribbon, select Get data.
Select Power BI and then choose Power BI dataflows. Select Connect.
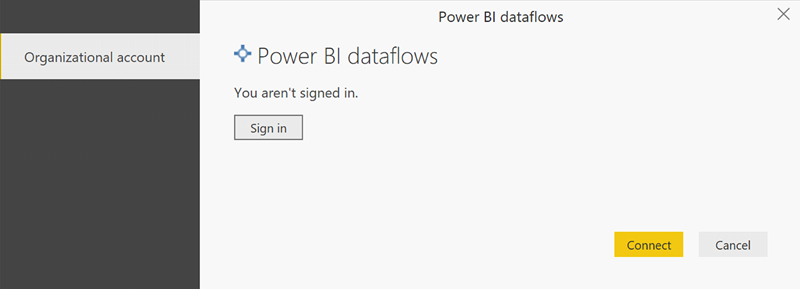
Sign in with your organization account.
Select the dataflow you created. Navigate to the Customer comments table and choose Load.

Now that the data is loaded, you can start building a report.
Image tagging
In the Power BI service, navigate to a workspace with Premium capacity. Create a new dataflow using the Create button in the upper right of the screen.
Select Add new entities.
Once you're asked to choose a data source, select Blank query.

Copy this query in the query editor and select Next. You can replace the URL paths with other images or add more rows. The Web.Contents function imports the image URL as binary. If you have a data source with images stored as binary, you can also use that directly.
let
  Source = Table.FromRows({
  { Web.Contents("https://images.pexels.com/photos/87452/flowers-background-butterflies-beautiful-87452.jpeg") },
  { Web.Contents("https://upload.wikimedia.org/wikipedia/commons/5/53/Colosseum_in_Rome%2C_Italy_-_April_2007.jpg") }}, { "Image" })
in
  Source

When prompted for credentials, select anonymous.

You see the following dialog.
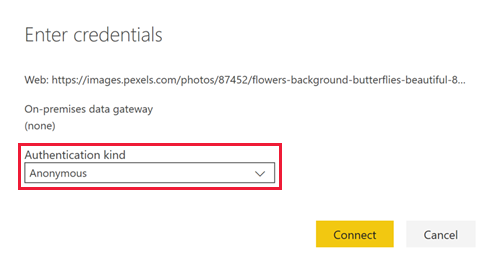
Power BI prompts you for credentials for each web page.
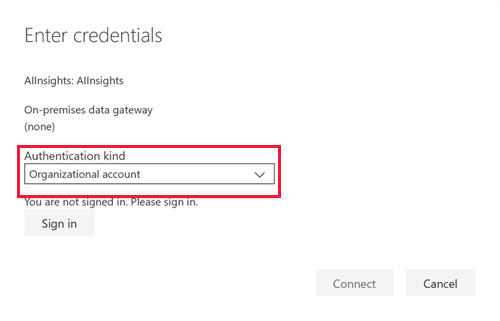
Select AI Insights in the query editor.

Next, sign in with your organizational account.
Select the Tag Images function, enter [Binary] in the column field, and enter en in the culture info field.
Note
You currently cannot pick a column using a dropdown. This issue will be resolved as soon as possible during the private preview.

In the function editor, remove the quotation marks around the column name.
Note
Removing the quotation marks is a temporary workaround. This issue will be resolved as soon as possible during preview.

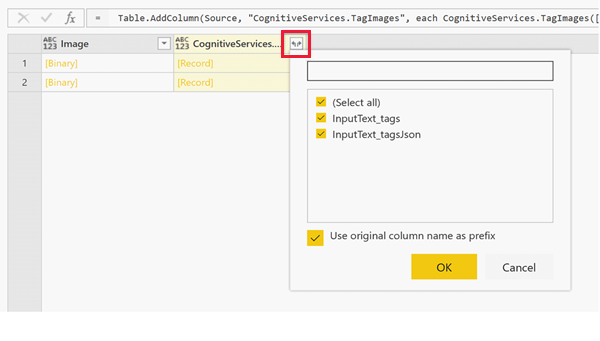
The function returns a record with both the tags in comma-separated format and as a json record. Select the expand-button to add one or both as columns to the table.
Select Done and save the dataflow. Once you've refreshed the dataflow one, you can connect to it from Power BI Desktop using the Dataflows connectors.
Clean up resources
When you're done using this tutorial, delete the query by right-clicking the query name in the Power Query Editor and selecting Delete.
Limitations
There are some known issues with using Gateway with Cognitive Services. If you need to use a gateway, we recommend creating a dataflow that imports the necessary data by using a gateway first. Then create another dataflow that references the first dataflow to apply these functions.
If your AI work with dataflows fails, you may need to enable Fast Combine when using AI with dataflows. Once you have imported your table and before you begin to add AI features, select Options from the Home ribbon, and in the window that appears select the checkbox beside Allow combining data from multiple sources to enable the feature, then select OK to save your selection. Then you can add AI features to your dataflow.
Related content
In this tutorial, you applied sentiment scoring and image tagging functions on a Power BI dataflow. To learn more about Cognitive Services in Power BI, see the following articles.
- Azure Cognitive Services
- Get started with self-service data prep on dataflows
- Learn more about Power BI Premium
You might also be interested in the following articles.
Feedback
Coming soon: Throughout 2024 we will be phasing out GitHub Issues as the feedback mechanism for content and replacing it with a new feedback system. For more information see: https://aka.ms/ContentUserFeedback.
Submit and view feedback for