Add a conditional column
With Power Query, you can create new columns whose values are based on one or more conditions applied to other columns in your table.
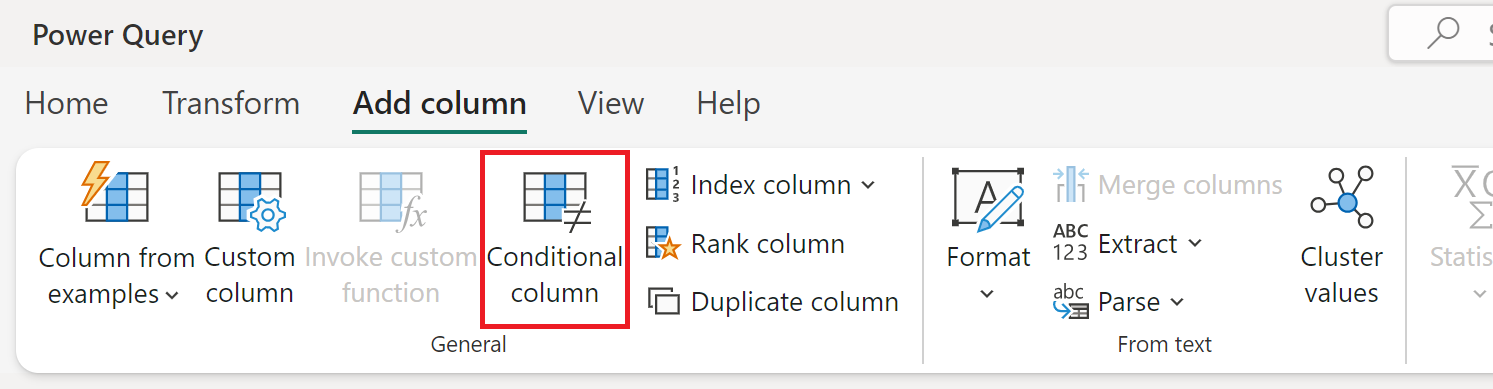
The Conditional column command is located on the Add column tab, in the General group.
Adding a conditional column
In this example, you use the table shown in the following image.
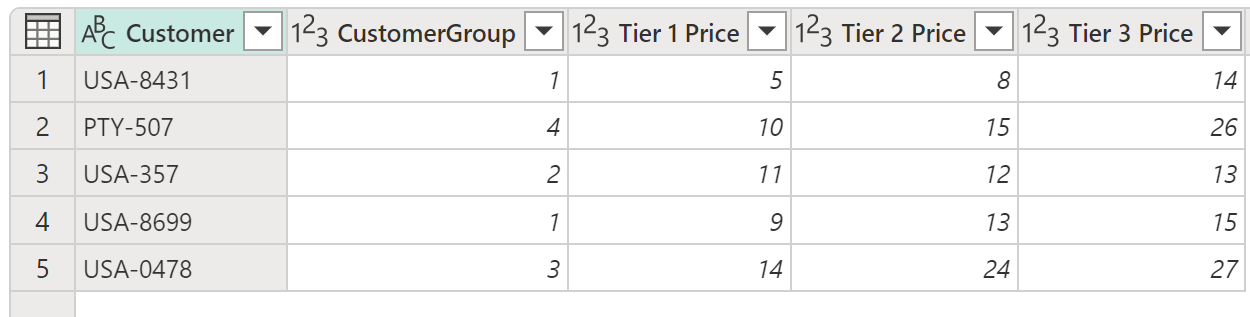
In this table, you have a field that gives you the CustomerGroup. You also have different prices applicable to that customer in the Tier 1 Price, Tier 2 Price, and Tier 3 Price fields. In this example, your goal is to create a new column with the name Final Price based on the value found in the CustomerGroup field. If the value in the CustomerGroup field is equal to 1, you want to use the value from the Tier 1 Price field; otherwise, you use the value from the Tier 3 Price.
To add this conditional column, select Conditional column. In the Add conditional column dialog box, define the following sections:
- New column name: Defines the name of your new column. In this example, use the name Final Price.
- Conditional clauses: Defines your conditional clauses. You can add more clauses by selecting Add clause. Each conditional clause is tested on the order shown in the dialog box, from top to bottom. Each clause has four parts:
- Column name: In the drop-down list, select the column to use for the conditional test. For this example, select CustomerGroup.
- Operator: Select the type of test or operator for the conditional test. In this example, the value from the CustomerGroup column has to be equal to 1, so select equals.
- Value: Enter a value or select a column to be used for the conditional test. For this example, enter 1.
- Output: If the test is positive, the value entered here or the column selected is the output. For this example, if the CustomerGroup value is equal to 1, your Output value should be the value from the Tier 1 Price column.
- Final Else clause: If none of the clauses above yield a positive test, the output of this operation is the one defined here, as a manually entered value or a value from a column. In this case, the output is the value from the Tier 3 Price column.

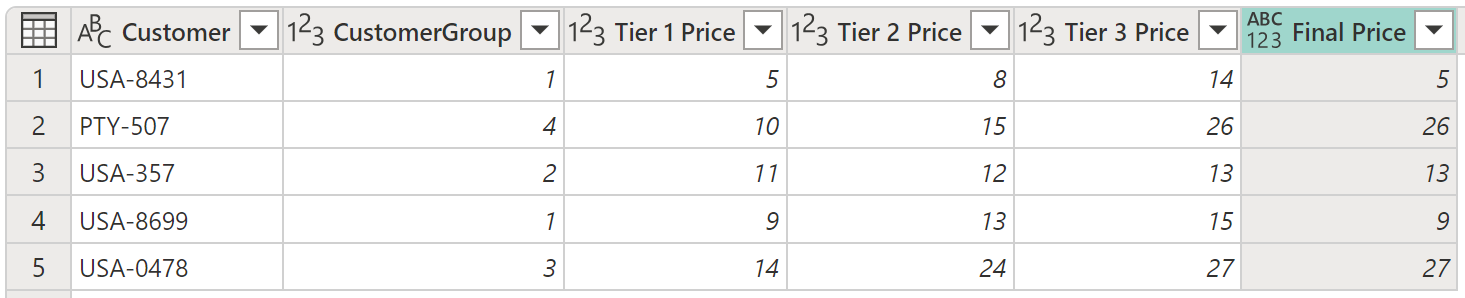
The result of that operation gives you a new Final Price column containing values from the Tier 1 Price and Tier 3 price columns.
Note
New conditional columns don't have a data type defined. You can add a new step to define a data type for this newly created column by following the steps described in Data types in Power Query.
Adding and organizing multiple clauses
For this example, let's change your goal. Your new conditional clauses are:
- If the value from the CustomerGroup column is equal to 1, the Output is the value from the Tier 1 Price column.
- If the value from the CustomerGroup column is equal to 2, the Output is the value from the Tier 2 Price column.
- If none of the previous tests are positive, the Output is the value from the Tier 3 Price column.

Note
At the end of each clause, you can select the ellipsis button (...) to delete, move up, or move down the clause.
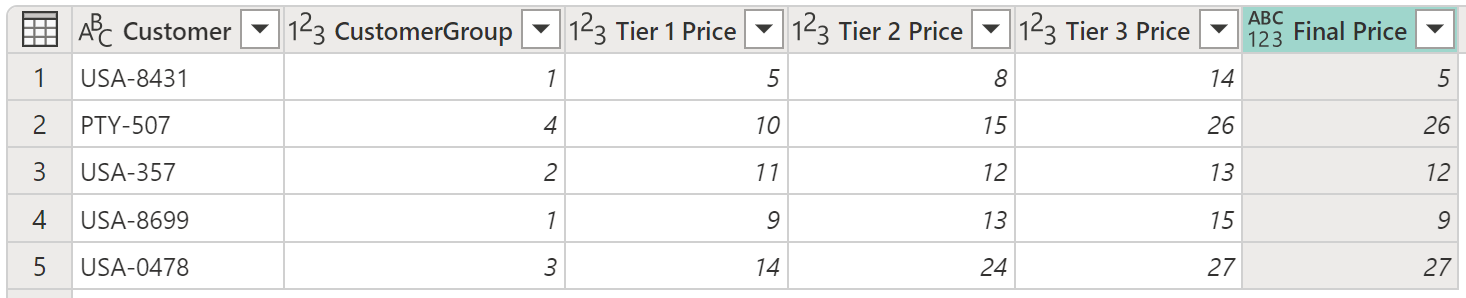
The result of that operation gives you the Final Price column with prices from the Tier 1 Price, Tier 2 Price, and Tier 3 price columns.
Feedback
Coming soon: Throughout 2024 we will be phasing out GitHub Issues as the feedback mechanism for content and replacing it with a new feedback system. For more information see: https://aka.ms/ContentUserFeedback.
Submit and view feedback for