Promote or demote column headers
When creating a new query from unstructured data sources such as text files, Power Query analyzes the contents of the file. If Power Query identifies a different pattern for the first row, it will try to promote the first row of data to be the column headings for your table. However, Power Query might not identify the pattern correctly 100 percent of the time, so this article explains how you can manually promote or demote column headers from rows.
To promote rows to column headers
In the following example, Power Query wasn't able to determine the column headers for the table because the table contains a set of header rows for the first three rows. The actual column headers for the table are contained in row 5.

Table with the columns (Column1, Column2, Column3 and column 4) all set to the Text data type, with four rows containing a header at the top, a column header in row 5, and seven data rows at the bottom.
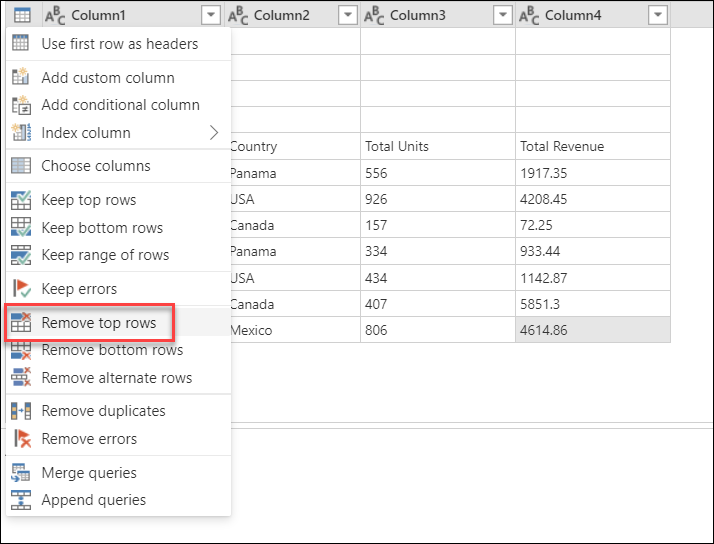
Before you can promote the headers, you need to remove the first four rows of the table. To make that happen, select the table menu in the upper-left corner of the preview window, and then select Remove top rows.
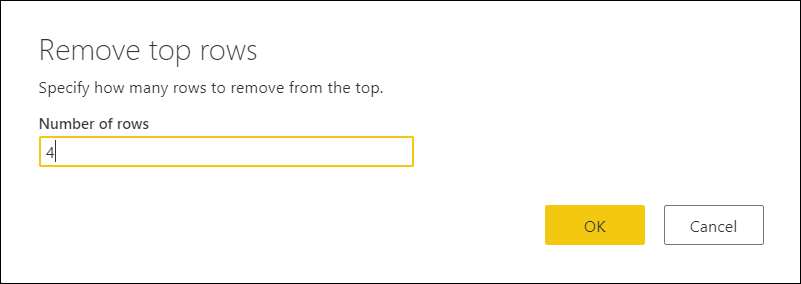
In the Remove top rows window, enter 4 in the Number of rows box.
Note
To learn more about Remove top rows and other table operations, go to Filter by row position.
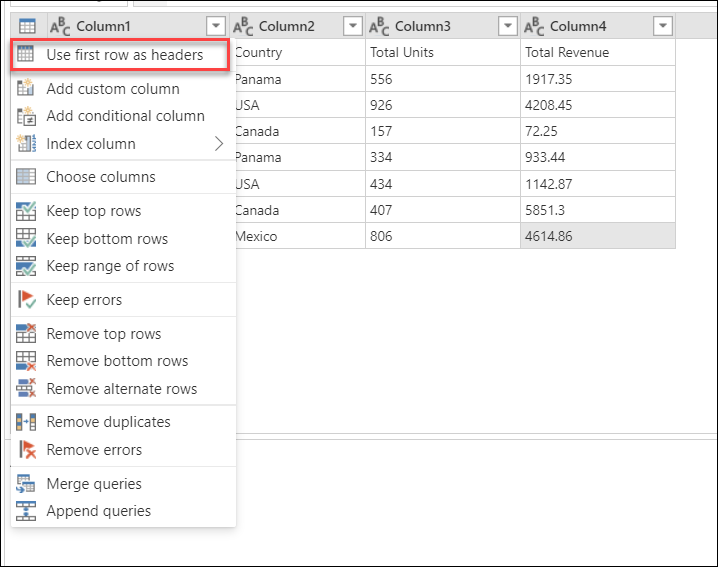
The result of that operation will leave the headers as the first row of your table.

Locations of the promote headers operation
From here, you have a number of places where you can select the promote headers operation:
On the Home tab, in the Transform group.

On the Transform tab, in the Table group.

On the table menu.
After you do the promote headers operation, your table will look like the following image.
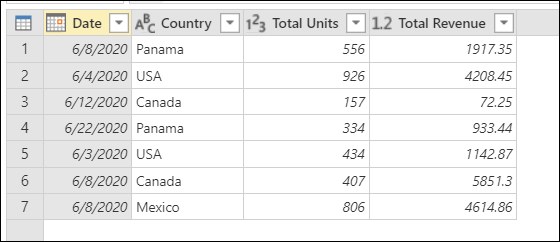
Table with Date, Country, Total Units, and Total Revenue column headers, and seven rows of data. The Date column header has a Date data type, the Country column header has a Text data type, the Total Units column header has a Whole number data type, and the Total Revenue column header has a Decimal number data type.
Note
Table column names must be unique. If the row you want to promote to a header row contains multiple instances of the same text string, Power Query will disambiguate the column headings by adding a numeric suffix preceded by a dot to every text string that isn't unique.
To demote column headers to rows
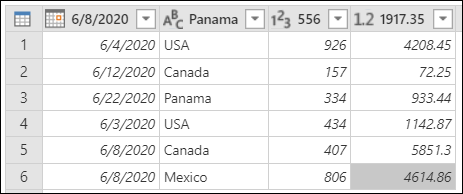
In the following example, the column headers are incorrect: they're actually part of the table's data. You need to demote the headers to be part of the rows of the table.
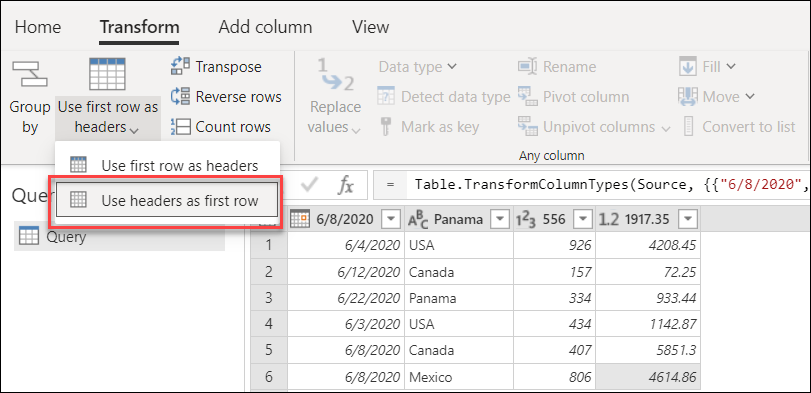
Locations of the demote headers operation
You have a number of places where you can select the demote headers operation:
On the Home tab, in the Transform group.

On the Transform tab, in the Table group.
After you do this operation, your table will look like the following image.

As a last step, select each column and type a new name for it. The end result will resemble the following image.

Final table after renaming column headers to Date, Country, Total Units, and Total Revenue, with Renamed columns emphasized in the Query settings pane and the M code shown in the formula bar.
See also
Feedback
Coming soon: Throughout 2024 we will be phasing out GitHub Issues as the feedback mechanism for content and replacing it with a new feedback system. For more information see: https://aka.ms/ContentUserFeedback.
Submit and view feedback for