Use the XRM tooling common login control in your client applications
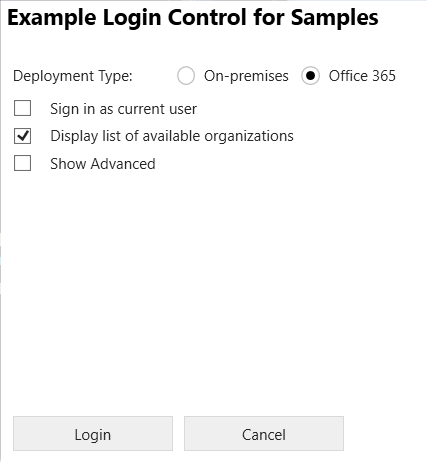
The logic for Microsoft Dataverse authentication, credential storage and retrieval, and diagnostic logging is built into the common login control control so that you can quickly leverage these capabilities in your Windows (WPF) client applications for Dataverse. The common login control is an implementation of the Microsoft.Xrm.Tooling.CrmConnectControl. Below is an image of the control.

Prerequisites
- .NET Framework 4.8 or later
- Visual Studio 2019 or later
- Internet access so that you can download the required NuGet packages
- Network access to a Dataverse test environment, and valid logon credentials
Create a WPF application that uses the common login control
Let's walk through the process of creating a Windows Presentation Foundation (WPF) application that leverages the common login control including the underlying code for authentication, credential storage and reuse, and default tracing or logging.
The completed application can be found here: AppWithLoginControl.
Create a project with the login control
Start by creating a new Visual Studio solution and WPF project, then add the login control XAML code to it.
Start Visual Studio and create a new project using the WPF App (.NET Framework) template for a Windows C# Desktop app.

Configure the project and target the .NET 4.8 framework.
Select Project > Manage NuGet Packages. Browse or search for the following packages and install them (in the order shown below) into the project.
- Microsoft.CrmSdk.XrmTooling.CoreAssembly
- Microsoft.CrmSdk.XrmTooling.WpfControls

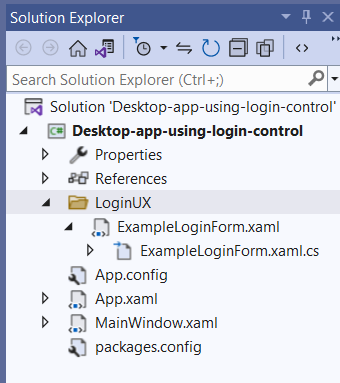
In Solution Explorer, right-click the project name and select Add > New Folder.
Name the folder "LoginUX" and then copy the login control XAML code into that folder. You can just drag and drop the ExampleLoginForm.xaml file from File Explorer into the Visual Studio project folder and the associated C# file will magically also show up in the project.
Test build the solution (F6). It should build with no errors or warnings.
Connect the login control to the app
Now we are going to wire up the login control to the application.
Double click the ExampleLoginForm.xaml file in Solution Explorer. You should see an image of the control in the designer.

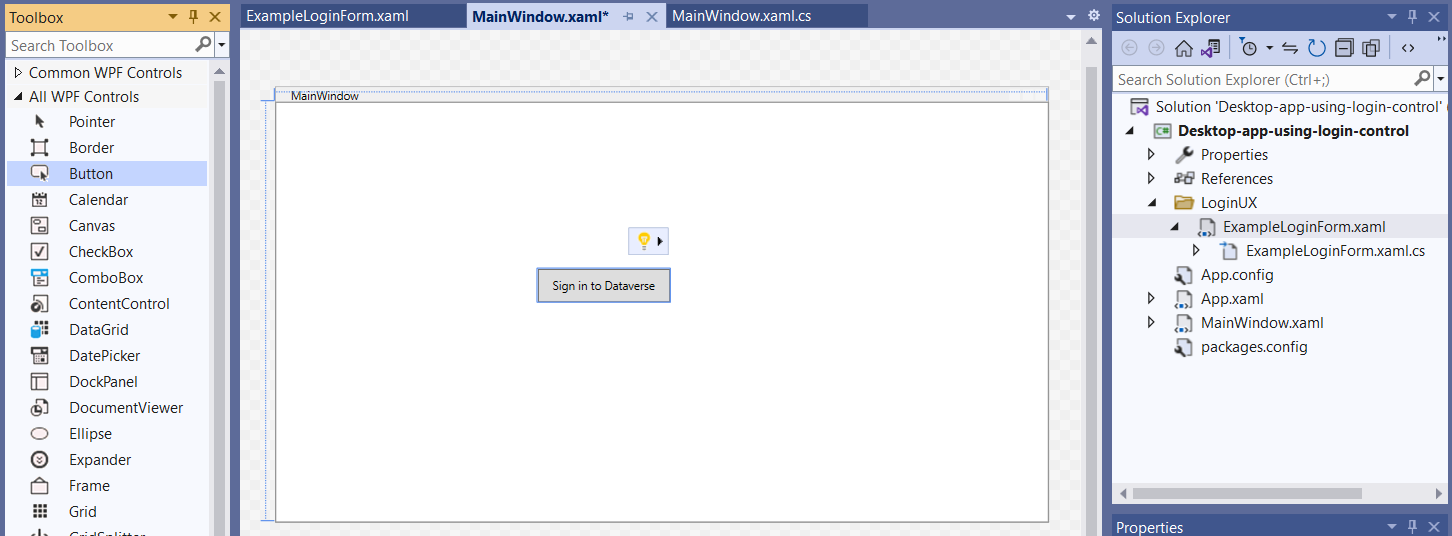
Switch to the MainWindow.xaml designer tab. Add a Button control in the designer and set the Name and Common Content property values to btnSignIn and Sign in to Dataverse respectively.
Double-click the button to add code for the click event of the button. A code editing window for the MainWindow class file is shown.
Replace the empty Button_Click event handler method with this code (below) to call the login control, and create an instance of the Dataverse connection object.
private void Button_Click(object sender, RoutedEventArgs e)
{
    // Instantiate the login control.
    ExampleLoginForm ctrl = new ExampleLoginForm();

    // Wire the button click event to the login response.
    ctrl.ConnectionToCrmCompleted += ctrl_ConnectionToCrmCompleted;

    // Show the login control.
    ctrl.ShowDialog();

    // Check that a web service connection is returned and the service is ready.
    if (ctrl.CrmConnectionMgr != null && ctrl.CrmConnectionMgr.CrmSvc != null && ctrl.CrmConnectionMgr.CrmSvc.IsReady)
    {
        // Display the Dataverse version and connected environment name
        MessageBox.Show("Connected to Dataverse version: " + ctrl.CrmConnectionMgr.CrmSvc.ConnectedOrgVersion.ToString() +
            " Organization: " + ctrl.CrmConnectionMgr.CrmSvc.ConnectedOrgUniqueName, "Connection Status");
        // TODO Additional web service operations can be performed here
    }
    else
    {
        MessageBox.Show("Cannot connect; try again!", "Connection Status");
    }
}
- Add the definition of the ctrl_ConnectionToCrmCompleted event handler method into the MainWindow class below the Button_Click event handler method and at the same indent level.
private void ctrl_ConnectionToCrmCompleted(object sender, EventArgs e)
{
    if (sender is ExampleLoginForm)
    {
        this.Dispatcher.Invoke(() =>
        {
            ((ExampleLoginForm)sender).Close();
        });
    }
}
- Add a using statement at the beginning of the C# file so that the ExampleLoginForm class is resolved.
using PowerApps.Samples.LoginUX;
- Build the program (F6). It should build with no errors or warnings.
Test the program
Now we will run the program and test its operation.
Run the program (F5).
Select the button Sign in to Dataverse. The login control will be displayed.
The figure below shows selecting the Office 365 online environment and then checking Display list of available organizations to see a list of environments that the user is a member of.
Select Login.
When prompted for login information, enter it. The entered account is in the form someone@my-env.onmicrosoft.com.
A list of environments is displayed in the control. Choose one and select Login a second time.
A connection status dialog is shown containing the Dataverse version and organization name.
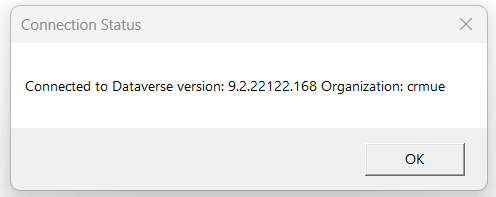
Click OK.
If you click Sign in to Dataverse again, the application prompts you to either choose the saved credentials from the last sign-in activity, or to re-enter credentials.
When you are done testing, close the program window.
See also
Feedback
Coming soon: Throughout 2024 we will be phasing out GitHub Issues as the feedback mechanism for content and replacing it with a new feedback system. For more information see: https://aka.ms/ContentUserFeedback.
Submit and view feedback for