Integrated Terminal
In Azure Data Studio, you can open an integrated terminal, initially starting at the root of your workspace. This can be convenient as you don't have to switch windows or alter the state of an existing terminal to perform a quick command-line task.
To open the terminal:
- Use the Ctrl+` keyboard shortcut with the backtick character.
- Use the View | Integrated Terminal menu command.
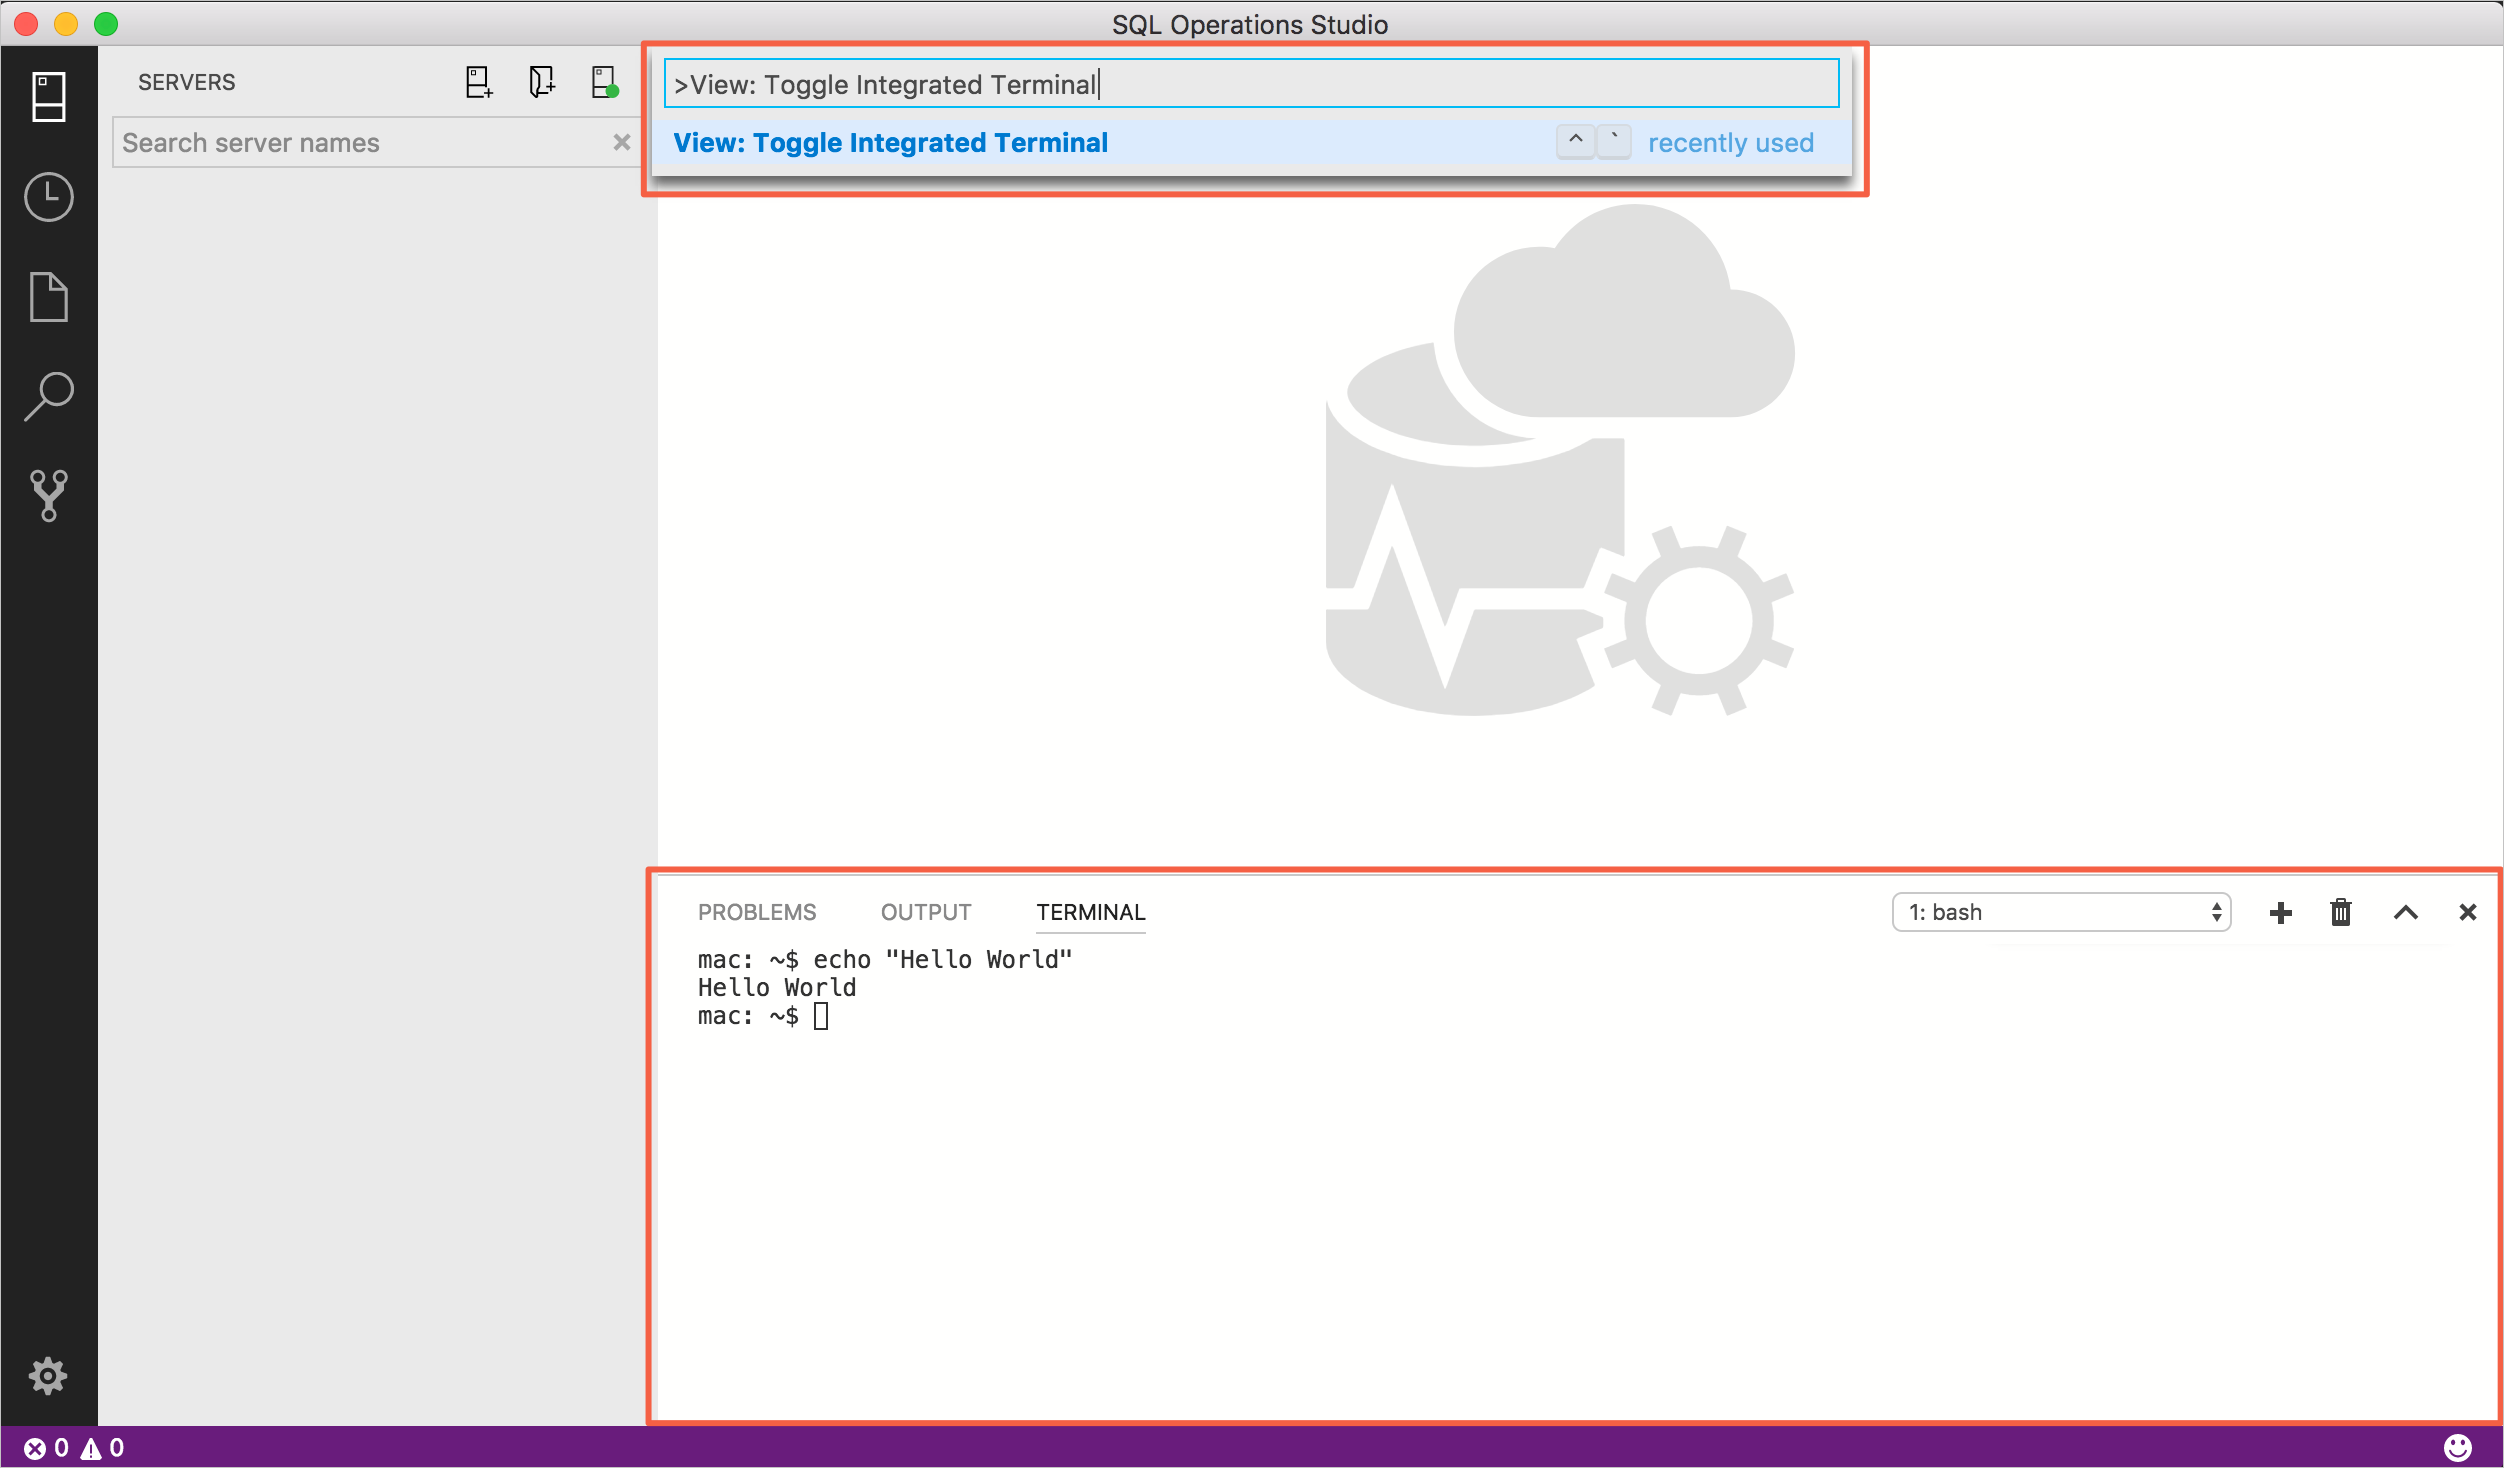
- From the Command Palette (Ctrl+Shift+P), use the View:Toggle Integrated Terminal command.
Note
You can still open an external shell with the Explorer Open in Command Prompt command (Open in Terminal on Mac or Linux) if you prefer to work outside Azure Data Studio.
Managing Multiple Terminals
You can create multiple terminals open to different locations and easily navigate between them. Terminal instances can be added by hitting the plus icon on the top-right of the TERMINAL panel or by triggering the Ctrl+Shift+` command. This creates another entry in the dropdown list that can be used to switch between them.
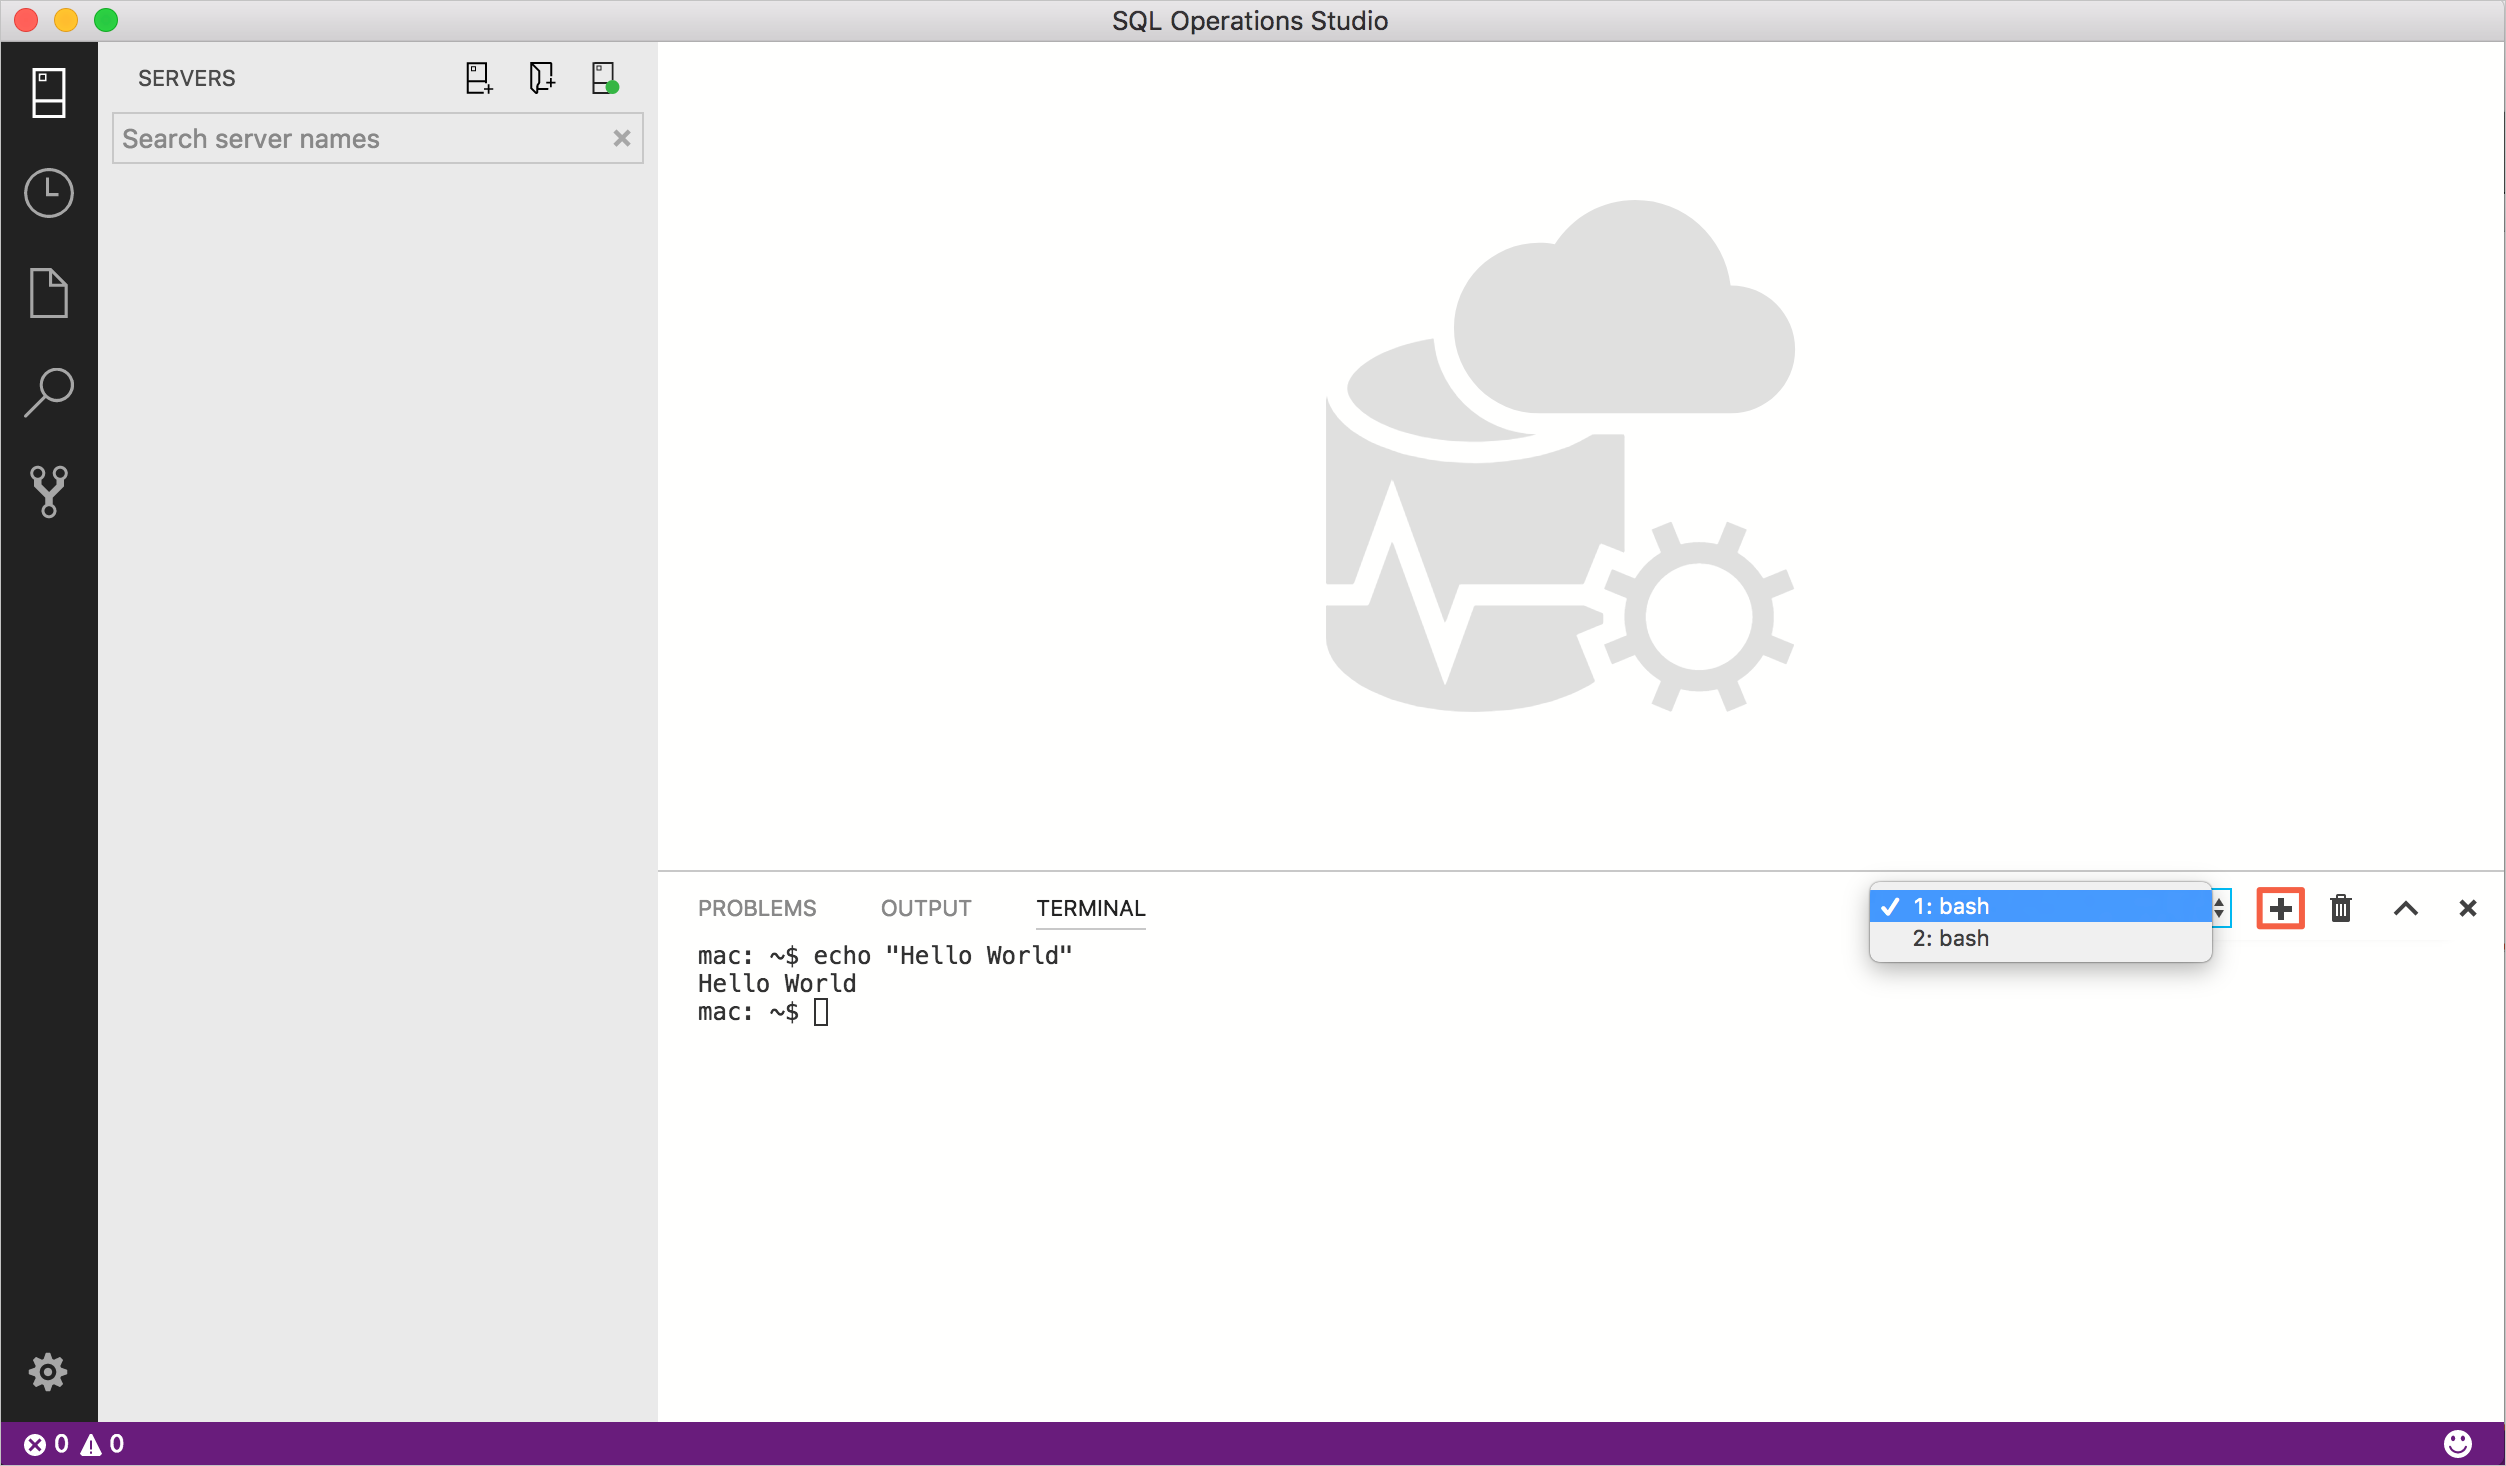
Remove terminal instances by pressing the trash can button.
Tip
If you use multiple terminals extensively, you can add key bindings for the focusNext, focusPrevious and kill commands outlined in the Key Bindings section to allow navigation between them using only the keyboard.
Configuration
The shell used defaults to $SHELL on Linux and macOS, PowerShell on Windows 10 and Windows 11, and cmd.exe on earlier versions of Windows. These can be overridden manually by setting terminal.integrated.shell.* in settings. Arguments can be passed to the terminal shell on Linux and macOS using the terminal.integrated.shellArgs.* settings.
Windows
Correctly configuring your shell on Windows is a matter of locating the right executable and updating the setting. Below are a list of common shell executables and their default locations:
// 64-bit cmd if available, otherwise 32-bit
"terminal.integrated.shell.windows": "C:\\Windows\\sysnative\\cmd.exe"
// 64-bit PowerShell if available, otherwise 32-bit
"terminal.integrated.shell.windows": "C:\\Windows\\sysnative\\WindowsPowerShell\\v1.0\\powershell.exe"
// Git Bash
"terminal.integrated.shell.windows": "C:\\Program Files\\Git\\bin\\bash.exe"
// Bash on Ubuntu (on Windows)
"terminal.integrated.shell.windows": "C:\\Windows\\sysnative\\bash.exe"
Note
To be used as an integrated terminal, the shell executable must be a console application so that stdin/stdout/stderr can be redirected.
Tip
The integrated terminal shell is running with the permissions of Azure Data Studio. If you need to run a shell command with elevated (administrator) or different permissions, you can use platform utilities such as runas.exe within a terminal.
Shell arguments
You can pass arguments to the shell when it is launched.
For example, to enable running bash as a login shell (which runs .bash_profile), pass in the -l argument (with double quotes):
// Linux
"terminal.integrated.shellArgs.linux": ["-l"]
Terminal Display Settings
You can customize the integrated terminal font and line height with the following settings:
terminal.integrated.fontFamilyterminal.integrated.fontSizeterminal.integrated.lineHeight
Terminal Key Bindings
The View: Toggle Integrated Terminal command is bound to Ctrl+` to quickly toggle the integrated terminal panel in and out of view.
Below are the keyboard shortcuts to quickly navigate within the integrated terminal:
| Key | Command |
|---|---|
| Ctrl+` | Show integrated terminal |
| Ctrl+Shift+` | Create new terminal |
| Ctrl+Up | Scroll up |
| Ctrl+Down | Scroll down |
| Ctrl+PageUp | Scroll page up |
| Ctrl+PageDown | Scroll page down |
| Ctrl+Home | Scroll to top |
| Ctrl+End | Scroll to bottom |
| Ctrl+K | Clear the terminal |
Other terminal commands are available and can be bound to your preferred keyboard shortcuts.
They are:
workbench.action.terminal.focus: Focus the terminal. This is like toggle but focuses the terminal instead of hiding it, if it is visible.workbench.action.terminal.focusNext: Focuses the next terminal instance.workbench.action.terminal.focusPrevious: Focuses the previous terminal instance.workbench.action.terminal.kill: Remove the current terminal instance.workbench.action.terminal.runSelectedText: Run the selected text in the terminal instance.workbench.action.terminal.runActiveFile: Run the active file in the terminal instance.
Run Selected Text
To use the runSelectedText command, select text in an editor and run the command Terminal: Run Selected Text in Active Terminal via the Command Palette (Ctrl+Shift+P). The terminal attempts to run the selected text:

If no text is selected in the active editor, the line that the cursor is on is run in the terminal.
Copy & Paste
The keybindings for copy and paste follow platform standards:
- Linux: Ctrl+Shift+C and Ctrl+Shift+V
- Mac: Cmd+C and Cmd+V
- Windows: Ctrl+C and Ctrl+V
Find
The Integrated Terminal has basic find functionality that can be triggered with Ctrl+F.
If you want Ctrl+F to go to the shell instead of launching the Find widget on Linux and Windows, you need to remove the keybinding like so:
{ "key": "ctrl+f", "command": "-workbench.action.terminal.focusFindWidget",
                      "when": "terminalFocus" },
Rename terminal sessions
Integrated Terminal sessions can now be renamed using the Terminal: Rename (workbench.action.terminal.rename) command. The new name is displayed in the terminal selection drop-down.
Forcing key bindings to pass through the terminal
While focus is in the integrated terminal, many key bindings won't work because the keystrokes are passed to and consumed by the terminal itself. The terminal.integrated.commandsToSkipShell setting can be used to get around this. It contains an array of command names whose key bindings skip processing by the shell and instead be processed by the Azure Data Studio key binding system. By default this includes all terminal key bindings in addition to a select few commonly used key bindings.
Feedback
Coming soon: Throughout 2024 we will be phasing out GitHub Issues as the feedback mechanism for content and replacing it with a new feedback system. For more information see: https://aka.ms/ContentUserFeedback.
Submit and view feedback for