Modify User and Workspace settings
Azure Data Studio can easily be configured to suit your preferences and requirements by changing its settings. Nearly every part of Azure Data Studio's editor, user interface, and functional behavior has options you can modify.
Azure Data Studio has two different scopes for settings:
- User: These settings apply globally to any instance of Azure Data Studio you open.
- Workspace: These settings are specific to a folder on your computer, and are only available when the folder is open in the Explorer sidebar. Settings defined in this scope override user scope.
Settings editor
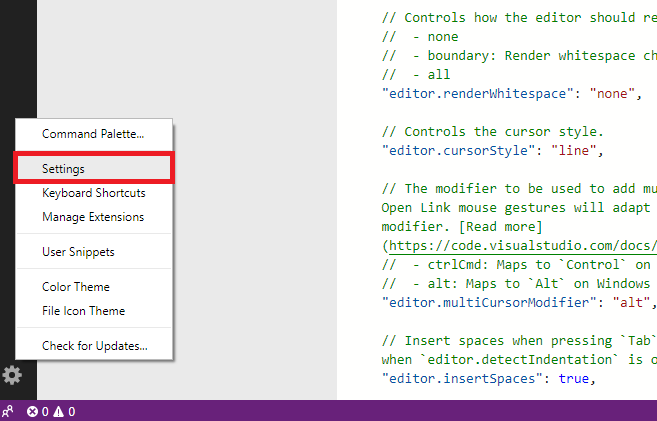
The menu command File > Preferences > Settings (Code > Preferences > Settings on macOS) provides an entry point to configure user settings within the editor.
You can also open the Settings editor from the Command Palette (Ctrl/Cmd + Shift + P) with Preferences: Open Settings (UI), or you can use the keyboard shortcut (Ctrl/Cmd + ,) for direct access.
Settings can also be viewed selectively from the Command Palette (Ctrl/Cmd + Shift + P) with Preferences: Open User Settings to open user settings, or Preferences: Open Workspace Settings to open workspace settings.
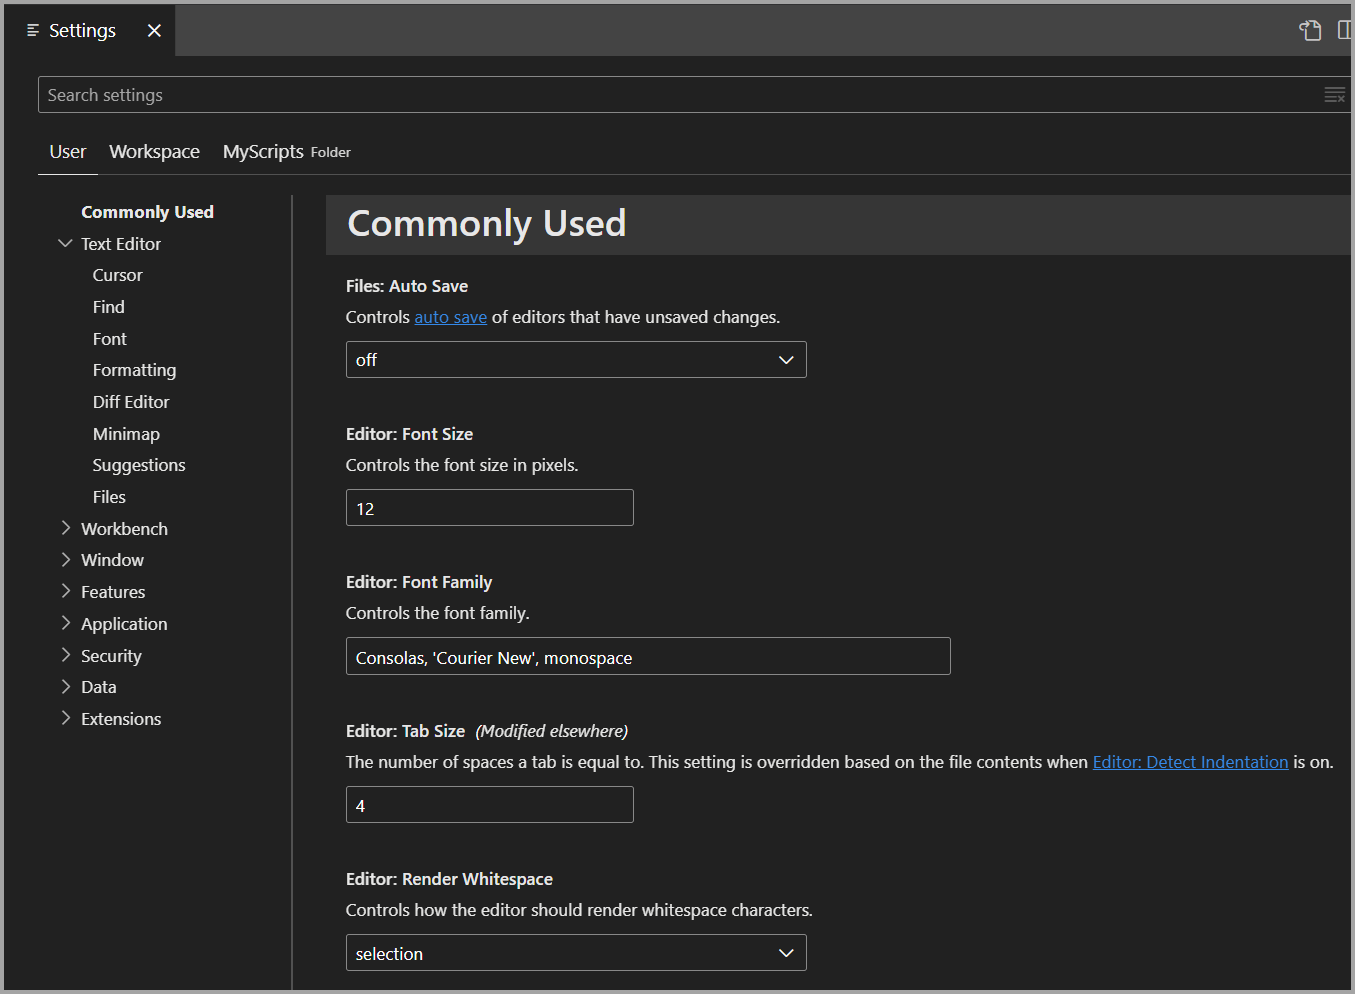
The Workspace command and menu only display if you have saved a workspace (for example, MyScripts in the screenshot).
After opening the Settings editor, expand the groups in the tree to see the various settings, which are organized in sections. You can also use the Search bar to find a setting. Within the Search bar, any settings that match the text entered are displayed.
Extensions installed with Azure Data Studio can also have their own settings, which can be found under the Extensions section in the Settings editor.
Change a setting
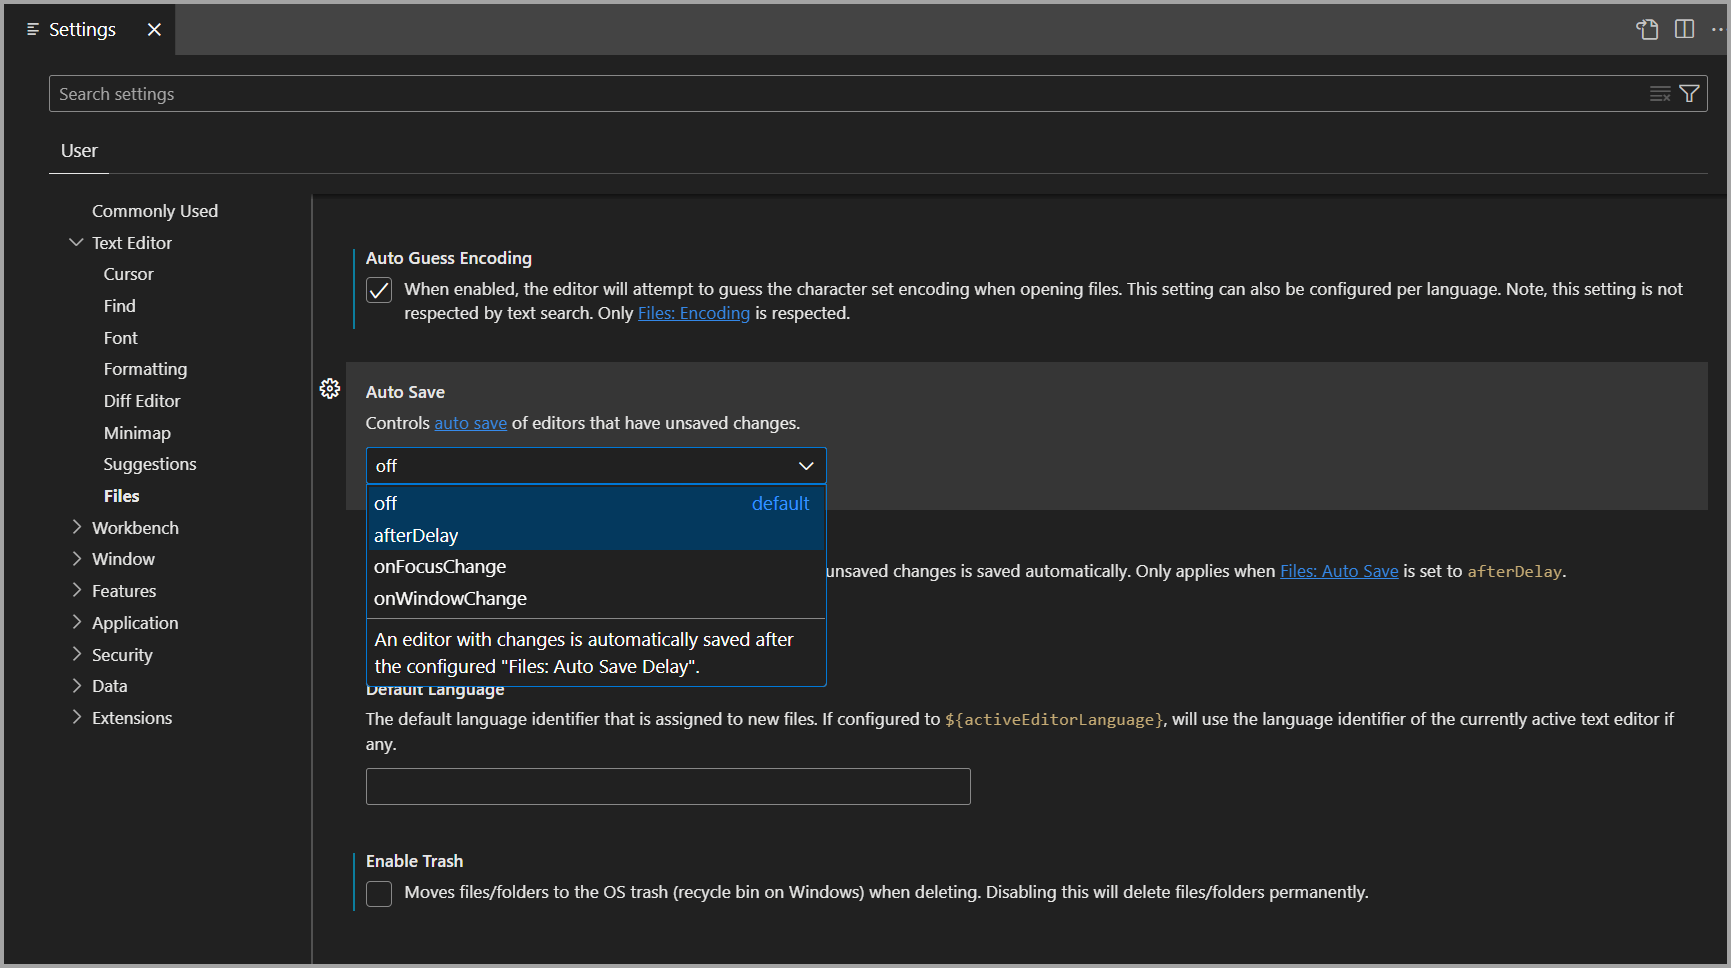
Settings can be edited by a checkbox, an input, or a dropdown list. Enable or disable the checkbox, edit the text, or select the desired option to change the setting.
Changes to settings are applied in Azure Data Studio as you make them. Modified settings are indicated with a blue line to the left of the setting information.
To determine which settings you have changed, there's a @modified filter in the Search bar. A setting shows up under this filter if its value differs from the default value, or if its value is explicitly set in the settings JSON file. This filter can be helpful if you have forgotten whether you altered a setting. It's also useful if the editor isn't behaving as you expect because you accidentally changed a setting.
To reset any setting to its default, select the gear icon which appears when hovering over the setting name and select Reset Setting.
Settings file
The Settings editor provides a UI that allows you to review and modify settings, which are stored in a settings.json file. You can review and edit this file directly by opening it in the editor using the Preferences: Open Current Profile Settings (JSON) command from the Command Palette (Ctrl/Cmd + Shift + P). Settings are written as JSON by specifying the setting ID and value.
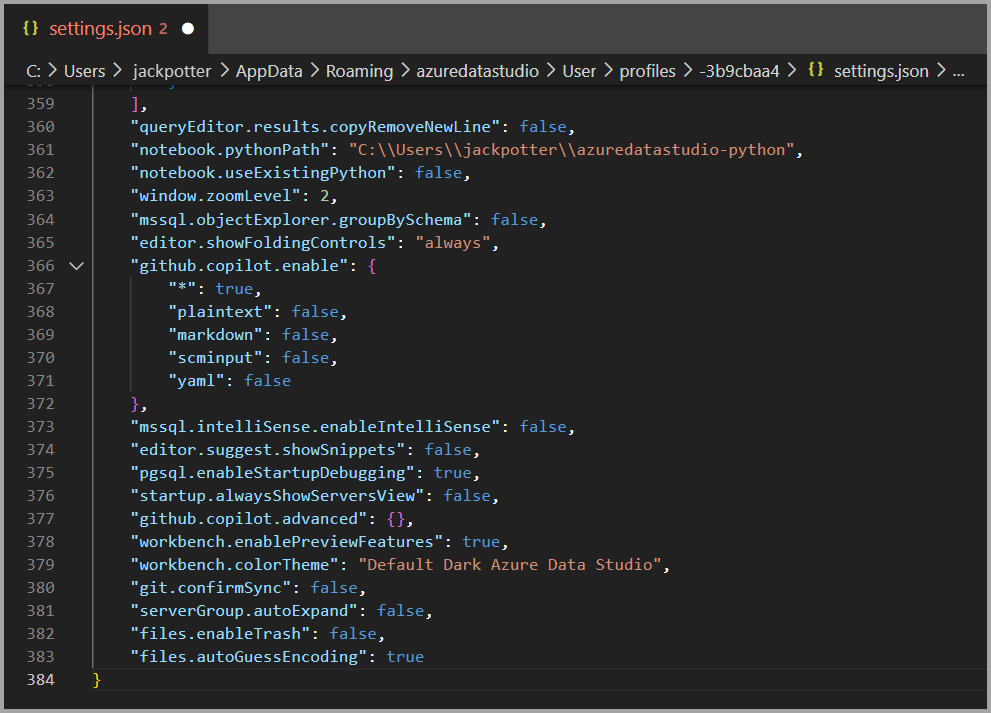
The settings.json file has full IntelliSense with smart completions for settings and values and description hovers. Errors due to incorrect setting names or JSON formatting are also highlighted.
Some settings can only be edited in settings.json such as Workbench: Color Customizations and have the link Edit in settings.json in the Settings editor.
While you can reset settings individually via the Settings editor Reset Setting option, you can reset all changed settings by opening settings.json and deleting the entries between the braces {}. There's no way to recover your previous setting values with this approach, so take caution using this method.
Settings file locations
Depending on your platform, the user settings file is located here:
- Windows
%APPDATA%\azuredatastudio\User\settings.json - Mac
$HOME/Library/Application Support/azuredatastudio/User/settings.json - Linux
$HOME/.config/azuredatastudio/User/settings.json
Move user settings
If you're updating Azure Data Studio and want to keep your settings, keyboard shortcuts, or code snippets, complete the following steps:
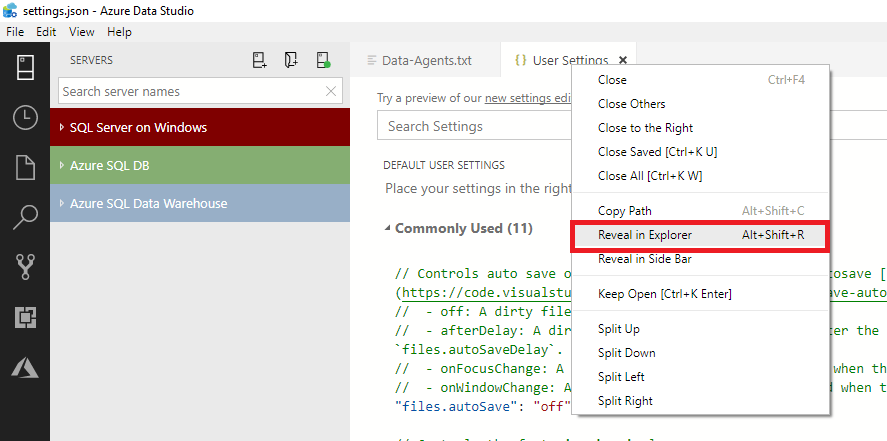
On the left pane, select Manage (gear icon) and then select Settings.
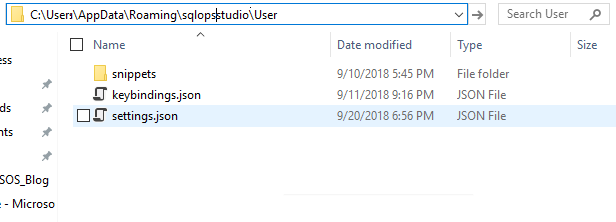
At the top, right-click the User Settings tab, and then select Reveal in Explorer.
Copy all files in this folder and save them in an easy-to-find location on your local drive, such as your Documents folder.
In your updated version of Azure Data Studio, follow steps 1 and 2 and then, for step 3, paste the contents you saved into the folder. You can also manually copy over the settings, key bindings, or snippets in their respective locations.
If you're overriding your current installation, before you do so, delete the old installation directory to avoid errors connecting to your Azure account for the resource explorer.
Related content
Feedback
Coming soon: Throughout 2024 we will be phasing out GitHub Issues as the feedback mechanism for content and replacing it with a new feedback system. For more information see: https://aka.ms/ContentUserFeedback.
Submit and view feedback for