Deploy a Storage Spaces Direct disaggregated cluster in VMM
Important
This version of Virtual Machine Manager (VMM) has reached the end of support. We recommend you to upgrade to VMM 2022.
Read this article to set up a disaggregated cluster running Storage Spaces Direct (S2D) in System Center - Virtual Machine Manager (VMM). Learn more about S2D.
You can deploy a disaggregated S2D cluster by provisioning a cluster running Hyper-V hosts, and a separate storage cluster running scale-out file server (SOFS) with S2D.
Note
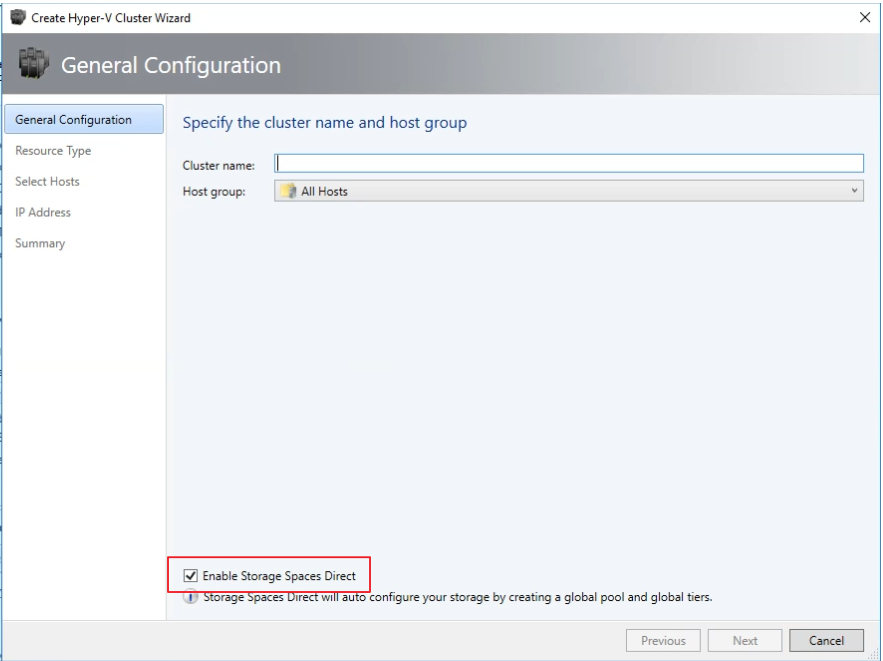
You must enable S2D before adding the storage provider to VMM. To enable S2D, go to General Configuration > Specify the cluster name and host group and select the Enable Storage Spaces Direct option as shown below:
After you enable a disaggregated cluster with S2D, VMM does the following:
- The File Server role and the Failover Clustering feature are enabled.
- Storage replica and data deduplication are enabled.
- The cluster is optionally validated and created.
- S2D is enabled, and a storage array is created with the same name you provide in the wizard.
Step 1: Provision an SOFS cluster
You can provision an SOFS cluster from servers in the VMM fabric or add an existing SOFS cluster to the fabric
Provision an SOFS cluster
Select Fabric Resources > Create > File Server Cluster.
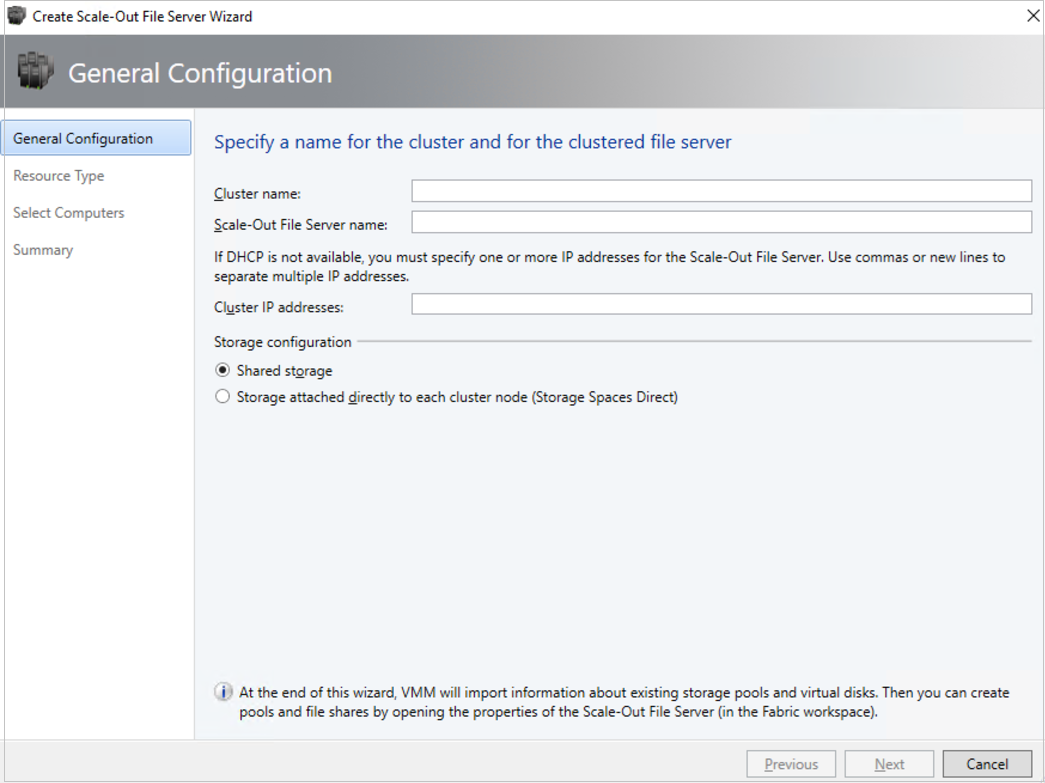
In General Configuration, specify a cluster name, select a host group, and select Storage attached directly to each cluster node (Storage Spaces Direct).
In Resource Type, specify the RunAs account with local admin permissions on the servers you want to add to the cluster, and specify whether to add existing Windows servers or bare-metal machines.
In Cluster Nodes, define a list of computers to add to the cluster.
In Summary, confirm the settings and then select Finish.
If you want to add additional nodes to the SOFS cluster, VMM automatically discovers any disks associated with the node. When you modify a storage pool and select the new disks to add, VMM makes those disks available to the hosts and VMs that use the share supported by that pool. Learn more about adding nodes to an SOFS.
Add an existing SOFS cluster with S2D enabled
- Select Fabric > Add Resources > Storage Devices.
- In the Add Resource Wizard, select Windows-based File Server.
- In Discovery Scope, specify the cluster IP address or FQDN. Provide a Run As account with cluster access, and specify if the cluster is in a different domain.
- In Storage Device, select the SOFS to add to the VMM fabric. You should only assign a classification to the pool after you add the provider.
- In Summary, check the settings and complete the wizard.
Step 2: Manage the pool and create file shares
After the SOFS cluster is provisioned and managed by VMM, you can modify the storage pool and create the storage.
- Select Fabric > Storage > Arrays.
- Right-click the cluster > Manage Pool, and select the storage pool that was created by default. You can change the default name and add a classification
- After the pool appears with the new name if needed, select Create File Share.
- In the Create File Share Wizard > General, specify a name for the share and select the pool from which storage should be taken.
- In Capacity, specify the share size and settings.
- In Summary, verify the settings. After the share is created, a new CSV is added under the storage pool.
Step 3: Allocate the storage in Hyper-V
- In the Hyper-V host properties > Storage, specify the file share path.
- Now, you can create VMs that use this file share.
Next steps
Feedback
Coming soon: Throughout 2024 we will be phasing out GitHub Issues as the feedback mechanism for content and replacing it with a new feedback system. For more information see: https://aka.ms/ContentUserFeedback.
Submit and view feedback for