Reporting Services Server cannot connect to the DPM database error when you schedule an email report
This article helps you work around an issue where you receive the Reporting Services Server cannot connect to the DPM database error when you try to schedule a report to be emailed in Data Protection Manager (DPM).
Original product version: System Center Data Protection Manager
Original KB number: 4457489
Symptoms
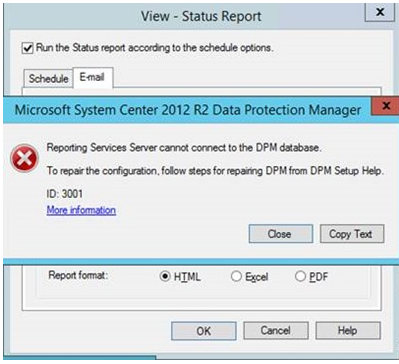
Assume that you do a new installation, or you upgrade to Microsoft System Center 2012 R2 Data Protection Manager or a later version. When you try to schedule a report to be emailed, you receive the following error message:
Reporting Services Server cannot connect to the DPM database.
To repair the configuration, follow steps for repairing DPM from DPM Setup Help.
ID: 3001
When you try the steps that are mentioned in Repair DPM, this problem isn't resolved.
Workaround
To work around this problem, follow these steps to make correct configuration changes that will enable Data Protection Manager reports to be emailed.
Note
Some steps may not be necessary if you experience this problem after you upgrade from System Center 2012 Data Protection Manager Server Pack 1. Review and do these steps as applicable.
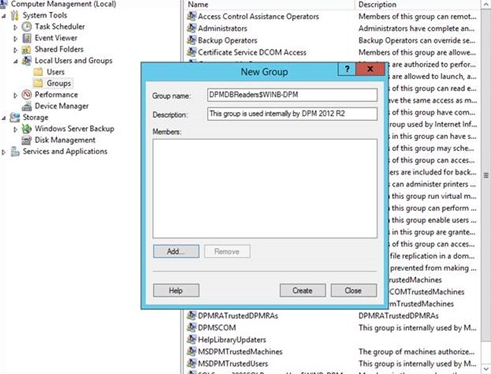
On the DPM server, create a local group that's named DPMDBReaders$<DPMServerName>. In the following example, the <DPMServerName> value is WINB-DPM.
Create a local user that's named DPMR$<DPMServerName>, and provide a strong password that never expires.

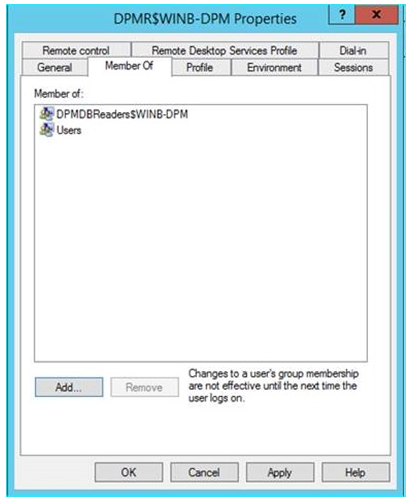
Add the new local user to the DPMDBReaders$<DPMServerName> group that was created in step 1.
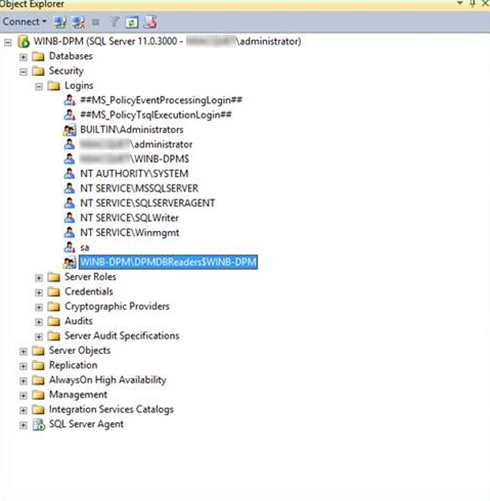
Start SQL Server Management Studio by using administrative permissions, and then connect to the SQL Server instance that's used by DPM. Under Security, right-click Logins, and then select New login > Search.... Under Object Types, select the Groups object type, and then select OK. Add the local group DPMDBReaders$<DPMServerName>, and then select OK. After the group is added, it will be listed under Logins.
Right-click the new login group, and then select Properties. In the General section, change the Default database field to the DPMDB name.

Under User Mapping, select both the check box for the DPMDB name and the check box for the
db_datareaderrole.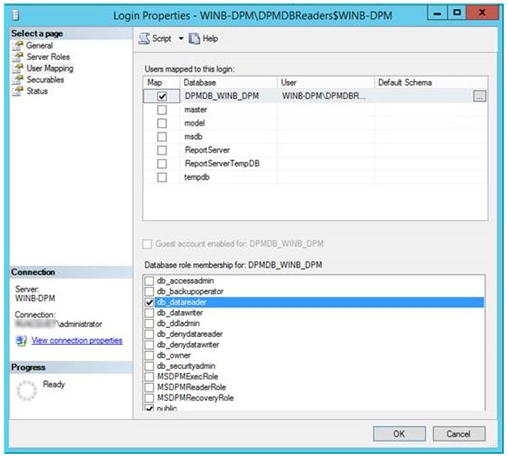
In SQL Server Management Studio, navigate to Databases > DPMDB > Programmability > Stored Procedures.
Right-click the following stored procedures, and then select Properties > Permissions > Search > Browse. Add the DPMDBReaders$<DPMServerName> group, grant the Execute permission, and then select OK.
- Prc_MOM_Heartbeat_Get
- prc_MOM_ProductionServer_Get
Exit SQL Server Management Studio.
Start the SQL Server Reporting Services Configuration Manager and connect to the SQL Server instance hosting the DPM reports.
Select Web Portal URL, and then select the URL.
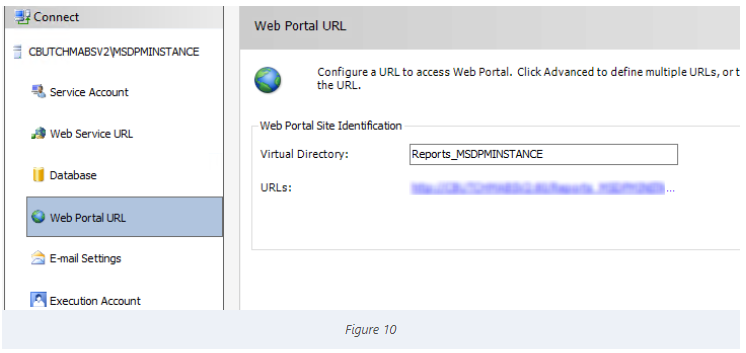
Select the URLs link, as shown in step 11. This opens the
https://localhost/Reports/Pages/Folder.aspxportal, as shown in the following screenshot.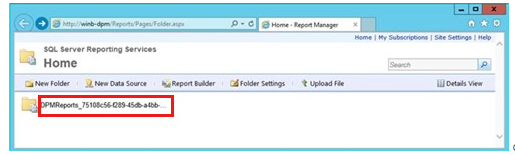
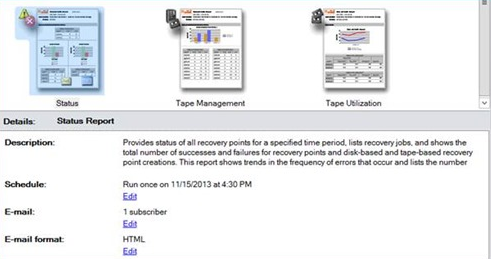
Select the
DPMReports_<GUID>link to open the DPM reports page, as shown in the following screenshot.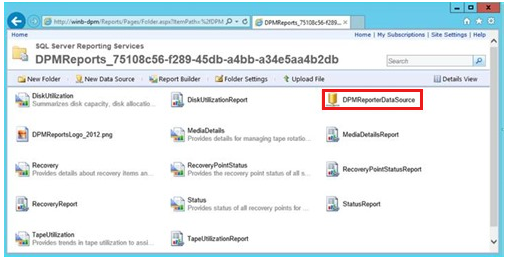
Select DPMReporterDataSource to open its properties window, as shown in the following screenshot.
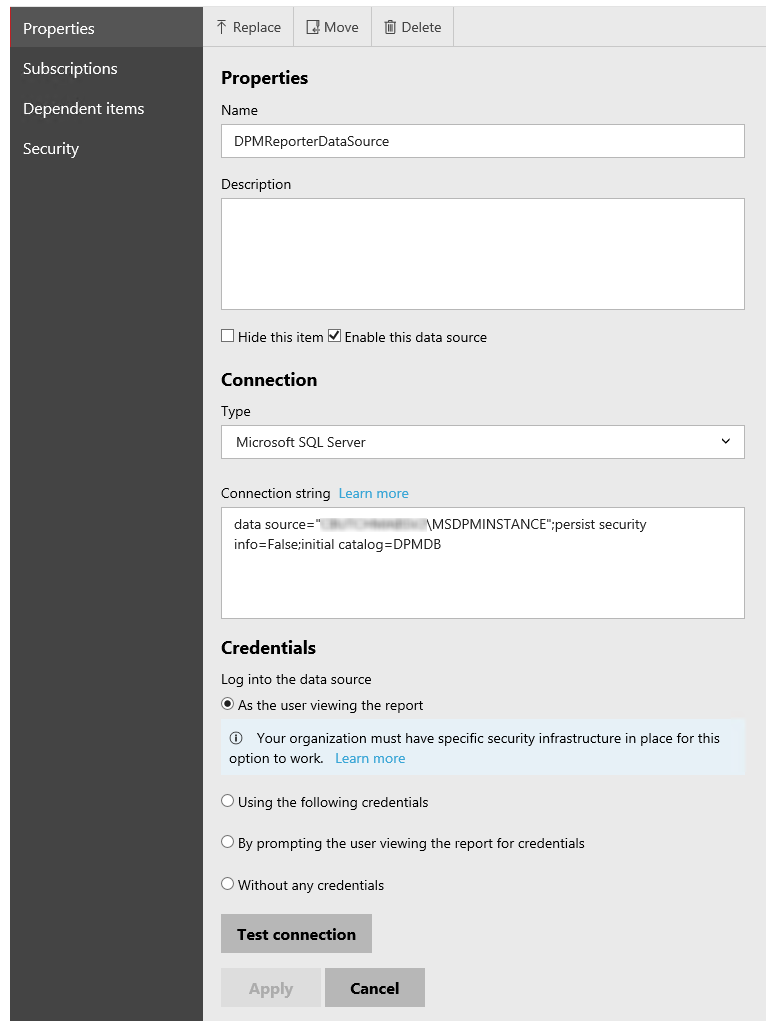
On the DPMReporterDataSource configuration page, follow these steps:
- Select the Using the following credentials option.
- Change the Type of credentials list selection to Windows user name and password.
- Add the DPMR$<DPMServerName> user account and password that you created in step 2.
- Select Test connection to determine whether the server can connect successfully.
- Select Apply.

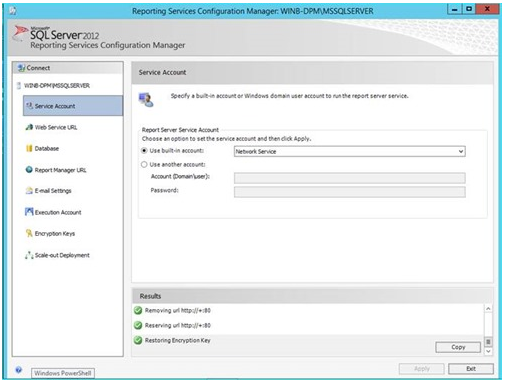
Close the DPMReporterDataSource configuration page to return to the Reporting Services Configuration Manager screen. Select Service Account. On Service Account page, change the Report Server Service Account service to use Network Service. If you're prompted for the backup encryption key, type the value, and then select Apply.
Restart the DPM server to make sure that all configuration changes take effect.
Now, you can schedule email reports without experiencing the original error that's mentioned in the Symptoms section.
Feedback
Coming soon: Throughout 2024 we will be phasing out GitHub Issues as the feedback mechanism for content and replacing it with a new feedback system. For more information see: https://aka.ms/ContentUserFeedback.
Submit and view feedback for