Video Walkthrough: Interoperate with third-party tools
Apache Cordova projects that you create using many third party tools are compatible with Visual Studio 2015, including projects that you create using command line interfaces (CLIs) such as Cordova and Ionic. In this video walkthrough, we show you how to use Visual Studio 2015 with a project that you create using the Ionic CLI. This article matches the steps of the Cordova Video tutorial on interoperability.
Prerequisites
To follow the steps in this tutorial, you must:
Install Visual Studio 2015 with Visual Studio Tools for Apache Cordova.
Using a third party CLI (Ionic)
To use Visual Studio and the Ionic CLI
Open a command line and switch to the folder where you will create the Ionic app using the CLI, such as Desktop.
cd DesktopType the following command to create a new Ionic project using the Slide starter template:
ionic start MyIonicApp slideIonic creates the project. In File Explorer, you can find the new project, MyIonicApp, in the location that you created it.
Next, we will prepare the same project so that you can open it in Visual Studio. We will do that by adding files to the project that contain metadata required by Visual Studio.
Open Visual Studio and create a new Apache Cordova solution using the Blank App template and name the solution cli.
Close the solution in Visual Studio.
From the location of the Visual Studio project, copy cli.jsproj and taco.json to the project folder for MyIonicApp.
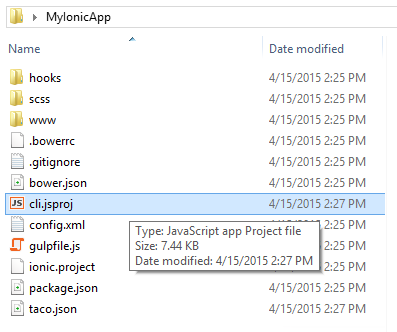
In Visual Studio, locate the cli.jsproj file in the MyIonicApp folder, select it, and open it.
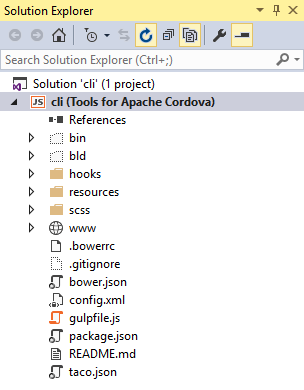
Visual Studio loads the Ionic project as a Visual Studio solution.
In Solution Explorer, choose Show All Files.
In the command prompt, switch to the MyIonicApp folder.
Type the following command:
ionic platform add androidIonic adds a platforms folder and populates the project with any other required files for Android.
From here, you can make project changes either using Visual Studio or the Ionic CLI.