Run your Apache Cordova app on iOS
When you create app using Visual Studio Tools for Apache Cordova, you have many options for emulating and deploying your app on iOS:
Apache Ripple simulator, which provides basic validation of layout and CSS. (This does not require installation of the remote agent for iOS.)
iOS Simulator, which requires installation and configuration of the remote agent when running from Visual Studio.
iOS Simulator using a service such as MacInCloud, which allows you to install the remote agent without a physical Mac device.
iOS device, which also requires installation and configuration of the remote agent when running from Visual Studio.
If you run into errors building for iOS, see these tips and workaroundsand these known issues.
If you have configured your Mac as described in the article iOS Setup Guide, you can build and run your app on the iOS Simulator. The iOS Simulator runs on your Mac.
Note: We recommend that you use the iOS Simulator if you have a personal Mac or if you’re running Windows from a Mac using virtualization technology such as Parallels .
To run your app on the iOS Simulator
Make sure that you have installed required software, including the remote agent, on a Mac that meets all system requirements, and that you have started the remote agent.
Make sure that you have specified iOS processing, the host name or IP address, port, and security PIN in Visual Studio.
With your app open in Visual Studio, choose iOS from the Solution Platforms list. If you don’t see this list, choose Solution Platforms from the Add/Remove Buttons list to display it.
In the simulator list, choose Simulator – iPhone 5 or another iOS simulator.
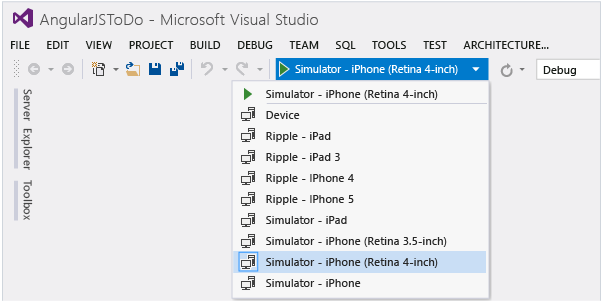
Press F5 to start the app.
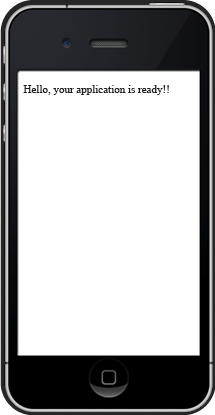
If the remote agent is set up correctly, Visual Studio deploys the app to the iOS Simulator on your Mac.
Tip If you are running a version of the iOS Simulator with a Retina display on a lower-resolution Mac with a non-Retina display, you may need to scale the emulator to 50% so the app will fit on the screen (choose Window, Scale).
If you have configured the remote build agent on your Mac as described in the article iOS Setup Guide, you can build and run your app on an iOS device that is connected to your Mac or PC.
Troubleshooting? Let's fix it
See the troubleshooting tips in the iOS Guide
To run your app on an iOS device
If you are running your app on a device that is connected to your Windows PC, make sure that you have installed iTunes on the PC.
iTunes is not required if you are running your app on a device that is connected to your Mac.
Make sure that you have installed required software, including the remote agent, on a Mac that meets all system requirements, and that you have started the remote agent.
Make sure that the iOS device has been provisioned with the same provisioning profile as the Mac. For more information about provisioning, see Create a provisioning profile.
Make sure that you have specified iOS processing, the host name or IP address, port, secure mode, and security PIN in Visual Studio.
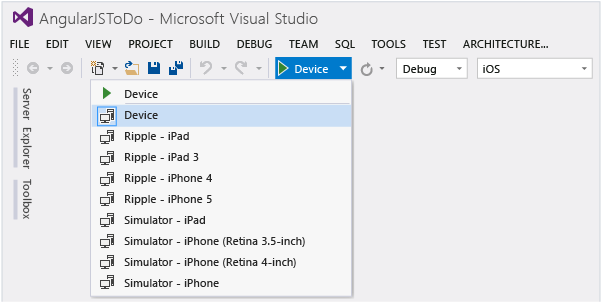
With your app open in Visual Studio, choose iOS from the Solution Platforms list.
If you don’t see this list, choose Solution Platforms from the Add/Remove Buttons list to display it.
In the device list, choose Local Device to run your app on a device connected to your PC, or choose Remote Device to run your app on a device connected to your Mac.
Press F5 to start the app.
If the remote agent and is set up correctly and your iOS device is connected, the app will run on your device.
If you are running the app on your PC (Local Device), iTunes will start and the iOS app will automatically be added to (or replaced in) your library. You can install or update the app on a connected device as you would any other iOS app.
 Get the Visual Studio Tools for Apache Cordova or learn more