Looker integration
Viva Goals Looker integration enables automated real-time tracking of objectives and key result (OKR) progress.
Consider this example: You maintain sales reports in Looker dashboards. You have an objective to achieve 50 sales demos within a specific time period. You use Looker integration to set up a connection to an OKR in Viva Goals with a demos booked metric. Viva Goals automatically syncs the values for you and charts your progress toward the goal. This strategy saves you time while keeping your OKRs current.
How to enable Looker integration
A Viva Goals admin follows these steps to enable Looker integration in Viva Goals:
Go to the Viva Goals integrations page: Admin > Integrations.
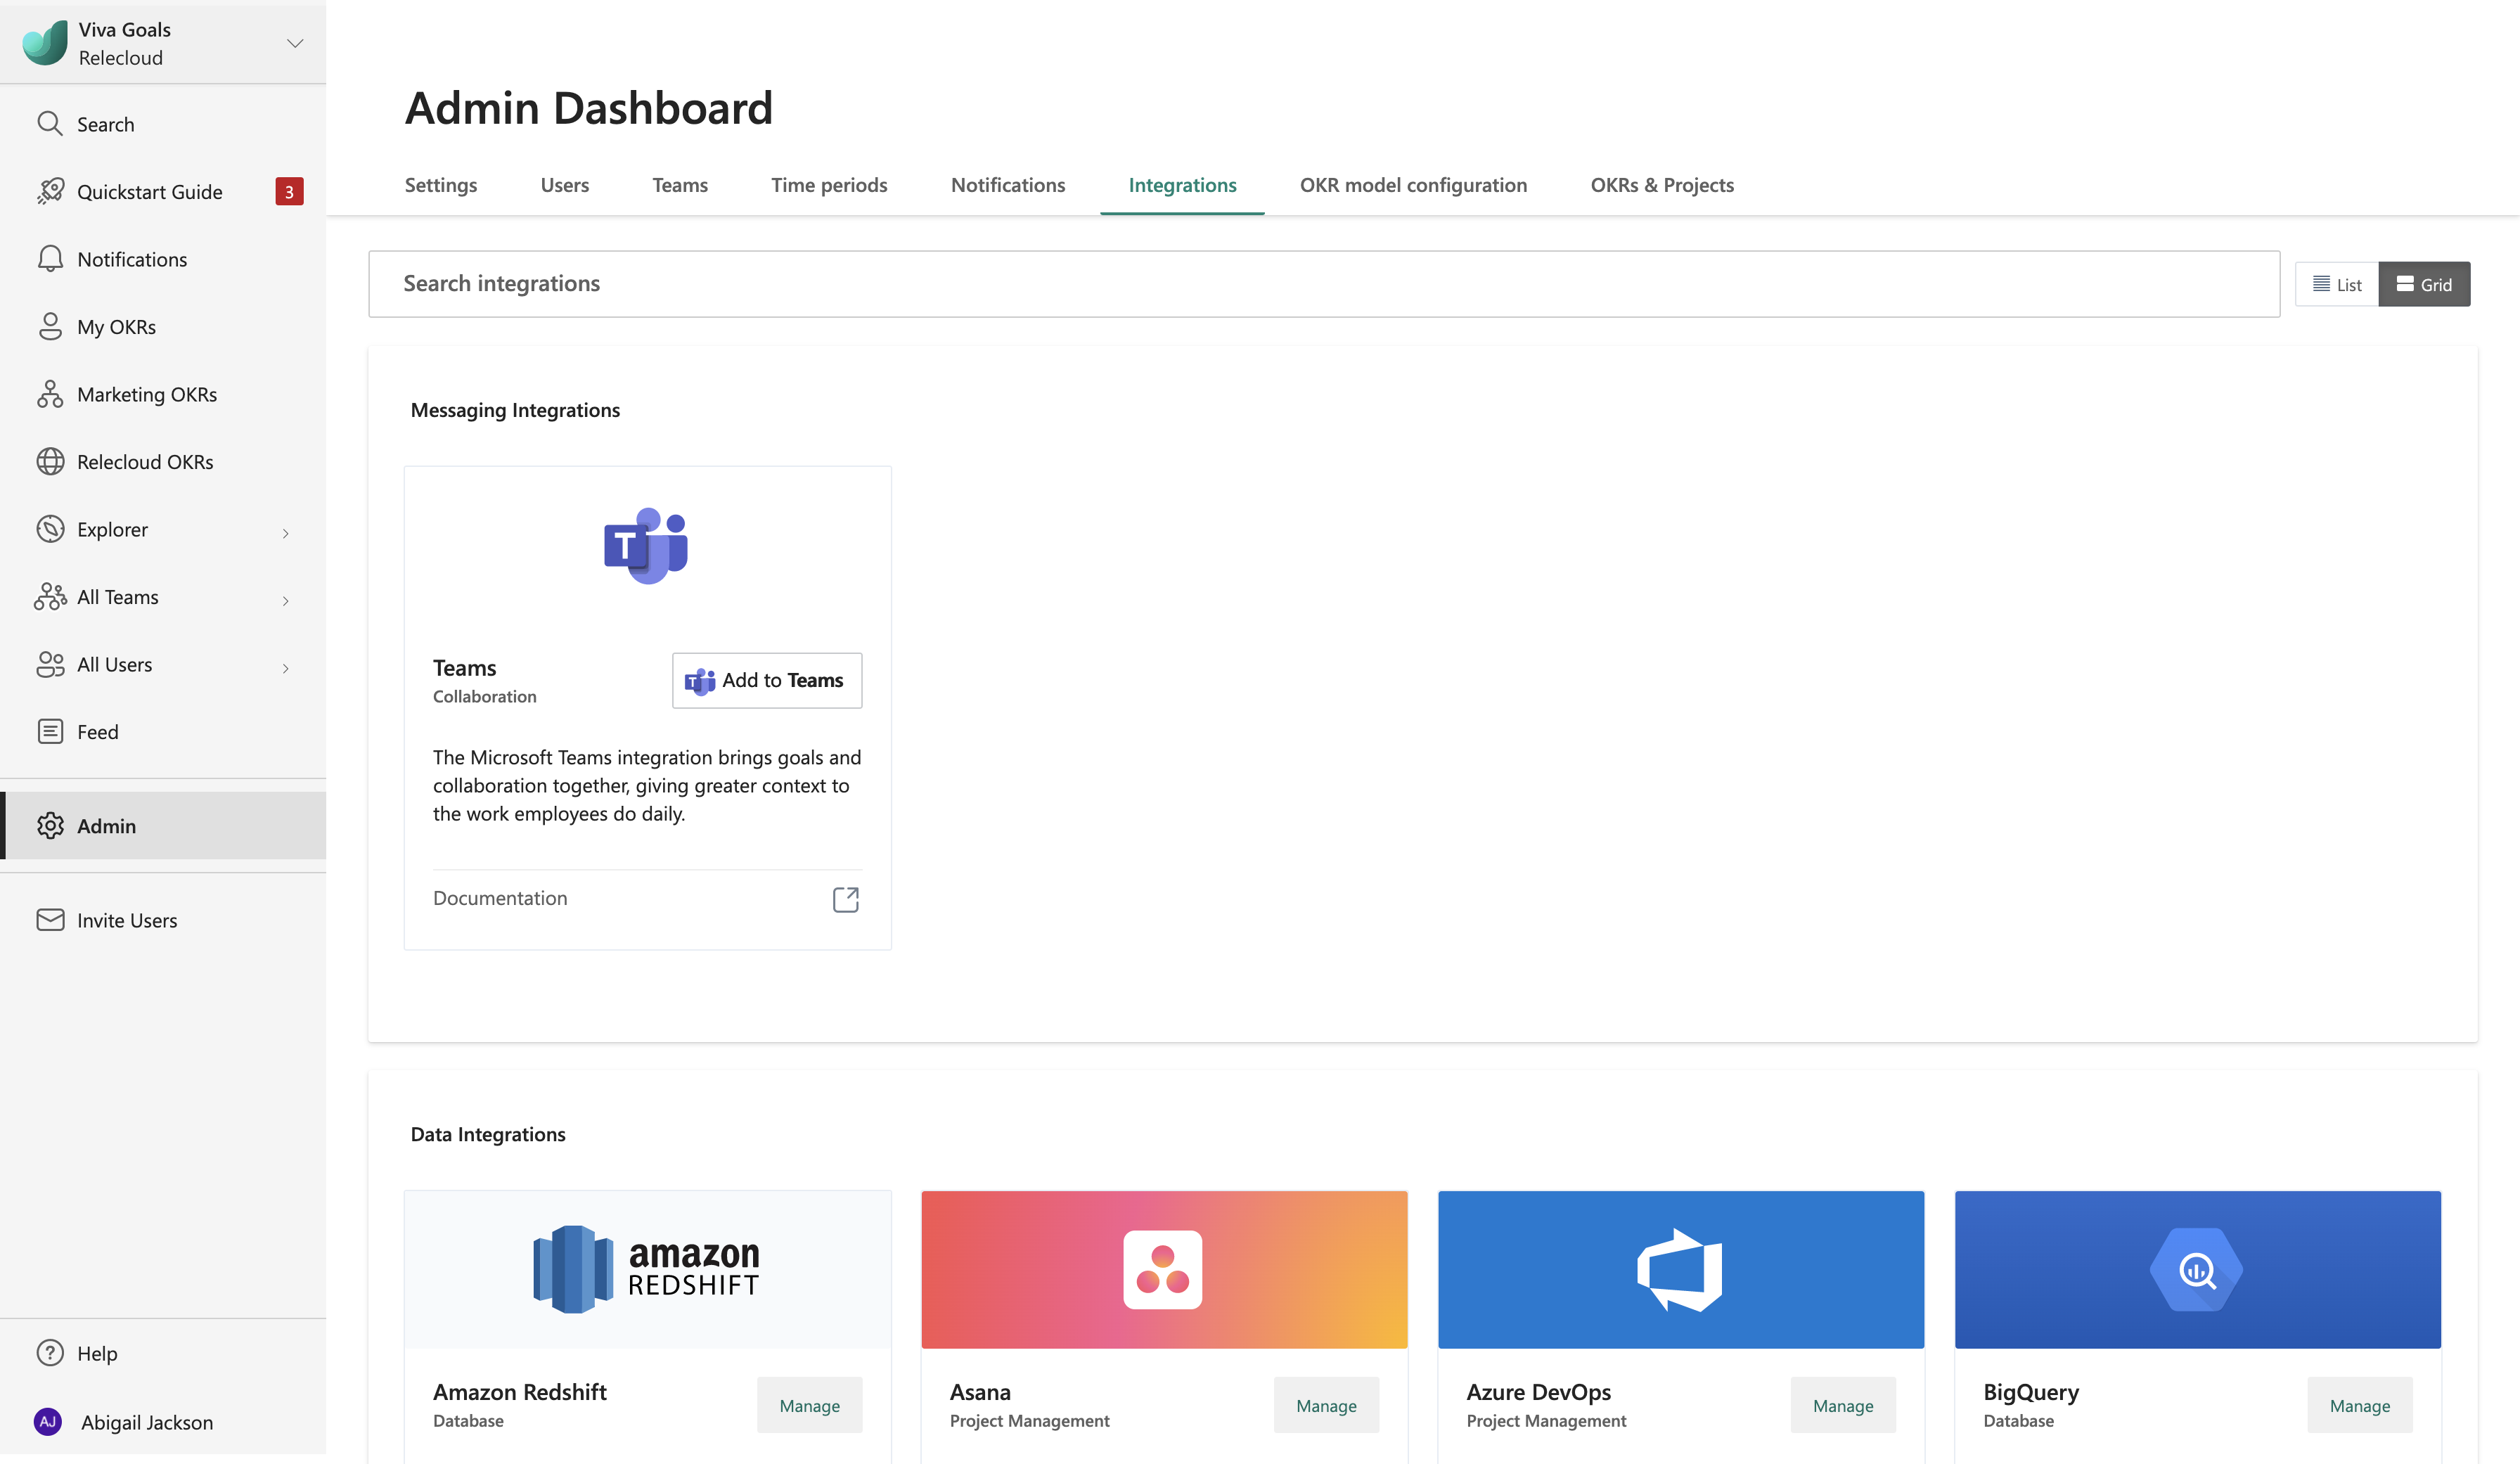
Scroll through the list until you reach Looker. Select Enable (or select Manage if a connection was previously made).

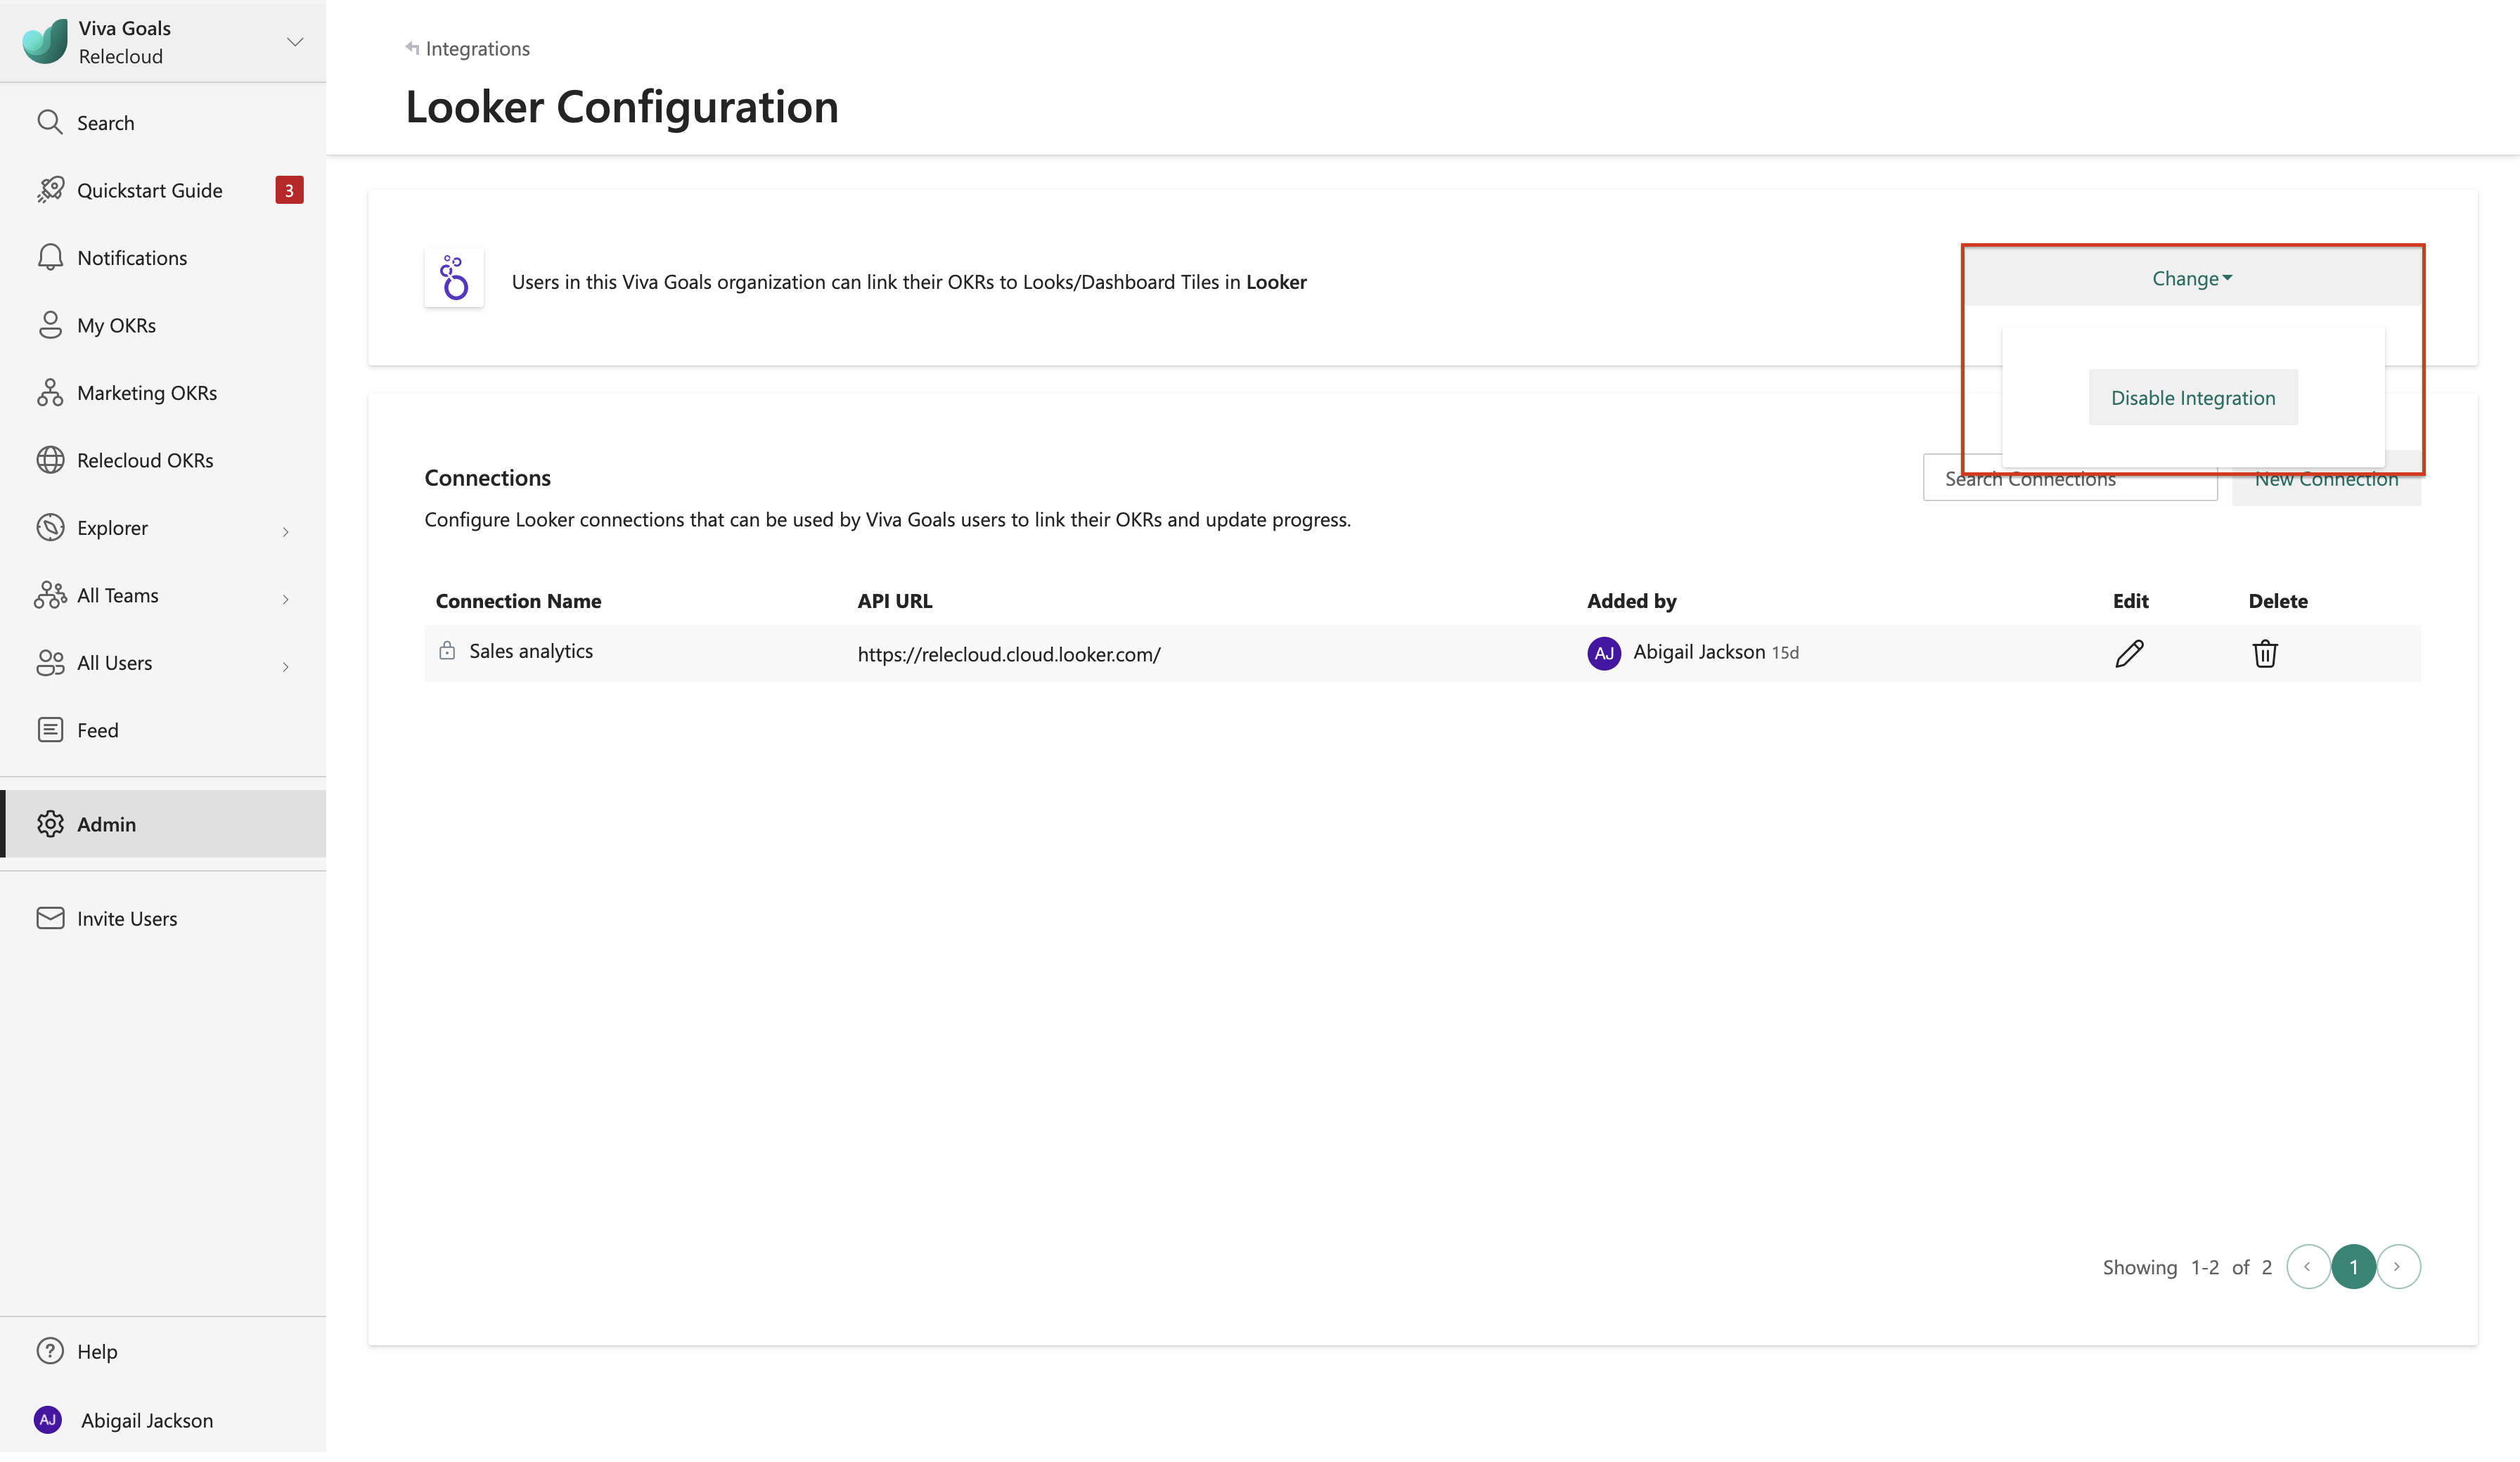
You can also disable the integration at any time from the same section.


How to configure the Looker connection
In the Connections section, select New Connection. In the dialog that appears, enter the name of the connection and the application programming interface (API) that you get from your Looker administrator. You can optionally choose to share the connection with other users in the organization and select Save. You can also edit the saved connection at any time.

How to connect the Looker integration to an OKR
Once setup is complete, users in your organization can link their OKRs to Looker dashboards and looks.
When you create (or edit) an OKR, select Connect data source to auto-update progress.
From the list of integrations, select Looker.

If you already created a Looker connection, or an administrator in your organization shared a Looker connection with you, that connections will automatically be selected. If there are no connections already created or shared, Viva Goals will prompt you to add a new connection. If you have more than one Looker connection, you can choose the connection you’d like to use.
Note
The Looker integration is available only for the KPI (success metric) method of measuring OKR success. It's not available for the % completion method.
After you select the connection, you can choose to Track KPI from either a dashboard or a look. After you choose a dashboard or a look, you can further narrow it down to a specific dashboard tile or a look name. Select the tile or look that has the data you want to be connected to the OKR.
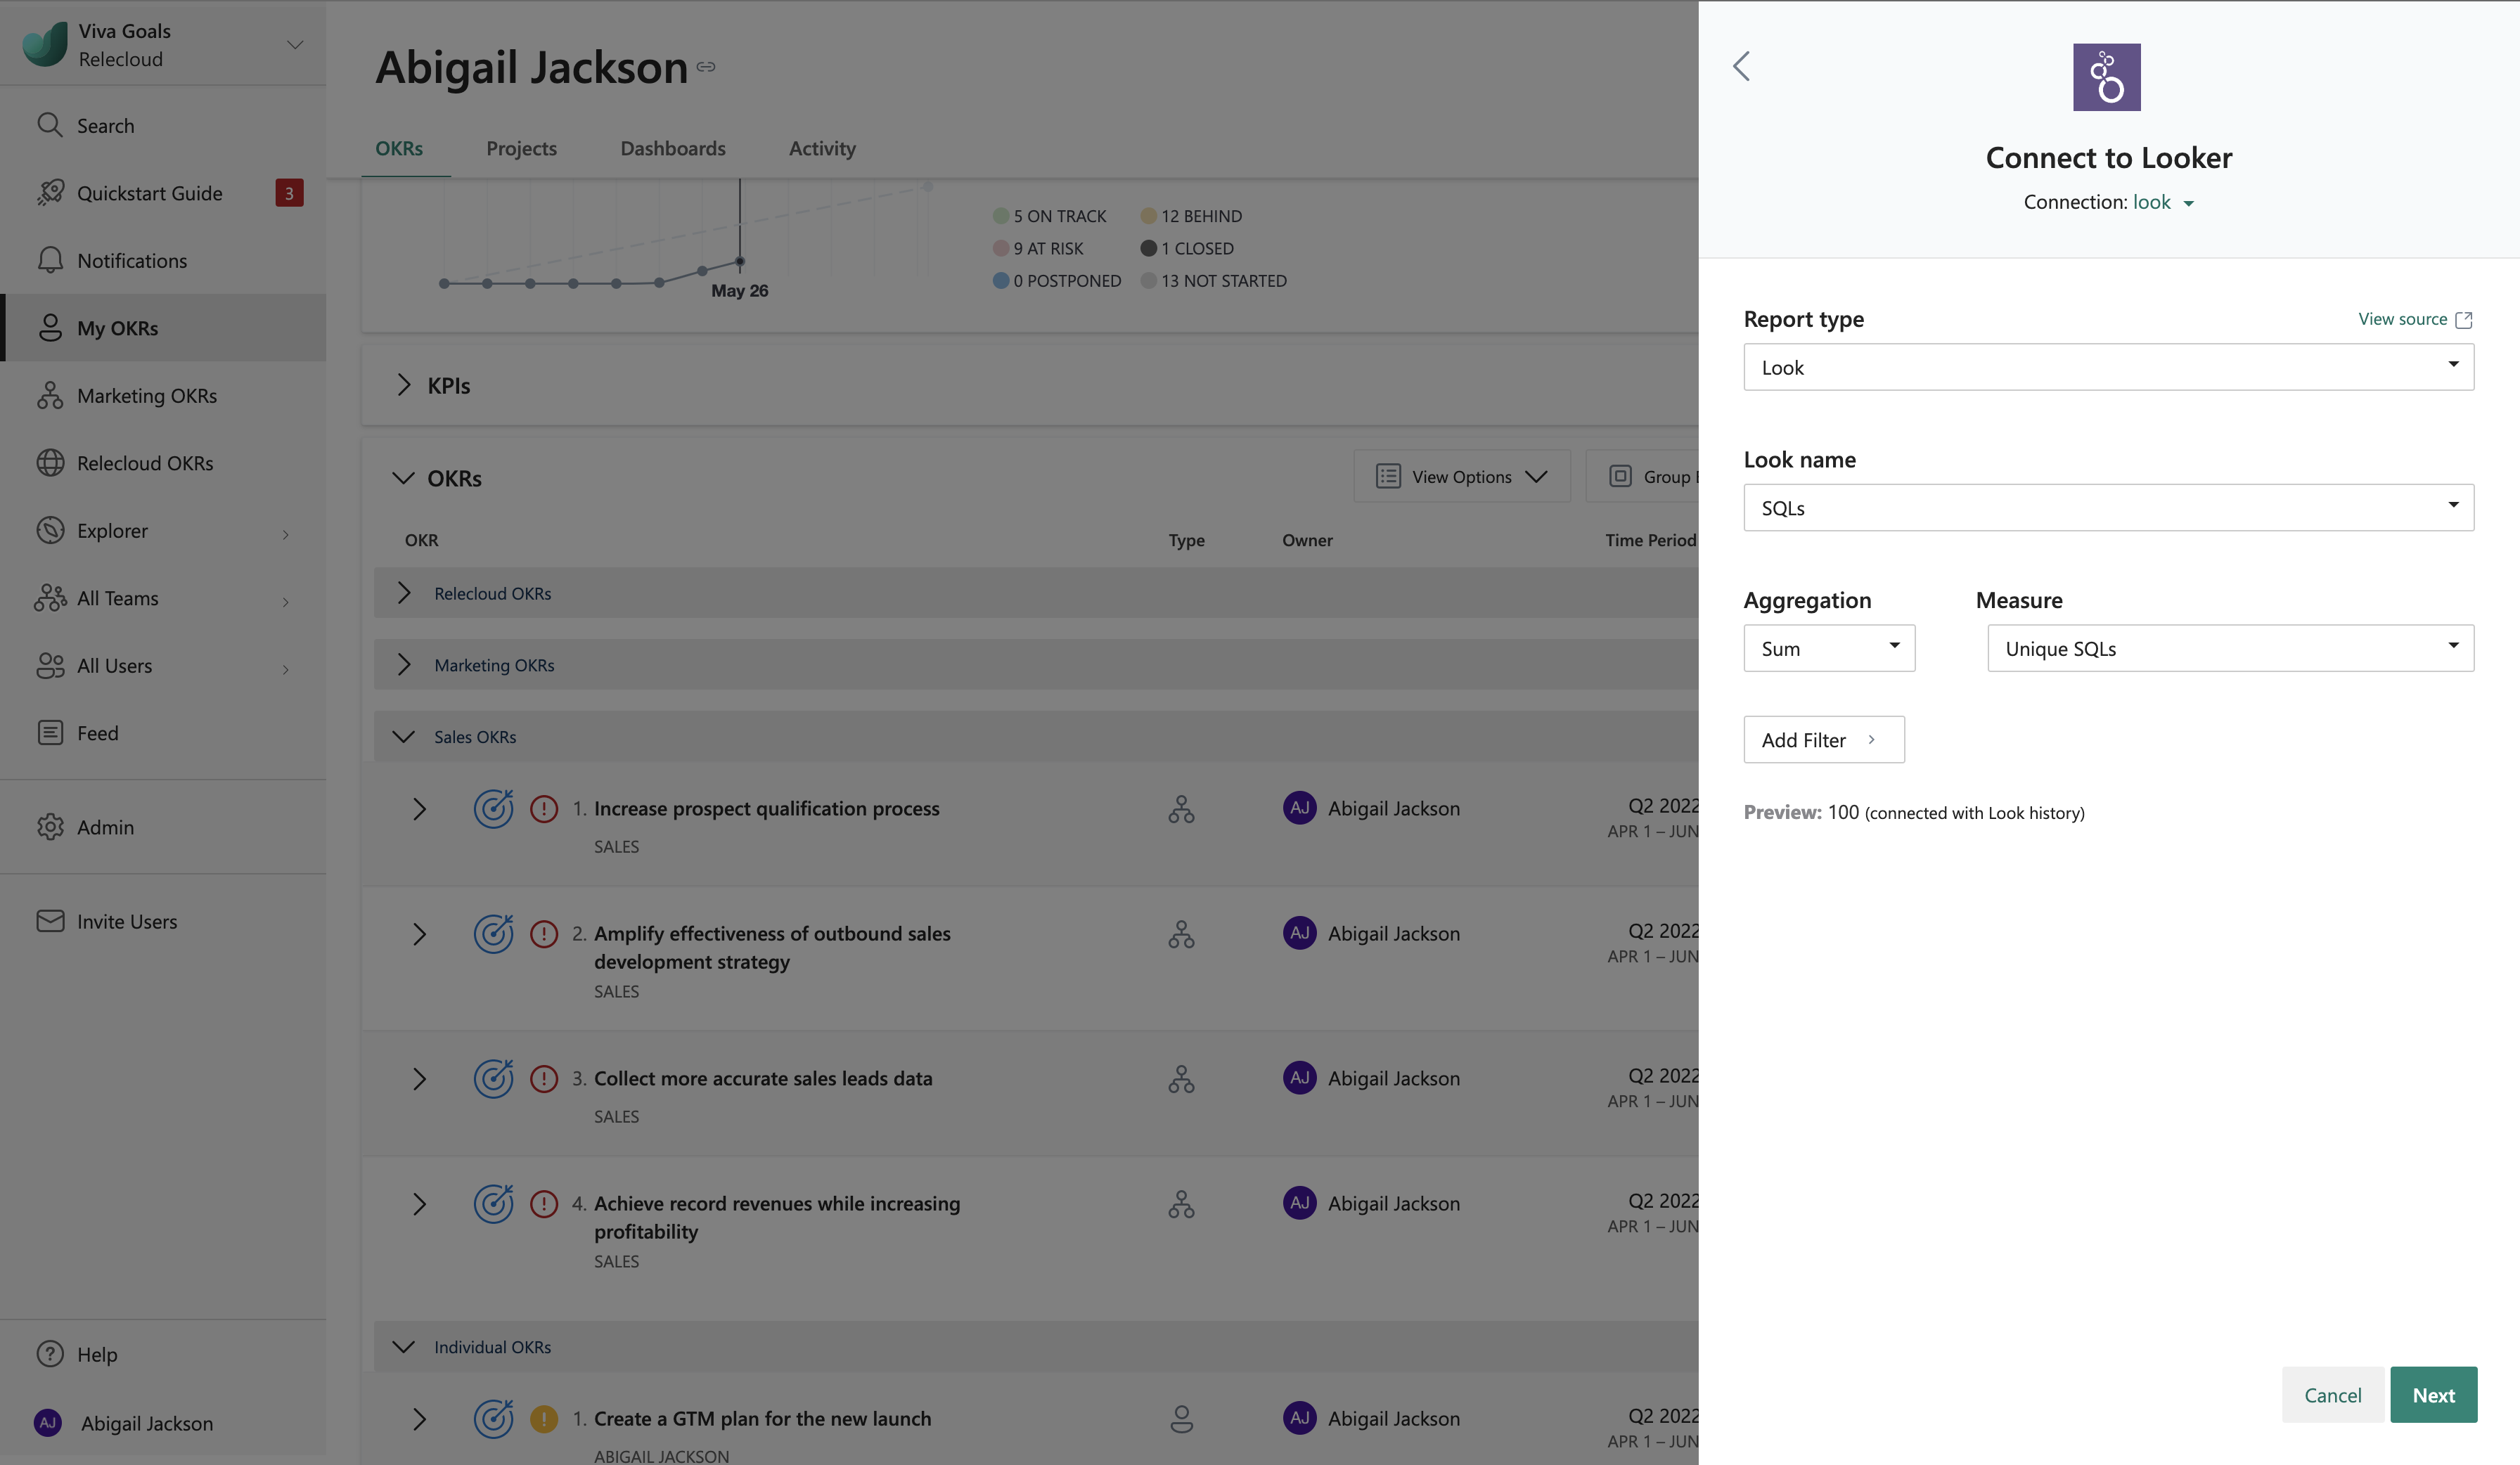
Select a KPI metric that's available from the selected tile or look. Depending on the type of visualization, there could be multiple values for the KPI, broken down by a dimension. For example, if you have the demos setup metric broken down by your sales team members as part of the Looker tile, you can choose to apply a metric/sum/average/count on the set of values or filter out by a particular person or any available filter field.
Viva Goals displays the selected value for your reference before you save the data link setup.
When you're satisfied, select to Save your OKR. You should now see a Looker icon next to the OKR. Viva Goals will automatically count the finished number of demos set up. The OKR syncs automatically every hour. Or, to refresh it manually, go to the Looker icon and select the Sync Now option.


The following colors of the progress bar indicate the status of the objective:
If the progress is 0 to 25 percent less than expected progress at any time, the status is behind (orange).
If the progress is more than 25 percent less than expected at any time, the status is at-risk (red).
Feedback
Coming soon: Throughout 2024 we will be phasing out GitHub Issues as the feedback mechanism for content and replacing it with a new feedback system. For more information see: https://aka.ms/ContentUserFeedback.
Submit and view feedback for