Upload organizational data (first upload)
Your organizational data can appear in the Microsoft Viva Insights’ advanced insights app in one of two ways: through Microsoft Entra ID, which is the default source, or through a .csv file that you as an admin upload.
This article talks about the second option: uploading a .csv file.
Important
Only use the following steps if this is the first time you’re uploading organizational data. If this isn’t your first upload, see Upload organizational data (subsequent uploads) to update previously uploaded data.
For customers coming over from our legacy app:
If you're migrating from the legacy advanced insights app, and are uploading organizational data to Viva Insights for the first time ever, we recommend only using the new app for data uploads. Using the new app prevents data inconsistency.
Workflow
After you prepare the source data, you'll follow these steps:
- You upload the .csv file.
- You map fields.
- The app validates your data. (If validation isn’t successful, you can choose from a few options described in Validation fails.)
- The app processes your data. (If processing isn’t successful, you can choose from a few options described in Processing fails.)
After the data successfully validates and processes, you're done with the overall data-upload task.
File upload
To upload your .csv file, follow these steps:
Open the advanced insights app's admin experience.
On the Data hub page, go to the .csv upload card on the right side of the screen, below Data source.
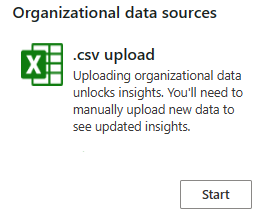
Select Start.
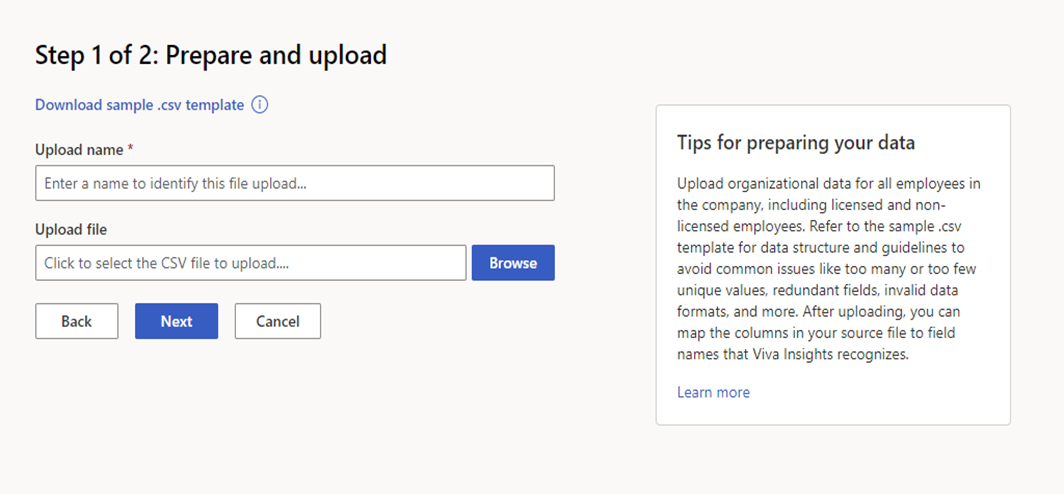
Under Step 1 of 2: Prepare and upload:
- Enter an Upload name.
- Under Upload file, select the .csv file you want to upload.
Make sure that the .csv file is:
UTF-8 encoded.
Not open in a different program when you begin the upload process.
Not larger than 1 GB.
Note
To see the structure and guidelines for .csv files, and to avoid common issues during upload, you can download a template through the Download .csv template link.
- To upload, select Next. To cancel the upload, select Cancel.
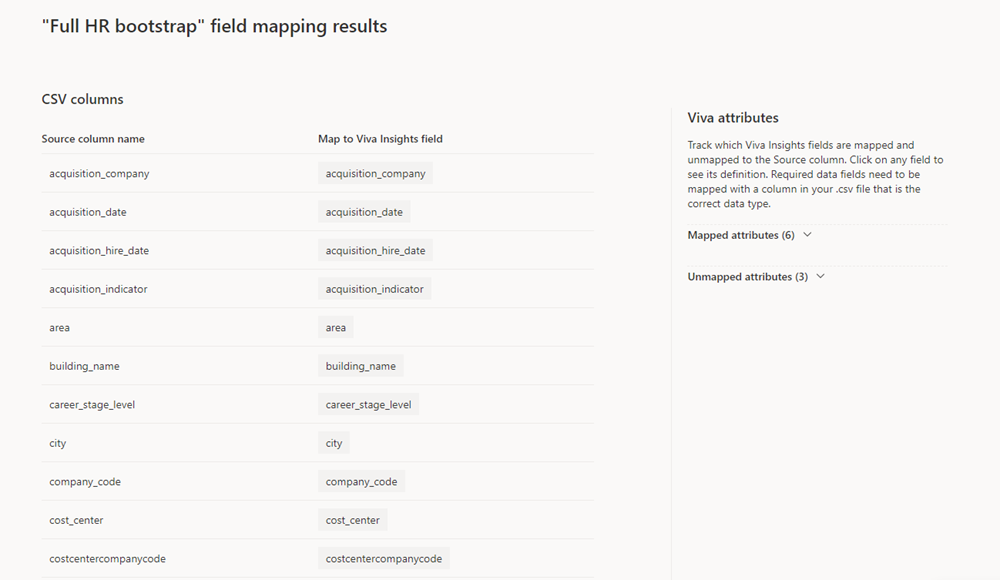
Field mapping
After you upload your file, you’ll see the Step 2 of 2: Mapping page. To view insights from your data, you need to map fields (columns) from your .csv file to field names that the app recognizes.
There are two types of fields: System default and Custom.
System default (required or optional)
System default fields can be either required—which are PersonId, ManagerId, and Organization—or Reserved optional. These fields represent attributes that Viva Insights knows and uses in specific calculations beyond grouping and filtering.
Important
Every required field needs to have a valid, non-null value in every row. You need to map all required Viva Insights values, even if the column headers in your .csv files don’t exactly match the Viva Insights value name.
Optional fields are commonly encountered system fields that the app suggests to use. You don’t need to map optional fields if your organization doesn’t have data for them.
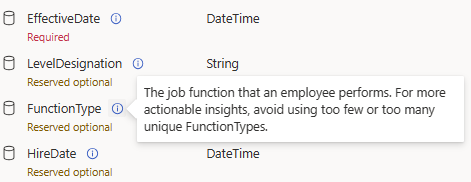
To find out whether a field is required or optional, refer to the Viva attributes section to the right of the mapping list. Required attributes have a “Required” label below the field name, while optional attributes have a “Reserved optional” label.
If you need a field's definition, hover over the information (i) icon.
Custom
Custom fields are optional attributes you can create. The following section explains mapping and naming a custom attribute.
To map fields
Follow the steps below to map your .csv data to Viva Insights attributes.
Important
All .csv header fields, which appear under Source column name, need to be mapped before you can move on to the next part of the upload process.
For each required Viva Insights field:
- Find the corresponding column header under Source column name. To prevent a validation error later, make sure this column is the right data type.
- Under the Map to Viva Insights field column, open the dropdown list and select the Viva Insights attribute that corresponds with the column header you identified in step 1a.
Repeat steps 1a and 1b for custom and optional fields.
To add a custom field, just include it as a column in your data file. The app will automatically assign it a name and map it. For this release of Viva Insights, all custom attributes are assigned a default name and can only be classified as String data types.
Important
Don't upload TimeZone as a column. You'll get an error.
After you’ve completed mapping your attributes, select the Next button in the bottom left of the screen.
After you map fields, the app validates and processes your data as described in the following sections. If validation and processing succeed, you're done with your part in the upload process.
Validation
After you’ve mapped attributes, the app starts validating your data.
In most cases, file validation should complete quickly. If your organizational data file is large, validation could take up to one or two minutes.
After this phase completes, validation has either succeeded or failed. Depending on the outcome, you’ll either receive a success notification or a failure notification in the top-right corner of the Data connections screen.
For information about what happens next, go to the appropriate section:
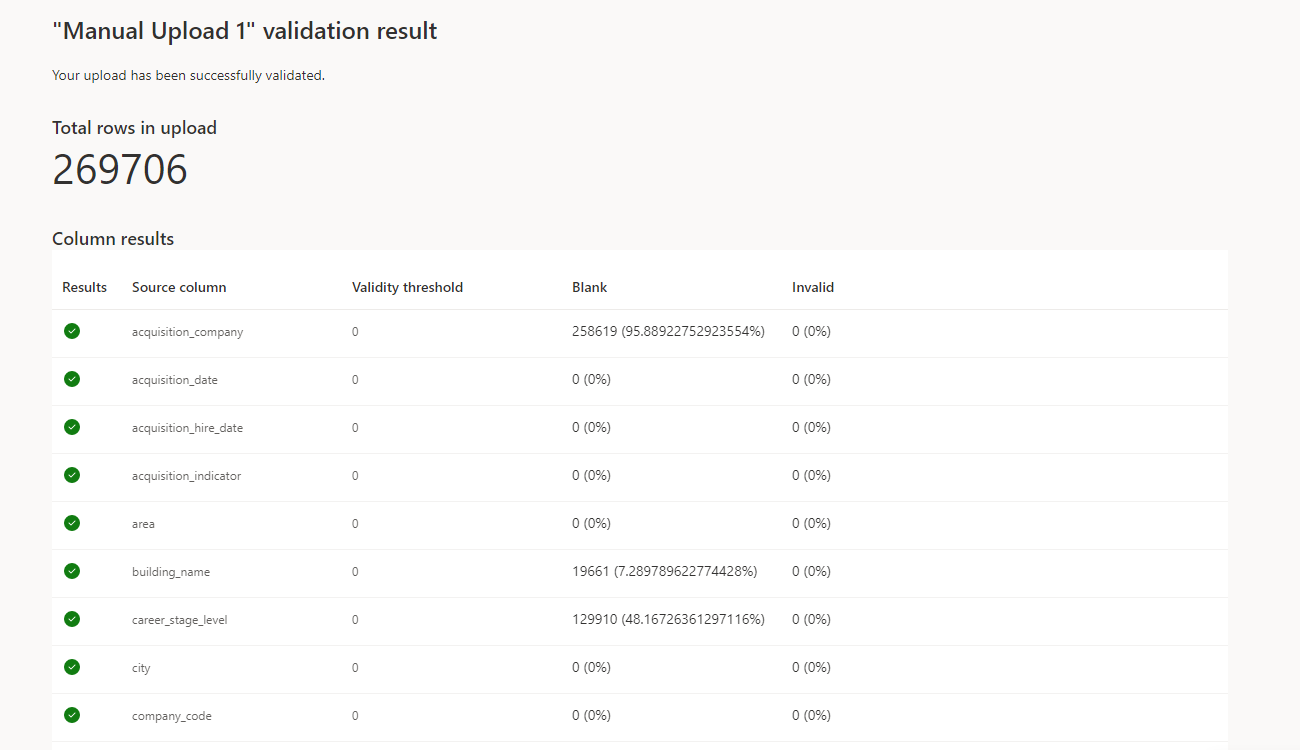
Validation succeeds
After successful validation, Viva Insights starts processing your new data. Processing can take between a few hours and a day or so. During processing, you’ll see a “Processing” status on the Data connections > Upload or delete in progress table.
After processing completes, it's either succeeded or failed. Depending on the outcome, you’ll either receive a success notification or a failure notification in the top-right corner of the Data connections screen.
Processing succeeds
When processing succeeds, you’ll see a “Success” status in the Upload or delete history table. At this point, the upload process is complete.
After you receive the “Success” status, you can:
- Select the view (eye) icon to see a summary of the validation results.
- Select the mapping icon to see the mapping settings for the workflow.


Note
Each tenant can have only one upload in progress at a time. You need to complete the workflow of one data file, which means you either guide it to a successful validation and processing or abandon it, before you begin the workflow of the next data file. The status or stage of the upload workflow is shown on the Data connections tab.
Processing fails
If processing fails, you’ll see a failed status in the Upload or delete in progress table. Selecting the link in the status brings you to an explanation of the failure.
Select Edit or start new upload. This button lets you begin the upload process again.
Note
Processing failures are generally due to backend errors. If you’re seeing persistent processing failures and you’ve corrected the data in your uploaded file, log a support ticket with us.
Validation fails
If data validation fails, you’ll see a new screen with a “Validation failed” error and some information about the failure. You can select the Cancel upload button if you don’t want to proceed with the upload process.
Before you make changes in the source file and try the upload again, you can select Download issues. This log file describes the problems in your data that might have caused the validation errors. Use this information to decide what to do next—fix the source data or change your mapping settings.
Guidelines for correcting errors in data
When any data row or column has an invalid value for any attribute, the entire upload will fail until you fix the source file (or you fix the attribute mapping).
To learn about formatting your file to prevent errors, refer to File rules and validation errors.
Related topic
Feedback
Coming soon: Throughout 2024 we will be phasing out GitHub Issues as the feedback mechanism for content and replacing it with a new feedback system. For more information see: https://aka.ms/ContentUserFeedback.
Submit and view feedback for