3. Connecting multiple users
In this tutorial, you will learn how to connect multiple users as part of a live shared experience. By the end of the tutorial, you will be able to run the app on multiple devices and have each user see the avatar of other users move in real-time.
Objectives
- Learn how to connect multiple users in a shared experience
Preparing the scene
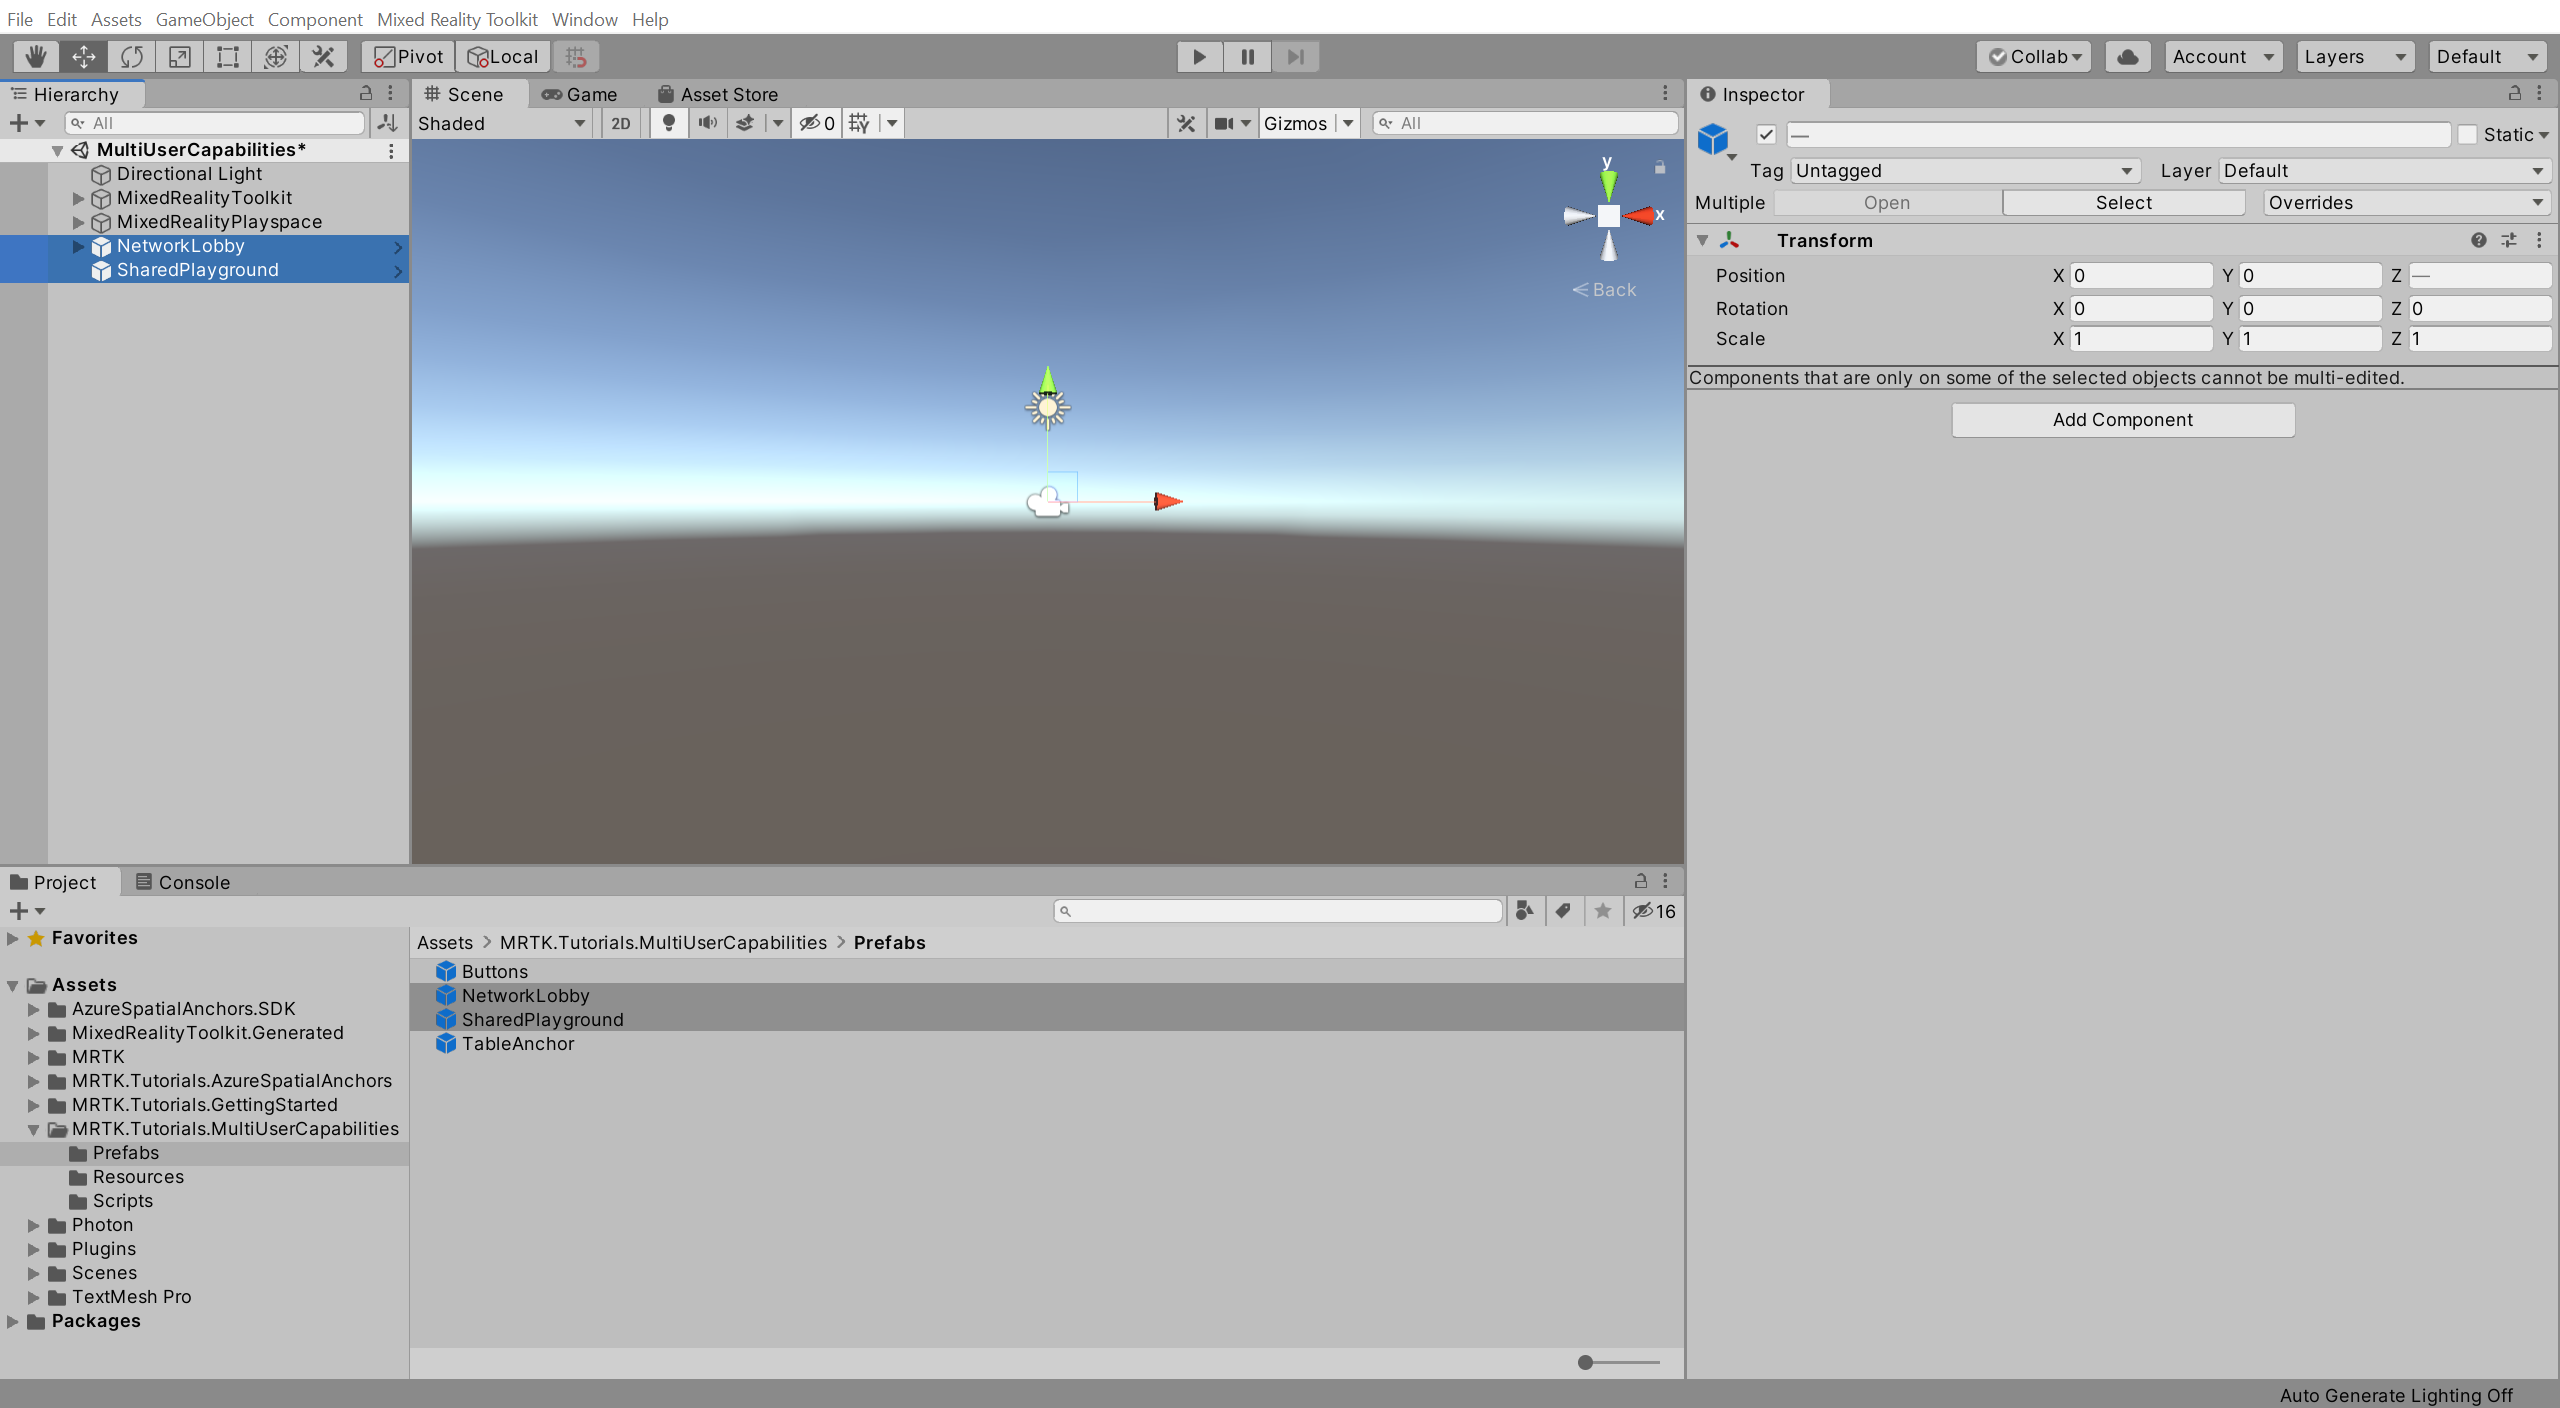
In this section, you will prepare the scene by adding some of the tutorial prefabs.
In the Project window, navigate to the Assets > MRTK.Tutorials.MultiUserCapabilities > Prefabs folder, then click-and-drag the following prefabs into the Hierarchy window to add them to your scene:
- NetworkLobby prefab
- SharedPlayground prefab
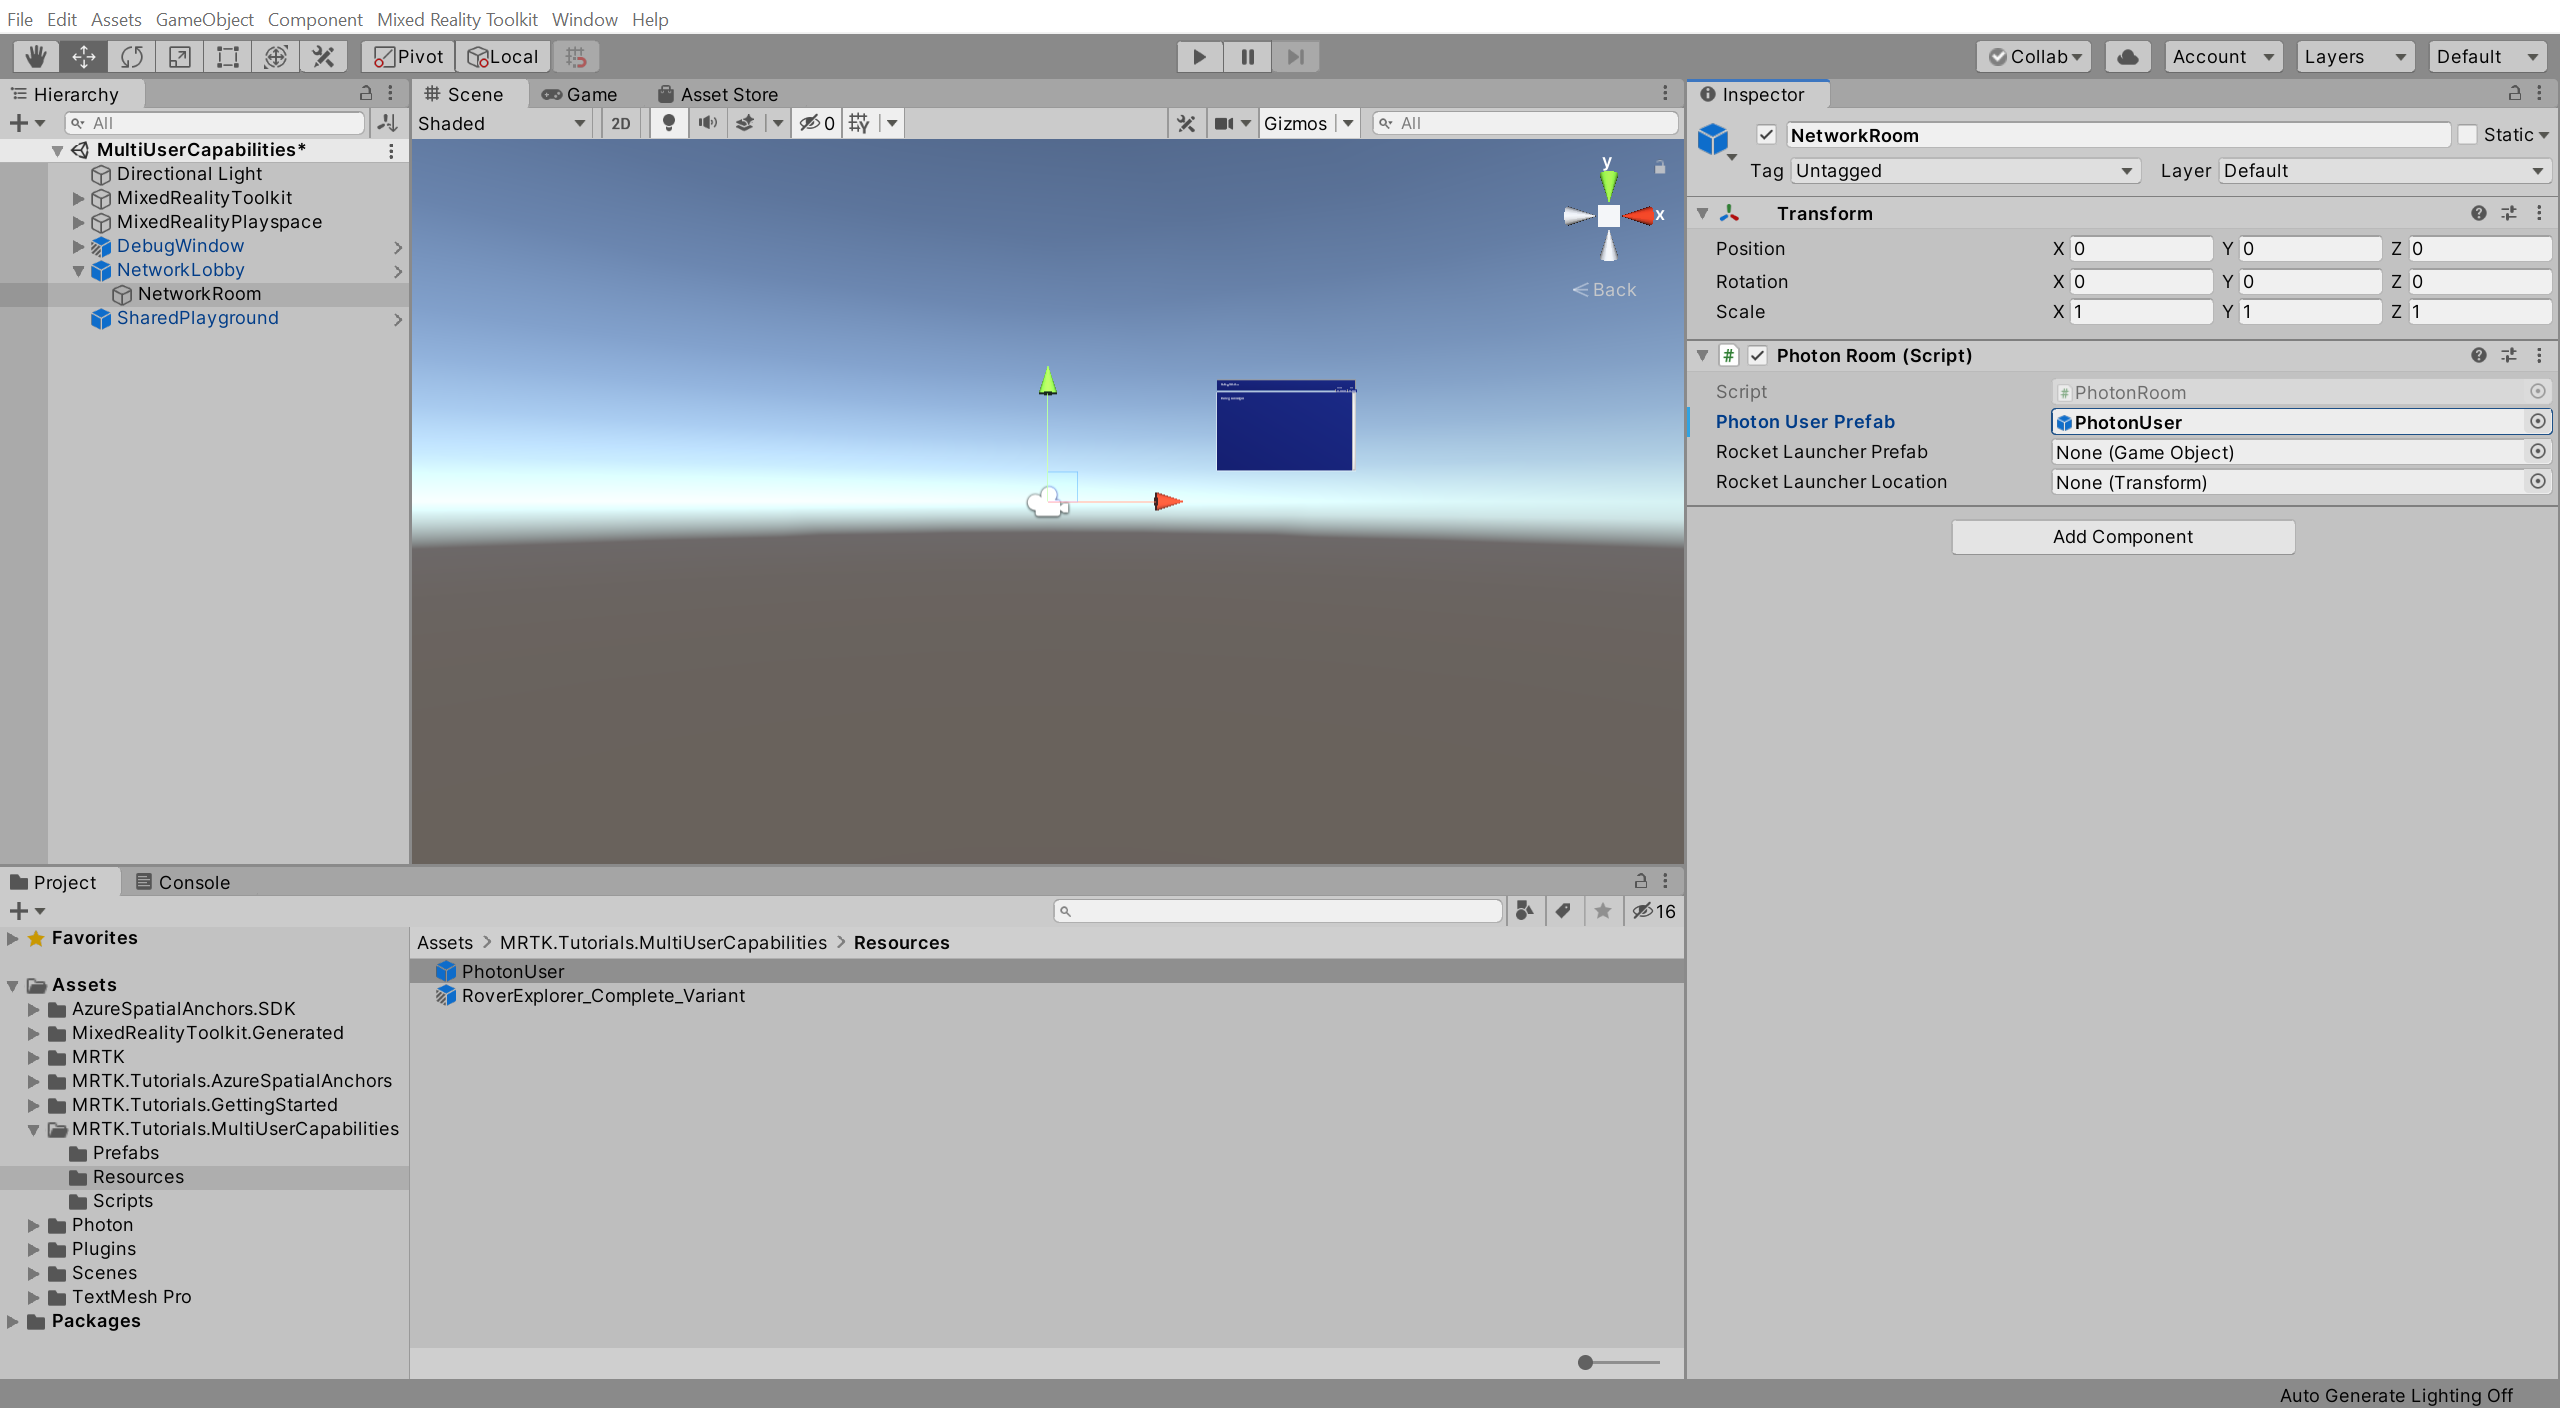
Configuring PUN to instantiate the user prefab
In this section, you will configure the project to use the PhotonUser prefab.
In the Project window, navigate to the Assets > MRTK.Tutorials.MultiUserCapabilities > Resources folder.
In the Hierarchy window, expand the NetworkLobby object and select the NetworkRoom child object, then in the Inspector window, locate the Photon Room (Script) component and configure it as follows:
- To the Photon User Prefab field, assign the PhotonUser prefab from the Resources folder
Trying the experience with multiple users
If you now build and deploy the Unity project to your HoloLens, then, back in Unity, enter Game mode while the app is running on your HoloLens, you will see the HoloLens user avatar move when you move your head (HoloLens) around:

Tip
For a reminder on how to build and deploy your Unity project to HoloLens 2, you can refer to the Building your app to your HoloLens 2 instructions.
Caution
The app needs to connect to Photon, so make sure your computer/device is connected to the internet.
Congratulations
You have successfully configured your project to allow multiple users to connect to the same experience and see each other's movements. In the next tutorial, you will implement functionality so that the movements of objects are also shared across multiple devices.
Feedback
Coming soon: Throughout 2024 we will be phasing out GitHub Issues as the feedback mechanism for content and replacing it with a new feedback system. For more information see: https://aka.ms/ContentUserFeedback.
Submit and view feedback for