Automatic Provisioning for Xamarin.iOS
Once Xamarin.iOS has been successfully installed, the next step in iOS development is to provision your iOS device. This guide explores using automatic provisioning to request development certificates and profiles.
Requirements
Automatic provisioning is available on Visual Studio for Mac, Visual Studio 2019, and Visual Studio 2017 (Version 15.7 and higher).
Note
You must also have a paid Apple Developer account to use this feature. More information on Apple developer accounts is available in the Device Provisioning guide. If you do not have a paid Apple developer account, see the Free Provisioning for Xamarin.iOS guide.
Note
Before you begin, be sure to first accept any license agreements in either the Apple Developer portal or App Store Connect.
Enable automatic provisioning
Before starting the automatic signing process, you should ensure that you have an Apple ID added in Visual Studio, as described in the Apple Account Management guide.
Once you've added an Apple ID, you can use any associated Team. This allows certificates, profiles, and other IDs to be made against the team. The team ID is also used to create a prefix for an App ID that will be included in the provisioning profile. Having this allows Apple to verify that you are who you say you are.
To automatically sign your app for deployment on an iOS device, do the following:
Open an iOS project in Visual Studio for Mac.
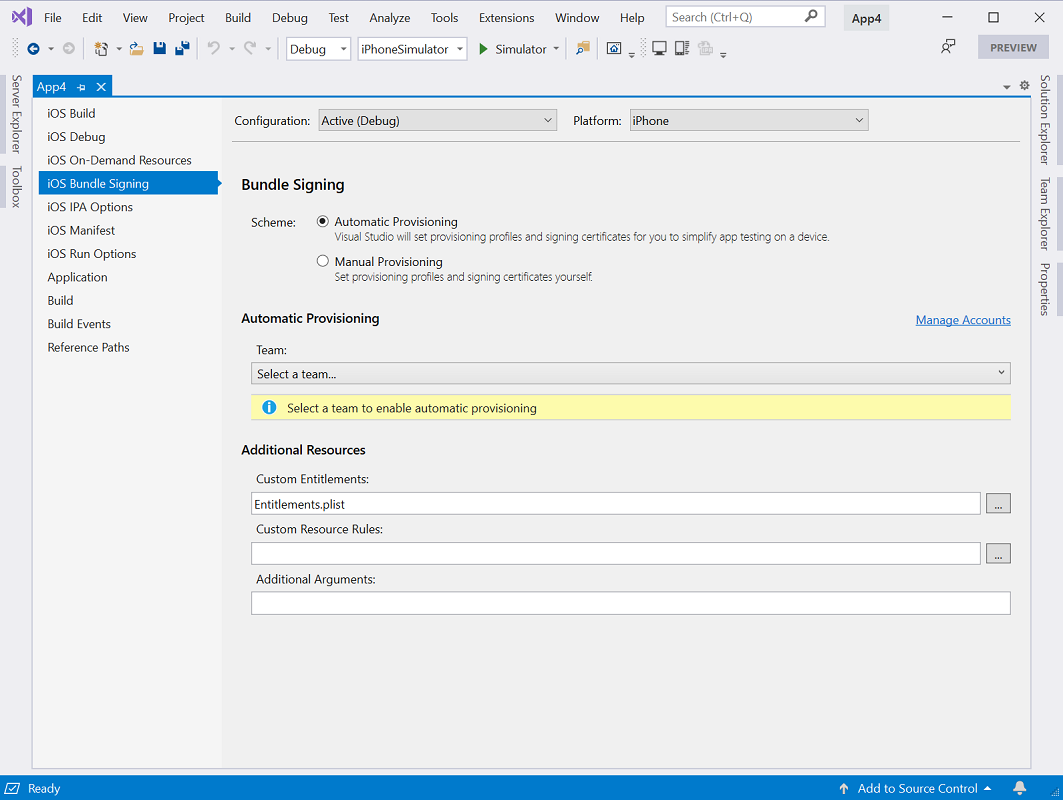
Open the Info.plist file.
Select the Application tab.
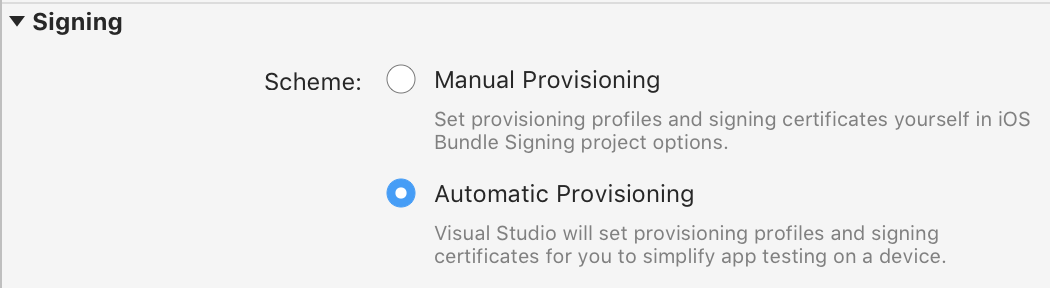
In the Signing section, select Automatic Provisioning:
Select your team from the Team dropdown.
After a few seconds a Signing Certificate and Provisioning profile will be created:

If the automatic signing fails the Automatic signing pad will display the reason for the error.

Run automatic provisioning
When automatic provisioning is enabled, Visual Studio will re-run the process if necessary when any of the following things happen:
- An iOS device is plugged into your Mac
- This automatically checks to see if the device is registered on the Apple Developer Portal. If it isn't, it will add it and generate a new provisioning profile that contains it.
- The Bundle ID of your app is changed
- This updates the app ID. A new provisioning profile containing this app ID is created.
- A supported capability is enabled in the Entitlements.plist file.
- This capability will be added to the app ID and a new provisioning profile with the updated app ID is generated.
- Not all capabilities are currently supported. For more information on the ones that are supported, check out the Working with Capabilities guide.
Wildcard App IDs
In Visual Studio for Mac and Visual Studio 2019 (version 16.5 or greater), automatic provisioning will by default attempt to create and use a wildcard App ID and provisioning profile instead of an explicit App ID based on the Bundle Identifier specified in Info.plist. Wildcard App IDs reduce the number of profiles and IDs to maintain in the Apple Developer Portal.
In some cases, an app's entitlements require an explicit App ID. The following entitlements do not support wildcard App IDs:
- App Groups
- Associated Domains
- Apple Pay
- Game Center
- HealthKit
- HomeKit
- Hotspot
- In-App purchase
- Multipath
- NFC
- Personal VPN
- Push Notifications
- Wireless Accessory Configuration
If your app uses one of these entitlements, Visual Studio will attempt to create an explicit (instead of a wildcard) App ID.
Troubleshoot
- It may take several hours for a new Apple developer account to be approved. You will not be able to enable automatic provisioning until the account has been approved.
- If the automatic provisioning process fails with the error message
Authentication Service Is Unavailable, sign in to either App Store Connect or appleid.apple.com to check that you have accepted the latest service agreements. - If you get the error message
Authentication Error: Xcode 7.3 or later is required to continue developing with your Apple ID., make sure that the team selected has an active paid membership to the Apple Developer Program. To use a paid Apple developer account, please see the Free provisioning for Xamarin.iOS apps guide.