Exercise - Create and manage knowledge articles
In this exercise, you learn how to create and manage knowledge articles that can address numerous issues that your customers want to discuss during the Patient Service Center conversation. These knowledge articles appear in the Productivity pane in Patient Service Center through searching and AI-enabled suggestions.

Task: Assign the Knowledge Manager user role
In this task, you assign the necessary user role to create and view knowledge articles.
If you kept the User Settings page open from the previous exercise, go to the page, and then skip to the step after selecting Manage Roles.
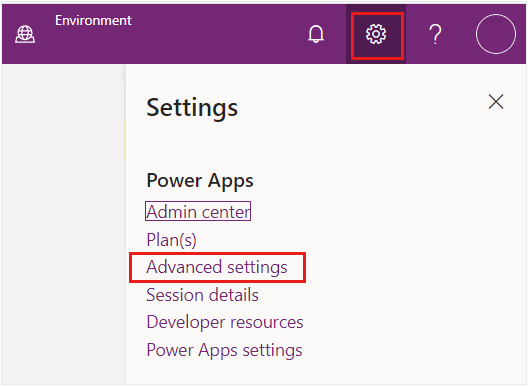
Go to Power Apps. Select the gear icon in the upper-right corner and then select Advanced settings.
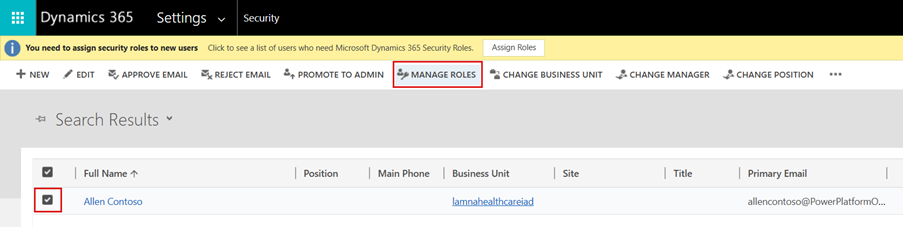
In Dynamics 365, select Settings > Security.

Under Security, select Users.

Switch the System Views dropdown menu from Omnichannel Users to Enabled Users for the grid view so that your user shows in the list.

In the Enabled Users list, scroll and find your user. Alternatively, you can use the search option. Select your user and then select Manage Roles on the command bar.
Three roles that you can choose for create/read permissions for knowledge articles are:
Knowledge Manager
Customer Service Manager
Customer Service Representative
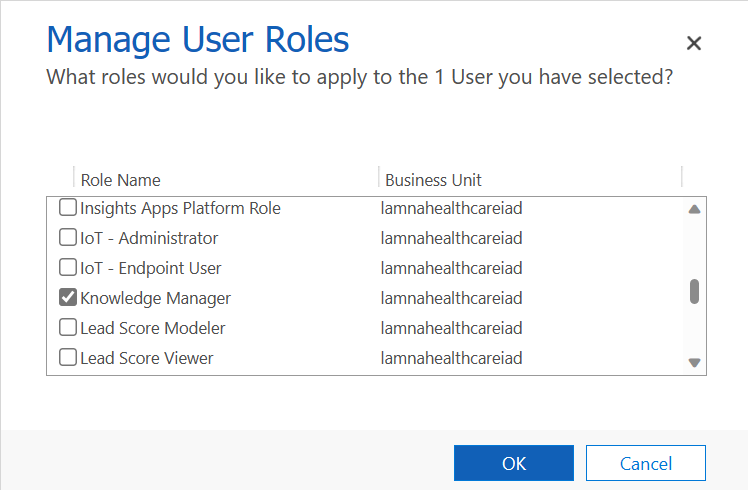
For this exercise, select the Knowledge Manager role.
Ensure that you have the System Administrator role.

Select OK to close the Manage User Roles window and accept changes.


You now assigned the proper roles to create and read knowledge articles.
Task: Create a knowledge article
In this task, you learn about the knowledge management settings that are available.
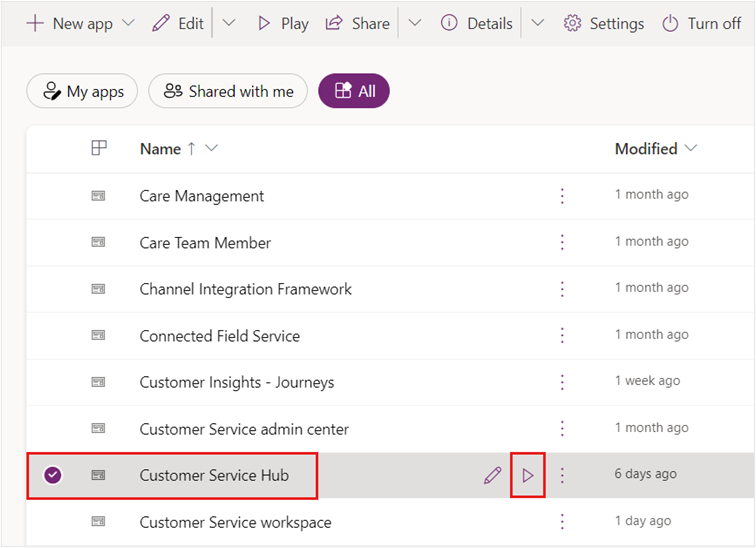
In Power Apps, open the Customer Service Hub app and select the play button.
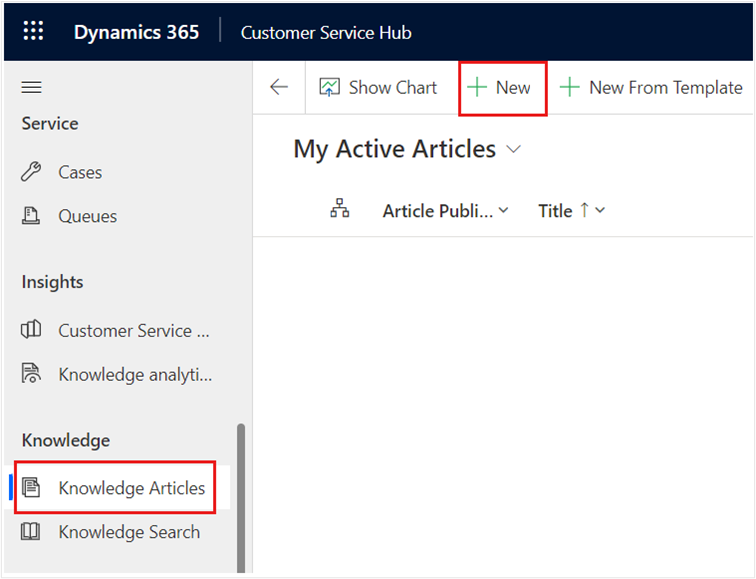
On the left navigation pane, select Knowledge Articles. Select + New on the command bar to add a new knowledge article.
In the Article Content section of the New Knowledge Article, specify the following details for a knowledge article on asthma and shortness of breath:
Title - Shortness of Breath
Keywords - Asthma, shortness of breath, trouble breathing, albuterol, inhaler
Description - Uncomfortable sensation or awareness of breathing or needing to breathe.

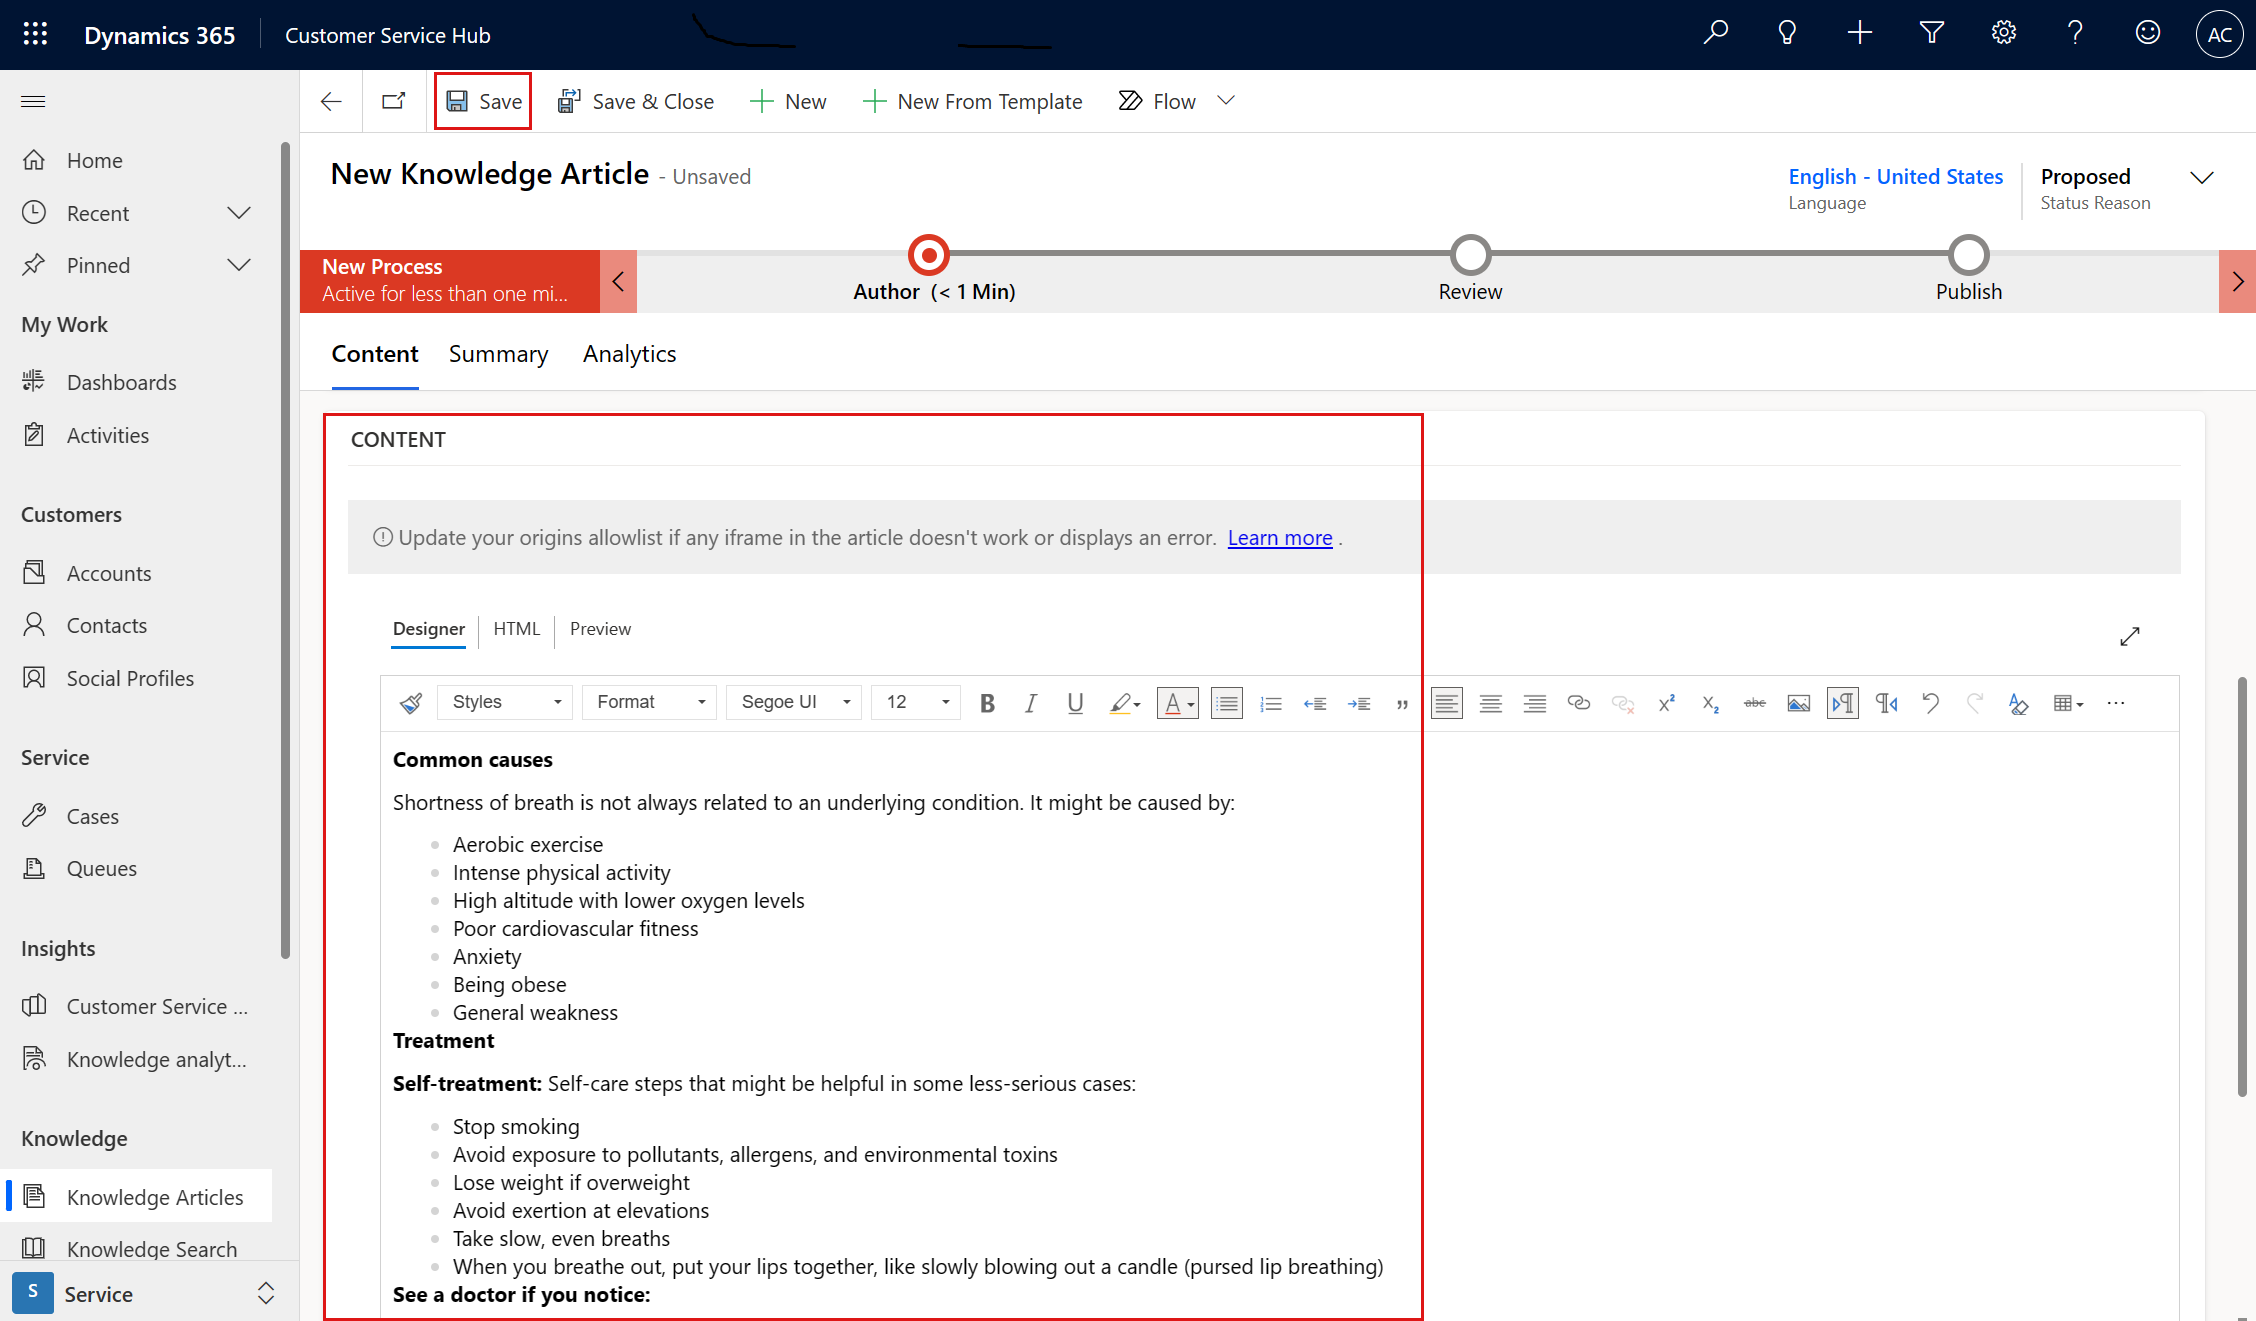
Scroll down to the Content section under the Article Content area, copy and paste the following content for your knowledge article.
Common causes
Shortness of breath isn't always related to an underlying condition. It might be caused by:
- Aerobic exercise
- Intense physical activity
- High altitude with lower oxygen levels
- Poor cardiovascular fitness
- Anxiety
- Being obese
- General weakness
Treatment
Self-treatment: Self-care steps that might be helpful in some less-serious cases:
- Stop smoking
- Avoid exposure to pollutants, allergens, and environmental toxins
- Lose weight if overweight
- Avoid exertion at elevations
- Take slow, even breaths
- When you breathe out, put your lips together, like slowly blowing out a candle (pursed lip breathing)
See a doctor if you notice:
- Chest pain or pressure
- Inability to function
See a doctor immediately if you notice:
- Fever or a change in the amount, color, or thickness of sputum
- Breathlessness doesn't go away after resting for 30 minutes
- Swelling in the feet and ankles
- Trouble breathing when you lie flat
- High fever, chills, and cough
- Wheezing
- Worsening of preexisting shortness of breath
Select Save.
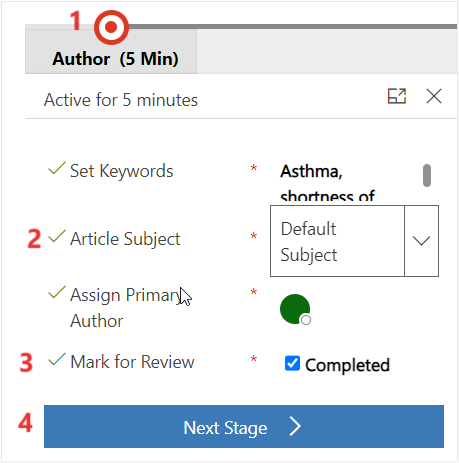
The business process flow bar at the top of the form helps you to drive the article toward completion. On the business process bar, select Author. The business step options are displayed in a pop-up window.
Add the Article Subject as Default Subject, which is the subject of the article to help with searches.
Select the Mark for Review checkbox to show as Completed.
Select Next Stage to mark the article as complete and ready for review.

The knowledge article is now in the Review stage of the business process flow. Select Save & Close.

The article is now in draft state and ready for review.


You now successfully created a knowledge article titled Shortness of Breath and marked it for review.
Task: Review and publish a knowledge article
Typically, to ensure accuracy of the knowledge article, someone else should review and approve it. However, for this training exercise, you mark the article as reviewed and approved instead. This task also requires the Knowledge Manager role or another role that can approve knowledge articles.
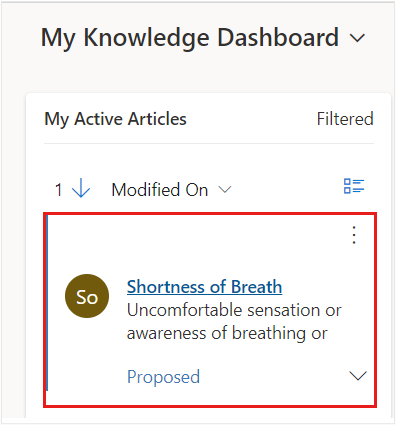
In Customer Service Hub, go to Service > Dashboards and then use the System Dashboards dropdown menu to select My Knowledge Dashboard.

Select the Shortness of Breath knowledge article in the My Active Articles stream.
On the business process bar, in the Review stage and in the Review dropdown menu, select Approved.

Select OK when prompted to Confirm approval of article(s).

Select Next Stage to move to the Publish stage.
You should now be in the Publish stage and the Status Reason changes to Approved.


You now successfully reviewed and approved the knowledge article. Next, you learn how to publish the knowledge article to be available during Patient Service Center calls.
Task: Publish your knowledge article
In this task, you learn how to publish the knowledge article so that it's live and ready to be used.
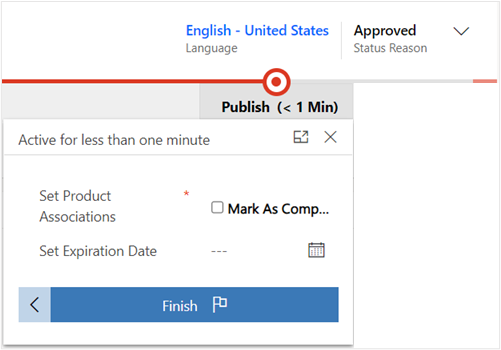
In your Shortness of Breath knowledge article, select the Publish stage.
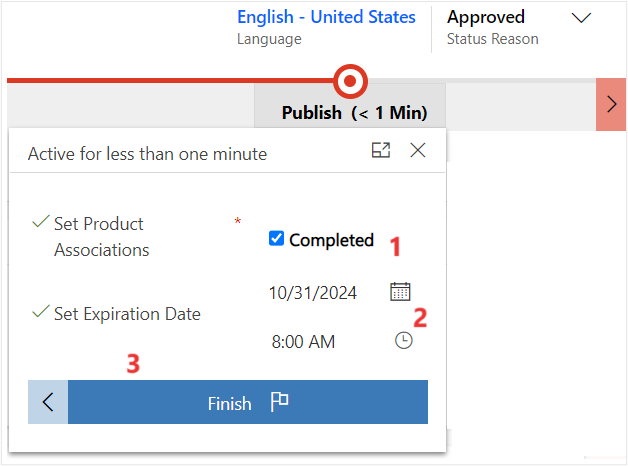
For Set Product Associated, select Completed.
In the Set Expiration Date field, set the date for one year from now.
Select Finish.
After you select Finish, a panel will show to Publish.
Set Expiration State and Expiration Status to Published. Select Publish.
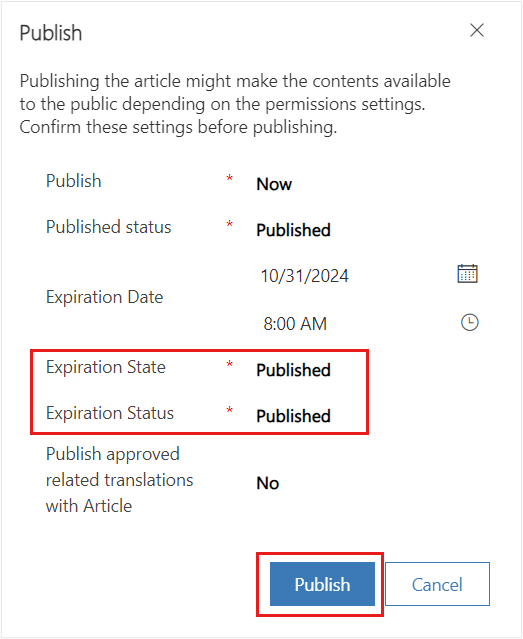
Now, the knowledge article is in a Published state.


You now successfully reviewed and published the knowledge article. You can view this knowledge article in Patient Service Center when you’re testing the final escalation.
You can accomplish numerous tasks with knowledge articles, and this module mentions only a small portion of capabilities. For more information about knowledge articles, see the following documentation: