Install Dotfuscator Community
Applies to: ![]() Visual Studio
Visual Studio ![]() Visual Studio for Mac
Visual Studio for Mac
Note
This article applies to Visual Studio 2017. If you're looking for the latest Visual Studio documentation, see Visual Studio documentation. We recommend upgrading to the latest version of Visual Studio. Download it here
Dotfuscator Community is an optional component of Visual Studio. These instructions explain how to install it.
Note
In addition to the versions of Dotfuscator Community shipped with releases of Visual Studio, PreEmptive Solutions also periodically provides updated versions on its website. If you want to download the latest version directly instead of installing from Visual Studio, click here to go to the Dotfuscator Downloads page.
Within Visual Studio
You can install Dotfuscator Community from the Visual Studio IDE:
In the Quick Launch (Ctrl+Q) search bar, type
dotfuscator.

In the Quick Launch results shown, under the Install heading, select PreEmptive Protection - Dotfuscator (Individual Component).
- If you instead see, under the Menus heading, Tools - PreEmptive Protection - Dotfuscator, then Dotfuscator CE is already installed. Select that option to get started.
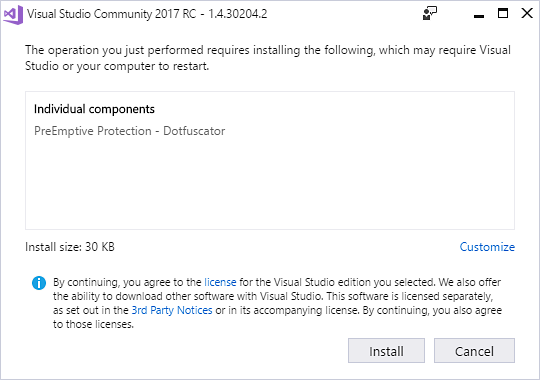
A Visual Studio Installer window will launch, pre-configured to install Dotfuscator CE.
Note
You may be required to provide administrator credentials to continue.
In the Visual Studio Installer window, click Install.
Once the installation is complete, you can start using Dotfuscator Community.
During Visual Studio Installation
If you have not yet installed Visual Studio, you can obtain the installer from the Visual Studio website. When run, it will display installation options for the selected Visual Studio edition.
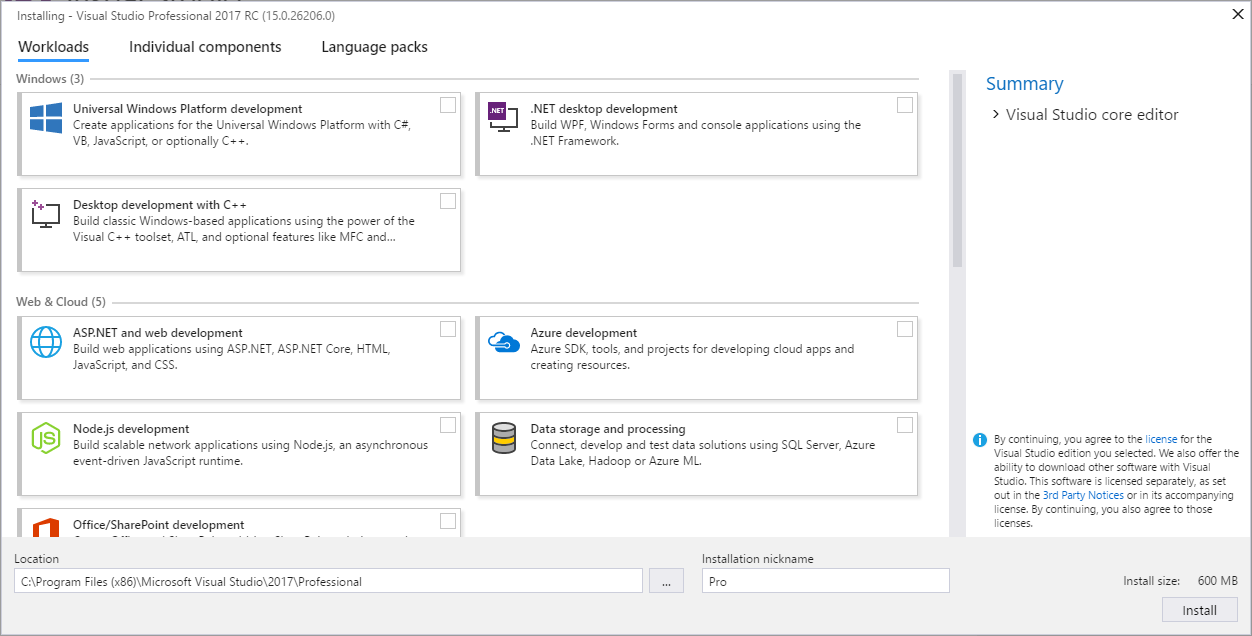
You can then install Dotfuscator Community as an individual component of Visual Studio:
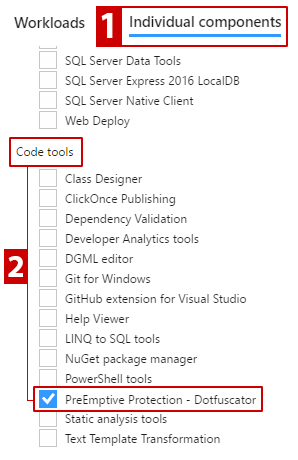
- Select the Individual components tab.
- Under Code tools, check the PreEmptive Protection - Dotfuscator item.
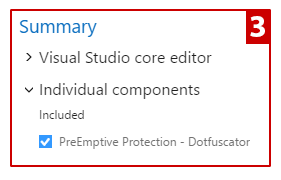
- The Summary panel displays PreEmptive Protection - Dotfuscator under the Individual Components section.
- Configure any further installation settings as appropriate for your environment.
- When ready to install Visual Studio, click the Install button.
Once the installation is complete, you can start using Dotfuscator Community. For details, see the Getting Started page of the full Dotfuscator Community User Guide.