Microsoft Security DevOps の Azure DevOps 拡張機能の構成

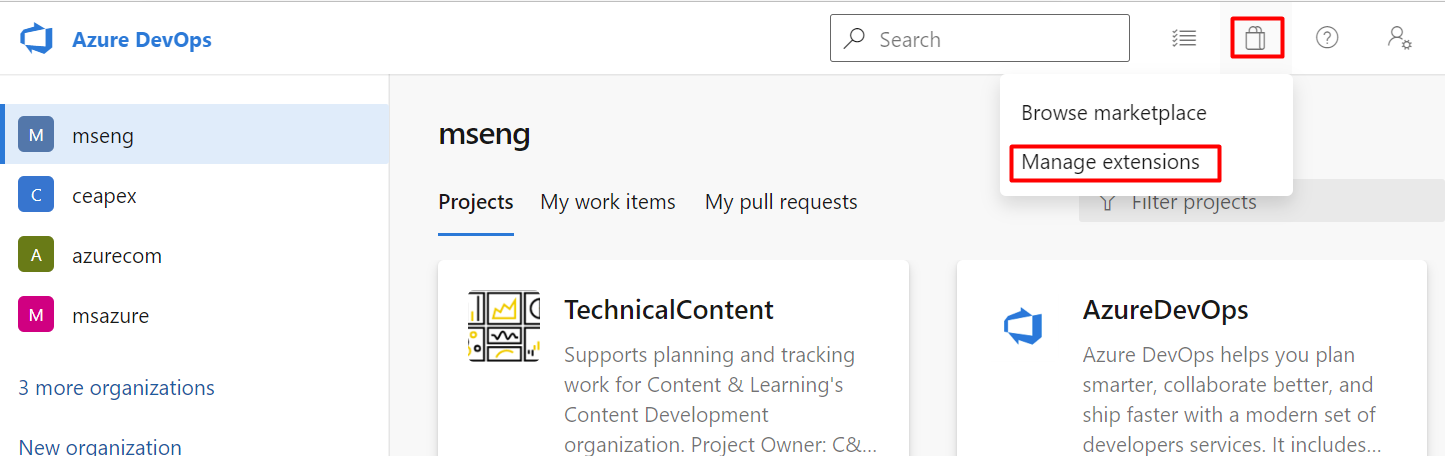
Microsoft Security DevOps は、静的分析ツールを開発ライフサイクルに統合するコマンド ライン アプリケーションです。 Microsoft Security DevOps は、静的分析ツール (SDL、セキュリティ、コンプライアンス ツールなど) の最新バージョンをインストール、構成、実行します。 Microsoft Security DevOps はデータドリブンであり、複数の環境で決定性の実行を可能にする移植可能な構成を備えています。

Microsoft Security DevOps では、次のオープンソース ツールが使われます。

名前 Language ライセンス
マルウェア対策 Microsoft Defender for Endpoint による Windows のマルウェア対策保護。マルウェアをスキャンし、マルウェアが検出された場合はビルドを中断します。 このツールは、既定では Windows 最新エージェントでスキャンします。 オープンソースではない
Bandit Python Apache License 2.0
BinSkim バイナリ -- Windows、ELF MIT ライセンス
ESlint JavaScript MIT ライセンス
IaCFileScanner Terraform、CloudFormation、ARM テンプレート、Bicep オープンソース以外
Template Analyzer ARM テンプレート、Bicep MIT ライセンス
Terrascan Terraform (HCL2)、Kubernetes (JSON/YAML)、Helm v3、Kustomize、Dockerfiles、CloudFormation Apache License 2.0
Trivy コンテナー イメージ、コードとしてのインフラストラクチャ (IaC) Apache License 2.0

Note

2023 年 9 月 20 日より、Azure DevOps 用 Microsoft Security DevOps (MSDO) 拡張機能内のシークレット スキャン (CredScan) ツールは非推奨になりました。 MSDO シークレット スキャンは、Azure DevOps 用 GitHub Advanced Security に置き換えられます。

前提条件

  • 拡張機能をインストールするには、Azure DevOps 組織に対するプロジェクト コレクション管理者の特権が必要です。

拡張機能をインストールするためのアクセス権がない場合は、インストール プロセスの間に Azure DevOps 組織の管理者にアクセス権を要求する必要があります。

Microsoft Security DevOps の Azure DevOps 拡張機能の構成

Microsoft Security DevOps の Azure DevOps 拡張機能を構成するには:

  1. Azure DevOps にサインインします。

  2. [Shopping Bag] (ショッピング カート)>[拡張機能の管理] に移動します。

    拡張機能管理画面に移動する方法を示すスクリーンショット。

  3. [共有] を選択します。

    注意

    既に Microsoft Security DevOps 拡張機能をインストールしてある場合は、[インストール済み] タブに表示されます。

  4. [Microsoft Security DevOps] を選びます。

    Microsoft Security DevOps を選ぶ場所を示すスクリーンショット。

  5. [インストール] を選択します。

  6. ドロップダウン メニューから適切な組織を選びます。

  7. [インストール] を選択します。

  8. [組織に進む] を選択します。

YAML を使用してパイプラインを構成する

YAML を使用してパイプラインを構成するには:

  1. Azure DevOps にサインインします

  2. プロジェクトを選択します。

  3. [パイプライン] に移動します

  4. [新しいパイプライン] を選択します。

    DevOps でパイプラインを作成する場所を示すスクリーンショット。

  5. [Azure Repos Git] を選択します。

    Azure リポジトリ Git を選ぶために移動する場所を示すスクリーンショット。

  6. 関連するリポジトリを選びます。

    リポジトリを選ぶ場所を示すスクリーンショット。

  7. [スタート パイプライン] を選択します。

    スタート パイプラインを選ぶ場所を示すスクリーンショット。

  8. パイプラインに次の YAML を貼り付けます。

    # Starter pipeline
    # Start with a minimal pipeline that you can customize to build and deploy your code.
    # Add steps that build, run tests, deploy, and more:
    # https://aka.ms/yaml
    trigger: none
    pool:
      # ubuntu-latest also supported.
      vmImage: 'windows-latest'
    steps:
    - task: MicrosoftSecurityDevOps@1
      displayName: 'Microsoft Security DevOps'
      inputs:    
      # command: 'run' | 'pre-job' | 'post-job'. Optional. The command to run. Default: run
      # config: string. Optional. A file path to an MSDO configuration file ('*.gdnconfig').
      # policy: 'azuredevops' | 'microsoft' | 'none'. Optional. The name of a well-known Microsoft policy. If no configuration file or list of tools is provided, the policy may instruct MSDO which tools to run. Default: azuredevops.
      # categories: string. Optional. A comma-separated list of analyzer categories to run. Values: 'code', 'artifacts', 'IaC', 'containers'. Example: 'IaC, containers'. Defaults to all.
      # languages: string. Optional. A comma-separated list of languages to analyze. Example: 'javascript,typescript'. Defaults to all.
      # tools: string. Optional. A comma-separated list of analyzer tools to run. Values: 'bandit', 'binskim', 'eslint', 'templateanalyzer', 'terrascan', 'trivy'.
      # break: boolean. Optional. If true, will fail this build step if any error level results are found. Default: false.
      # publish: boolean. Optional. If true, will publish the output SARIF results file to the chosen pipeline artifact. Default: true.
      # artifactName: string. Optional. The name of the pipeline artifact to publish the SARIF result file to. Default: CodeAnalysisLogs*.


    Note

    Defender for Cloud との統合には artifactName 'CodeAnalysisLogs' が必要です。 その他のツールの構成オプションと環境変数については、Microsoft Security DevOps Wiki を参照してください

  9. パイプラインをコミットするには、[保存および実行] を選びます。

    パイプラインは数分間実行して結果を保存します。

    Note

    生成された分析結果が [スキャン] タブの下に自動的に表示されるようにするには、Azure DevOps 組織に SARIF SAST スキャン タブ拡張機能をインストールします。

サードパーティのセキュリティ ツールからの結果を Defender for Cloud にアップロードする

Defender for Cloud には、一連のオープン ソース セキュリティ アナライザーで標準化された機能を利用し、ポリシー制御を行える MSDO CLI が用意されていますが、CI/CD パイプラインで構成した他のサード パーティ製のセキュリティ ツールからの結果を Defender for Cloud にアップロードできる柔軟性も備えています。これにより、包括的なコードからクラウドへのコンテキスト化が行えます。 Defender for Cloud にアップロードする結果はすべて、標準の SARIF 形式である必要があります。

まず、Azure DevOps リポジトリが Defender for Cloud にオンボードされていることを確認します。 Defender for Cloud のオンボードに成功したら、Defender for Cloud は "CodeAnalysisLogs" 成果物の SARIF 出力のを継続的に監視します。

"PublishBuildArtifacts@1" タスクを使用して、SARIF 出力が正しい成果物に発行されるようにすることができます。 たとえば、セキュリティ アナライザーで "results.sarif" が出力された場合、結果が Defender for Cloud に確実にアップロードされるように、ジョブで次のタスクを構成できます。

- task: PublishBuildArtifacts@1
  inputs:
    PathtoPublish: 'results.sarif'
    ArtifactName: 'CodeAnalysisLogs'

Findings from third-party security tools will appear as 'Azure DevOps repositories should have code scanning findings resolved' assessments associated with the repository the secuirty finding was identified in.