Microsoft Entra アカウントを使用したサインインを Spring Web アプリに追加します
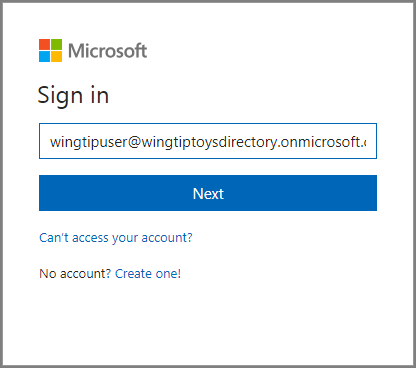
この記事では、Microsoft EntraアカウントによるサインインをサポートするSpring Webアプリを開発する方法について説明します。 この記事のすべての手順を完了すると、Web アプリが匿名でアクセスされると、[Microsoft Entra サインイン] ページにリダイレクトされます。 次のスクリーンショットは、[Microsoft Entra サインイン] ページを示しています。
前提条件
この記事の手順を完了するには、次の前提条件を満たす必要があります。
- サポートされている Java Development Kit (JDK)。 Azure での開発時に使用可能な JDK の詳細については、「Java の Azure および Azure Stack に関するサポート」 を参照してください。
- Apache Maven、バージョン 3.0 以降。
- Azure サブスクリプション。 Azure サブスクリプションをお持ちでない場合は、無料アカウントを作成してください。
重要
この記事の手順を完了するには、Spring Boot 2.5 以降のバージョンが必要です。
Spring Initializr を使用したアプリの作成
https://start.spring.io/ を参照します。
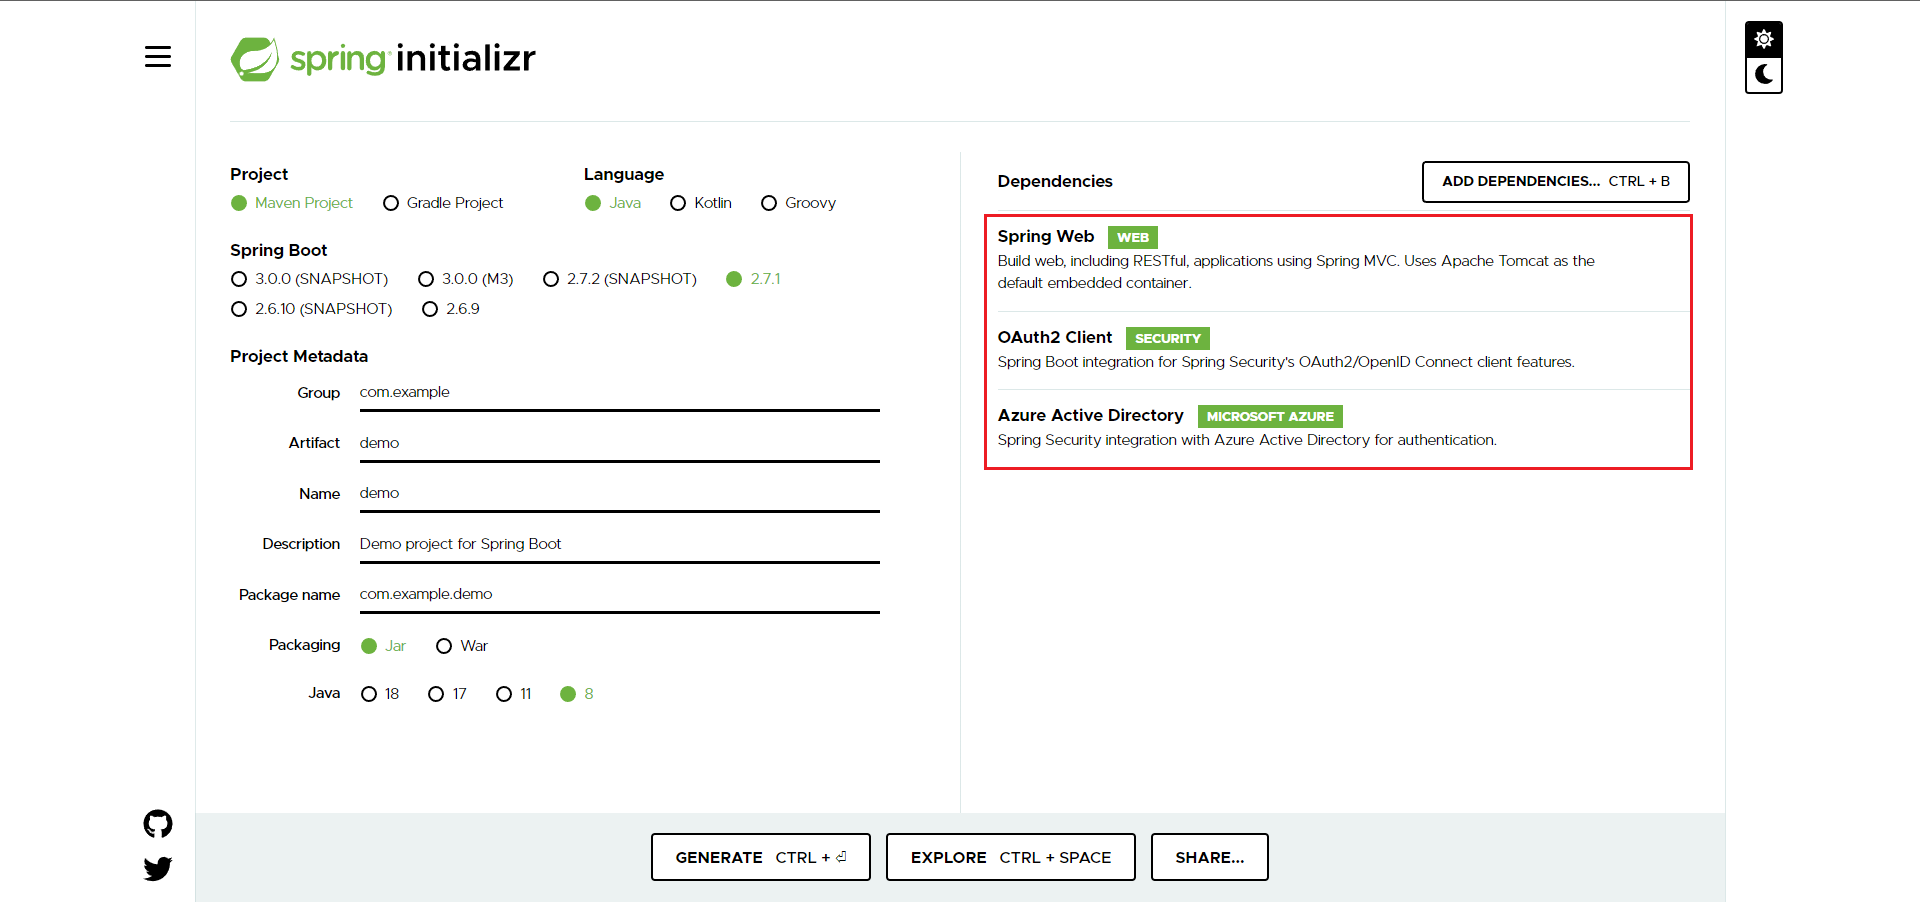
Java で Maven プロジェクトを生成することを指定し、アプリケーションの [グループ] と [アーティファクト] に名前を入力します。
Spring Web、Microsoft Entra ID、OAuth2 クライアントの依存関係を追加します。
ページの下部にある [GENERATE]\(生成\) ボタンを選択します。
メッセージが表示されたら、ローカル コンピューター上のパスにプロジェクトをダウンロードします。
Microsoft Entra インスタンスを作成する
Active Directory インスタンスを作成する
既存のインスタンスの管理者である場合は、このプロセスを省略できます。
https://portal.azure.com にログインします。
[すべてのサービス]、[ID]、[Microsoft Entra ID] の順に選択します。
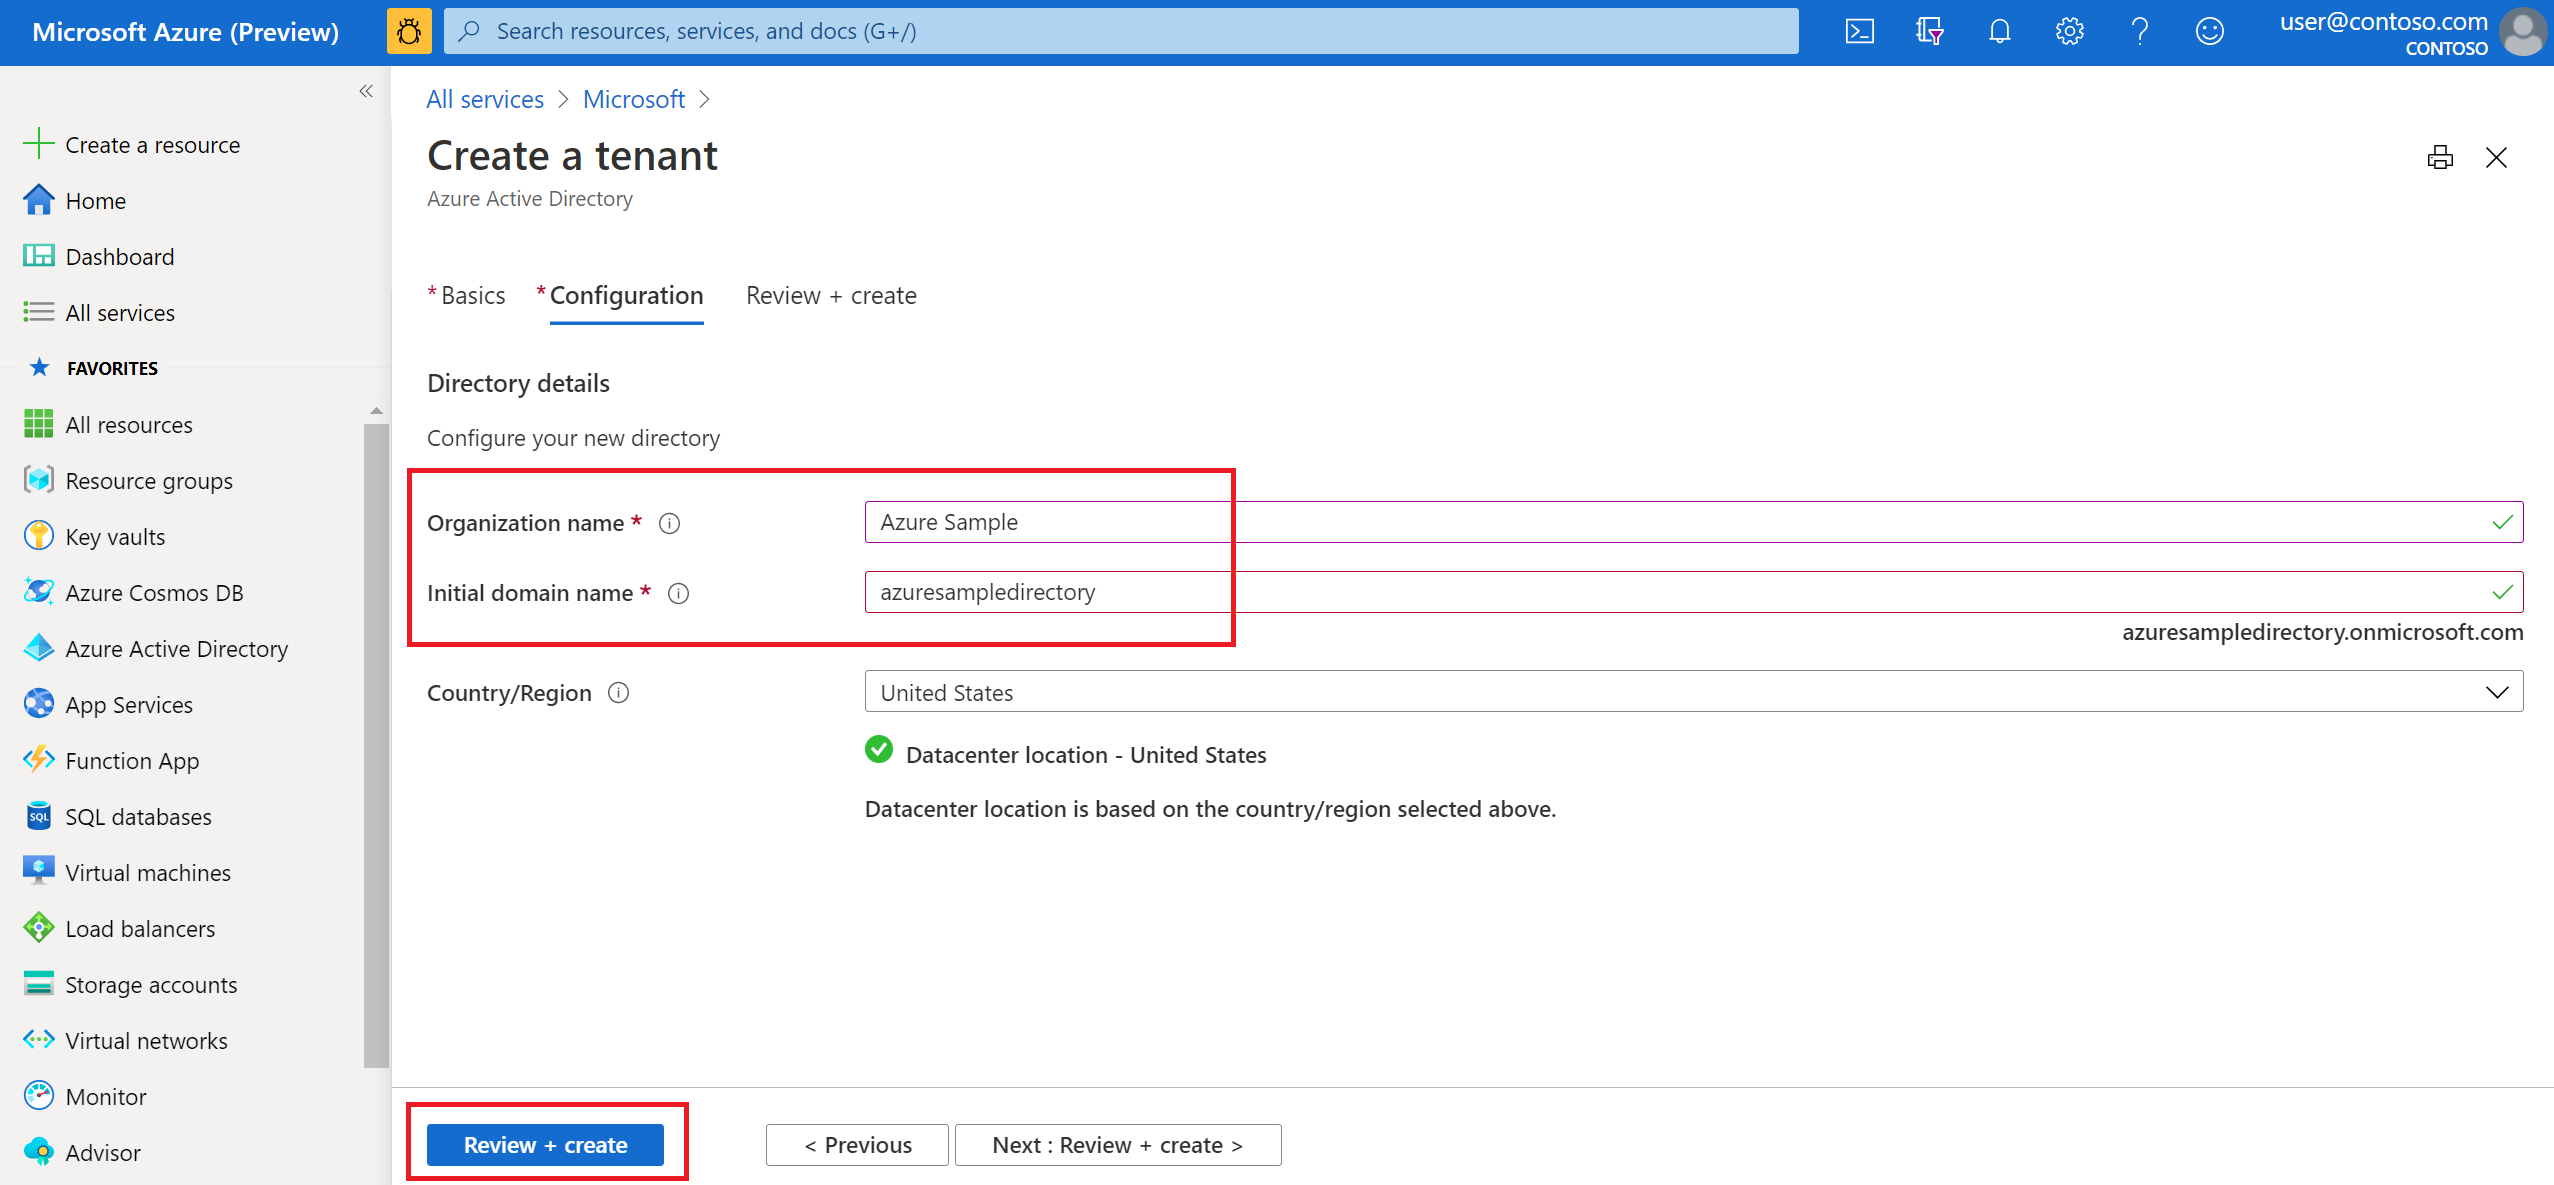
組織名と初期ドメイン名を入力します。 ディレクトリの完全な URL をコピーします。 このチュートリアルで後ほど、この URL を使用してユーザー アカウントを追加します。 (例:
azuresampledirectory.onmicrosoft.com)。ディレクトリの完全な URL をコピーします。 このチュートリアルで後ほど、この URL を使用してユーザー アカウントを追加します。 (例:
azuresampledirectory.onmicrosoft.com)。完了したら、[作成] を選択します。 新しいリソースの作成には数分かかります。
完了したら、表示されたリンクを選択して新しいディレクトリにアクセスします。

テナント ID をコピーします。 この ID 値を使用して、このチュートリアルで後ほど application.properties ファイルを構成します。


Spring Boot アプリのアプリケーション登録を追加する
ポータル メニューで [アプリの登録] を選択してから、[アプリケーションの登録] を選択します。
アプリケーションを指定し、[登録] を選択します。
アプリ登録のページが表示されたら、アプリケーション (クライアント) ID とディレクトリ (テナント) ID をコピーします。 このチュートリアルで後ほど、これらの値を使用して application.properties ファイルを構成します。

左側のナビゲーション ウィンドウで、[証明書とシークレット] を選択します。 次に、[新しいクライアント シークレット] を選択します。
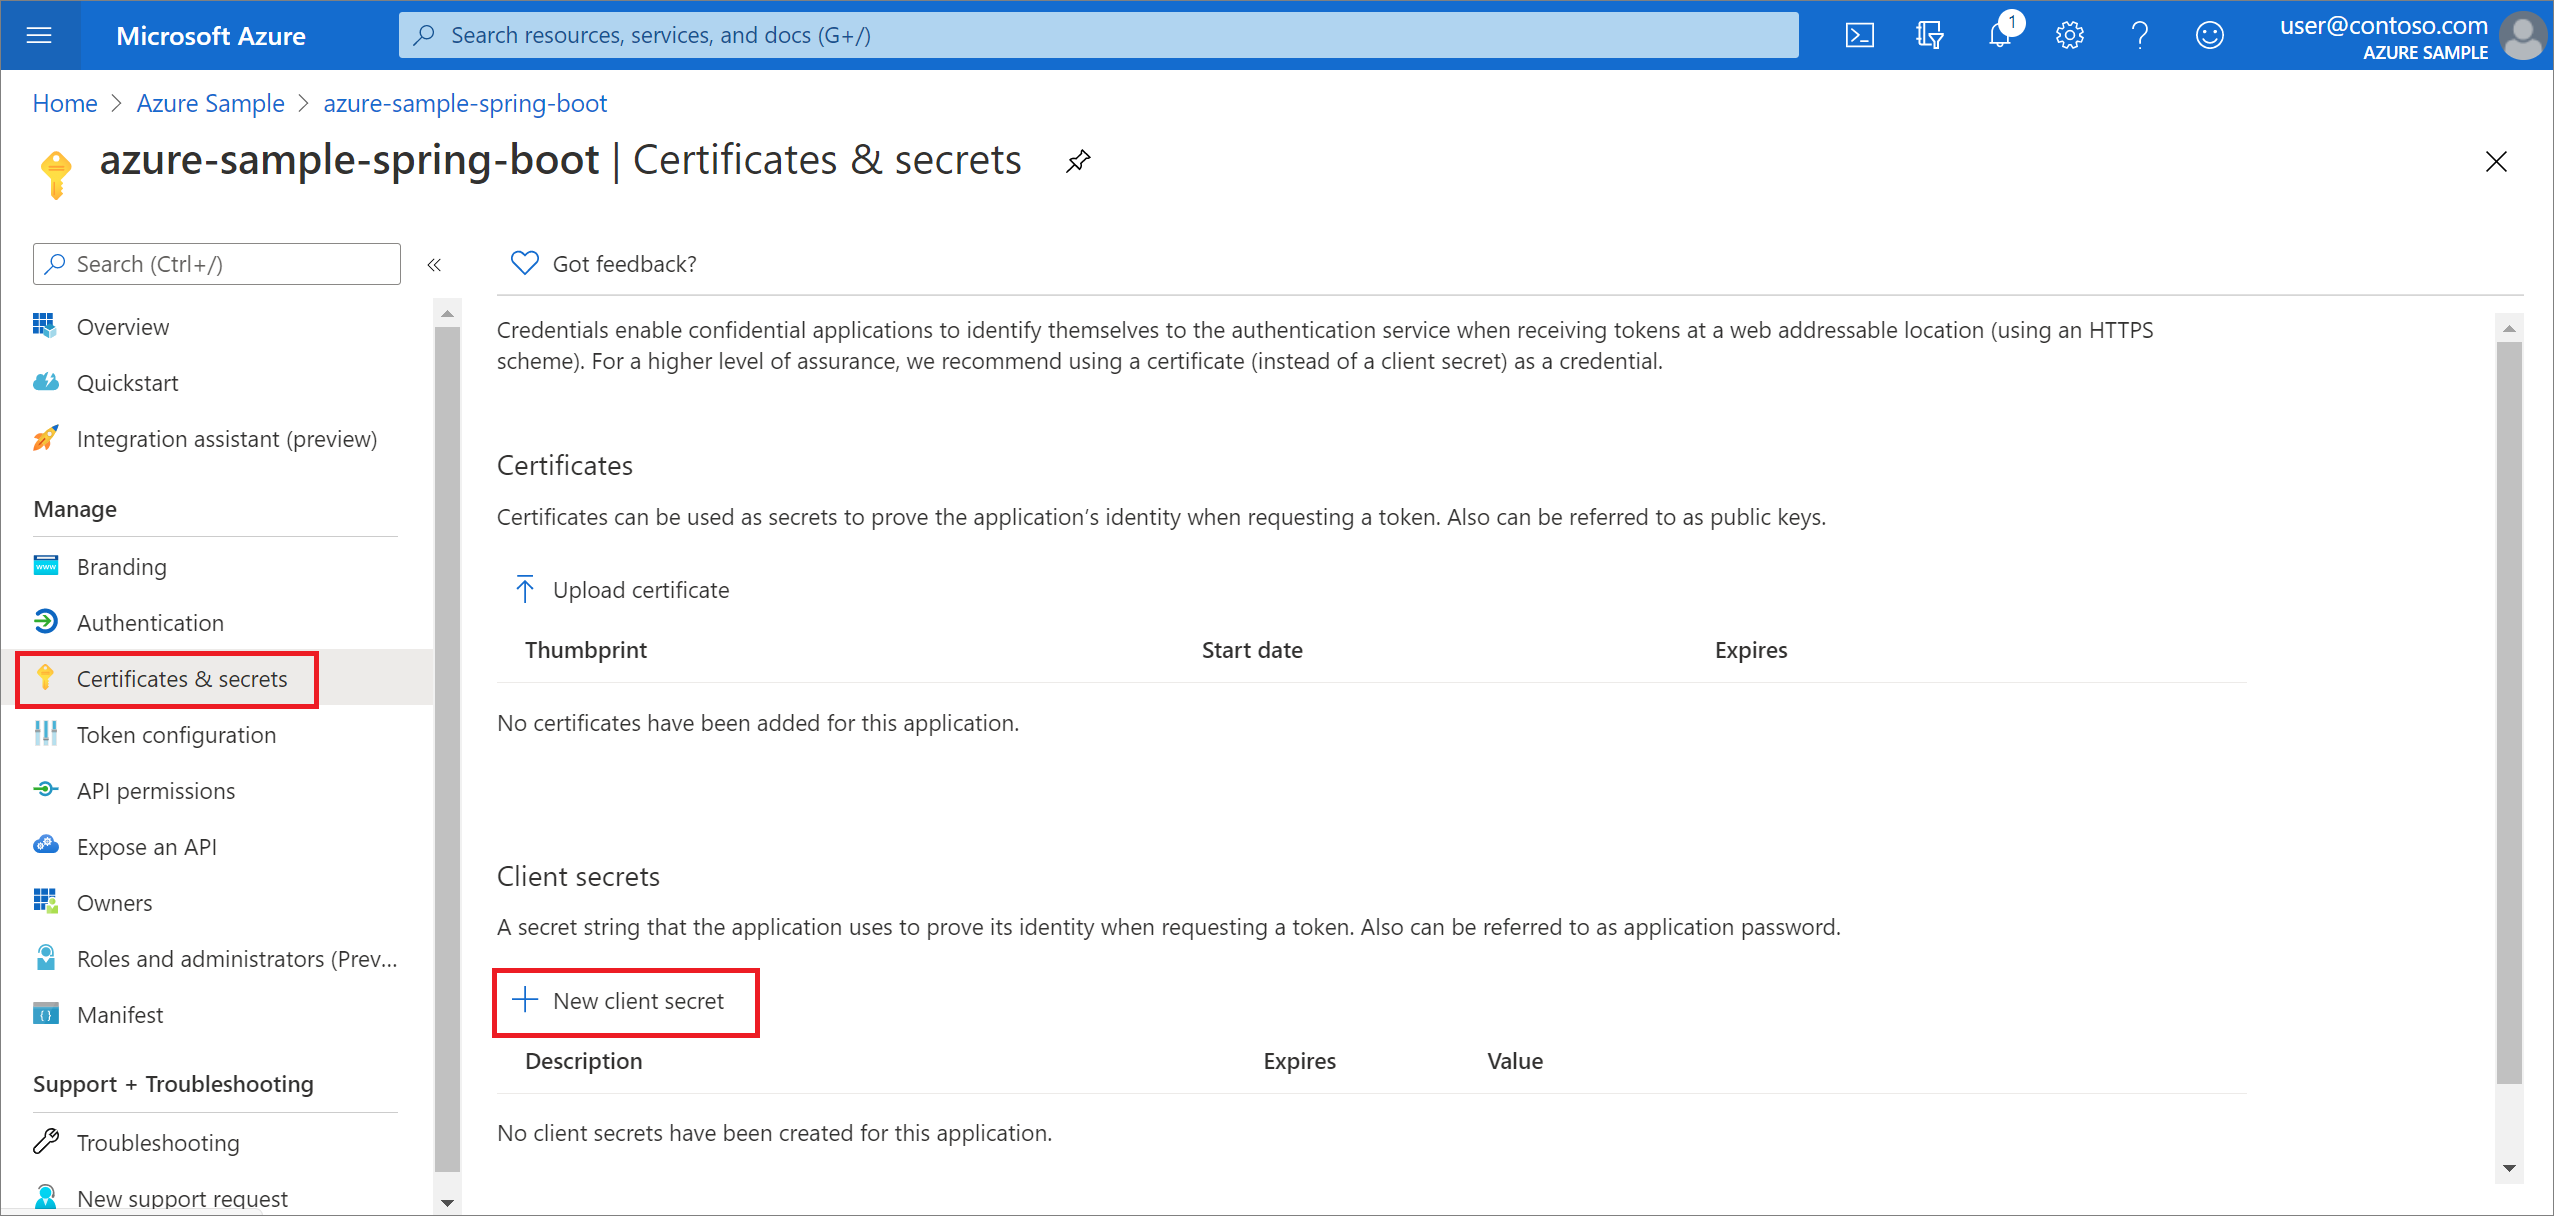
説明を追加し、[有効期限] 一覧で期間を選択します。 [追加] を選択します。 キーの値は自動的に入力されます。
このチュートリアルの後の方で application.properties ファイルを構成するために、クライアント シークレットの値をコピーして保存します。 (この値は後で取得することはできません)。

アプリ登録のメイン ページで、[認証] を選択し、[プラットフォームを追加] を選択します。 次に、[Web アプリケーション] を選択します。

新しいhttp://localhost:8080/login/oauth2/code/リダイレクト URI として「」と入力し、[構成] を選択します。
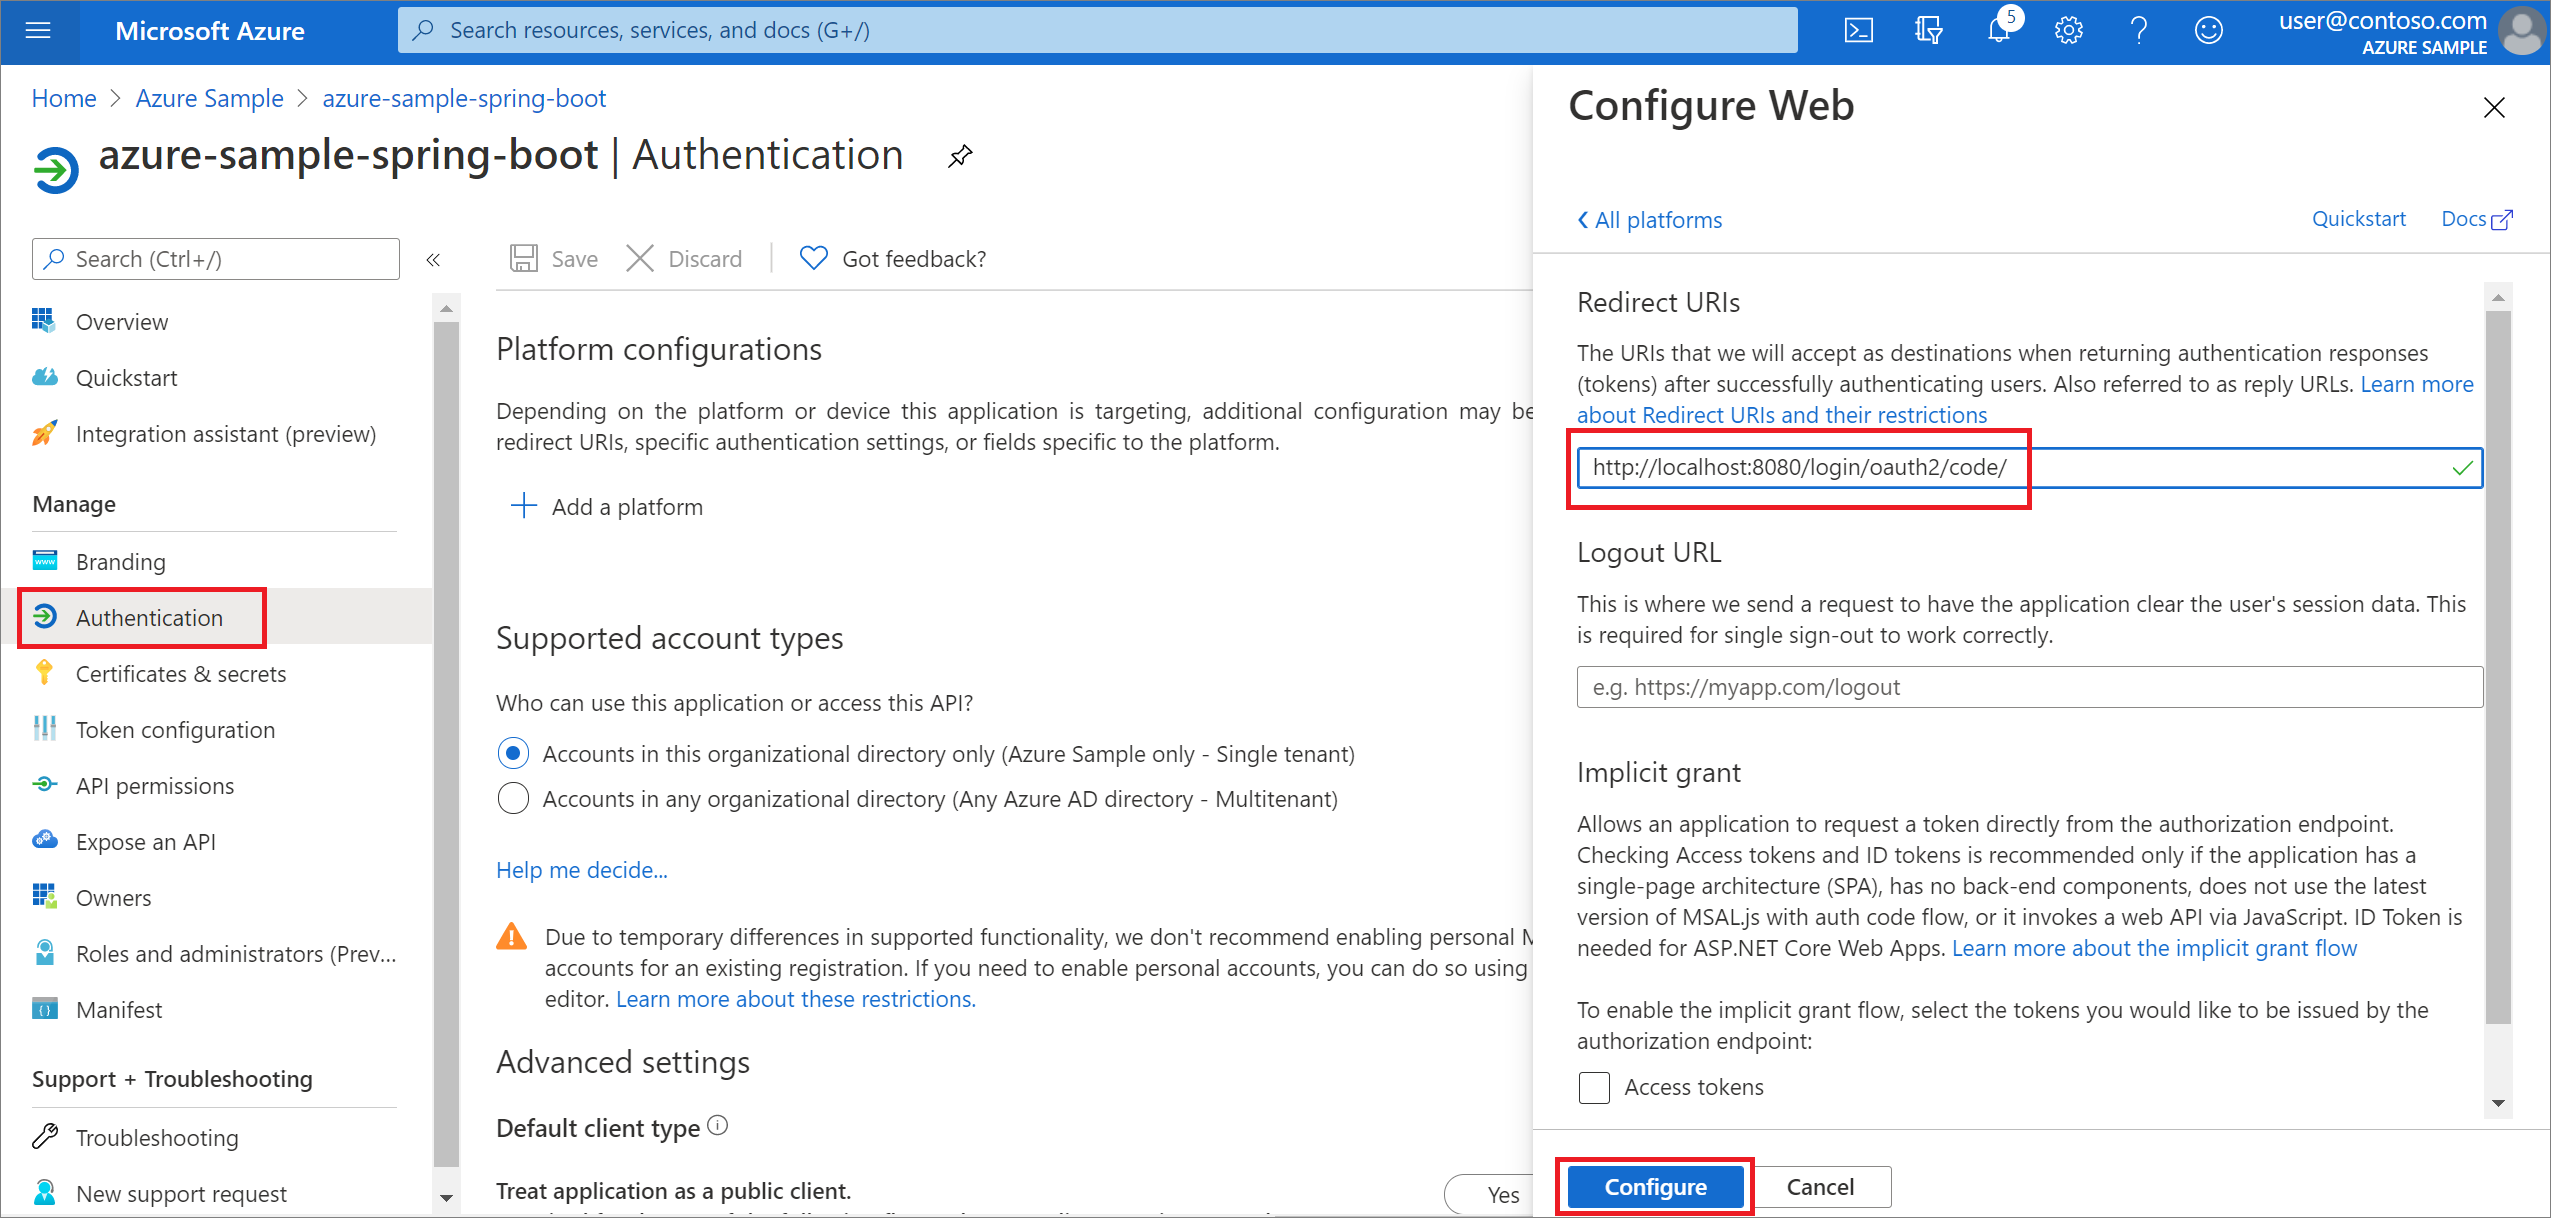
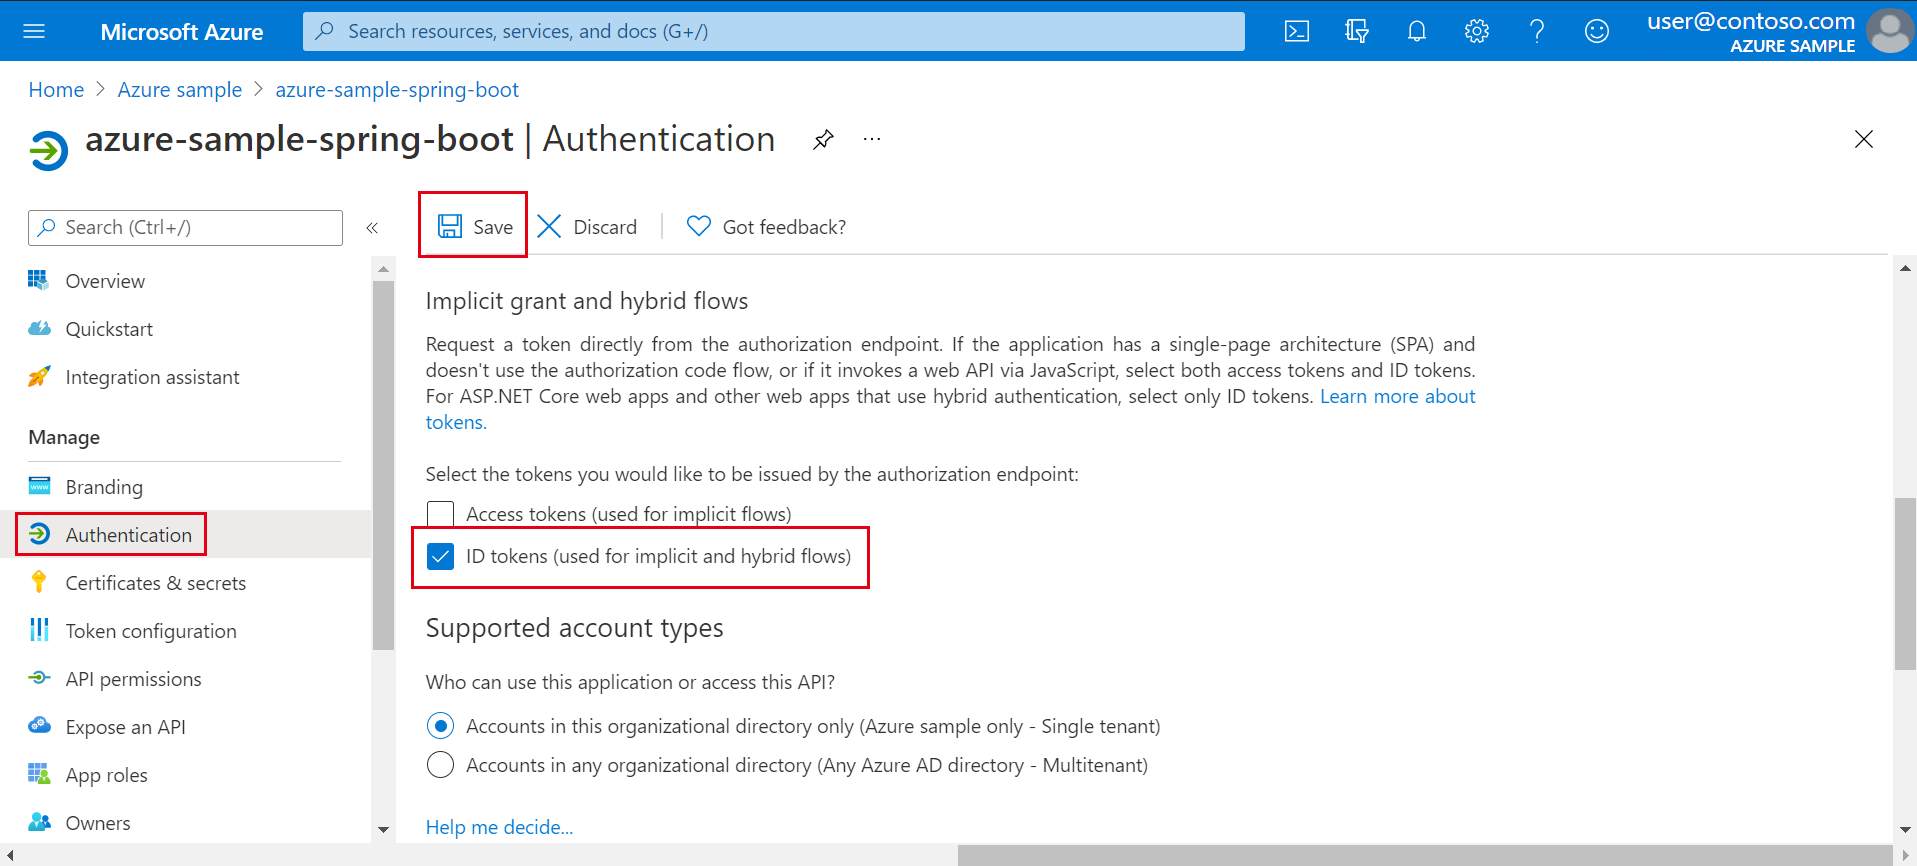
3.0.0 より前の Microsoft Entra スターター バージョンを使用するように pom.xml ファイルを変更した場合は、[暗黙的な許可およびハイブリッド フロー] で [ID トークン (暗黙的およびハイブリッドのフローに使用)] を選択し、[保存] を選択します。


ディレクトリにユーザー アカウントを追加し、そのアカウントを appRole に追加する
Active Directory の [概要] ページで、[ユーザー] を選択し、次に [新しいユーザー] を選択します。
[ユーザー] パネルが表示されたら、[ユーザー名] と [名前] を入力します。 [作成] を選択します。
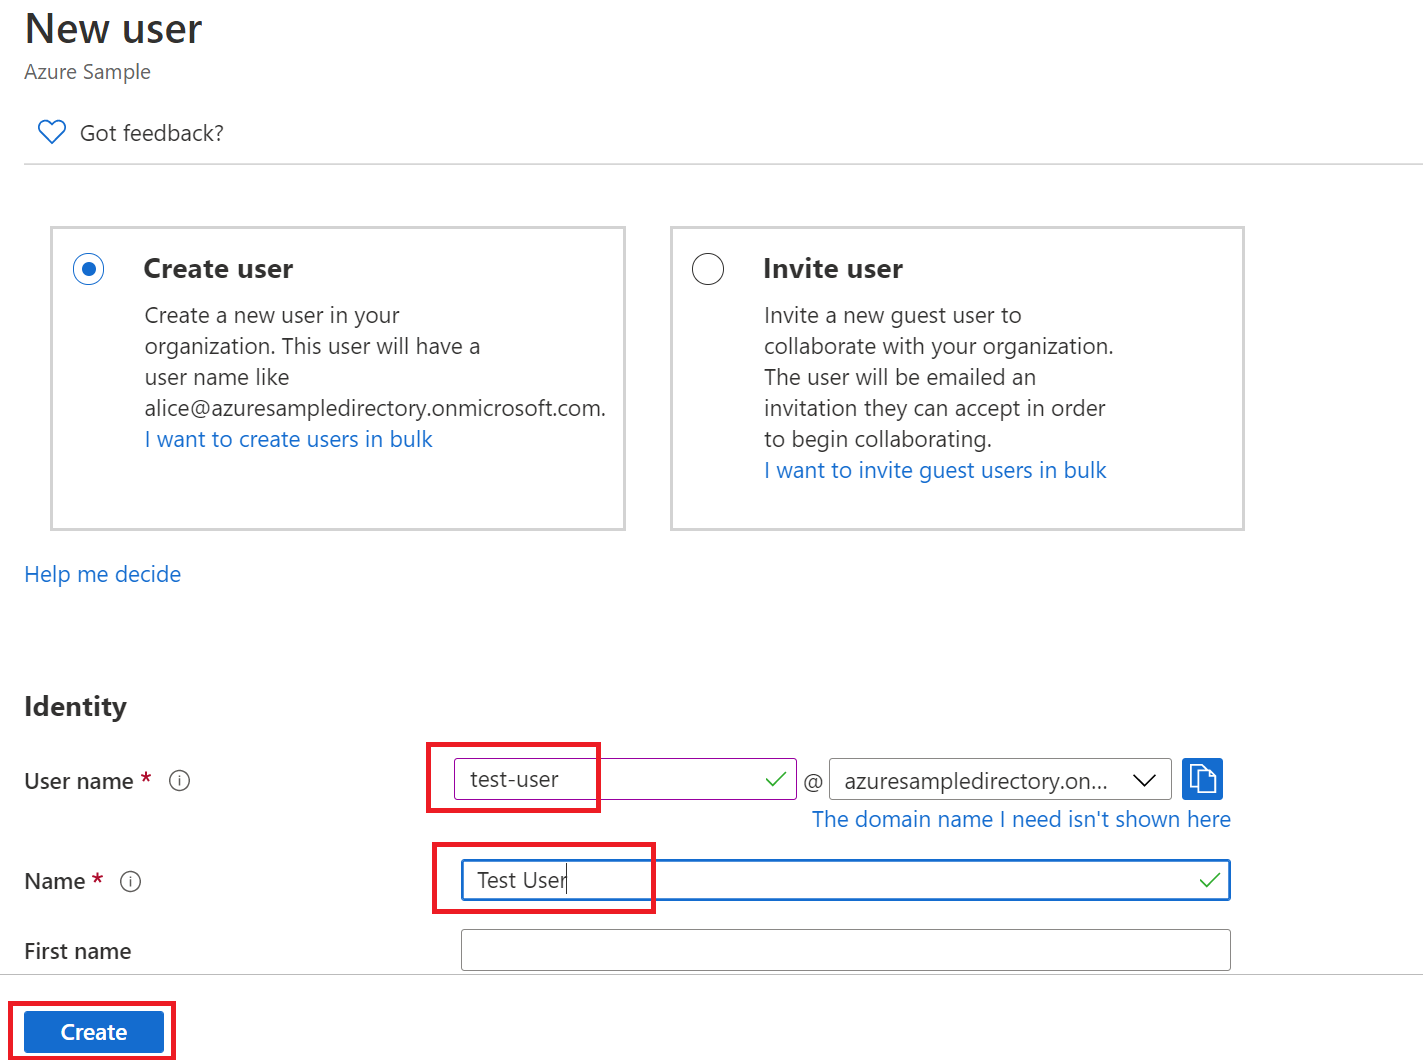
Note
ユーザー名を入力するときに、このチュートリアルで先に出てきたディレクトリの URL を指定する必要があります。 次に例を示します。
test-user@azuresampledirectory.onmicrosoft.comアプリ登録のメイン ページで、[アプリのロール] を選択し、[アプリ ロールの作成] を選択します。 フォーム フィールドに値を入力し、[このアプリ ロールを有効にしますか?] を選択し、[適用] を選択します。

Microsoft Entra Directory の [概要] ページから、[エンタープライズ アプリケーション] を選択します。

[すべてのアプリケーション] を選択し、前の手順でアプリ ロールを追加したアプリケーションを選択します。
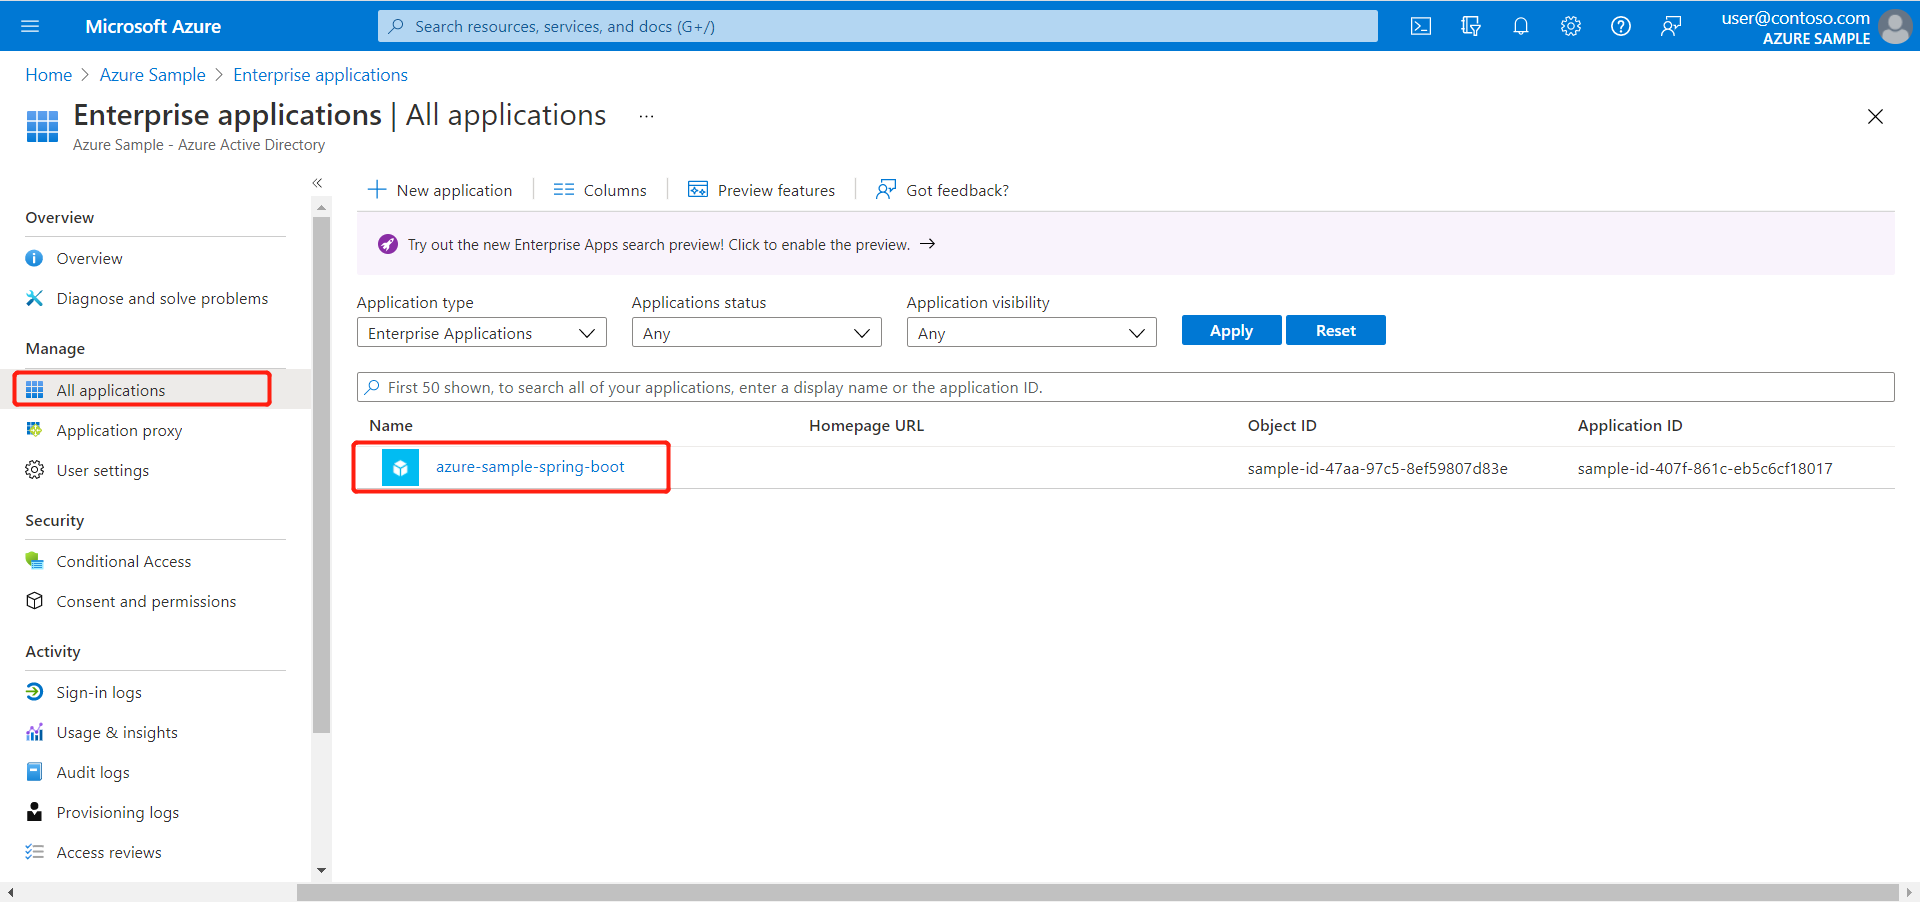
[ユーザーとグループ]、[ユーザーまたはグループの追加] の順に選択します。
[ユーザー] で [選択なし] を選択します。 先ほど作成したユーザーを選択し、[選択]、[割り当て] の順に選択します。 前に複数のアプリ ロールを作成した場合は、ロールを選択します。

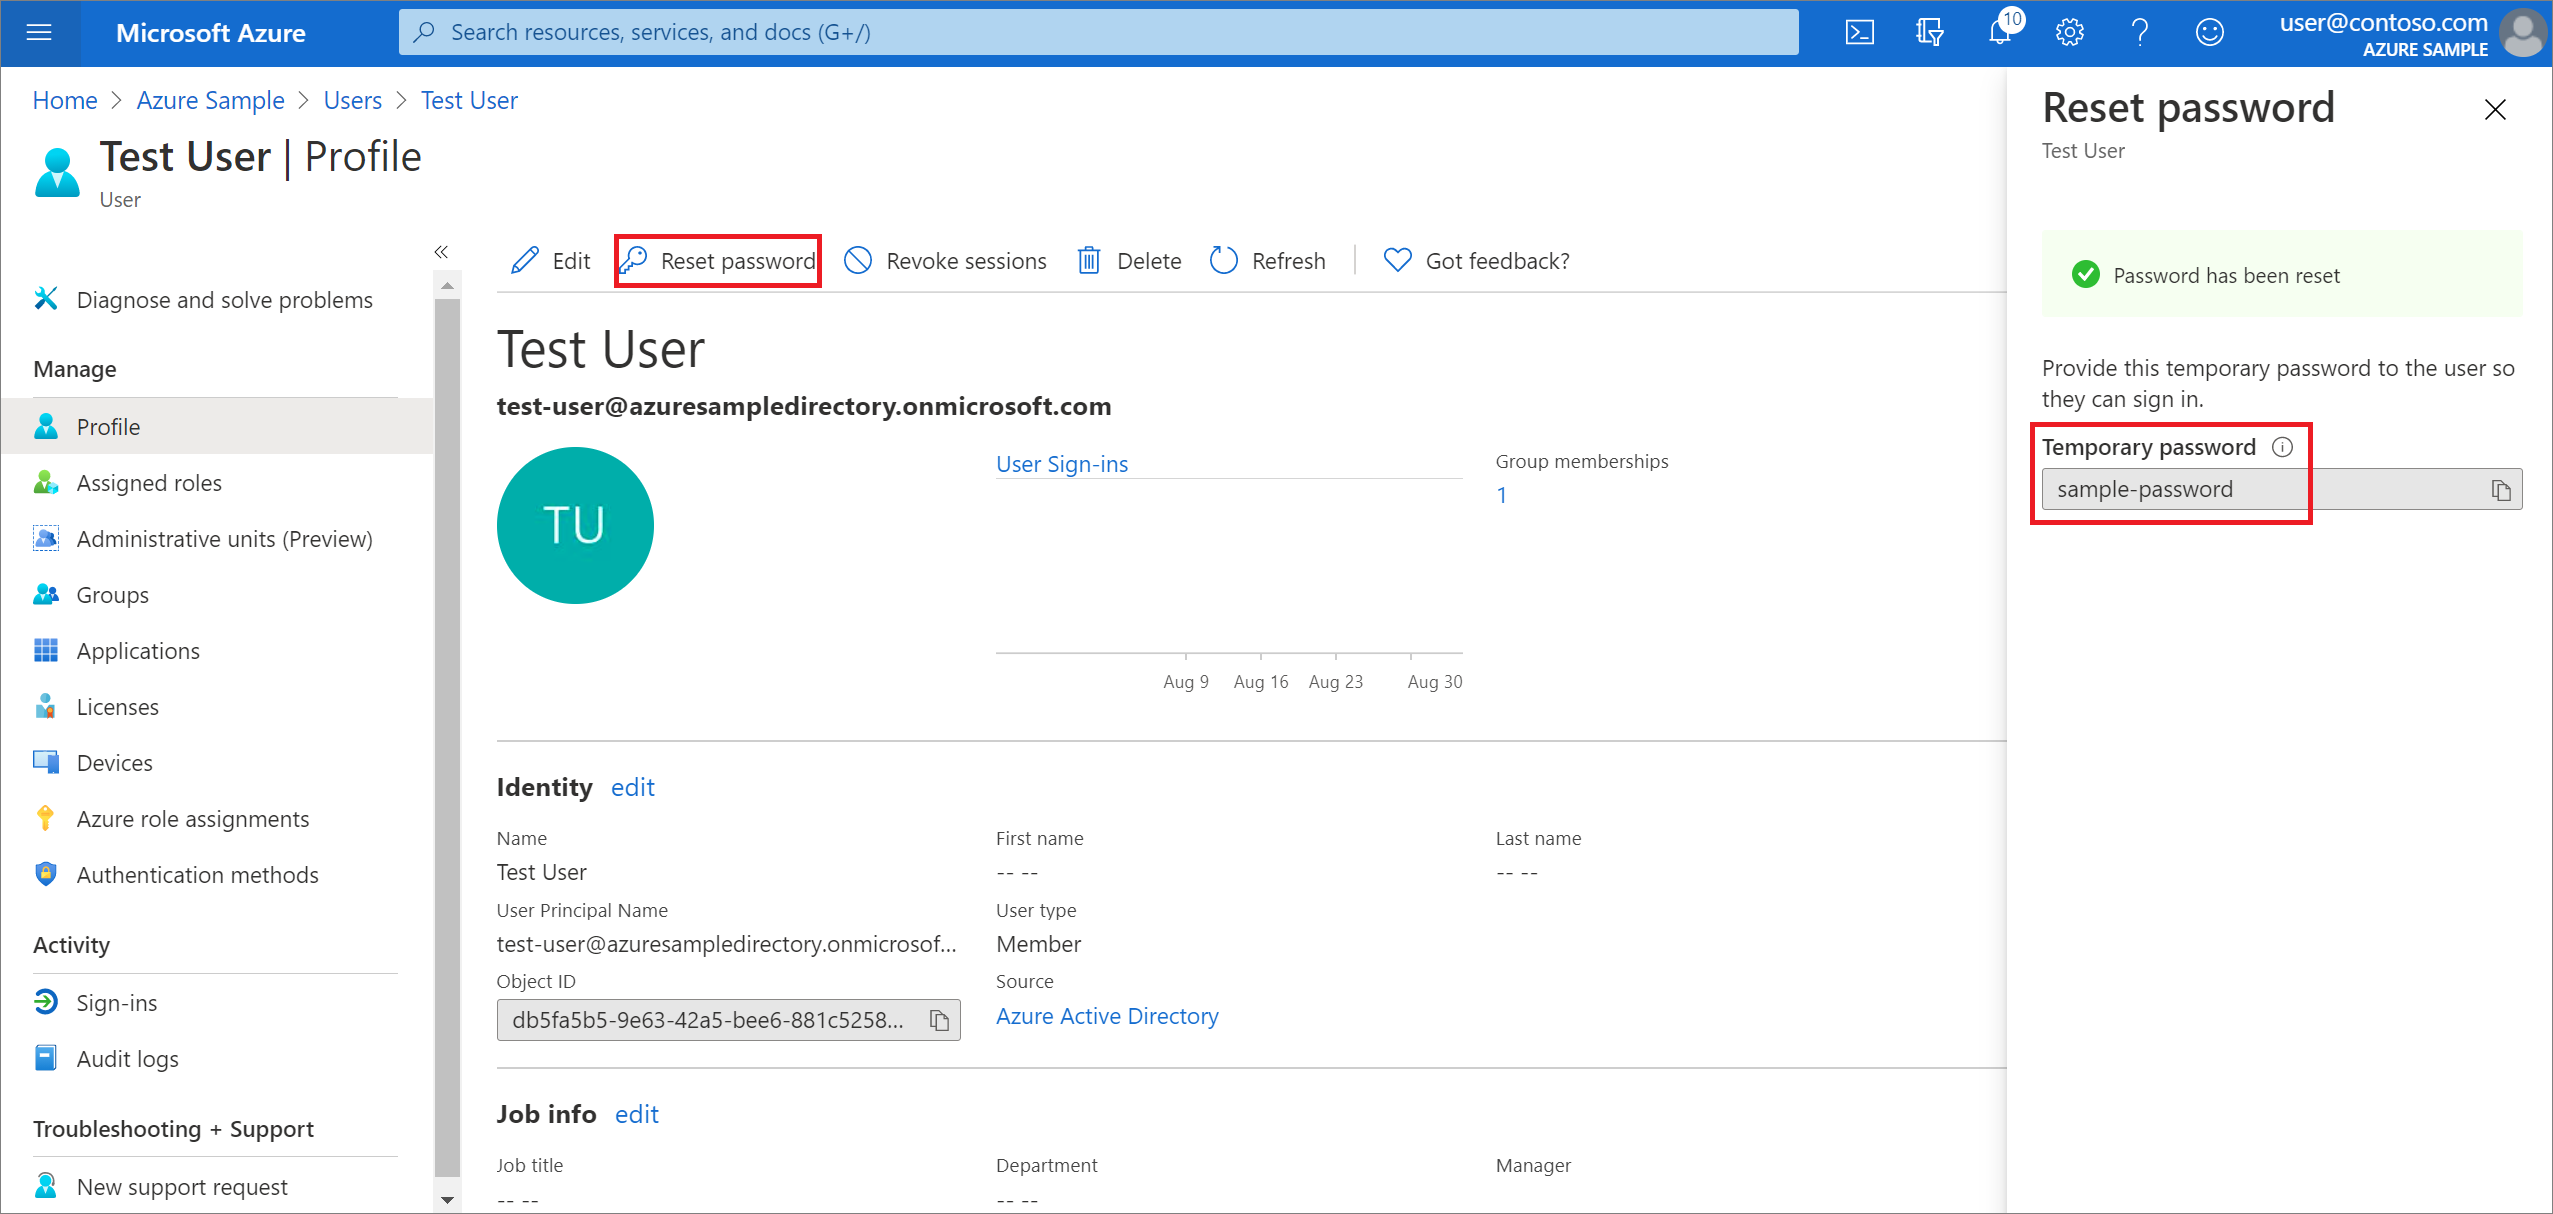
[ユーザー] パネルに戻り、テスト ユーザーを選択し、[パスワードのリセット] を選択してパスワードをコピーします。 このパスワードは、このチュートリアルで後ほどアプリケーションにログインするときに使用します。


アプリの構成およびコンパイル
このチュートリアルで先ほど作成しダウンロードしたプロジェクト アーカイブからディレクトリにファイルを抽出します。
プロジェクトの src/main/resources フォルダーに移動し、テキスト エディターで application.properties ファイルを開きます。
前に作成した値を使用して、アプリ登録の設定を指定します。 次に例を示します。
# Enable related features.
spring.cloud.azure.active-directory.enabled=true
# Specifies your Active Directory ID:
spring.cloud.azure.active-directory.profile.tenant-id=22222222-2222-2222-2222-222222222222
# Specifies your App Registration's Application ID:
spring.cloud.azure.active-directory.credential.client-id=11111111-1111-1111-1111-1111111111111111
# Specifies your App Registration's secret key:
spring.cloud.azure.active-directory.credential.client-secret=AbCdEfGhIjKlMnOpQrStUvWxYz==
条件:
パラメーター 説明 spring.cloud.azure.active-directory.enabledspring-cloud-azure-starter-active-directory によって提供される機能を有効にする spring.cloud.azure.active-directory.profile.tenant-id前の Active Directory の ディレクトリ ID を指定します。 spring.cloud.azure.active-directory.credential.client-id以前に完了したアプリ登録のアプリケーション ID を指定します。 spring.cloud.azure.active-directory.credential.client-secret以前に完了したアプリ登録キーの値 を指定します。 application.properties ファイルを保存して閉じます。
アプリケーションの Java ソース フォルダー内に controller という名前のフォルダーを作成します。 例: src/main/java/com/wingtiptoys/security/controller。
controller フォルダーに "HelloController.java" という名前の新しい Java ファイルを作成し、テキスト エディターで開きます。
次のコードを入力し、ファイルを保存して閉じます。
package com.wingtiptoys.security;

import org.springframework.web.bind.annotation.GetMapping;
import org.springframework.web.bind.annotation.ResponseBody;
import org.springframework.web.bind.annotation.RestController;
import org.springframework.security.access.prepost.PreAuthorize;

@RestController
public class HelloController {
     @GetMapping("Admin")
     @ResponseBody
     @PreAuthorize("hasAuthority('APPROLE_Admin')")
     public String Admin() {
         return "Admin message";
     }
}
アプリのビルドとテスト
コマンド プロンプトを開き、ディレクトリをアプリの pom.xml ファイルがあるフォルダーに変更します。
自分の Spring Boot アプリケーションを Maven でビルドし、実行します。 次に例を示します。
mvn clean package
mvn spring-boot:run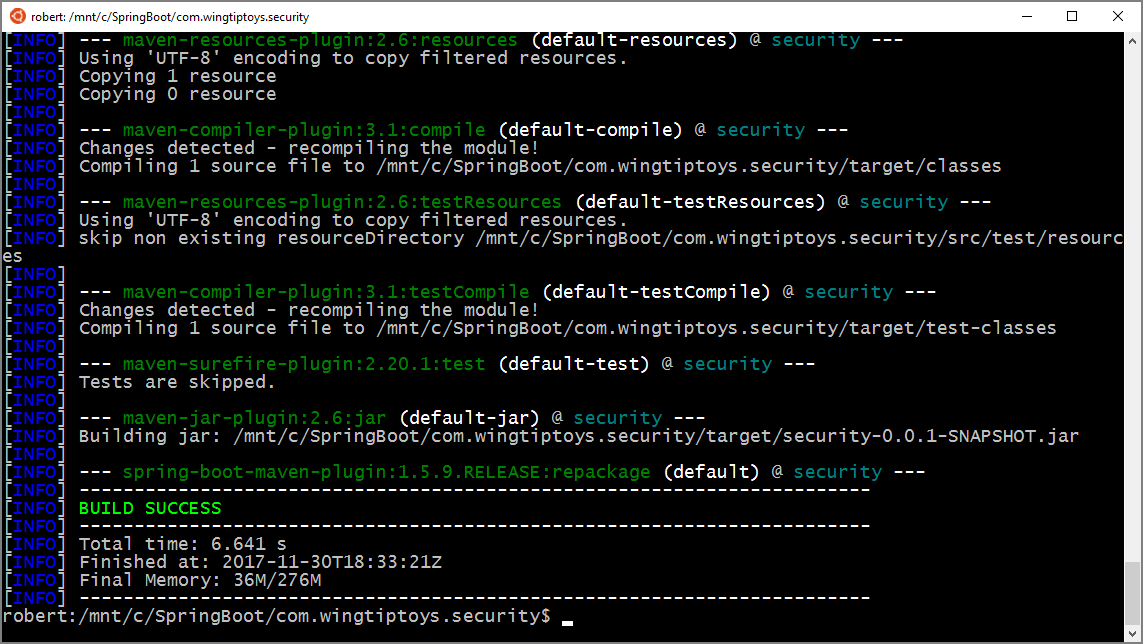
Maven でアプリケーションをビルドし、起動したら、Web ブラウザーで
http://localhost:8080/Adminを開きます。 ユーザー名とパスワードの入力を求められます。
Note
新しいユーザー アカウントに初めてログインする場合、パスワードの変更を求められることがあります。
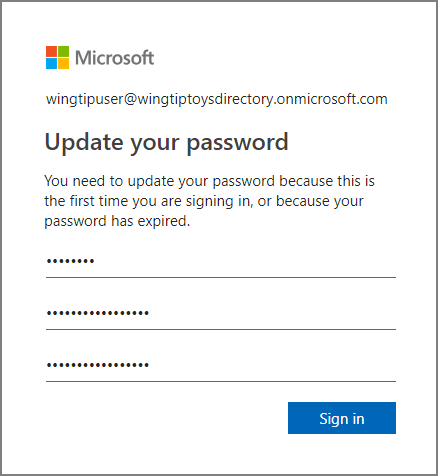
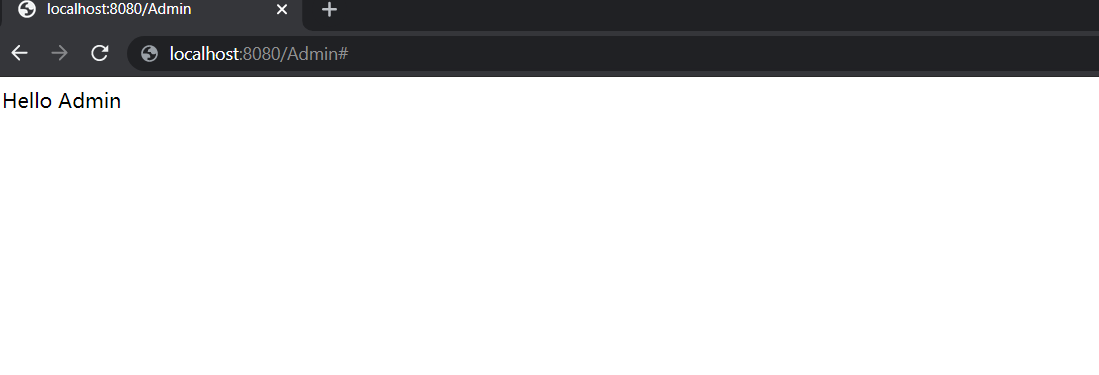
正常にログインしたら、コントローラーにサンプルの "管理者メッセージ" テキストが表示されます。
まとめ
このチュートリアルでは、Microsoft Entra スターターを使用した新しい Java Web アプリケーションの作成、新しい Microsoft Entra テナントの構成、およびそのテナントへの新しいアプリケーションの登録を行いました。また、Spring の注釈とクラスを使用して Web アプリを保護するようにアプリケーションを構成しました。
関連項目
- 新しい UI オプションについて詳しくは、「新しい Azure portal アプリの登録トレーニング ガイド」をご覧ください。
次のステップ
Spring および Azure の詳細については、Azure ドキュメント センターで引き続き Spring に関するドキュメントをご確認ください。
フィードバック
以下は間もなく提供いたします。2024 年を通じて、コンテンツのフィードバック メカニズムとして GitHub の issue を段階的に廃止し、新しいフィードバック システムに置き換えます。 詳細については、「https://aka.ms/ContentUserFeedback」を参照してください。
フィードバックの送信と表示