演習: 始めての .NET MAUI アプリを作成する
この演習では、食料品店チェーン向けの .NET MAUI アプリの構築に入ります。 テンプレートを使って既定アプリを生成し、Windows と Android エミュレーターで実行します。 後の演習でこのアプリを変更して、ユーザー インターフェイスをカスタマイズし、食品店チェーン アプリに必要な機能を追加します。
新しいプロジェクトを作成する
Visual Studio を開き、新しいソリューションを作成します。 この操作により、Visual Studio で [新しいプロジェクト] ウィザードが開きます。
ヒント
Visual Studio 2022 v17.3 以降 (.NET 8 では v17.8 が最適です) で .NET MAUI ワークロードがインストールされていることを確認します。 詳細については、こちらを参照してください。
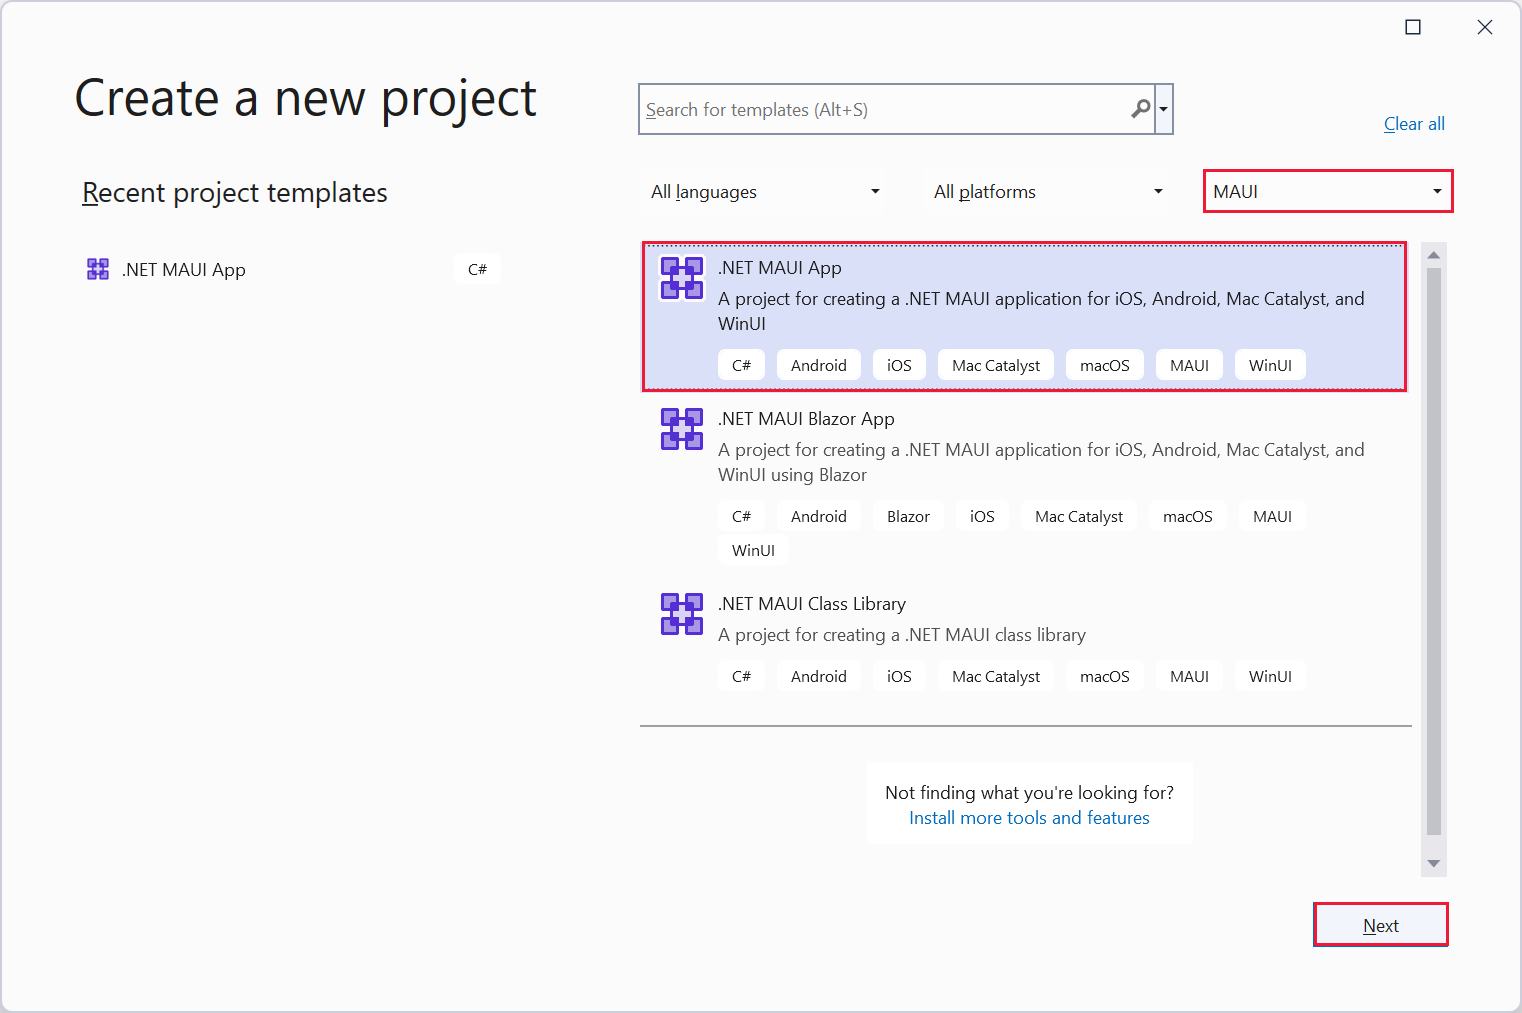
[MAUI] というプロジェクトの種類を選択し、[.NET MAUI アプリ] テンプレートを選んで [次へ] を選択します。
[新しいプロジェクトの構成] ページで、プロジェクトに「Phoneword」という名前を付けて、任意の場所に保存します。 [次へ] を選択します。

[フレームワーク] ドロップダウンで [.NET 8.0 (長期サポート)] を選択した後、[作成] を選択してアプリを作成します。
ソリューション構造の確認
ソリューション エクスプローラー ウィンドウで、Phoneword プロジェクトを展開します。 リソース フォルダーとそのサブフォルダーを展開し、App.xaml ノードと AppShell.xaml ノード、および MainPage.xaml ノードを展開します。
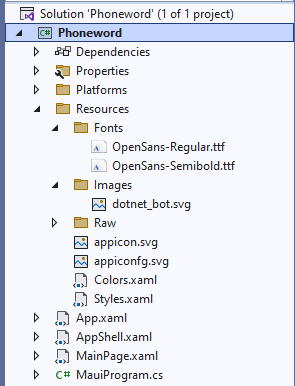
プロジェクトでは、次の項目に注意してください。
リソース フォルダーには、すべてのプラットフォームで使われる共有フォント、画像、資産が含まれています。
MauiProgram.cs ファイルには、アプリケーションを構成するコードが含まれており、アプリケーションの実行に App クラスを使う必要があることを指定します。
App.xaml.cs ファイルでは、App クラスのコンストラクターが AppShell クラスの新しいインスタンスを作成し、それをアプリケーション ウィンドウに表示します。
AppShell.xaml ファイルには、アプリケーションのメイン レイアウトと MainPage の開始ページが含まれています。
MainPage.xaml ファイルには、ページのレイアウトが含まれています。 このレイアウトには、Click me (ここをクリック) というキャプションを持つボタンの XAML コードと、dotnet_bot.png ファイルを表示する画像が含まれています。 他にも 2 つのラベルがあります。
MainPage.xaml.cs ファイルには、このページのアプリケーション ロジックが含まれています。 具体的には、MainPage クラスには、
OnCounterClickedという名前のメソッドがあり、ユーザーが [ここをクリック] ボタンをタップすると実行されます。
Windows でアプリケーションをビルドして実行する
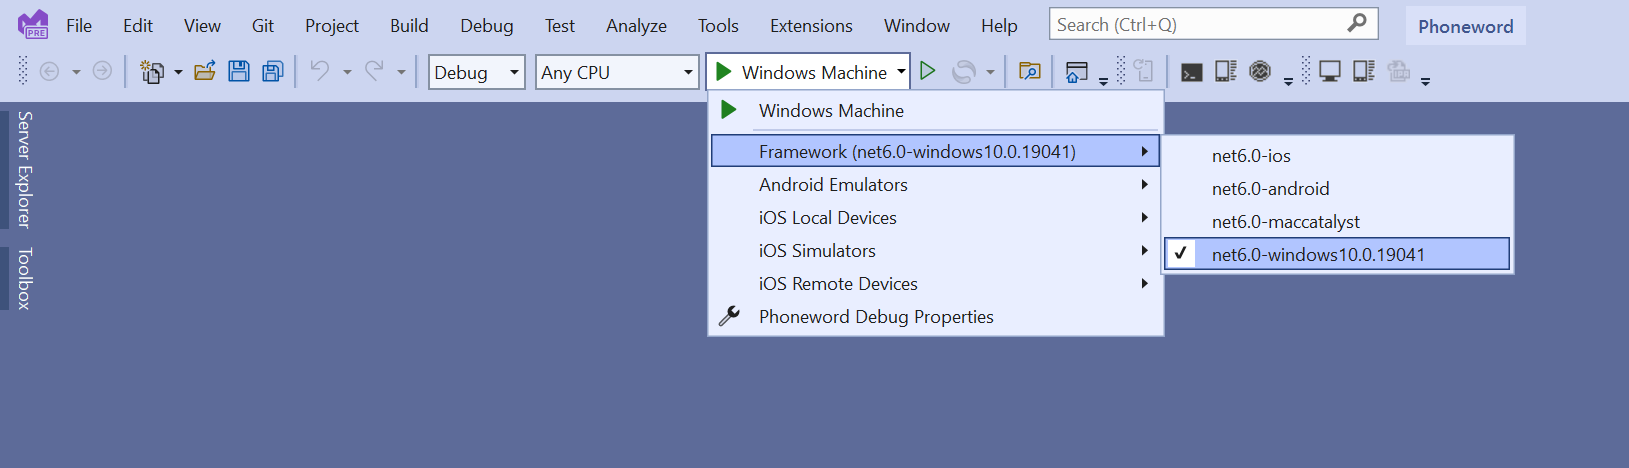
Visual Studio ツール バーで、[Windows マシン] プロファイルを選びます。 [フレームワーク] ドロップダウン リスト ボックスの一覧から [.net6.0-windows] フレームワークを選びます。
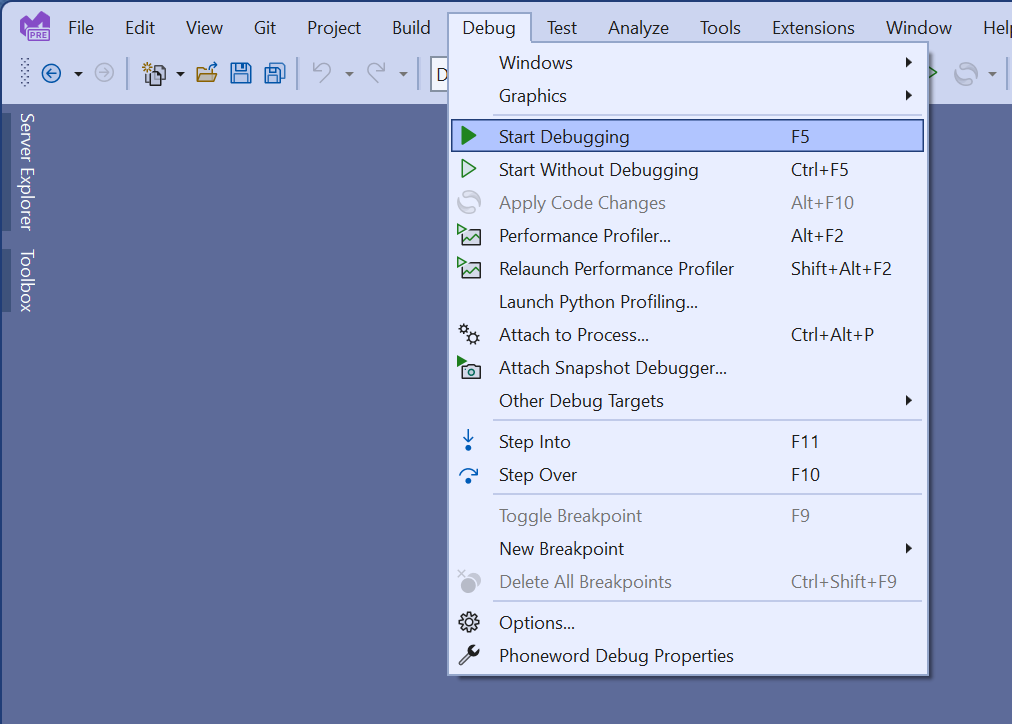
[デバッグ] メニューの [デバッグの開始] をクリックします。 この操作により、Windows 上でアプリがビルド、デプロイ、および実行されます。
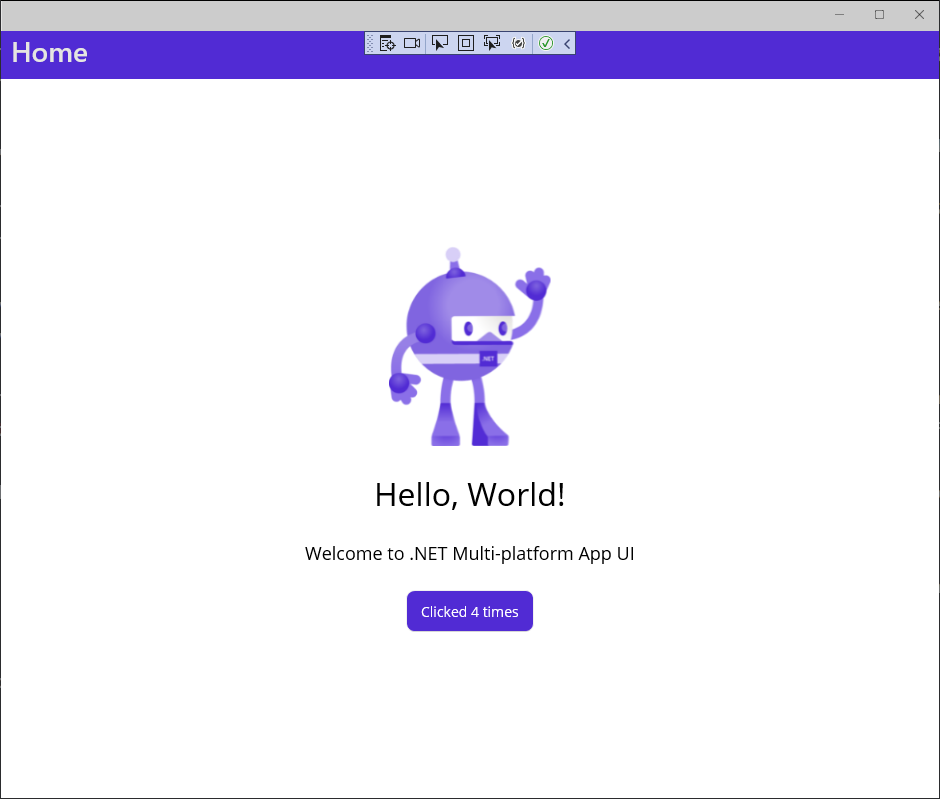
Windows 版アプリが起動することを確認します。 [Click me](ここをクリック) ボタンを数回選びます。 ボタンのテキストが更新され、タップするたびにカウントがインクリメントされます。
[表示] メニューの [ソリューション エクスプローラー] を選択します。 ソリューション エクスプローラー ウィンドウで、MainPage.xaml ノードを展開し、MainPage.xaml.cs 分離コード ファイルを開きます。
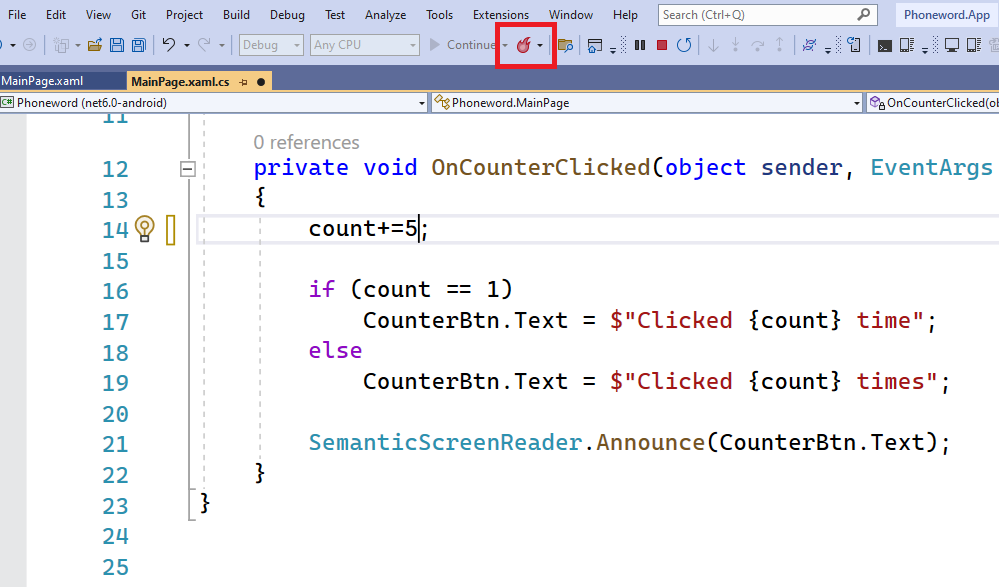
OnCounterClicked メソッドで、count 変数をインクリメントするステートメントを、代わりにこの変数に 5 を追加するように変更します。
private void OnCounterClicked(object sender, EventArgs e)
{
    count+=5; // update this

    if (count == 1)
        CounterBtn.Text = $"Clicked {count} time";
    else
        CounterBtn.Text = $"Clicked {count} times";

    SemanticScreenReader.Announce(CounterBtn.Text);
}
Visual Studio ツール バーで、[ホット リロード] ボタンを選びます。
アプリに戻り、[Click me](ここをクリック) ボタンを選びます。 count が 5 ずつ増やされることを確認します。
Note
Visual Studio のホット リロード機能を使うと、アプリをデバッグ モードで実行している間のコード変更が有効になります。 アプリを停止することなく、変更を確認できます。 コードを変更するだけでなく、ページの XAML マークアップを変更することもでき、これらの変更は実行中のアプリで表示されます。
アプリを閉じ、Visual Studio に戻ります。
Android でアプリケーションをビルドして実行する
Visual Studio ツール バーで、[Phoneword] プロジェクトを選びます。
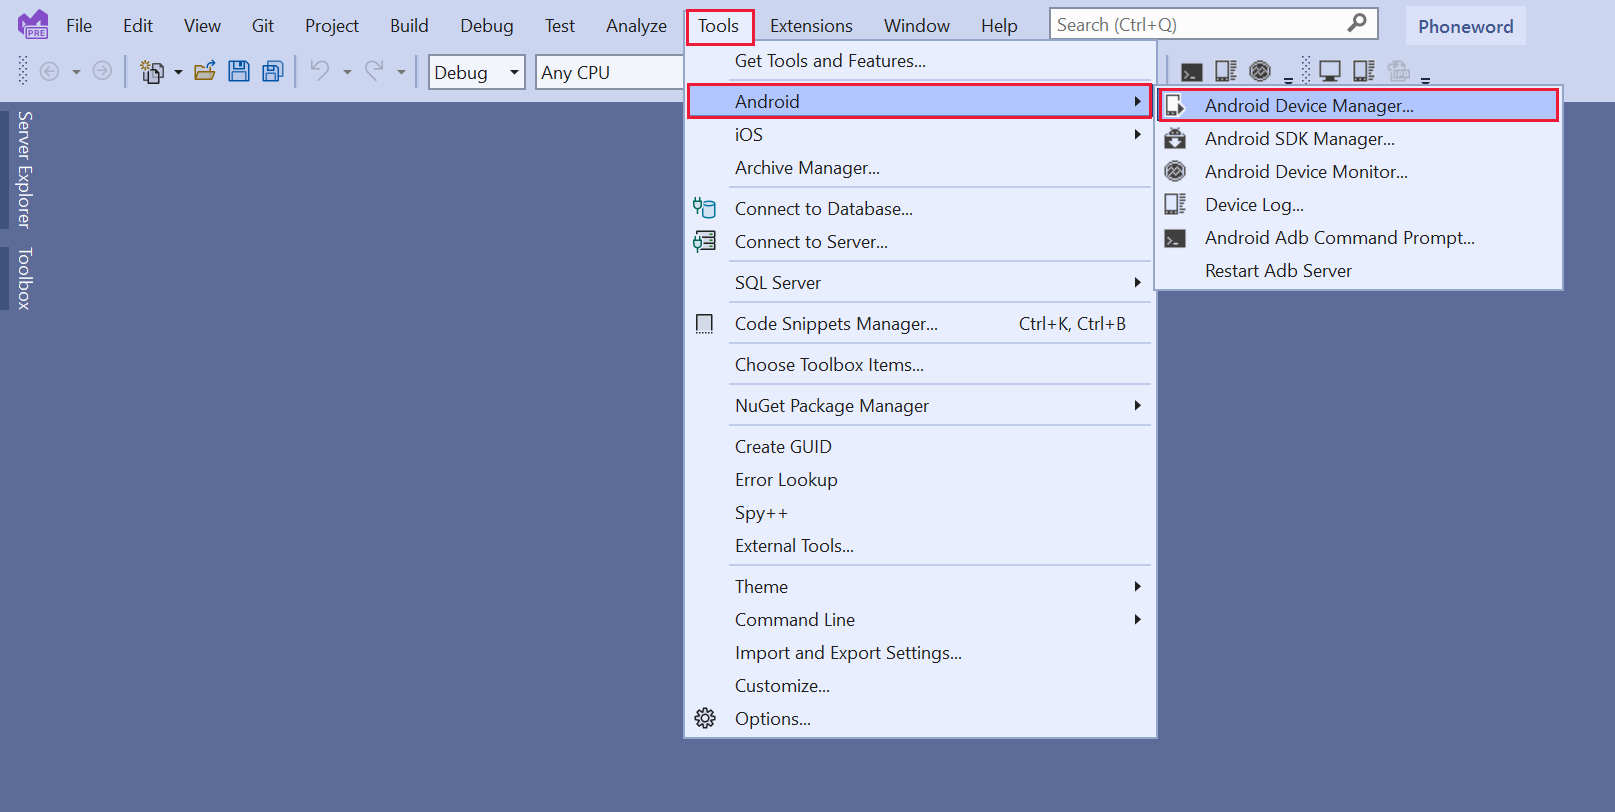
[ツール] メニューから [Android] を選び、[Android デバイス マネージャー] を選びます。 Android デバイス マネージャー コンピューターへの変更を許可するよう求められた場合は、[はい] を選択します。
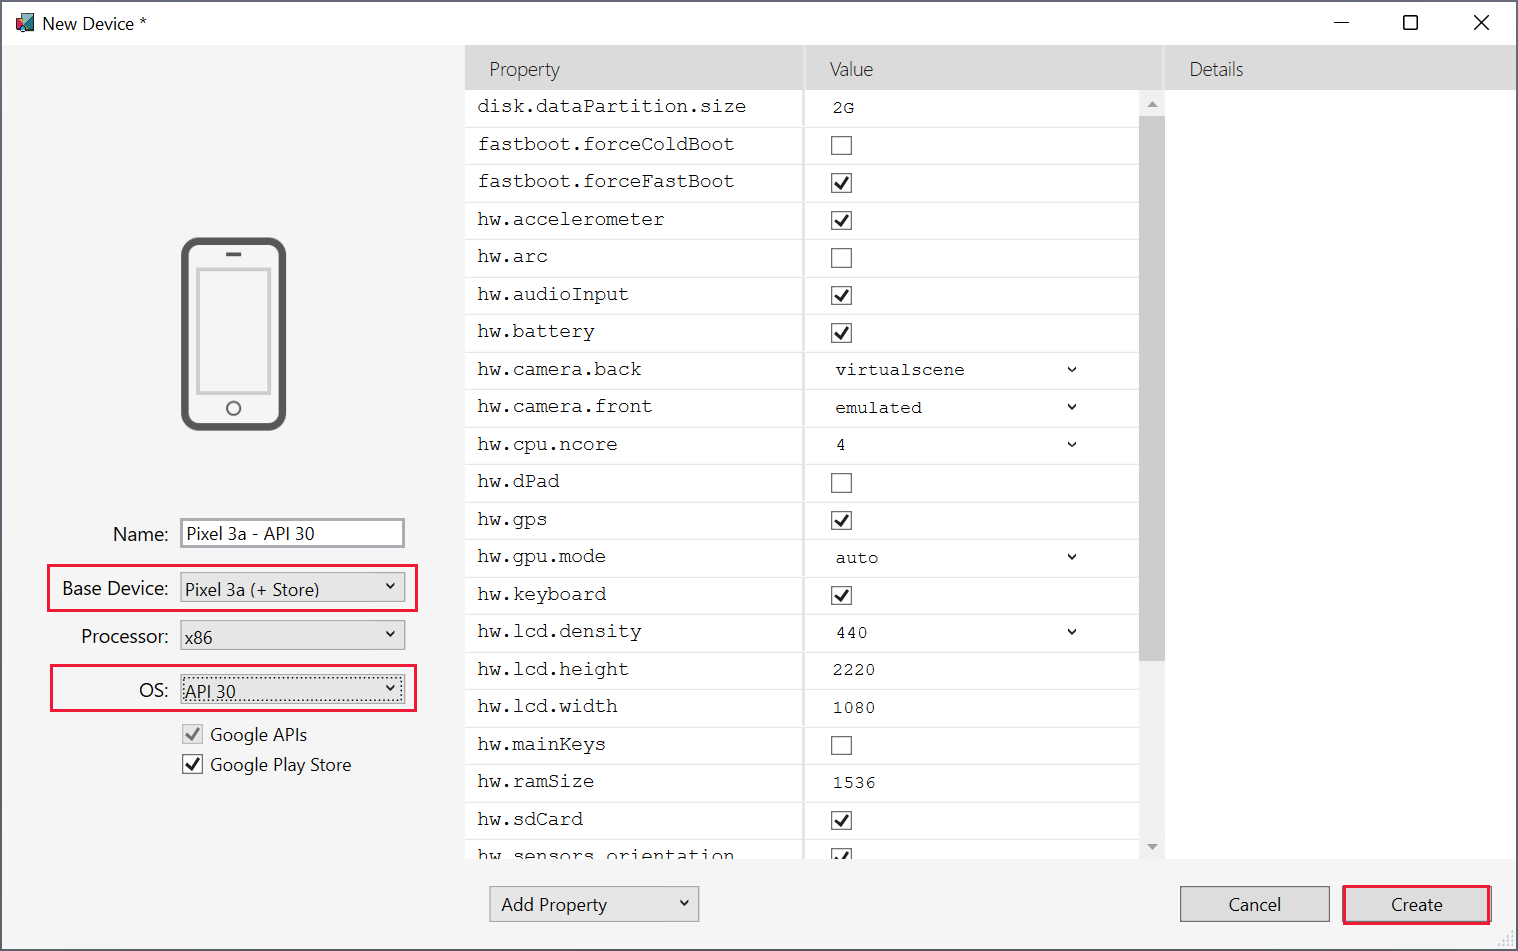
[Android デバイス マネージャー] ウィンドウで [+ 新規] を選びます。 [新しいデバイス] ウィンドウで [Pixel 3a (+ Store)] ベース デバイスを選び、[API 30] OS を選んで、[作成] を選択します。 各種ライブラリがダウンロードされ、デバイスが構成されるまで待ちます。
デバイスを作成すると、Visual Studio に戻ります。
Visual Studio ツール バーの [デバッグ] 構成ドロップダウン リスト ボックスで、[Android エミュレーター] プロファイルを選択し、[pixel_3a-api_30] デバイスを選びます。 これは、今作成したデバイスです。
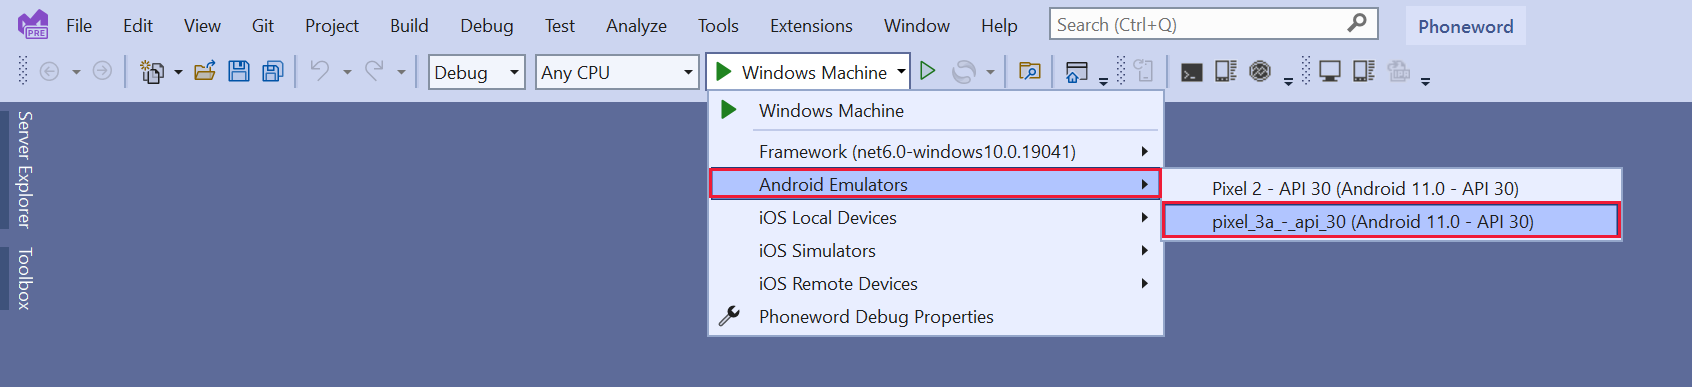
デバッグを開始するには、pixel_3a-api_30 プロファイルを使用します。 この操作により、Android デバイス上でアプリがビルド、デプロイ、および実行されます。

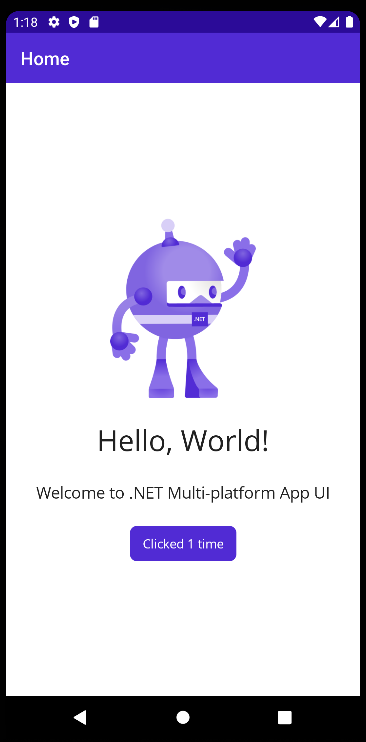
エミュレーター上でアプリの実行が開始されたら (これには数分かかる場合があります)、[ここをクリック] ボタンを選択し、Windows 上とまったく同じようにアプリが実行されることを確認します。
Visual Studio に戻り、デバッグを停止します。