SharePoint Framework の Web パーツで @pnp/sp (PnPJS) ライブラリを使用する
SharePoint Framework (SPFx) の Web パーツをビルドする際に、@pnp/sp ライブラリを使用することを選べます。 このライブラリは、REST クエリのビルドを直感的にできるようにする fluent API を提供し、バッチ処理とキャッシュをサポートします。 詳細については、作業を始めるのに役立つドキュメント、サンプル、その他のリソースへのリンクがあるプロジェクトのホームページを参照してください。
注意
PnPJS はオープン ソース ソリューションであり、アクティブなコミュニティでサポートが提供されています。 Microsoft からのオープン ソース ツールのサポート SLA はありません。
この記事に関する完全ソースは、サンプルのサイトからダウンロードすることができます。
注意
この記事の手順を実行する前に、必ず SharePoint のクライアント側 Web パーツ開発環境を設定しておいてください。
新規プロジェクトを作成する
任意のコンソールを使用して、プロジェクトの新しいフォルダーを作成します。
md spfx-pnp-js-exampleそのフォルダーに入ります。
cd spfx-pnp-js-exampleSPFx 用の Yeoman ジェネレーターを実行します。
yo @microsoft/sharepoint新規プロジェクト設定時にダイアログが表示されたら、次の値を入力します。
- ソリューション名: spfx-pnp-js-example (既定値を保持)
- ソリューションの説明: spfx-pnp-js-example description (既定値を保持)
- ベースライン パッケージ バージョン: SharePoint Online のみ (最新)
- N は、固有の Web API へのアクセスを許可します
- 作成するコンポーネント: Web パーツ
- Web パーツの名前: PnPJSExample
- 説明: PnPJSExample description
- フレームワーク: React
好みのコード エディターでプロジェクトを開きます。 ここに表示したスクリーンショットは Visual Studio Code をデモ実行したものです。 Visual Studio Code 内でディレクトリを開くには、コンソールで以下のとおり入力します。
code .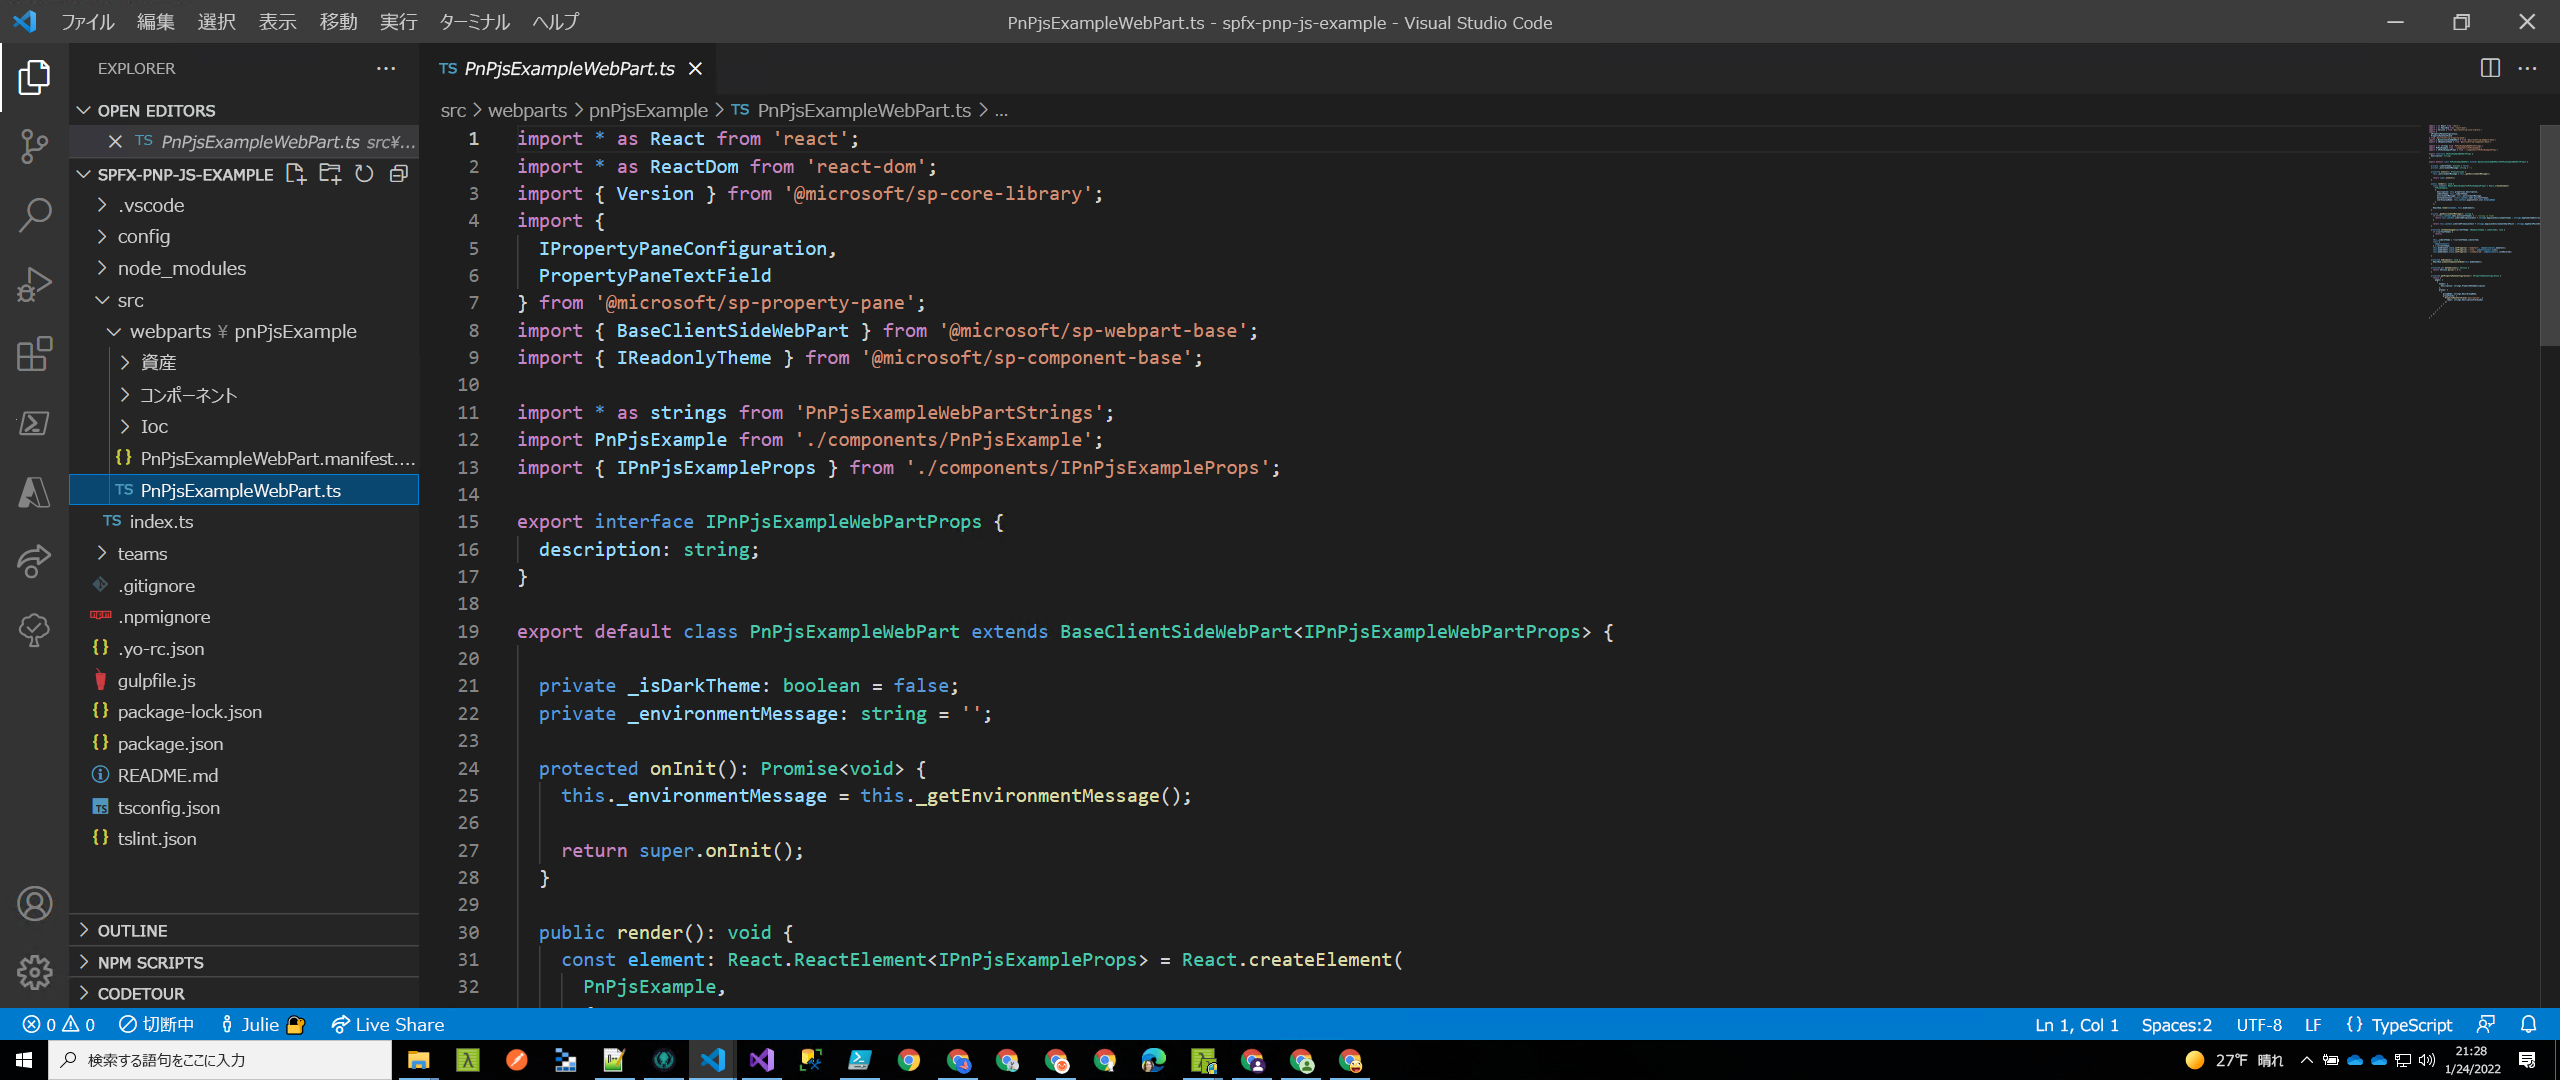
config/serve.json の
initialPage値を変更して、テナント/サイトを指すように、SharePoint でホストされているワークベンチの場所を設定します。
{
  "$schema": "https://developer.microsoft.com/json-schemas/core-build/serve.schema.json",
  "port": 4321,
  "https": true,
  "initialPage": "https://{your tenant name}/sites/dev/_layouts/15/workbench.aspx"
}
@pnp/sp のインストールと設定
プロジェクトを作成したら、@pnp/sp パッケージをインストールして設定する必要があります。 さらに、@pnp/logging 拡張機能を使用しますが、これはオプションです。 これらのステップは、どのようなプロジェクト タイプ (React 等) に共通なものです。
npm install @pnp/logging @pnp/sp --save
SPFx バージョン 1.14.x または typescript v4.x をサポートしていないバージョンの場合
注: PnPjs バージョン 3.x は、SPFx バージョン 1.14 以降および NodeJs バージョン 12.x 以降でのみサポートされます。
ラッシュ スタック コンパイラを 4.2 に更新します。 これは Elio によるこのすばらしい記事でカバーされていますが、手順は以下のとおりです。
- 既存のラッシュ スタック コンパイラをアンインストールします (x を package.json ファイルにインストールされているバージョンに置き換えます):
npm uninstall @microsoft/rush-stack-compiler-3.x - 4.2 バージョンをインストールします:
npm i @microsoft/rush-stack-compiler-4.2 - tsconfig.json を更新して、4.2 の構成を拡張します:
"extends": "./node_modules/@microsoft/rush-stack-compiler-4.2/includes/tsconfig-web.json"
- 既存のラッシュ スタック コンパイラをアンインストールします (x を package.json ファイルにインストールされているバージョンに置き換えます):
gulpfile.js のコンテンツを次のように置き換えます:
'use strict';

const build = require('@microsoft/sp-build-web');

build.addSuppression(`Warning - [sass] The local CSS class 'ms-Grid' is not camelCase and will not be type-safe.`);

var getTasks = build.rig.getTasks;
build.rig.getTasks = function () {
  var result = getTasks.call(build.rig);

  result.set('serve', result.get('serve-deprecated'));

  return result;
};

// ********* ADDED *******
// disable tslint
build.tslintCmd.enabled = false;
// ********* ADDED *******

build.initialize(require('gulp'));
PnPjsExampleWebPart.ts で onInit を更新する
@pnp/sp ライブラリは REST リクエストを作成するため、これらのリクエストを送信するには URL を知っている必要があります。SPFx 内で操作する場合、フレームワークによって提供されるコンテキスト オブジェクトに依存する必要があります。
要求のセットアップが正しくできているか確認するには 2 つの方法がありますが、この例では onInit メソッドを使います。
src\webparts\spPnPjsExample\SpPnPjsExampleWebPart.ts ファイルを開き、pnp プロジェクトの構成ファイルのインポート ステートメントを追加します (このファイルの詳細については、以下を参照してください):
import { getSP } from './pnpjsConfig';onInit()メソッドで、コードが次のように表示されるように更新します。super.onInit()の呼び出しの後に、呼び出しを追加してプロジェクト構成を初期化します。super.onInit()の後でこれを行うことで、フレームワークで必要な初期化が行われ、それらの手順が完了した後でライブラリをセットアップできるようにします。/** * Initialize the web part. */ public async onInit(): Promise<void> { this._environmentMessage = this._getEnvironmentMessage(); await super.onInit(); //Initialize our _sp object that we can then use in other packages without having to pass around the context. // Check out pnpjsConfig.ts for an example of a project setup file. getSP(this.context); }
プロジェクト構成ファイルの追加
次に、PnPjs のプロジェクト構成ファイルを作成しましょう。 このファイルを使用すると、プロジェクトに必要なインポートを設定したり、他のコンポーネントで使用するために sp オブジェクトのインスタンスを初期化したりできます。
Web、リスト、アイテム、およびバッチ処理のすべてのインポートに注意してください。 このコンポーネントでは、ライブラリからアイテムを取得するための呼び出しを行うため、将来の参照用にそれらのインポートを含める必要があります。 さらに、ファクトリ インスタンスで作成される SharePoint Querable の構成済みインスタンスを保持する変数を作成します。 上記の onInit 関数からリコールすると、プロパティとして渡された SPFx コンテキストを使用してエクスポートされた getSP を呼び出します。 そうすることで、PnPjs ライブラリとのコンテキストを確立できるため、後で SharePoint API を呼び出すことができます。 その後、コンテキストなしで getSP を呼び出すと、既に構成されているオブジェクトが返されます。
このサンプルは、すべての呼び出しのログを有効にする behavior をインスタンスに追加する方法も示しています。 これは既定のログを使用しますが、独自のログ機能を含めるように拡張することもできます。
import { WebPartContext } from "@microsoft/sp-webpart-base";

// import pnp and pnp logging system
import { spfi, SPFI, SPFx } from "@pnp/sp";
import { LogLevel, PnPLogging } from "@pnp/logging";
import "@pnp/sp/webs";
import "@pnp/sp/lists";
import "@pnp/sp/items";
import "@pnp/sp/batching";

var _sp: SPFI = null;

export const getSP = (context?: WebPartContext): SPFI => {
  if (_sp === null && context != null) {
    //You must add the @pnp/logging package to include the PnPLogging behavior it is no longer a peer dependency
    // The LogLevel set's at what level a message will be written to the console
    _sp = spfi().using(SPFx(context)).using(PnPLogging(LogLevel.Warning));
  }
  return _sp;
};
データ モデルのインターフェイス ファイルを追加する
interfaces.ts というコンポーネント フォルダーのルートに新しいファイルを追加します。 コンテンツを、コンポーネントによって参照される次の定義に置き換えます。
// create File item to work with it internally
export interface IFile {
  Id: number;
  Title: string;
  Name: string;
  Size: number;
}

// create PnP JS response interface for File
export interface IResponseFile {
  Length: number;
}

// create PnP JS response interface for Item
export interface IResponseItem {
  Id: number;
  File: IResponseFile;
  FileLeafRef: string;
  Title: string;
}
既定のコンポーネントを更新する
最後に、ベースのコンポーネントを作成するために少しクリーンアップする必要があります。 ファイルのすべてのコンテンツを次のコードで置き換えます。
import * as React from 'react';
import styles from './PnPjsExample.module.scss';
import { IPnPjsExampleProps } from './IPnPjsExampleProps';

// import interfaces
import { IFile, IResponseItem } from "./interfaces";

import { Caching } from "@pnp/queryable";
import { getSP } from "../pnpjsConfig";
import { SPFI, spfi } from "@pnp/sp";
import { Logger, LogLevel } from "@pnp/logging";
import { IItemUpdateResult } from "@pnp/sp/items";
import { Label, PrimaryButton } from '@microsoft/office-ui-fabric-react-bundle';

export interface IAsyncAwaitPnPJsProps {
  description: string;
}

export interface IIPnPjsExampleState {
  items: IFile[];
  errors: string[];
}

export default class PnPjsExample extends React.Component<IPnPjsExampleProps, IIPnPjsExampleState> {
  private LOG_SOURCE = "🅿PnPjsExample";
  private LIBRARY_NAME = "Documents";
  private _sp: SPFI;

  constructor(props: IPnPjsExampleProps) {
    super(props);
    // set initial state
    this.state = {
      items: [],
      errors: []
    };
    this._sp = getSP();
  }

  public componentDidMount(): void {
    // read all file sizes from Documents library
    this._readAllFilesSize();
  }

  public render(): React.ReactElement<IAsyncAwaitPnPJsProps> {
    // calculate total of file sizes
    const totalDocs: number = this.state.items.length > 0
      ? this.state.items.reduce<number>((acc: number, item: IFile) => {
        return (acc + Number(item.Size));
      }, 0)
      : 0;
    return (
      <div className={styles.pnPjsExample}>
        <Label>Welcome to PnP JS Version 3 Demo!</Label>
        <PrimaryButton onClick={this._updateTitles}>Update Item Titles</PrimaryButton>
        <Label>List of documents:</Label>
        <table width="100%">
          <tr>
            <td><strong>Title</strong></td>
            <td><strong>Name</strong></td>
            <td><strong>Size (KB)</strong></td>
          </tr>
          {this.state.items.map((item, idx) => {
            return (
              <tr key={idx}>
                <td>{item.Title}</td>
                <td>{item.Name}</td>
                <td>{(item.Size / 1024).toFixed(2)}</td>
              </tr>
            );
          })}
          <tr>
            <td></td>
            <td><strong>Total:</strong></td>
            <td><strong>{(totalDocs / 1024).toFixed(2)}</strong></td>
          </tr>
        </table>
      </div >
    );
  }

  private _readAllFilesSize = async (): Promise<void> => {
    try {
      // do PnP JS query, some notes:
      //   - .expand() method will retrive Item.File item but only Length property
      //   - .get() always returns a promise
      //   - await resolves proimises making your code act syncronous, ergo Promise<IResponseItem[]> becomes IResponse[]

      //Extending our sp object to include caching behavior, this modification will add caching to the sp object itself
      //this._sp.using(Caching("session"));

      //Creating a new sp object to include caching behavior. This way our original object is unchanged.
      const spCache = spfi(this._sp).using(Caching("session"));

      const response: IResponseItem[] = await spCache.web.lists
        .getByTitle(this.LIBRARY_NAME)
        .items
        .select("Id", "Title", "FileLeafRef", "File/Length")
        .expand("File/Length")();

      // use map to convert IResponseItem[] into our internal object IFile[]
      const items: IFile[] = response.map((item: IResponseItem) => {
        return {
          Id: item.Id,
          Title: item.Title || "Unknown",
          Size: item.File?.Length || 0,
          Name: item.FileLeafRef
        };
      });

      // Add the items to the state
      this.setState({ items });
    } catch (err) {
      Logger.write(`${this.LOG_SOURCE} (_readAllFilesSize) - ${JSON.stringify(err)} - `, LogLevel.Error);
    }
  }

  private _updateTitles = async (): Promise<void> => {
    try {
      //Will create a batch call that will update the title of each item
      //  in the library by adding `-Updated` to the end.
      const [batchedSP, execute] = this._sp.batched();

      //Clone items from the state
      const items = JSON.parse(JSON.stringify(this.state.items));

      let res: IItemUpdateResult[] = [];

      for (let i = 0; i < items.length; i++) {
        // you need to use .then syntax here as otherwise the application will stop and await the result
        batchedSP.web.lists
          .getByTitle(this.LIBRARY_NAME)
          .items
          .getById(items[i].Id)
          .update({ Title: `${items[i].Name}-Updated` })
          .then(r => res.push(r));
      }
      // Executes the batched calls
      await execute();

      // Results for all batched calls are available
      for (let i = 0; i < res.length; i++) {
        //If the result is successful update the item
        //NOTE: This code is over simplified, you need to make sure the Id's match
        const item = await res[i].item.select("Id, Title")<{ Id: number, Title: string }>();
        items[i].Name = item.Title;
      }

      //Update the state which rerenders the component
      this.setState({ items });
    } catch (err) {
      Logger.write(`${this.LOG_SOURCE} (_updateTitles) - ${JSON.stringify(err)} - `, LogLevel.Error);
    }
  }
}
例を実行する
サンプルを開始し、Web パーツを SharePoint ホスト型のワークベンチ (/_layouts/15/workbench.aspx) に追加し、それが実行されるのを見てみましょう。
gulp serve --nobrowser
既存アイテムはごみ箱アイコンを選択することによって削除できます。また、新しいアイテムは両方のフィールドに値を入力して [追加] をクリックすることで追加することができます。

次の手順
@pnp/sp ライブラリには、さまざまな機能と拡張機能が含まれています。 ライブラリの使用と構成に関するサンプル、ガイダンス、ヒントについては、「開発者ガイド」を参照してください。