Lesson recording in the online classroom
The online classroom supports recording in one-on-one lessons!
This is great news for:
- Music students who want to review their performance, track their progress, or just document sweet riffs;
- Language students who want to look back at their lessons during review sessions, or practice copying their teacher's perfect pronunciation;
- Computer skills students who want to review the steps their teacher went through on programs like Photoshop, ProTools, or Dreamweaver;
- Any other students who like to keep track of their improvements as they study!
Here's how recording works in the online classroom.
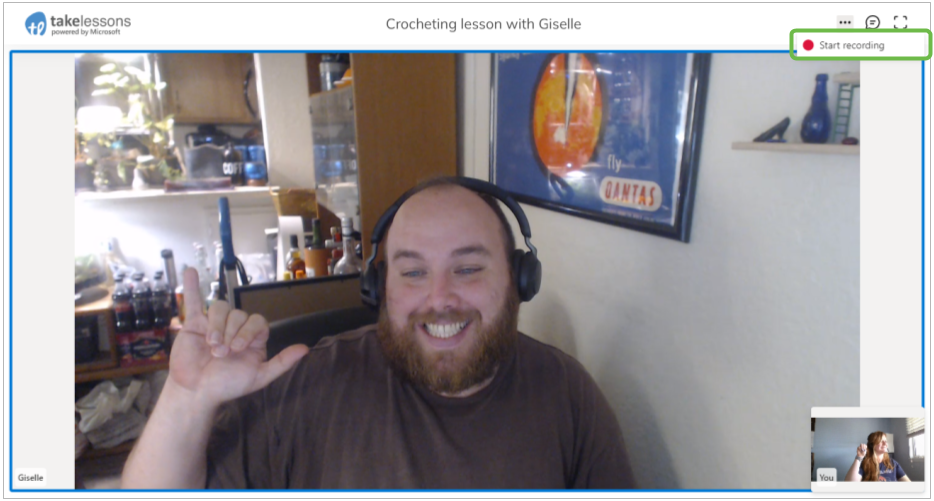
- You can start a new recording by clicking Start Recording from the three dots in the upper right corner of your screen.
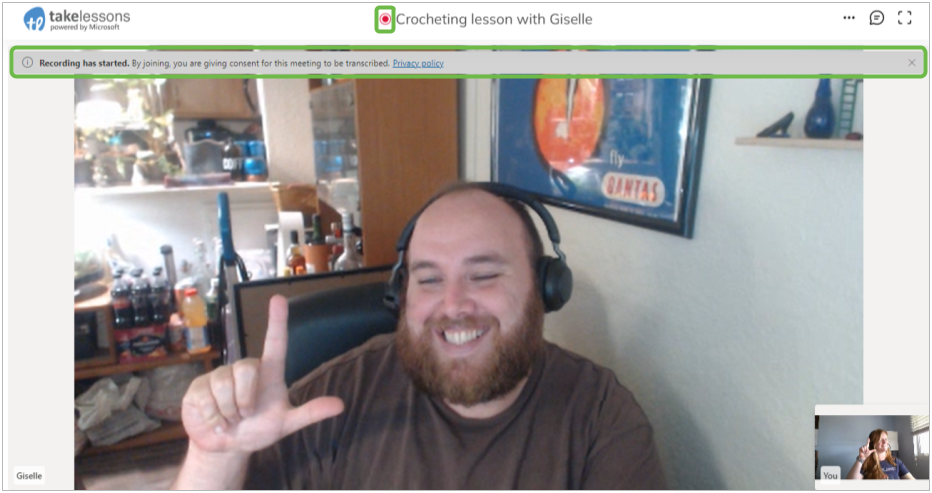
- You will ALWAYS know when you are being recorded.
After recording has started, a message will be displayed at the top of the screen and a red dot will be displayed in the lesson header. This message will stay there until the message is closed, or the recording is ended. (or, until both of you have left the online classroom).
Here's what it looks like when recording is in progress:
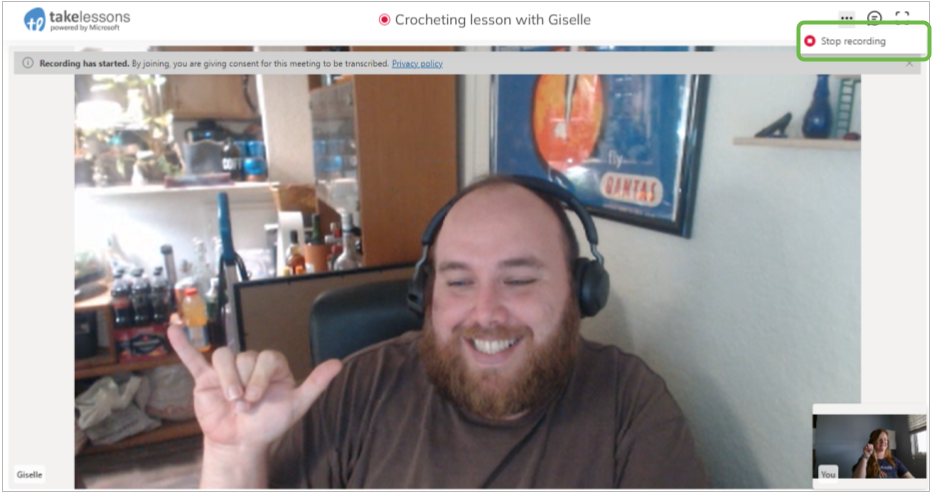
- You can end a recording by clicking Stop Recording from the three dots in the upper right corner of your screen.
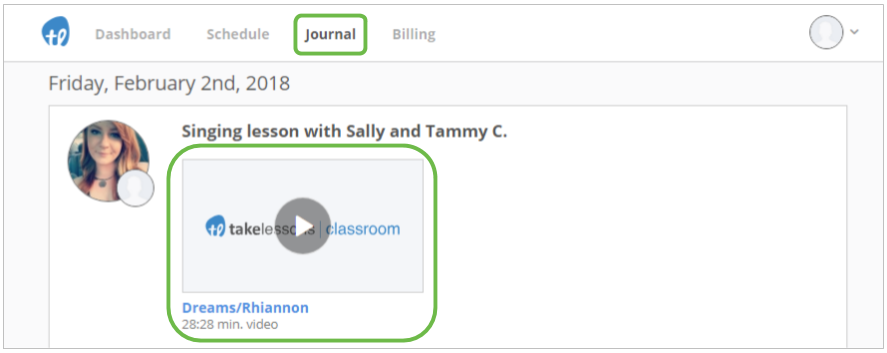
- You'll ALWAYS be able to access your videos from your Student Lesson Journal.
After your lesson is over, you can open your Student Lesson Journal to find all of the videos your teacher made of your lesson. Just click "Journal" in your student account to see your lesson history. Any recordings your teacher made will be displayed within the lesson they were recorded. Click on any video to play it right away in your browser!