리소스 할당량 오류 해결
이 문서에서는 Azure Resource Manager 템플릿(ARM 템플릿) 또는 Bicep 파일로 리소스를 할당할 때 발생할 수 있는 리소스 할당량 오류를 설명합니다.
증상
템플릿이 Azure 할당량을 초과하는 리소스를 만드는 경우 다음 오류가 발생할 수 있습니다.
Code=OperationNotAllowed
Message=Operation results in exceeding quota limits of Core.
Maximum allowed: 4, Current in use: 4, Additional requested: 2.
또는 다음 오류가 표시될 수 있습니다.
Code=ResourceQuotaExceeded
Message=Creating the resource of type <resource-type> would exceed the quota of <number>
resources of type <resource-type> per resource group. The current resource count is <number>,
please delete some resources of this type before creating a new one.
원인
할당량은 리소스 그룹, 구독, 계정 및 기타 범위에 따라 적용됩니다. 예를 들어 지역의 vCPU 수를 제한하도록 구독이 구성되어 있을 수 있습니다. 허용된 양보다 많은 vCPU가 있는 가상 머신을 배포하려고 하면 할당량을 초과했다는 오류가 발생합니다.
할당량 정보는 Azure 구독 및 서비스 한도, 할당량, 제약 조건을 참조하세요.
Azure CLI의 경우 az vm list-usage 명령을 사용하여 가상 머신 할당량을 찾습니다.
az vm list-usage --location "West US" --output table
Name                                      CurrentValue    Limit
----------------------------------------  --------------  -------
Availability Sets                         0               2500
Total Regional vCPUs                      0               100
Virtual Machines                          0               25000
Virtual Machine Scale Sets                0               2500
Dedicated vCPUs                           0               3000
Cloud Services                            0               2500
Total Regional Low-priority vCPUs         0               100
Standard BS Family vCPUs                  0               100
...
솔루션
할당량 증가를 요청하려면 포털로 이동한 후 지원 문제를 제출합니다. 지원 문제에서는 배포하려는 지역에 대한 할당량 증가를 요청합니다.
일부 할당량에서는 검토를 위해 제출되어 승인 또는 거부되는 할당량 한도를 지정할 수 있습니다. 한도가 거부되는 경우 지원 요청을 여는 링크가 표시됩니다.
참고 항목
리소스 그룹에 대한 할당량은 구독 전체가 아니라 각 개별 지역에 대한 할당량입니다. 미국 서부에 30개의 vCPU를 배포해야 하는 경우 미국 서부에 30개의 Resource Manager vCPU를 요청해야 합니다. 액세스 권한이 있는 지역에서 30개의 vCPU를 배포해야 하는 경우 모든 지역에서 30개의 Resource Manager vCPU를 요청해야 합니다.
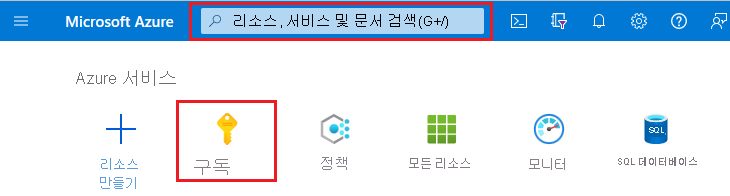
Azure Portal에 로그인합니다.
검색 상자에 subscriptions를 입력합니다. 또는 최근에 구독을 확인한 경우 구독을 선택합니다.
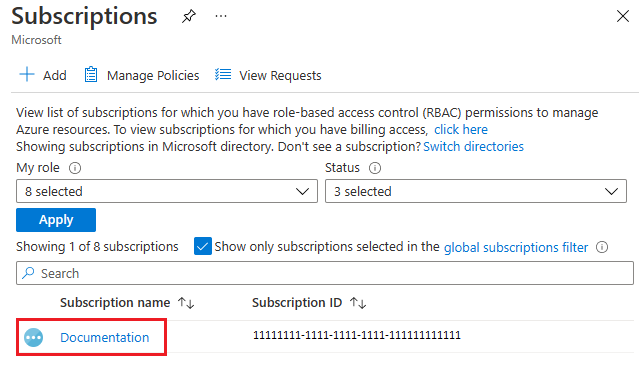
구독의 링크를 선택합니다.
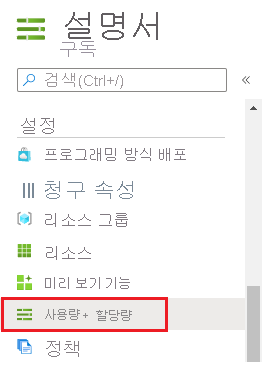
사용량 + 할당량을 선택합니다.
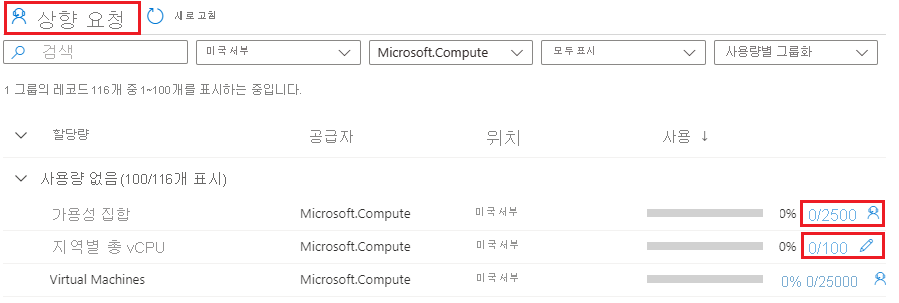
증가 요청을 선택합니다.
할당량 목록에서도 할당량 증가를 위한 지원 요청을 제출할 수 있습니다. 연필 아이콘이 있는 할당량의 경우 할당량 한도를 지정할 수 있습니다.
늘려야 할 할당량 유형의 양식을 작성합니다.
