Using the Visual Studio Publish Azure Application Wizard
Note
This article applies to Azure Cloud Services (classic), which is now deprecated for new customers and will be retired on August 31, 2024. Existing services built with this technology are still supported through Azure Cloud Services (extended support). For new development, we recommend that you use a newer service type designed for your specific purpose, such as Azure App Service, Azure Functions, or Azure Container Apps. For the latest list of available services, see Directory of Azure products.
After you develop a web application in Visual Studio, you can publish that application to an Azure cloud service by using the Publish Azure Application wizard.
Prerequisites
- An Azure account. If you don't have an Azure account, activate your Azure benefits for Visual Studio subscribers or sign up for a free trial.
Accessing the Publish Azure Application wizard
You can access the Publish Azure Application wizard in two ways depending on the type of Visual Studio project you have.
If you have an Azure cloud service project:
Create or open an Azure cloud service project in Visual Studio.
In Solution Explorer, right-click the project, and, from the context menu, select Publish.
If you have a web application project that is not enabled for Azure:
Create or open an Azure cloud service project in Visual Studio.
In Solution Explorer, right-click the project, and, from the context menu, select Convert > Convert to Azure Cloud Service Project.
In Solution Explorer, right-click the newly created Azure project, and, from the context menu, select Publish.
Sign-in page
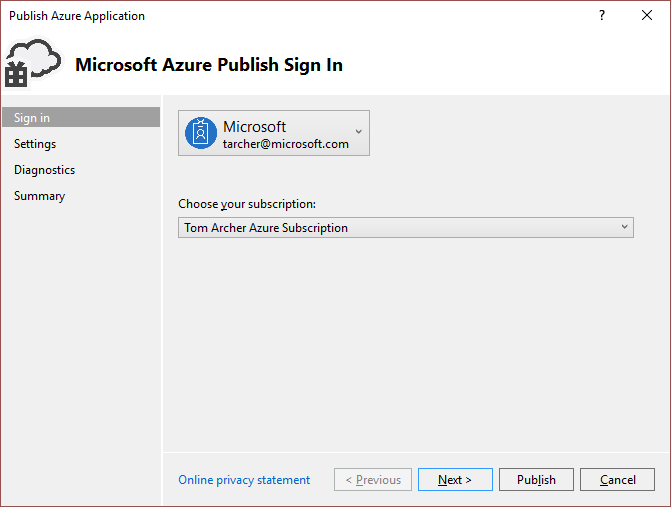
Account - Select an account or select Add an account in the account dropdown list.
Choose your subscription - Choose the subscription to use for your deployment.
Settings page - Common Settings tab
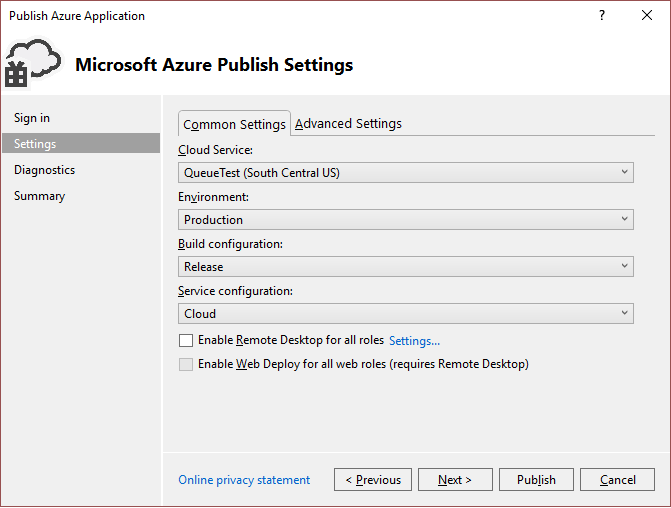
Cloud service - Using the dropdown list, either select an existing cloud service, or select <Create New>, and create a cloud service. The datacenter displays in parentheses for each cloud service. It is recommended that the datacenter location for the cloud service be the same as the datacenter location for the storage account (Advanced Settings).
Environment - Select either Production or Staging. Choose the staging environment if you want to deploy your application in a test environment.
Build configuration - Select either Debug or Release.
Service configuration - Select either Cloud or Local.
Enable Remote Desktop for all roles - Select this option if you want to be able to remotely connect to the service. This option is primarily used for troubleshooting. For more information, see Enable Remote Desktop Connection for a Role in Azure Cloud Services using Visual Studio.
Enable Web Deploy for all web roles - Select this option to enable web deployment for the service. You must also select the Enable Remote Desktop for all roles option to use this feature. For more information, see Publishing a cloud service using Visual Studio.
Settings page - Advanced Settings tab
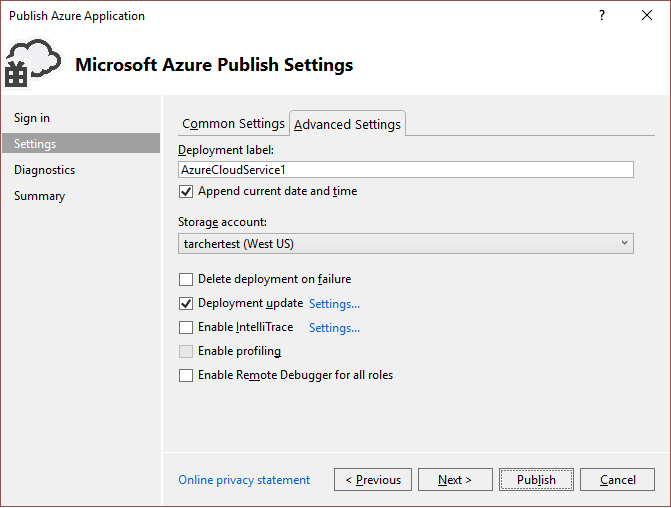
Deployment label - Either accept the default name, or enter a name of your choosing. To append the date to the deployment label, leave the checkbox selected.
Storage account - Select the storage account to use for this deployment, **<Create New> to create a storage account. The datacenter displays in parentheses for each storage account. It is recommended that the datacenter location for the storage account is the same as the datacenter location for the cloud service (Common Settings).
The Azure Storage account stores the package for the application deployment. After the application is deployed, the package is removed from the storage account.
Delete deployment on failure - Select this option to have the deployment deleted if any errors are encountered during publishing. This should be unchecked if you want to maintain a constant virtual IP address for your cloud service.
Deployment update - Select this option if you want to deploy only updated components. This type of deployment can be faster than a full deployment. This should be checked if you want to maintain a constant virtual IP address for your cloud service.
Deployment update - settings - This dialog is used to further specify how you want the roles to be updated. If you choose Incremental update, each instance of your application is updated one after another, so that the application is always available. If you choose Simultaneous update, all instances of your application are updated at the same time. Simultaneous updating is faster, but your service might not be available during the update process.

Enable IntelliTrace - Specify if you want to enable IntelliTrace. With IntelliTrace, you can log extensive debugging information for a role instance when it runs in Azure. If you need to find the cause of a problem, you can use the IntelliTrace logs to step through your code from Visual Studio as if it were running in Azure. For more information about using IntelliTrace, see Debugging a published Azure cloud service with Visual Studio and IntelliTrace.
Enable profiling - Specify if you want to enable performance profiling. The Visual Studio profiler enables you to get an in-depth analysis of the computational aspects of how your cloud service runs. For more information on using the Visual Studio profiler, see Test the performance of an Azure cloud service.
Enable Remote Debugger for all roles - Specify if you want to enable remote debugging. For more information on debugging cloud services using Visual Studio, see Debugging an Azure cloud service or virtual machine in Visual Studio.
Diagnostics Settings page
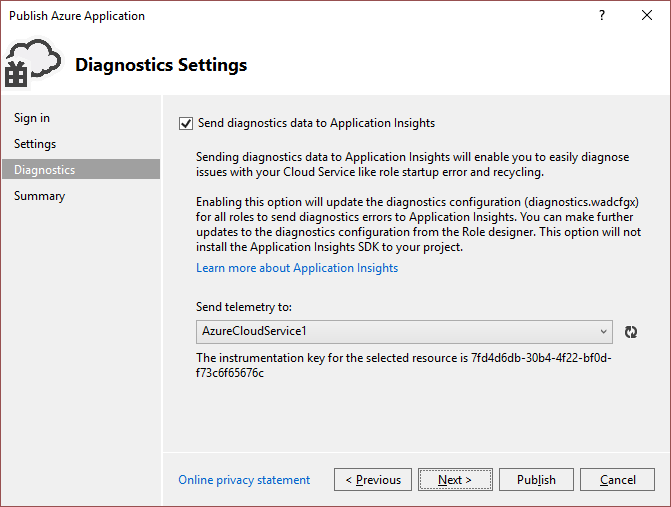
Diagnostics enables you to troubleshoot an Azure cloud service (or Azure virtual machine). For information about diagnostics, see Configuring Diagnostics for Azure Cloud Services and Virtual Machines. For information about Application Insights, see What is Application Insights?.
Summary page

Target profile - You can choose to create a publishing profile from the settings that you have chosen. For example, you might create one profile for a test environment and another for production. To save this profile, choose the Save icon. The wizard creates the profile and saves it in the Visual Studio project. To modify the profile name, open the Target profile list, and then choose <Manage...>.
Note
The publishing profile appears in Solution Explorer in Visual Studio, and the profile settings are written to a file with an .azurePubxml extension. Settings are saved as attributes of XML tags.
Publishing your application
Once you configure all the settings for your project's deployment, select Publish at the bottom of the dialog. You can monitor the process status in the Output window in Visual Studio.
Related content
Feedback
Binnenkort beschikbaar: in de loop van 2024 zullen we GitHub-problemen geleidelijk uitfaseren als het feedbackmechanisme voor inhoud en deze vervangen door een nieuw feedbacksysteem. Zie https://aka.ms/ContentUserFeedback voor meer informatie.
Feedback verzenden en weergeven voor