Use Power Automate pane
Create new flows or add and edit existing flows using the Power Automate pane within Power Apps Studio. The Power Automate pane is enabled by default.
Create a new flow
On the app authoring menu, select Power Automate.
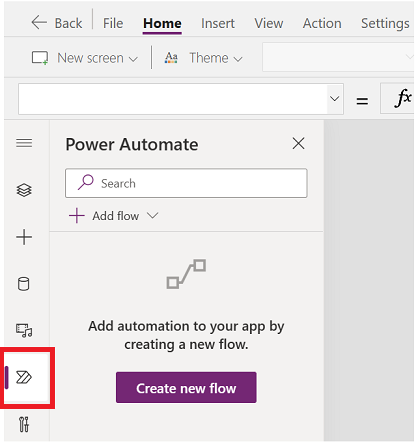
In the Power Automate pane, select Create new flow.
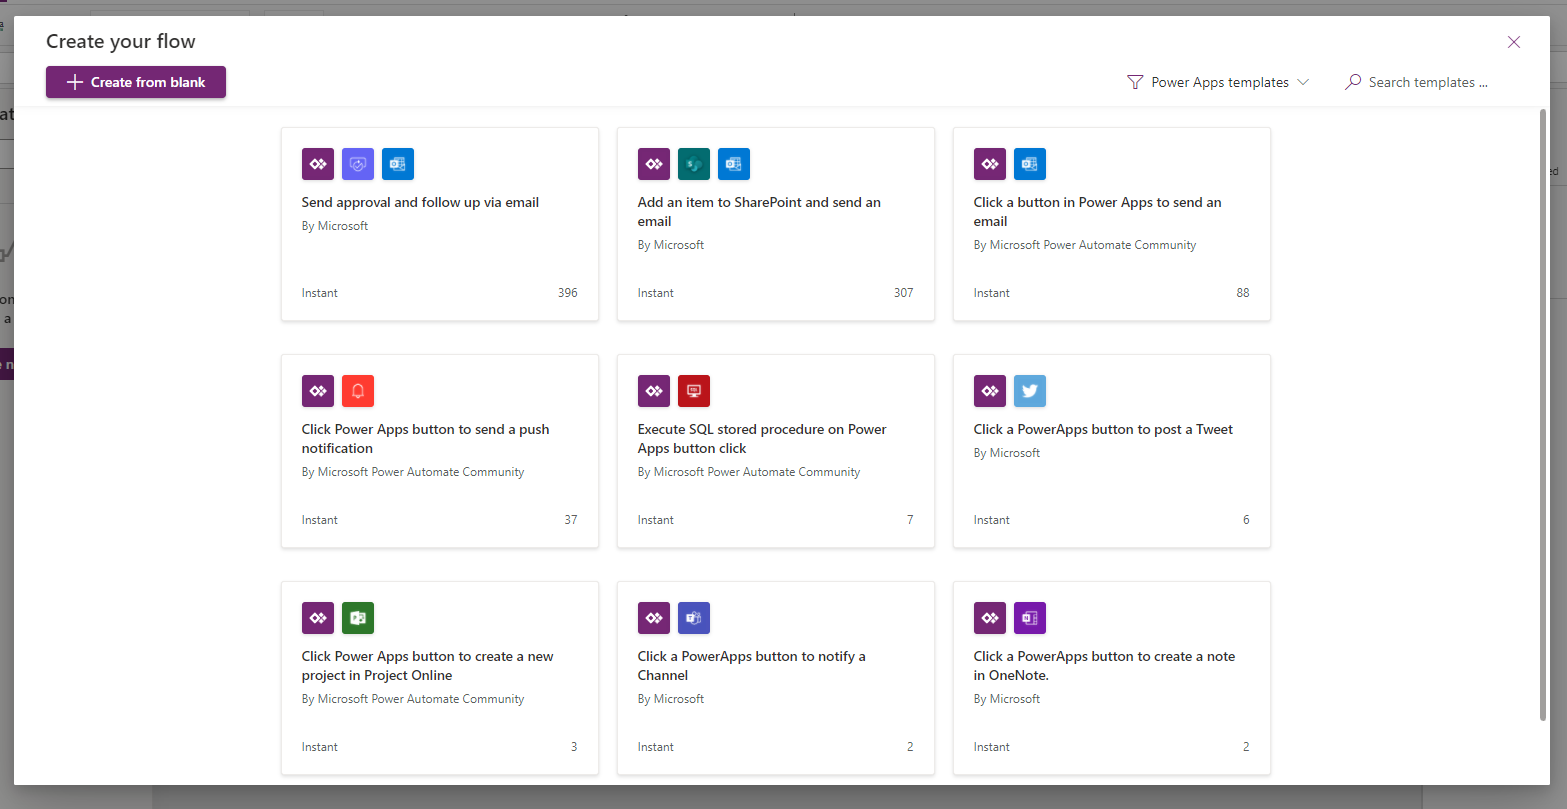
This action opens the Create your flow modal dialog within Power Apps Studio. You can choose to create the flow from the available templates, or create a flow from scratch.
Start with a template
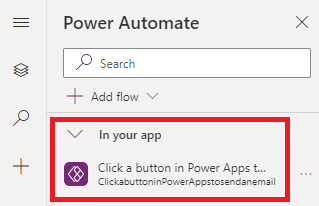
Power Automate provides several flow templates that you can choose from by default. This section explains how to create a flow using such available templates from within Power Apps Studio.
From the list of available templates, select a template of your choice. For this example, we'll use Click a button in Power Apps to send an email.
The next step shows the connections required to create a flow based on the selected template. More information: Connectors overview
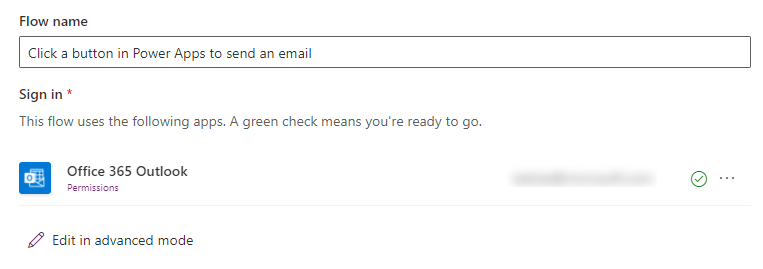
(Optional) If you want, you can use Edit in advanced mode to update the connection, and customize the flow template. When done, select Save to save the flow. Skip the next step since this completes your flow creation process.
Select Next > Create to create the flow.
The flow now appears in the list of flows inside the Power Automate pane, under the In your app section.
Tip
For more information about creating cloud flows from templates, see Create a cloud flow from a template.
Create from blank
Instead of using the available templates, you can create a flow from scratch, and customize the steps as per your requirement.
Select Create from blank.
Add and customize the flow with steps and actions, as shown in the following example.
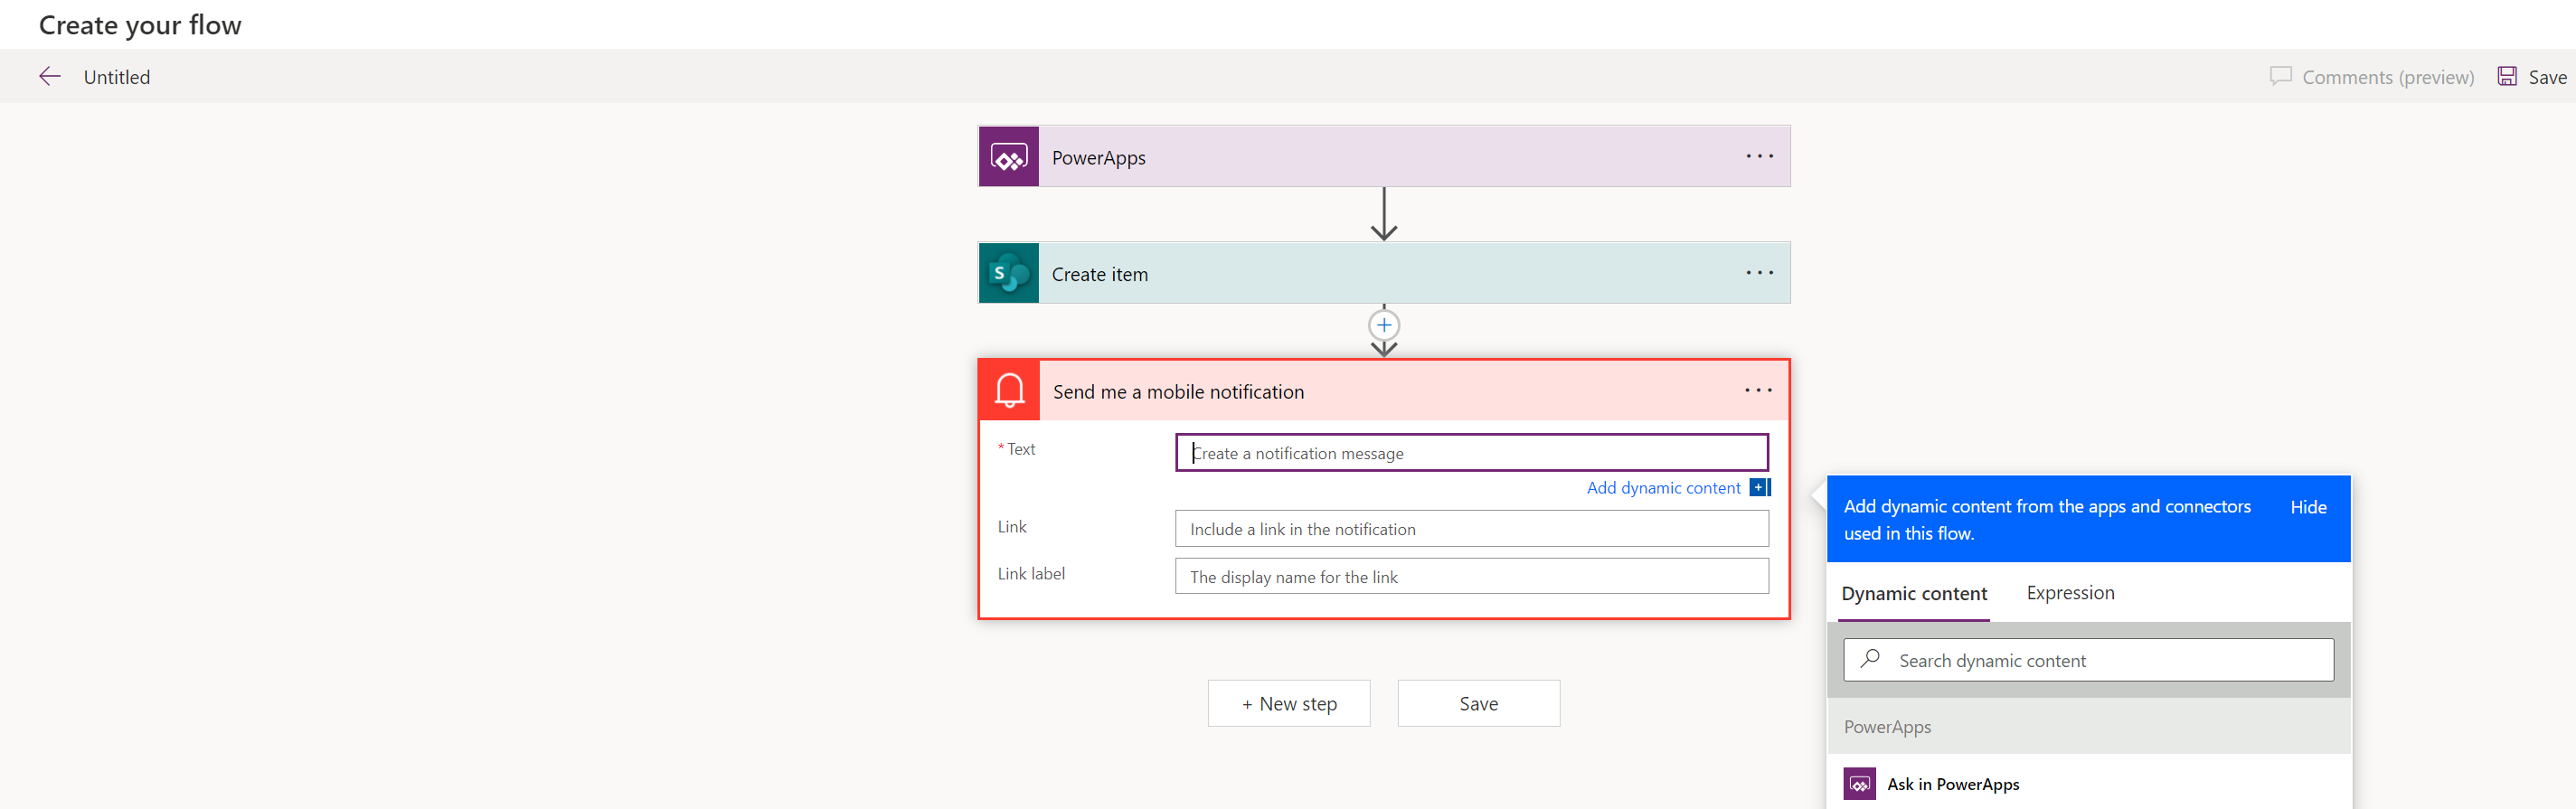
When done, select Save from upper right corner of the screen.
Tip
For more information about customizing and configuring cloud flows, see the How to articles starting from Add multiple actions and advanced options to a cloud flow.
Add an existing flow
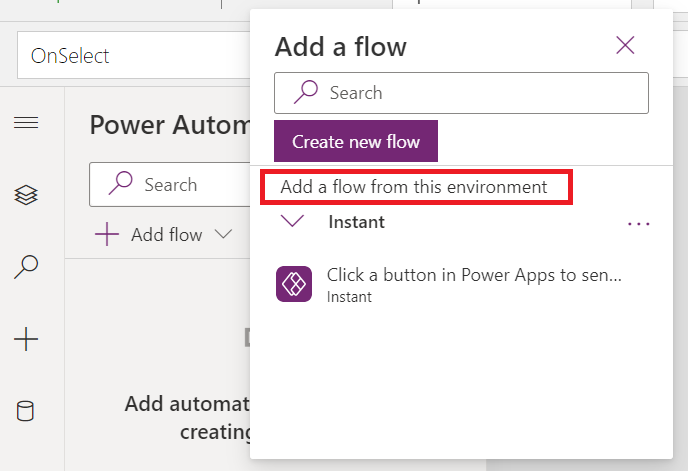
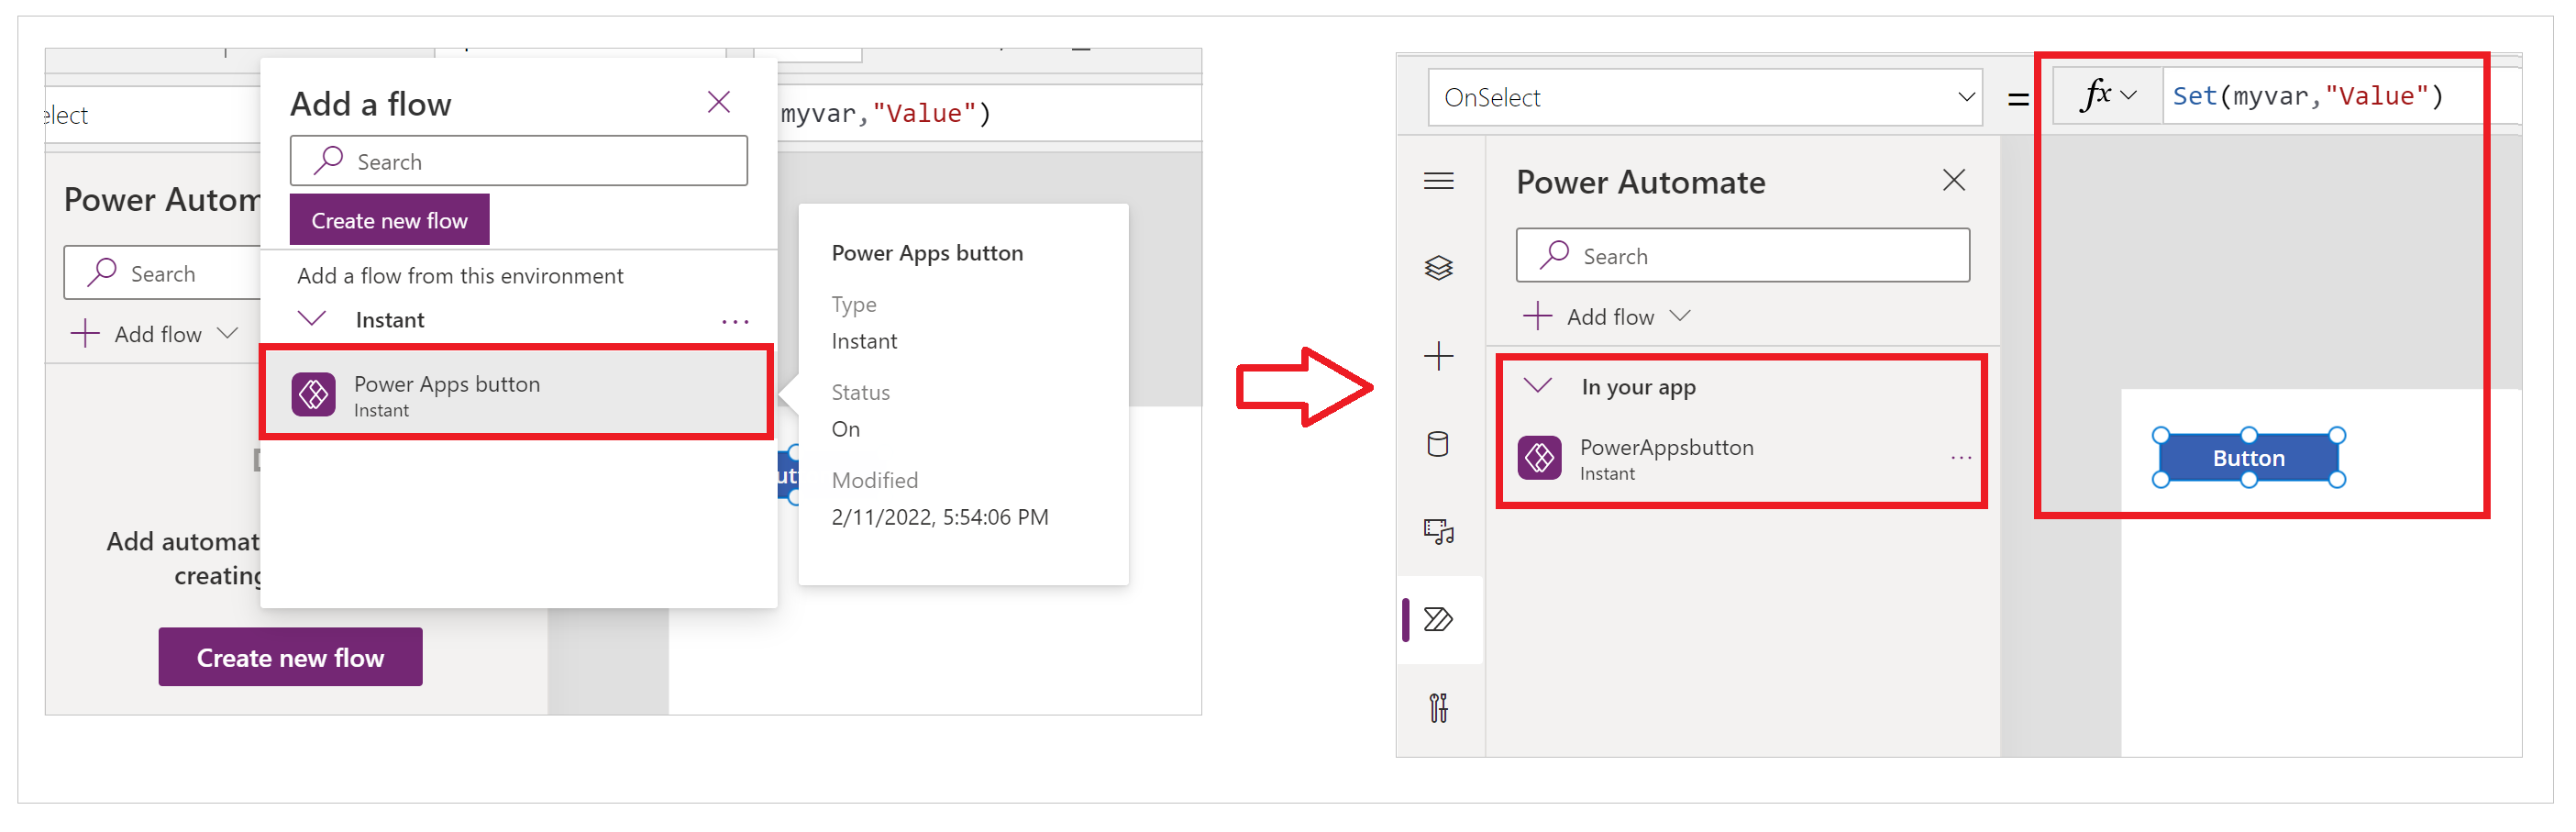
You may have access to the existing flows in the environment where you're creating your app. To add and use these flows in your app, select Add a flow, and then choose the flow from the Add a flow from this environment section.
Tip
You can hover over the flow to see more details before adding to your app.
You must meet the following requirements to be able to add an existing flow to a canvas app:
- You must have access to the flow.
- If the canvas app is part of a solution, you'll only see the flows that are part of the same solution.
- Flows must have a Power Apps trigger.
After being added, the flow will appear under the In your app section inside the Power Automate pane.
Reference a flow
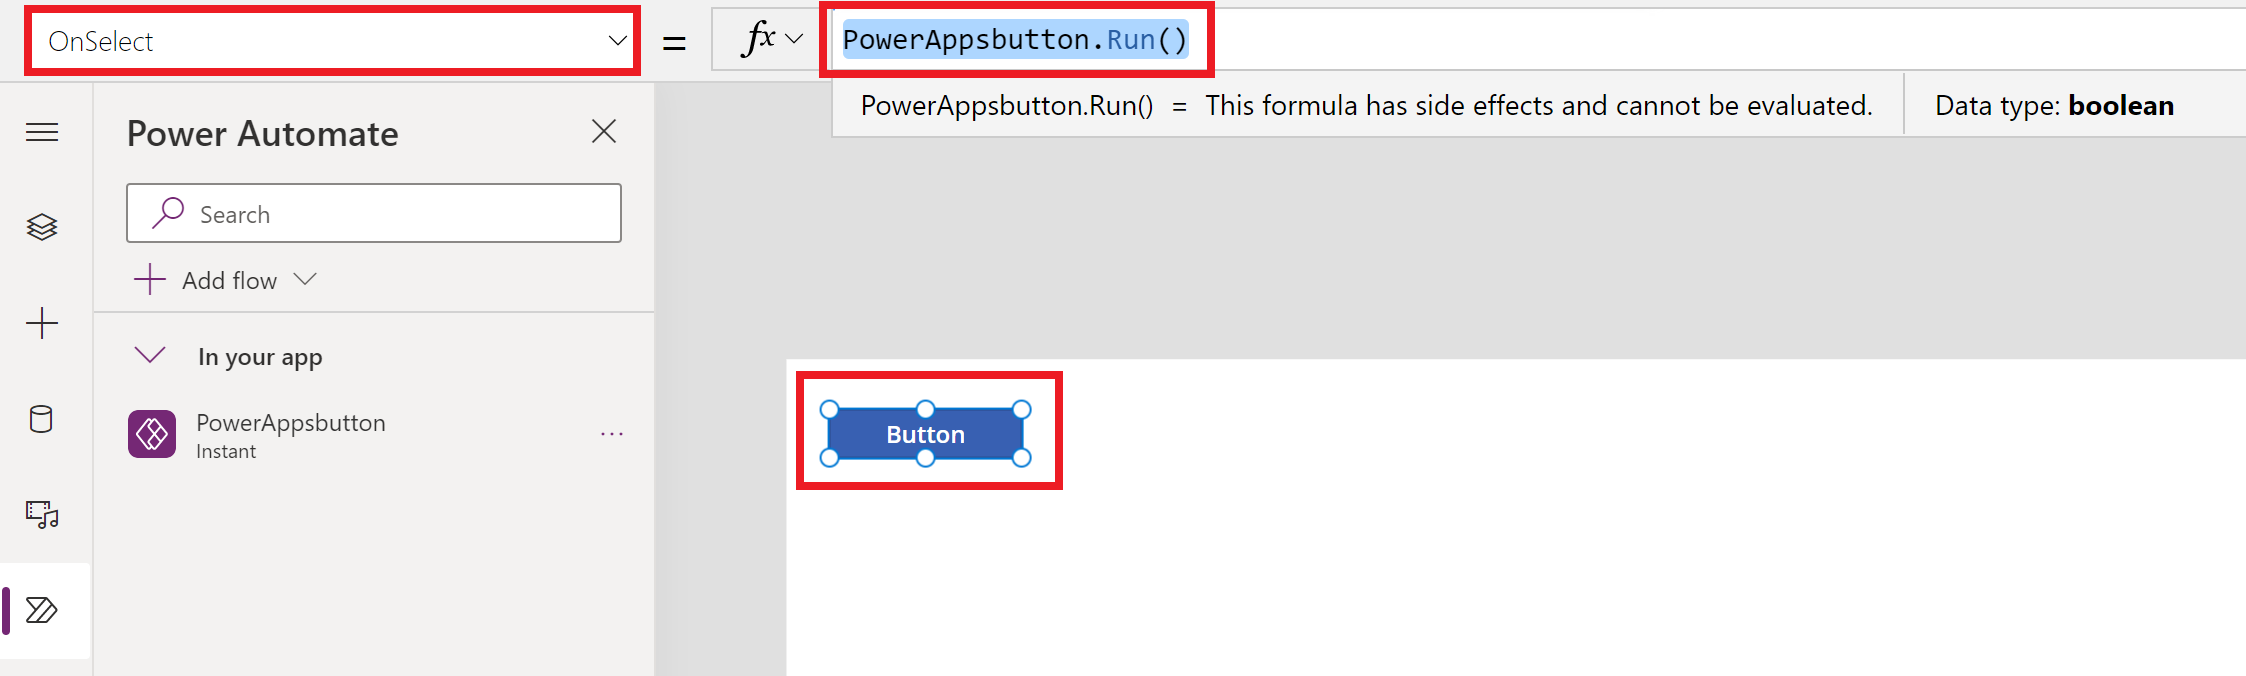
To reference the added flow, update the formula bar for the control or component within Power Apps Studio with the flow details. For example, to reference a flow named "PowerAppsbutton" that triggers an email without accepting any input parameters, use the following formula on the button's OnSelect property:
PowerAppsbutton.Run()
This behavior is different from how the reference to a flow works within Power Apps Studio if the Power Automate pane is disabled.
When you add a flow with the Power Automate pane disabled, you must choose a behavior property of the control or the component that you want to associate with the flow. Adding a flow in this case clears any formula already associated with the chosen property (when the flow reference is added). This means that any existing formula would be removed, and you have to carefully make a copy of the existing formula before adding the flow in order to preserve it. You can then paste your copied formula back after the flow reference has been added.
For example, on a button's OnSelect property, adding the flow removes your existing formula, and you have to carefully make a copy of the existing formula before adding the flow. The following example shows the process with the Power Automate pane disabled. In this case, the formula added for the button property is removed to reference the added flow.
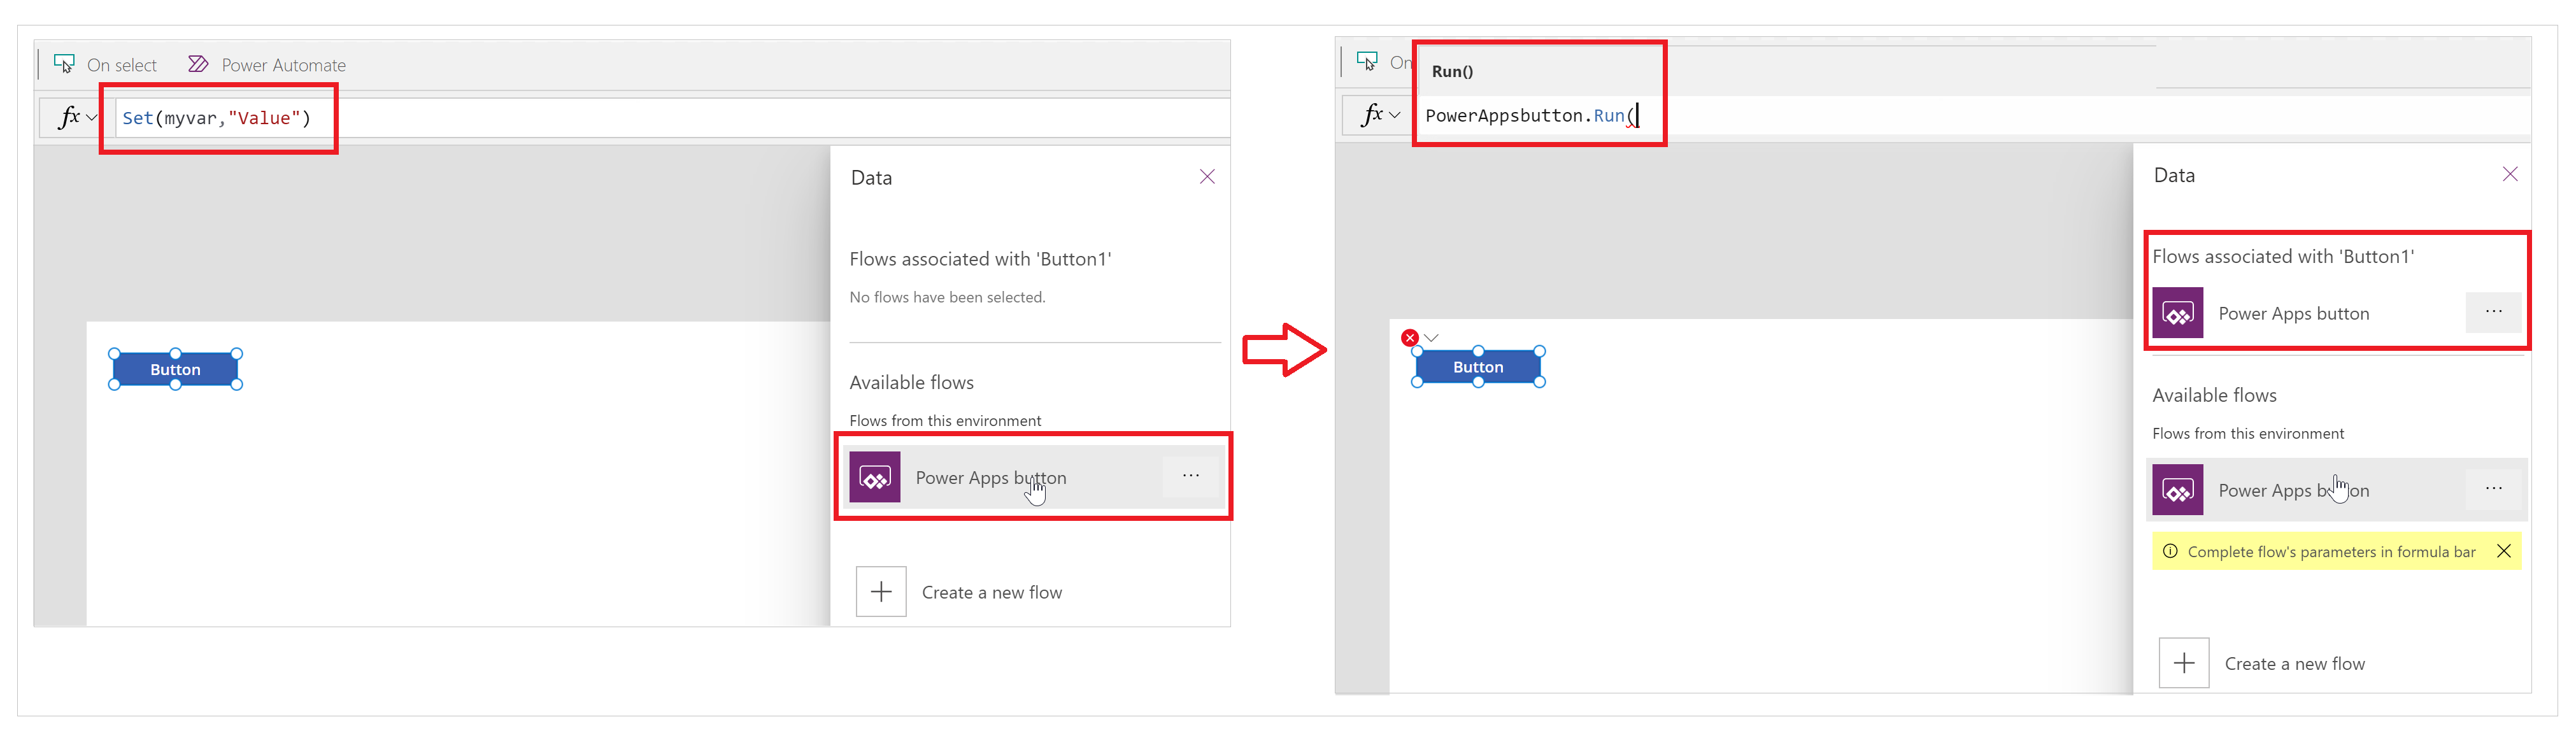
Whereas with the Power Automate pane enabled, any existing formula is preserved automatically (isn't removed). You can add the flow reference in the formula for a behavior property as per your requirement.
The following example shows the process with the Power Automate pane enabled. When the flow is added, the existing formula for the button's OnSelect property is preserved, and the flow reference isn't added automatically.
Now you can reference the flow through the regular process of updating the formula for the control or component—as explained earlier.
Edit an existing flow
You can now edit flows added to your app without leaving Power Apps Studio.
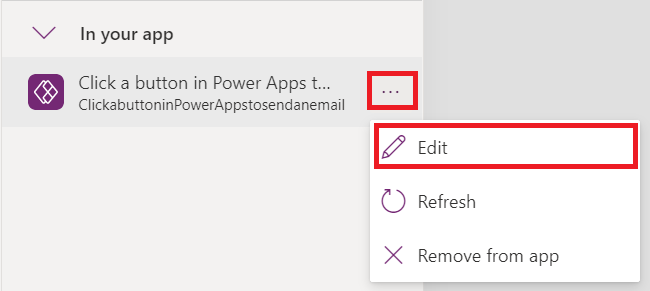
Under the In your app section of the Power Automate pane, select ... (ellipsis) to the right of a flow.
Select Edit.
The flow opens inside the editor.
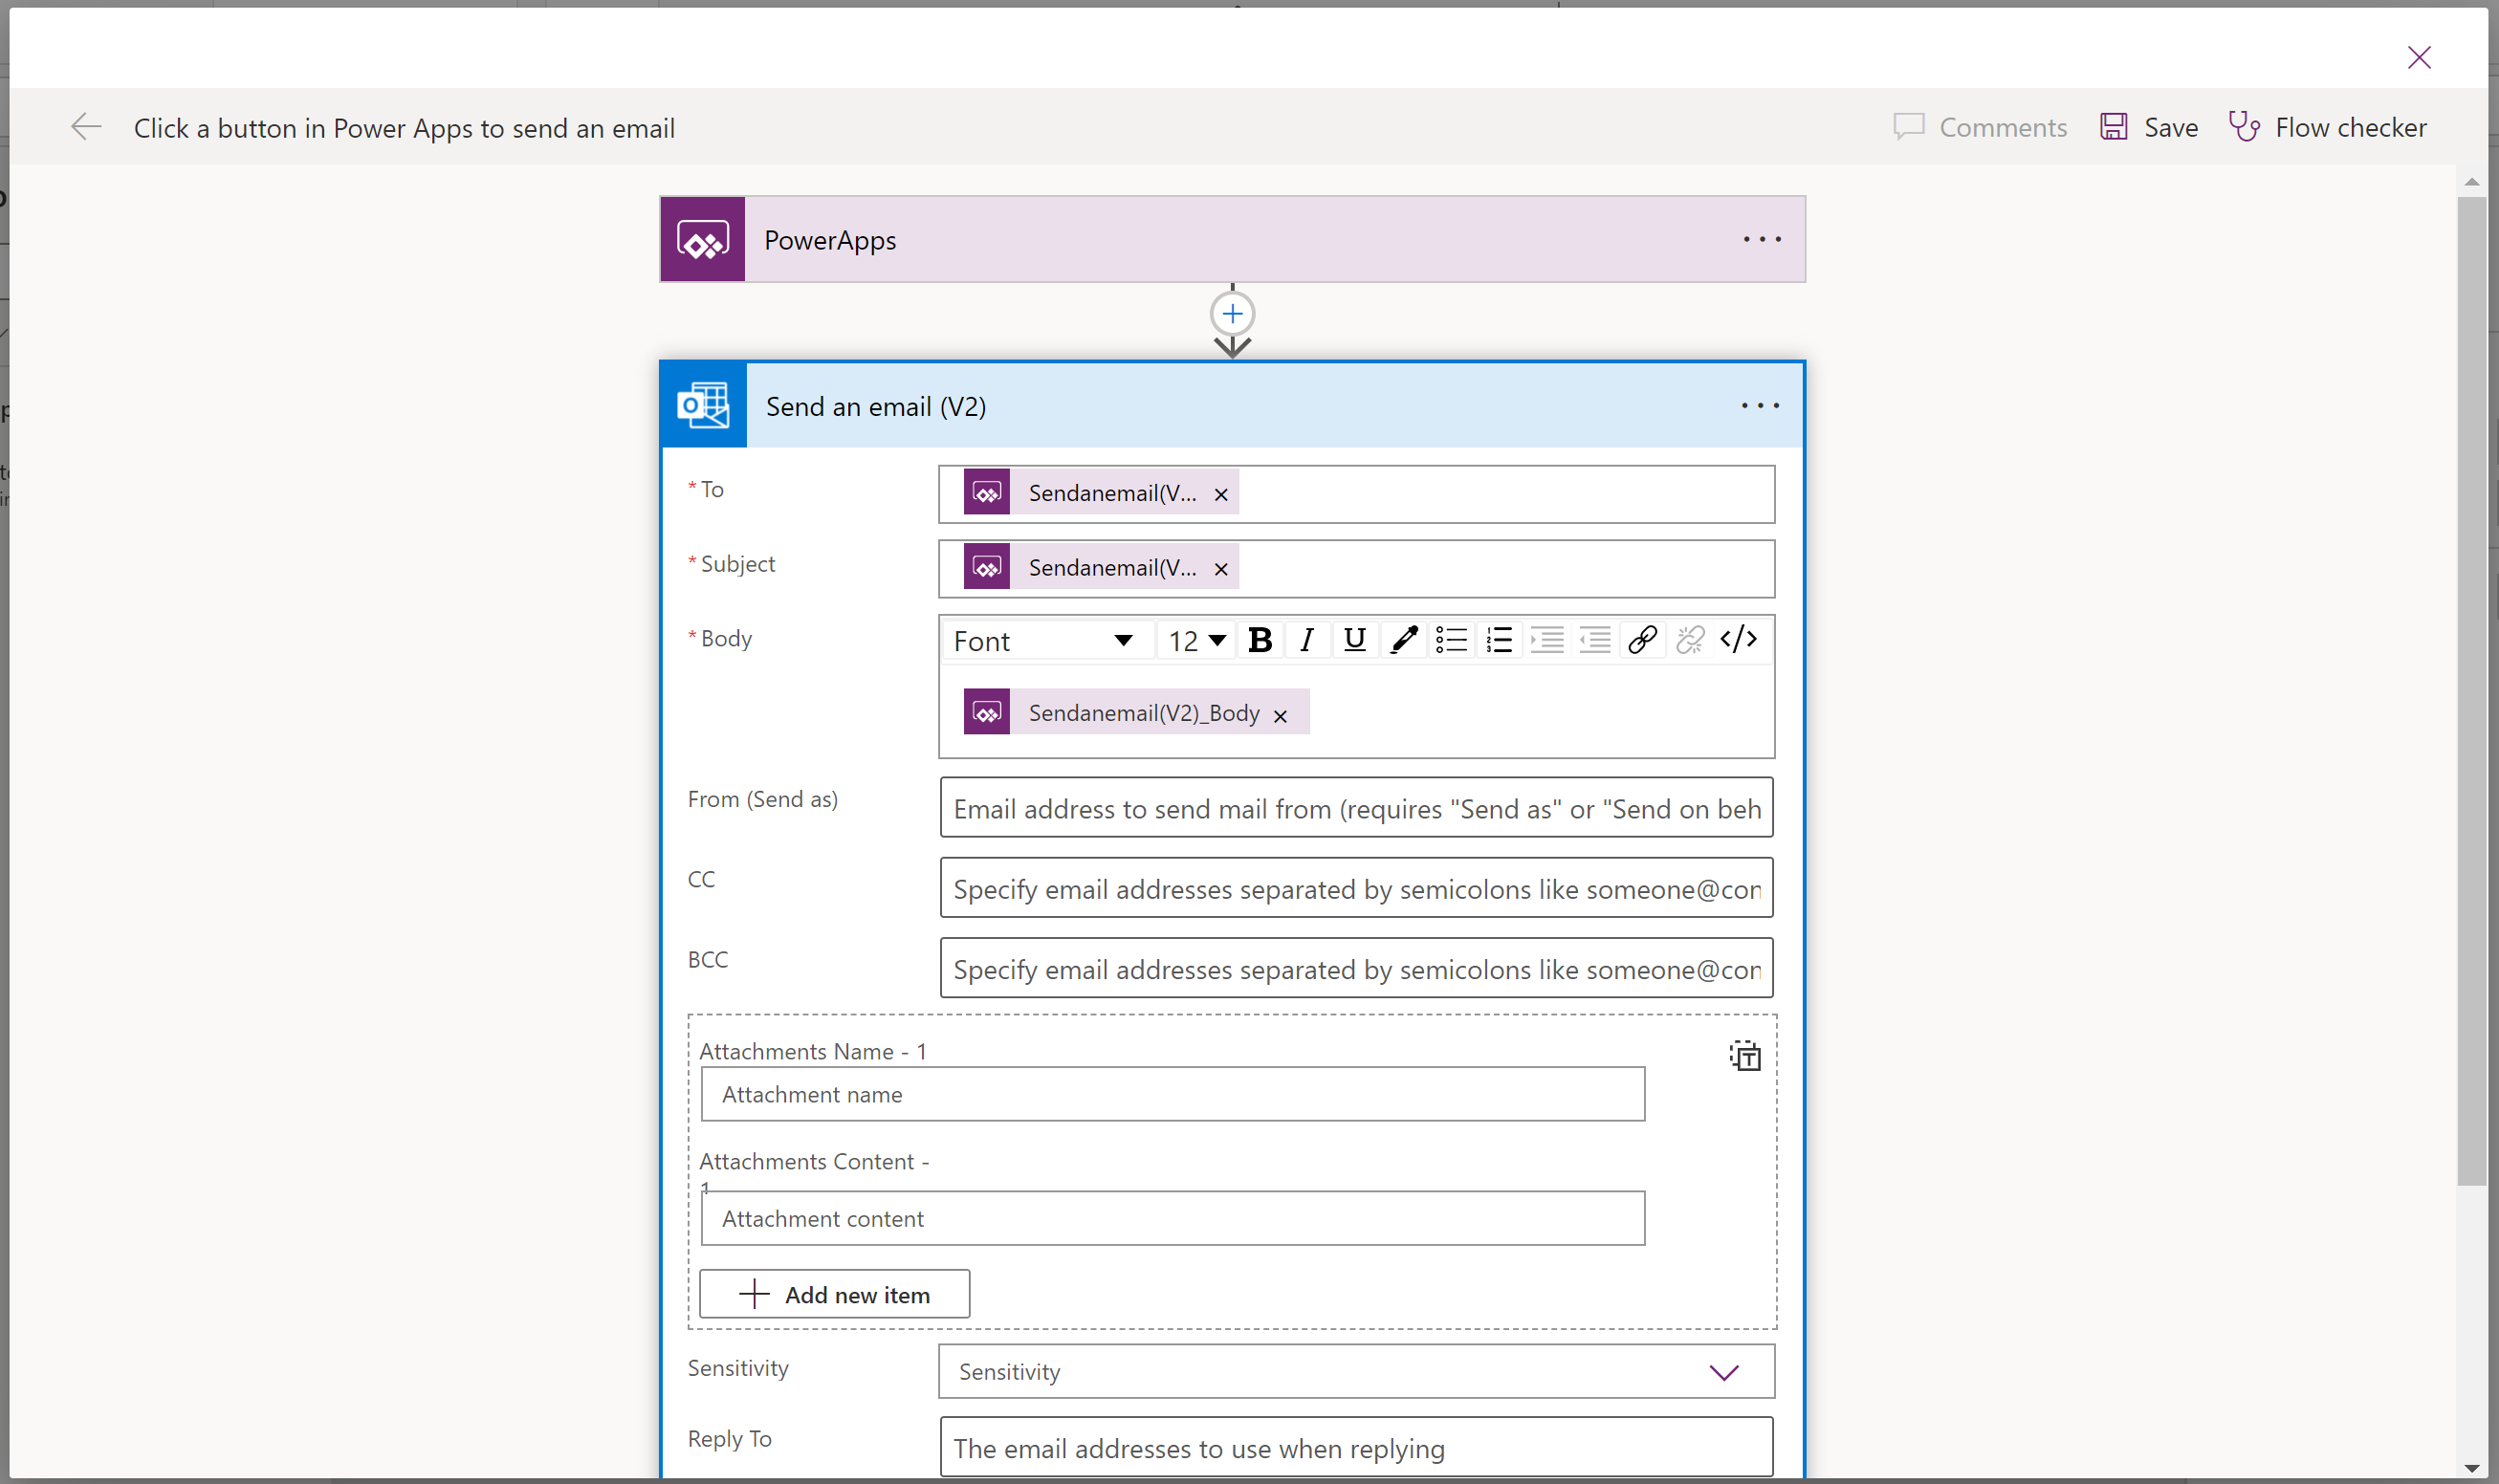
Make your changes, and then select Save.
Important
To avoid losing unsaved changes, ensure you select Save before closing the editor.
Refresh a flow
If any changes are made to the flow in Power Automate (instead of using Power Apps Studio) while you're editing the app, you'll need to refresh your flow to get the latest changes.
To refresh the flow and pull the latest changes, select ... (ellipsis) to the right of your flow, and then select Refresh.
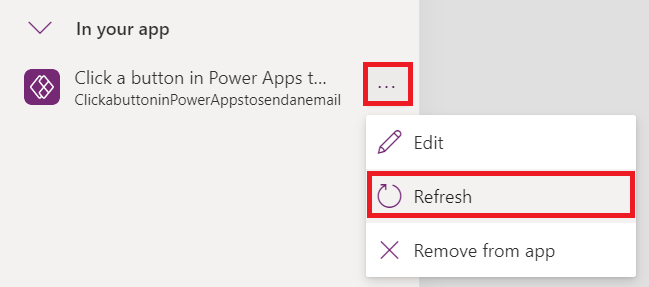
A loading spinner will appear, and the flow will be refreshed.
Remove a flow
To remove a flow from your app, select ... (ellipsis) to the right of your flow, and then select Remove from app.

This action only removes the flow from the app, while the flow remains intact in the environment. You can add the flow again to the same app, or use it in other apps.
Classic Power Automate experience
The Power Automate pane is now enabled by default. To use the classic Power Automate experience to create a flow, you will need to switch back to the old experience manually.
Important
It’s recommended that you use the Power Automate pane to create a flow. The classic Power Automate experience should only be used for troubleshooting. The classic experience will be retired soon and won't be available.
Select Settings at the top.
Select Upcoming features.
Under the Retired tab, select Enable Classic Power Automate pane to set the toggle to On.
See also
Feedback
Coming soon: Throughout 2024 we will be phasing out GitHub Issues as the feedback mechanism for content and replacing it with a new feedback system. For more information see: https://aka.ms/ContentUserFeedback.
Submit and view feedback for