Add, configure, move, or delete components on a form
By using the form designer, makers can easily add and configure popular components such as subgrid, quick view, web resources, pen input, and more.
Add components to a form
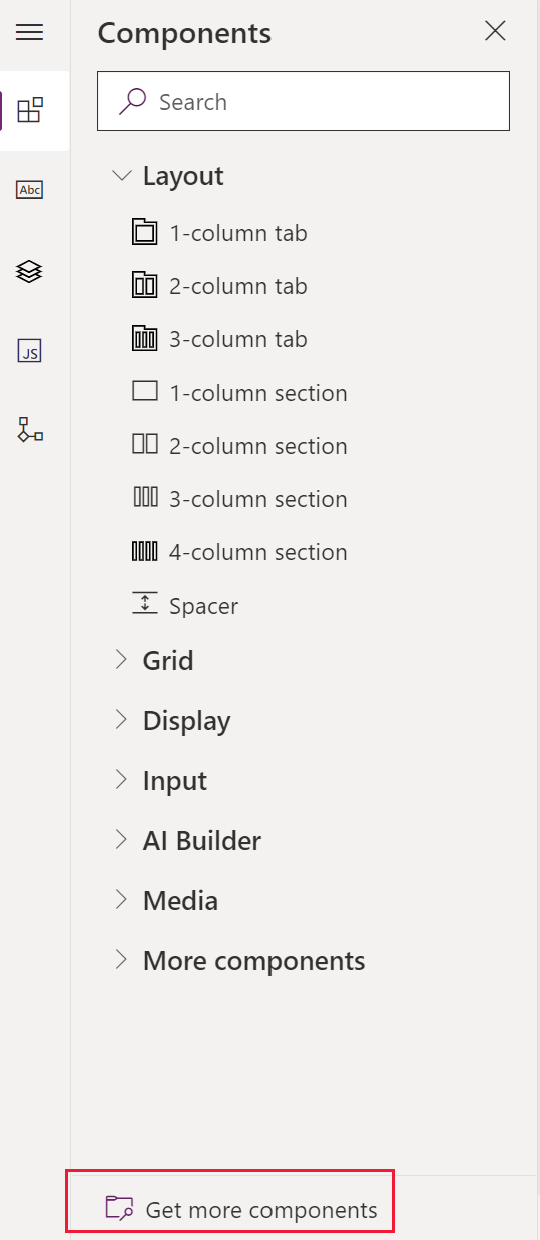
To add components to a form, use the Components pane. Components can be found easily using the search in the Components pane.

Add components to a form using drag and drop
Note
When adding or moving components using drag and drop, be aware that the form preview is responsive and might render multiple section columns as stacked. To ensure that the component that's added or moved is in the correct section column, drop or paste it anchored to another column or component that is already in that section column.
Open the form designer to create or edit a form. More information: Create a form or Edit a form
On the command bar, select Add component, or in the left pane, select Components to see a list of available components. Hover over a component in the list to see a preview image, description, and other details of that component.
In the Components pane, search or scroll to find the required component then select to add the component.
Drag and drop the component onto the form preview. As the component is dragged on the form preview, drop targets appear.
Note
- Components can be dropped before or after any existing component or column.
- Components can also be dropped in the empty area within a section. In this case the component will be added in an available space so as to evenly distribute columns and components across the section columns.
- Hovering over a tab header when dragging a component changes the currently selected tab, allowing the component to be added to a different tab.
- When the component is dropped, in most cases, a dialog to configure the properties of the component will appear. Ensure that all the required properties of the component are configured.
In the dialog to configure the properties of the component, under Show component on, the Web, Mobile, and Tablet options are selected by default to ensure the component is used when the form is displayed on the web, mobile app, and tablet app. Based on you app's requirements, you might want to clear some of the client types for the component.
Select Done.
Repeat steps 3-6 above to add more components.
On the command bar, select Save to save the form, or select Publish to make the changes visible to users.
Add components for a column on the form
- Open the form designer to create or edit a form. More information: Create a form or Edit a form
- In the form preview, select an existing column.
- In the property pane, under the Components area, select + Component.
- The Add component dialog displays a list of components that are available for the current column type. Hover over a component in the list to see a preview image, description, and other details of that component.
- In the Add component dialog, search, or scroll to find the required component to add and then select it. In most cases, a dialog is displayed to configure the properties of the component. Ensure that all the required properties of the component have been configured.
- In the dialog to configure the properties of the component, under Show component on, the Web, Mobile, and Tablet options are selected by default to ensure the component is used when the form is displayed on the web, mobile app, and tablet app. Based on the requirements some of these options to limit the usage of the component can be cleared.
- Select Done.
- Repeat steps 2-7 above to add more components to the same or another column.
- On the command bar, select Save to save the form, or select Publish to save and make the changes visible to users.
Configure components on a form
- Open the form designer to create or edit a form. More information: Create a form or Edit a form
- In the form preview, select an existing column.
- In the property pane, under the Components area, select the component that you want configured.
- A dialog might appear to configure the properties of the component. Change the properties of the component as needed, and then select Done.
- Repeat steps 2-4 to configure more components on the same or another column.
- On the command bar, select Save to save the form, or select Publish to save and make the changes visible to users.
Move components on a form
To move components on a form, either use drag-and-drop or cut-and-paste actions.
Move components on a form using drag and drop
Open the form designer to create or edit a form. More information: Create a form or Edit a form
In the form preview, select the component to move and drag and drop it. As the component is dragged onto the form preview, drop targets appear where it can be moved.
Note
- Components can be dropped before or after any existing component or column.
- Components can also be dropped in the empty area within a section. In this case the component will be added in an available space to evenly distribute components and columns across the section columns.
- Hover over a tab header while using drag and drop to add the component to a different tab.
Repeat steps 2-3 above to move more components.
On the command bar, select Save to save the form, or select Publish to save and make the changes available to users.
Move components on a form using cut and paste
Open the form designer to create or edit a form. More information: Create a form or Edit a form
In the form preview, select the required component to move.
On the command bar, select Cut.
In the form preview, select another existing component, column, or section. It is possible to switch to a different tab if needed.
On the command bar, select Paste or select the chevron, and then select Paste before.
Note
- When Paste is selected, the component being moved is pasted after the existing component or column.
- When Paste before is selected, the component being moved is pasted before the existing component or column.
- When a section is selected, the component being moved is added in an available space so as to evenly distribute components and columns across the section columns.
Repeat steps 2-5 above if to move more components.
On the command bar, select Save to save the form, or select Publish to save and make the changes visible to users.
Get more components
Select Get more components to find and add other Power Apps components as well as custom controls that aren't available by default in the Component pane.
Select the tab you want, either Built by Microsoft or Built by others, and then select the component.
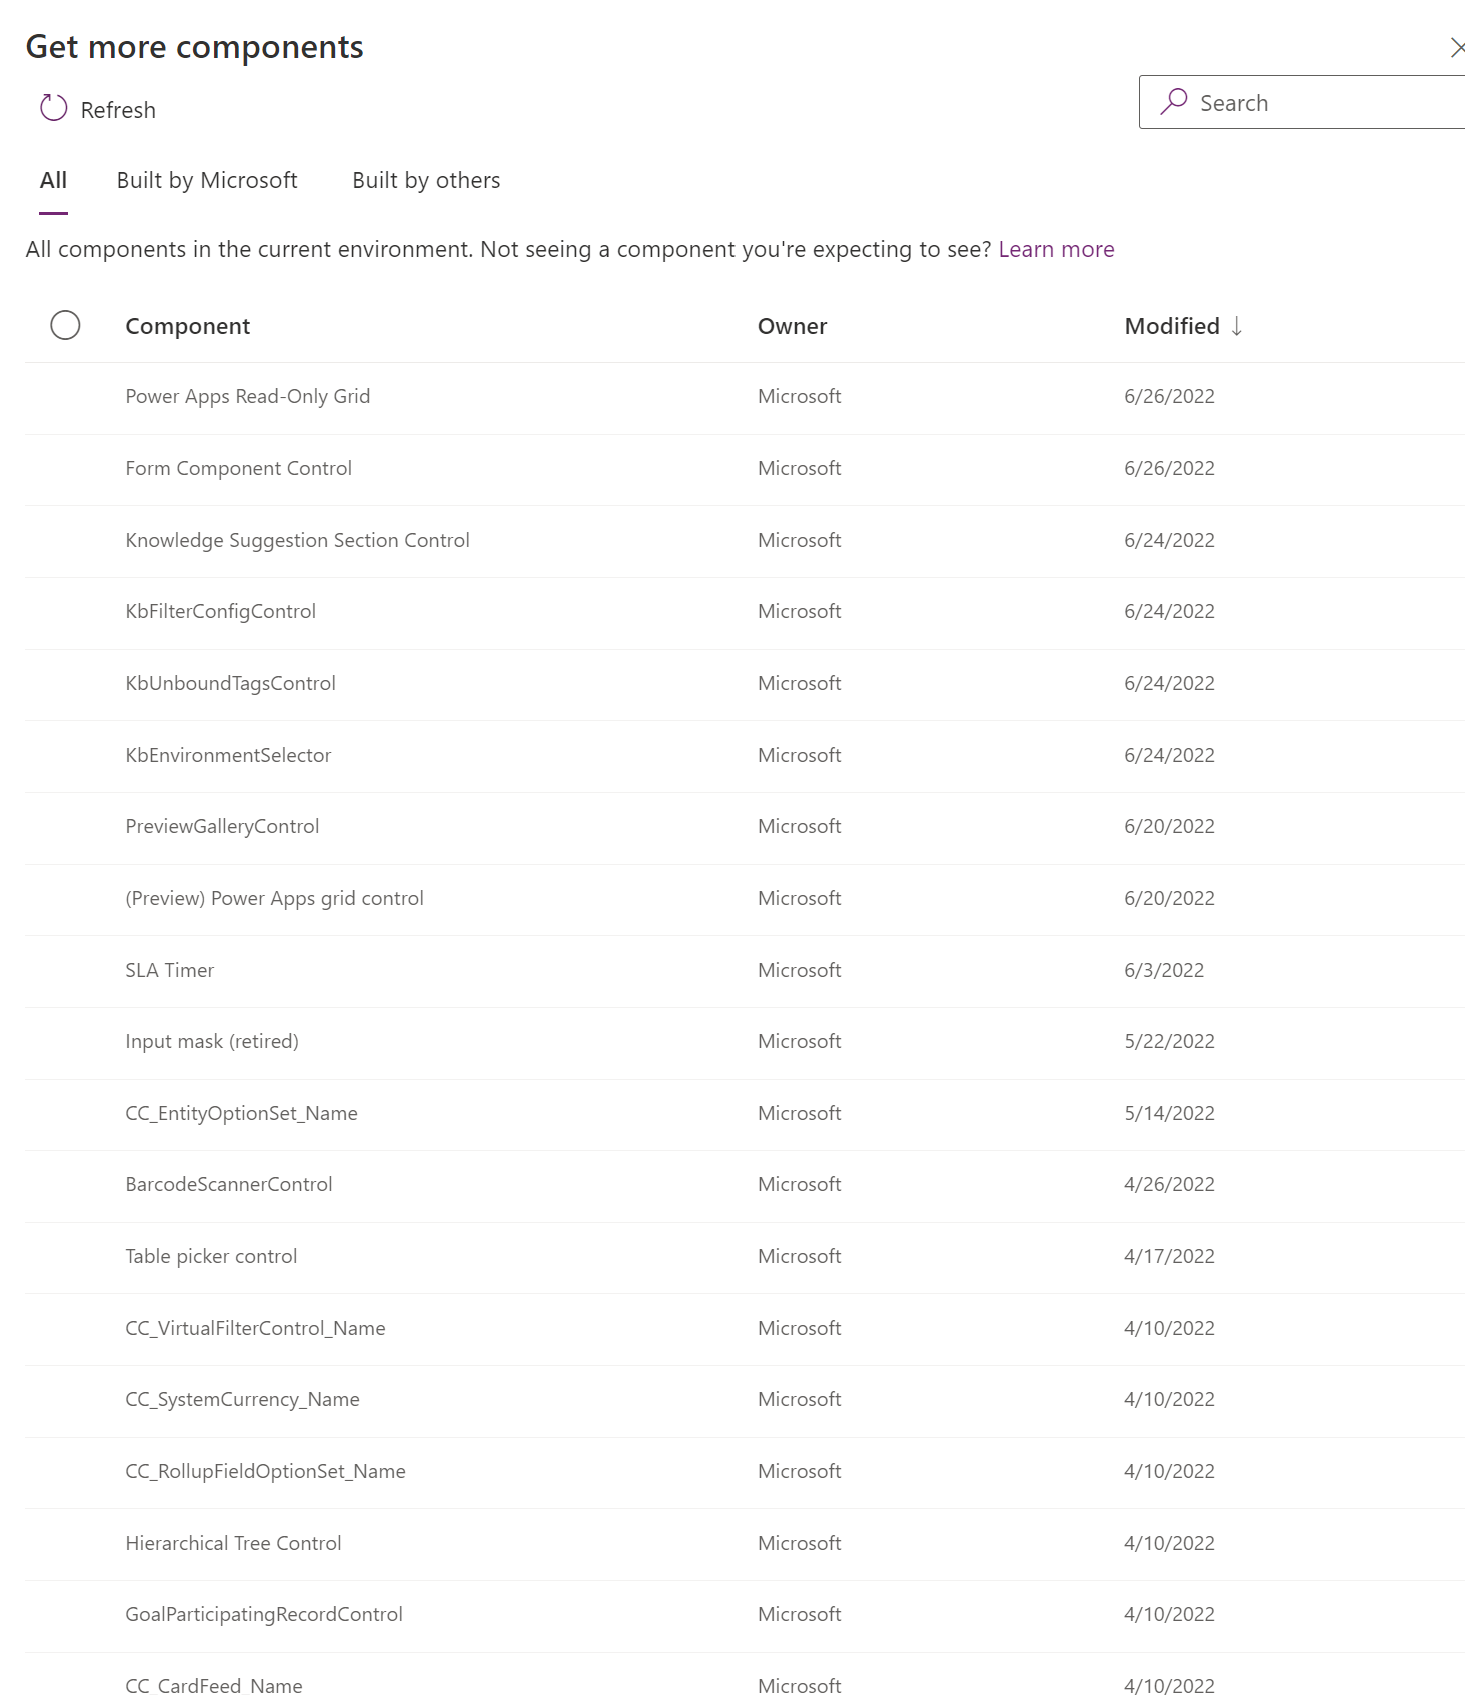
Select Add. The component appears under the More components section of the Component pane.
Delete components on a form
Open the form designer to create or edit a form. More information: Create a form or Edit a form
In the form preview, select the component that you want to delete from the form, and then on the command bar, select Delete.
Repeat step 2 to delete more components.
On the command bar, select Save to save the form, or select Publish to save and make the changes visible to users.
Note
- If a component is deleted by mistake, select Undo on the command bar to revert the form to its previous state.
- A component can't be deleted when it is locked or is using a required column that is not present anywhere else on the form.
See also
Overview of the model-driven form designer
Create, edit, or configure forms using the form designer
Add, configure, move, or delete columns on a form
Add, configure, move, or delete sections on a form
Add, configure, move, or delete tabs on a form
Configure header properties in the form designer
Add and configure a subgrid component on a form
Add and configure a quick view component on a form
Configure a lookup component on a form
Using the tree view in the form designer
Create and edit columns
Feedback
Coming soon: Throughout 2024 we will be phasing out GitHub Issues as the feedback mechanism for content and replacing it with a new feedback system. For more information see: https://aka.ms/ContentUserFeedback.
Submit and view feedback for