Assign Azure roles to a managed identity (Preview)

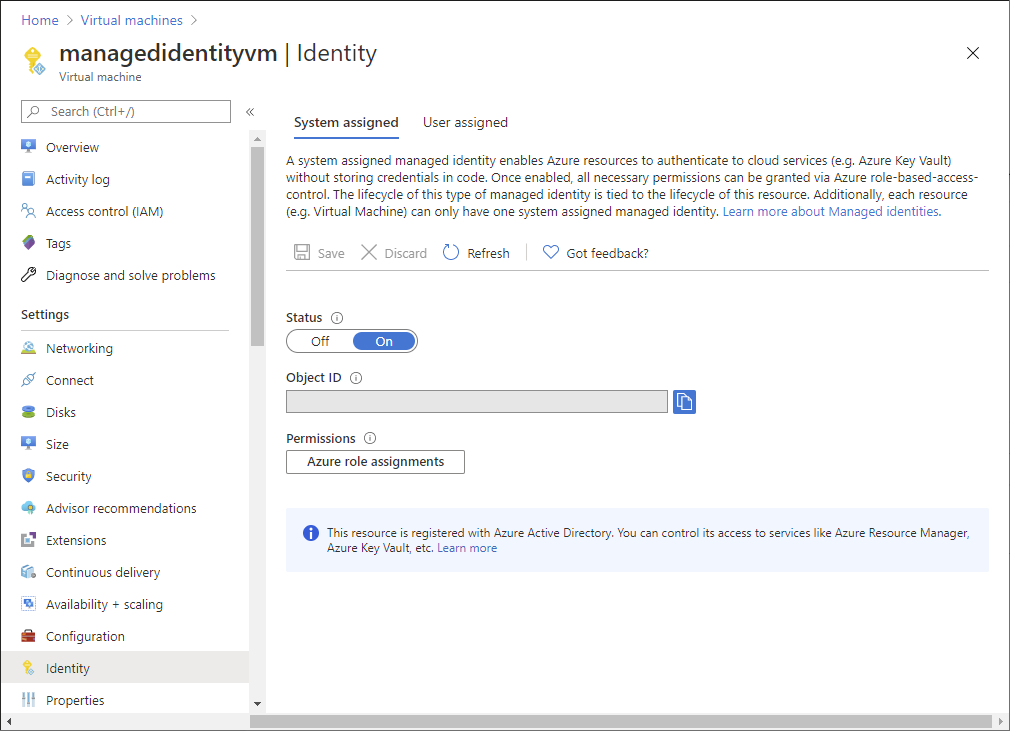
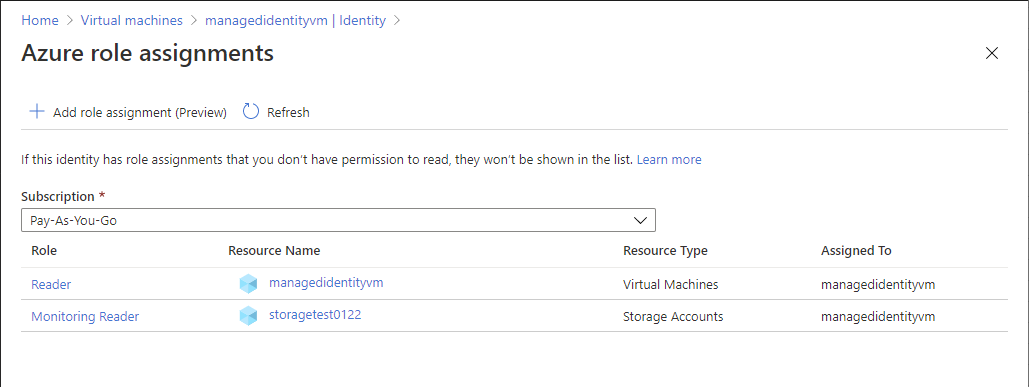
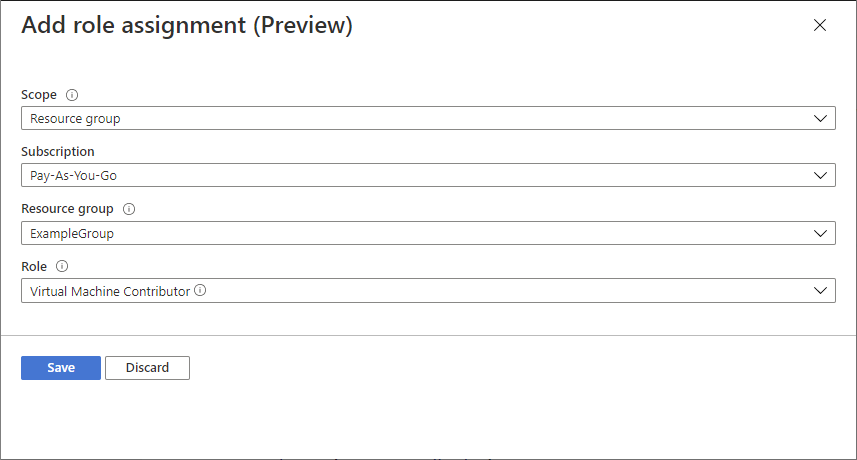
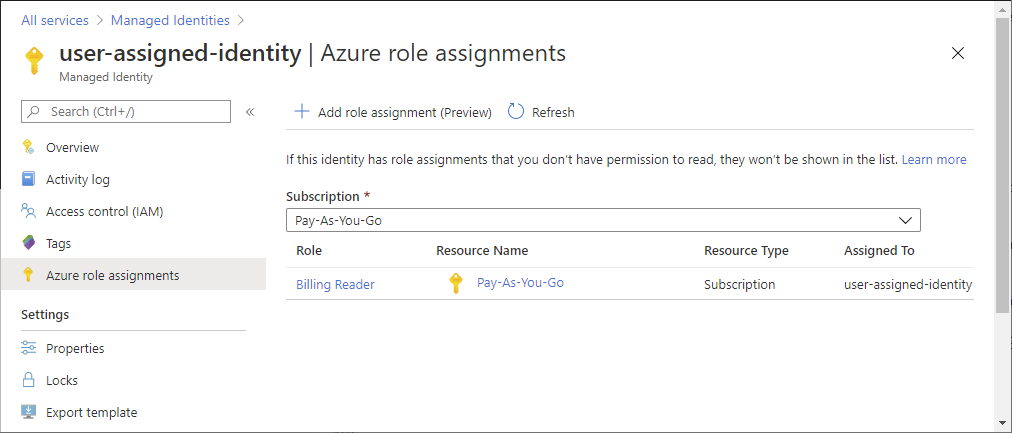
You can assign a role to a managed identity by using the Access control (IAM) page as described in Assign Azure roles using the Azure portal. When you use the Access control (IAM) page, you start with the scope and then select the managed identity and role. This article describes an alternate way to assign roles for a managed identity. Using these steps, you start with the managed identity and then select the scope and role.

Important

Assign a role to a managed identity using these alternate steps is currently in preview. This preview version is provided without a service level agreement, and it's not recommended for production workloads. Certain features might not be supported or might have constrained capabilities. For more information, see Supplemental Terms of Use for Microsoft Azure Previews.

Prerequisites

To assign Azure roles, you must have:

System-assigned managed identity

Follow these steps to assign a role to a system-assigned managed identity by starting with the managed identity.

  1. In the Azure portal, open a system-assigned managed identity.

  2. In the left menu, click Identity.

    System-assigned managed identity

  3. Under Permissions, click Azure role assignments.

    If roles are already assigned to the selected system-assigned managed identity, you see the list of role assignments. This list includes all role assignments you have permission to read.

    Role assignments for a system-assigned managed identity

  4. To change the subscription, click the Subscription list.

  5. Click Add role assignment (Preview).

  6. Use the drop-down lists to select the set of resources that the role assignment applies to such as Subscription, Resource group, or resource.

    If you don't have role assignment write permissions for the selected scope, an inline message will be displayed.

  7. In the Role drop-down list, select a role such as Virtual Machine Contributor.

    Add role assignment pane for system-assigned managed identity

  8. Click Save to assign the role.

    After a few moments, the managed identity is assigned the role at the selected scope.

User-assigned managed identity

Follow these steps to assign a role to a user-assigned managed identity by starting with the managed identity.

  1. In the Azure portal, open a user-assigned managed identity.

  2. In the left menu, click Azure role assignments.

    If roles are already assigned to the selected user-assigned managed identity, you see the list of role assignments. This list includes all role assignments you have permission to read.

    Role assignments for a user-assigned managed identity

  3. To change the subscription, click the Subscription list.

  4. Click Add role assignment (Preview).

  5. Use the drop-down lists to select the set of resources that the role assignment applies to such as Subscription, Resource group, or resource.

    If you don't have role assignment write permissions for the selected scope, an inline message will be displayed.

  6. In the Role drop-down list, select a role such as Virtual Machine Contributor.

    Add role assignment pane for a user-assigned managed identity

  7. Click Save to assign the role.

    After a few moments, the managed identity is assigned the role at the selected scope.