Set bookmarks in code
Applies to: ![]() Visual Studio
Visual Studio ![]() Visual Studio for Mac
Visual Studio for Mac
Note
This article applies to Visual Studio 2017. If you're looking for the latest Visual Studio documentation, see Visual Studio documentation. We recommend upgrading to the latest version of Visual Studio. Download it here
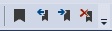
You can use bookmarks to mark lines in your code so that you can quickly return to a specific location, or jump back and forth between locations. Bookmark commands and icons are available in two places: the Bookmark Window (View > Bookmark Window) and the text editor toolbar.
Manage bookmarks
To add a bookmark, place the cursor on the line you want to bookmark. Choose the Toggle a bookmark button, or press Ctrl+K, Ctrl+K. This adds the bookmark. If you choose the Toggle a bookmark button (or press Ctrl+K, Ctrl+K) again, the bookmark is removed.
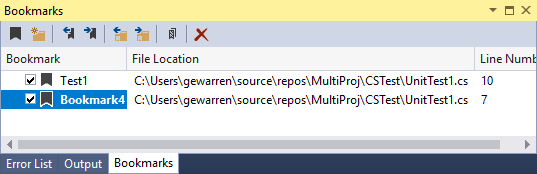
To know at a glance what a specific bookmark is for, you can rename it in the Bookmark Window from the right-click or context menu. You can delete bookmarks by choosing the Delete button in the bookmark window.
Important
The bookmark is set to the line number, not to the code. If you modify the code, the bookmark is retained at the line number, and does not move with the code.
You can navigate between bookmarks by using the Next bookmark and Previous bookmark buttons in the bookmark window.
You can organize bookmarks into virtual folders by choosing New Folder in the bookmark window and then dragging selected bookmarks into the new folder.
You can turn off bookmarks (without removing them) by choosing the Disable All Bookmarks button in the bookmark window. You can re-enable them by choosing the same button (which is now called Enable All Bookmarks).