Step 4: Store your AppSource Package on Azure Storage and generate a URL with SAS key
Microsoft Azure Storage is a Microsoft-managed cloud service that provides storage that is highly available, secure, durable, scalable, and redundant. More information: Introduction to Microsoft Azure Storage.
To maintain security of your files, all app developers must store their AppSource package file in a Microsoft Azure Blob storage account, and use a Shared Access Signature (SAS) key to share the package file. Your package file is retrieved from your Azure Storage location for certification, and then for AppSource trials.
Before you upload your package
Download and install the Microsoft Azure Storage Explorer from https://storageexplorer.com.
Azure Storage Explorer lets you easily manage the contents of your storage account.
Upload your package and generate a URL with SAS key
To upload your package to Azure Blob storage:
Create a free trial or pay as you go Azure account at https://azure.microsoft.com.
Sign in to Azure Management portal at https://portal.azure.com.
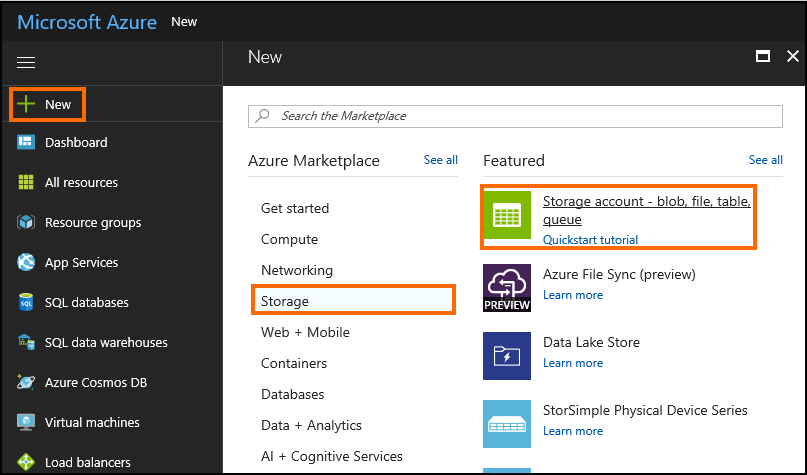
Create a new Storage account by clicking > Storage > Storage account - blob, file, table, queue.
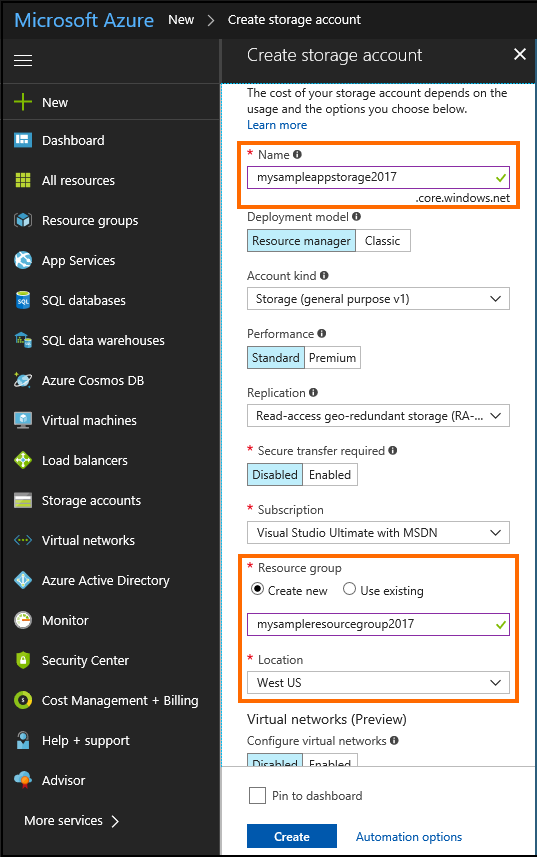
On the Create storage account page, specify Name, Resource group, and Location for your storage account. Leave the rest of the columns with the default options. Click Create.
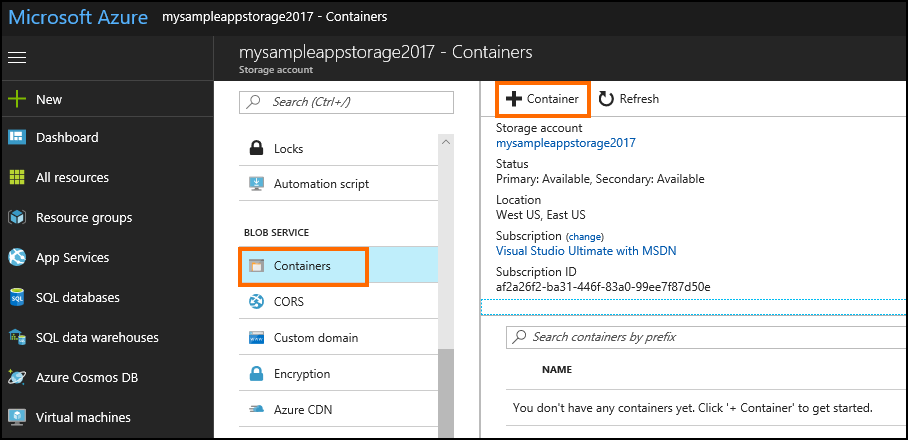
After your storage account is created, navigate to the newly created resource group, and create a new Blob container. Under Blob Service, select Containers, and then + Container.
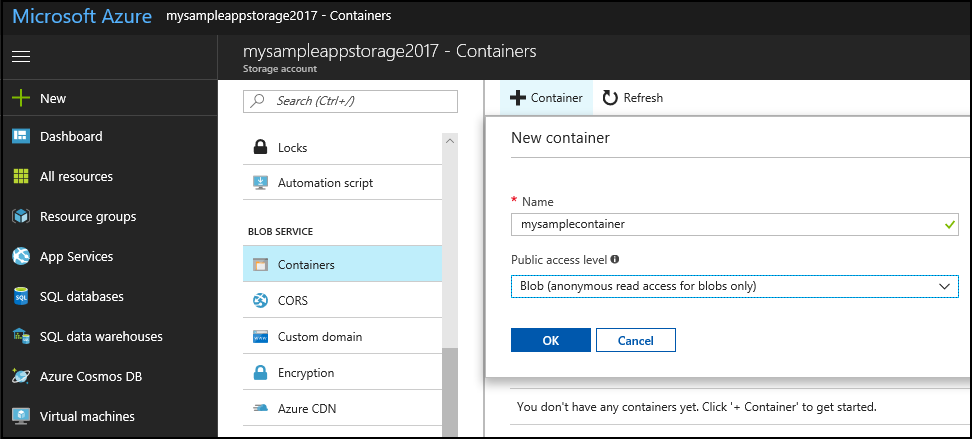
Specify a name for your container, and select the Public access level as Blob. Click OK.
Start Azure Storage Explorer on your computer, and connect to your Azure Storage account by signing in using the same account with which you created your Azure Storage account.
In Azure Storage Explorer, select the newly created container, and then select Upload > Upload Files to upload the app source package that you created in Step 3: Create an AppSource package for your app.
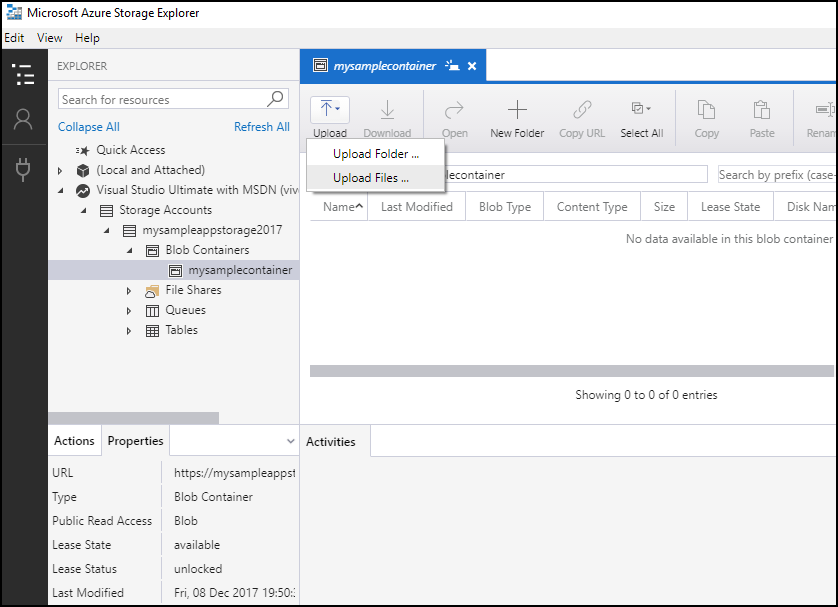
Browse to the AppSource package file on your computer, and select to upload it.
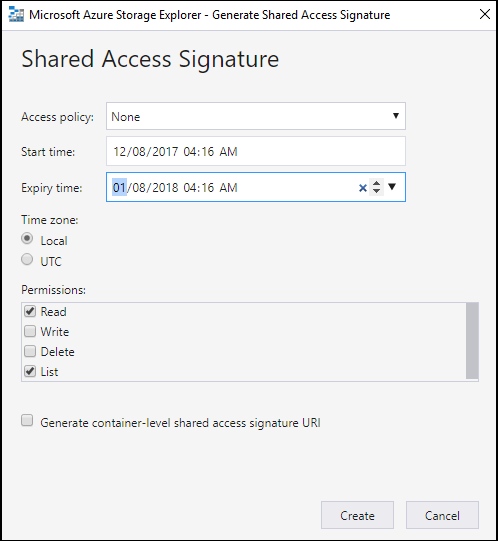
Right-click on the uploaded AppSource package file, and select Get Shared Access Signature.

On the Shared Access Signature page, modify the Expiry time value to make the Shared Access Signature (SAS) active for a month from the Start time. Click Create.
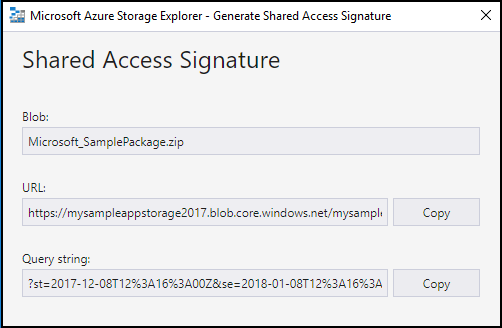
The next page displays information about the generated SAS information. Copy the URL value and save it for later. You will need to specify this URL while creating an offer in Partner Center.
Comentários
Brevemente: Ao longo de 2024, vamos descontinuar progressivamente o GitHub Issues como mecanismo de feedback para conteúdos e substituí-lo por um novo sistema de feedback. Para obter mais informações, veja: https://aka.ms/ContentUserFeedback.
Submeter e ver comentários