Debug with the emulator
APPLIES TO: SDK v3
The Bot Framework Emulator is a desktop application that allows bot developers to test and debug their bots, either locally or remotely. Using the emulator, you can chat with your bot and inspect the messages that your bot sends and receives. The emulator displays messages as they would appear in a web chat UI and logs JSON requests and responses as you exchange messages with your bot. Before you deploy your bot to the cloud, run it locally and test it using the emulator. You can test your bot using the emulator even if you have not yet created it with Azure Bot Service or configured it to run on any channels.
Prerequisites
- Install Bot Framework Emulator
Run a bot locally
Before connecting your bot to the Bot Framework Emulator, you need to run your bot locally. You can use Visual Studio or Visual Studio Code to run your bot, or use command line. To run a bot using command line, do the following:
Go to the command prompt and change directory to your bot project directory.
Start the bot by running the following command:
dotnet runCopy the port number in the line before Application started. Press CTRL+C to shut down.

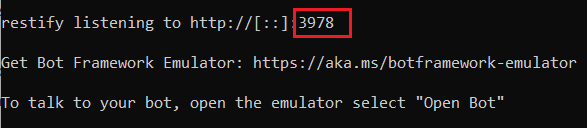
At this point, your bot should be running locally.
Connect to a bot running on localhost
Configure proxy settings
When you are developing behind a corporate proxy, the emulator will use the configured environment variables HTTP_PROXY and HTTPS_PROXY, which specify the proxy URL route for HTTP and HTTPs requests respectively.
If you are connecting to a bot running on localhost, the emulator will first try to route through the proxy before connecting to localhost. Typically, the proxy will block the connection unless you specify that it should be bypassed for localhost.
In order to bypass the HTTP_PROXY and HTTPS_PROXY settings and allow the emulator to connect to localhost, on your local machine you must define the following environment variable :
NO_PROXY=localhost
Configure the emulator for authentication
If a bot requires authentication, displaying a login dialog, you must configure the emulator as shown below.
Using sign-in verification code
- Start the emulator.
- In the emulator, click the gear icon in the bottom left, or the Emulator Settings tab in the upper right.
- Check the box by Use a sign-in verification code for OAuthCards.
- Check the box by Bypass ngrok for local address
- Click the Save button.
When you click the login button displayed by the bot, a validation code will be generated. You wil enter the code in the bot input chat box for the authentication to take place. After that you can perform the allowed operations.
Alternatively, you can perform the steps described below.
Using authentication tokens
- Start the emulator.
- In the emulator, click the gear icon in the bottom left, or the Emulator Settings tab in the upper right.
- Check the box by Use version1.0 authentication tokens.
- Enter the local path to the ngrok tool. For more the tool information, see ngrok.
- Check the box by Run ngrok when the Emulator starts up.
- Click the Save button.
When you click the login button displayed by the bot, you will be asked to enter your credentials. An authentication token is generated. After that you can perform the allowed operations.

To connect to a bot running locally and click Open bot. Add the port number your copied earlier into the following URL and paste the updated URL in the Bot URL bar:
https://localhost:port number/api/messages
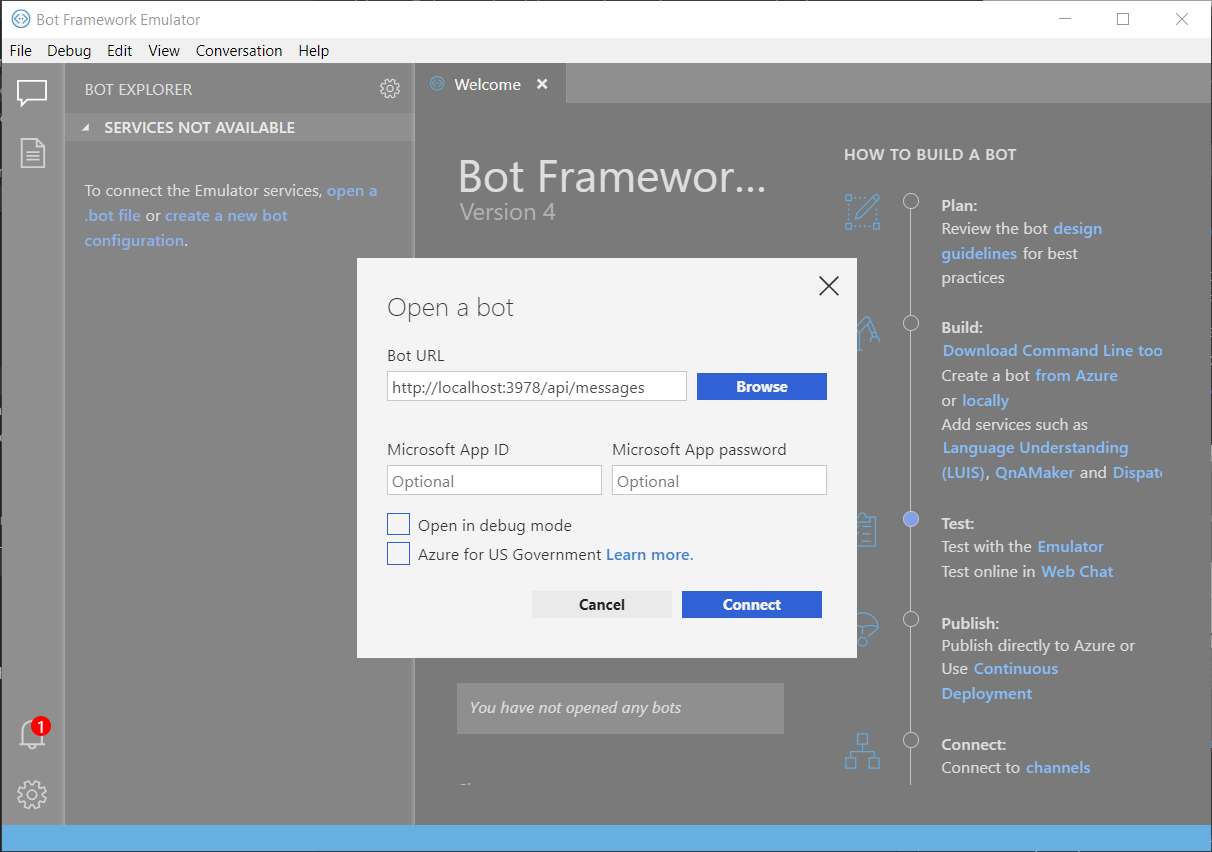
If your bot is running with Microsoft Account (MSA) credentials, enter these credentials too.
Use bot credentials
When you open the bot, set the Microsoft App ID and Microsoft App password if your bot is running with credentials. If you created your bot with the Azure Bot Service, the credentials are available on the bot's App Service, under the Settings -> Configuration section. If you do not know the values, you can remove those from the locally running bot's configuration file, then run the bot in the Emulator. If the bot isn't running with these settings, you don't need to run the emulator with the settings either.
When creating an AD identity provider application, remember the following:
- When the supported account types is set to single tenant, if you use a personal subscription instead of a Microsoft account, the emulator would issue the error: The bot's Microsoft App ID or Microsoft App Password is incorrect..
- In this case, the supported account types must be set to Accounts in any organizational directory (Any Azure AD directory - Multitenant) and personal Microsoft accounts (e.g. Xbox).
For more information, see Create an Azure AD identity provider application and Register a new application using the Azure portal.
View detailed Message Activity with the Inspector
Send a message to your bot and the bot should respond back. You can click on the message bubble within the conversation window and inspect the raw JSON activity using the INSPECTOR feature to the right side of the window. When selected, the message bubble will turn yellow and the activity JSON object will be displayed to the left of the chat window. The JSON information includes key metadata, including the channel ID, activity type, conversation ID, the text message, endpoint URL, and so on. You can inspect activities sent from the user, as well as activities the bot responds with.

Inspect services
With the new v4 emulator you can also inspect the JSON responses from LUIS and QnA. Using a bot with a connected language service, you can select trace in the LOG window to the bottom right. This new tool also provides features to update your language services directly from the emulator.
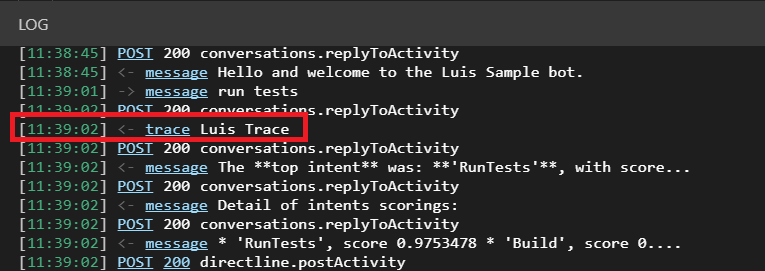
With a connected LUIS service, you'll notice that the trace link specifies Luis Trace. When selected, you'll see the raw response from your LUIS service, which includes intents, entities along with their specified scores. You also have the option to re-assign intents for your user utterances.

With a connected QnA service, the log will display QnA Trace, and when selected you can preview the question and answer pair associated with that activity, along with a confidence score. From here, you can add alternative question phrasing for an answer.
Login to Azure
You can use Emulator to login in to your Azure account. This is particularly helpful for you to add and manage services your bot depends on. Log into Azure by following these steps:
- Click on File -> Sign in with Azure
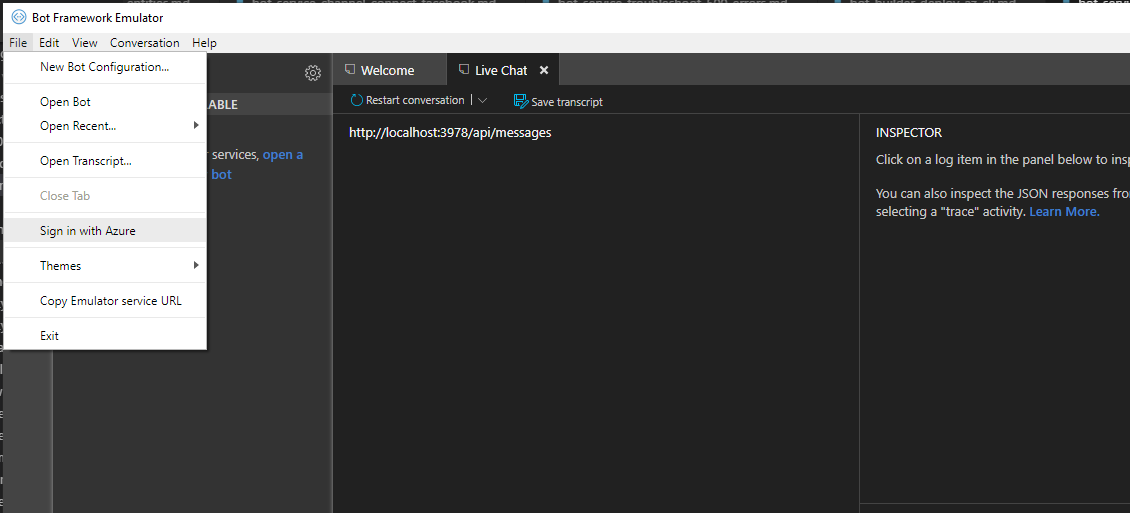
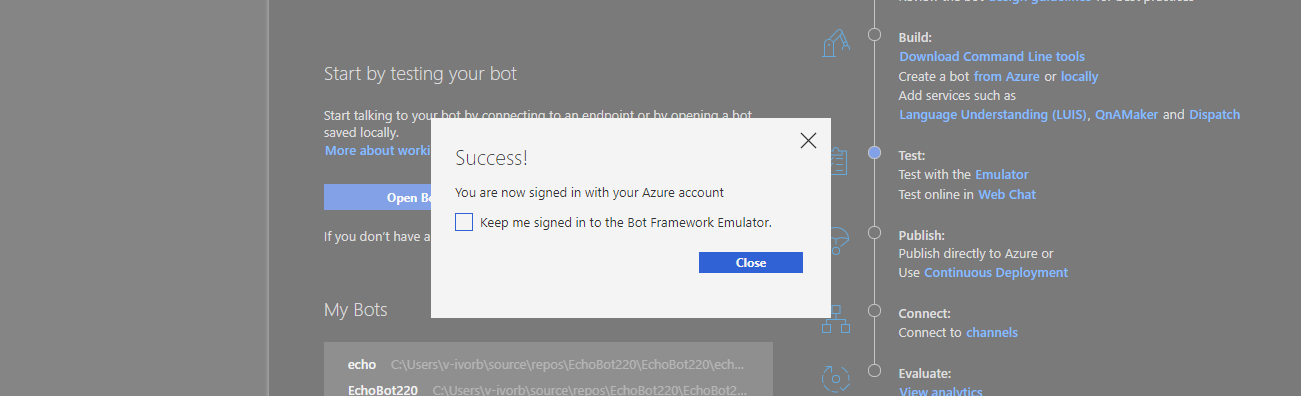
- On the welcome screen click on Sign in with your Azure account
You can optionally have Emulator keep you signed in across Emulator application restarts.
Disabling data collection
If you decide that you no longer want to allow the Emulator to collect usage data, you can easily disable data collection by following these steps:
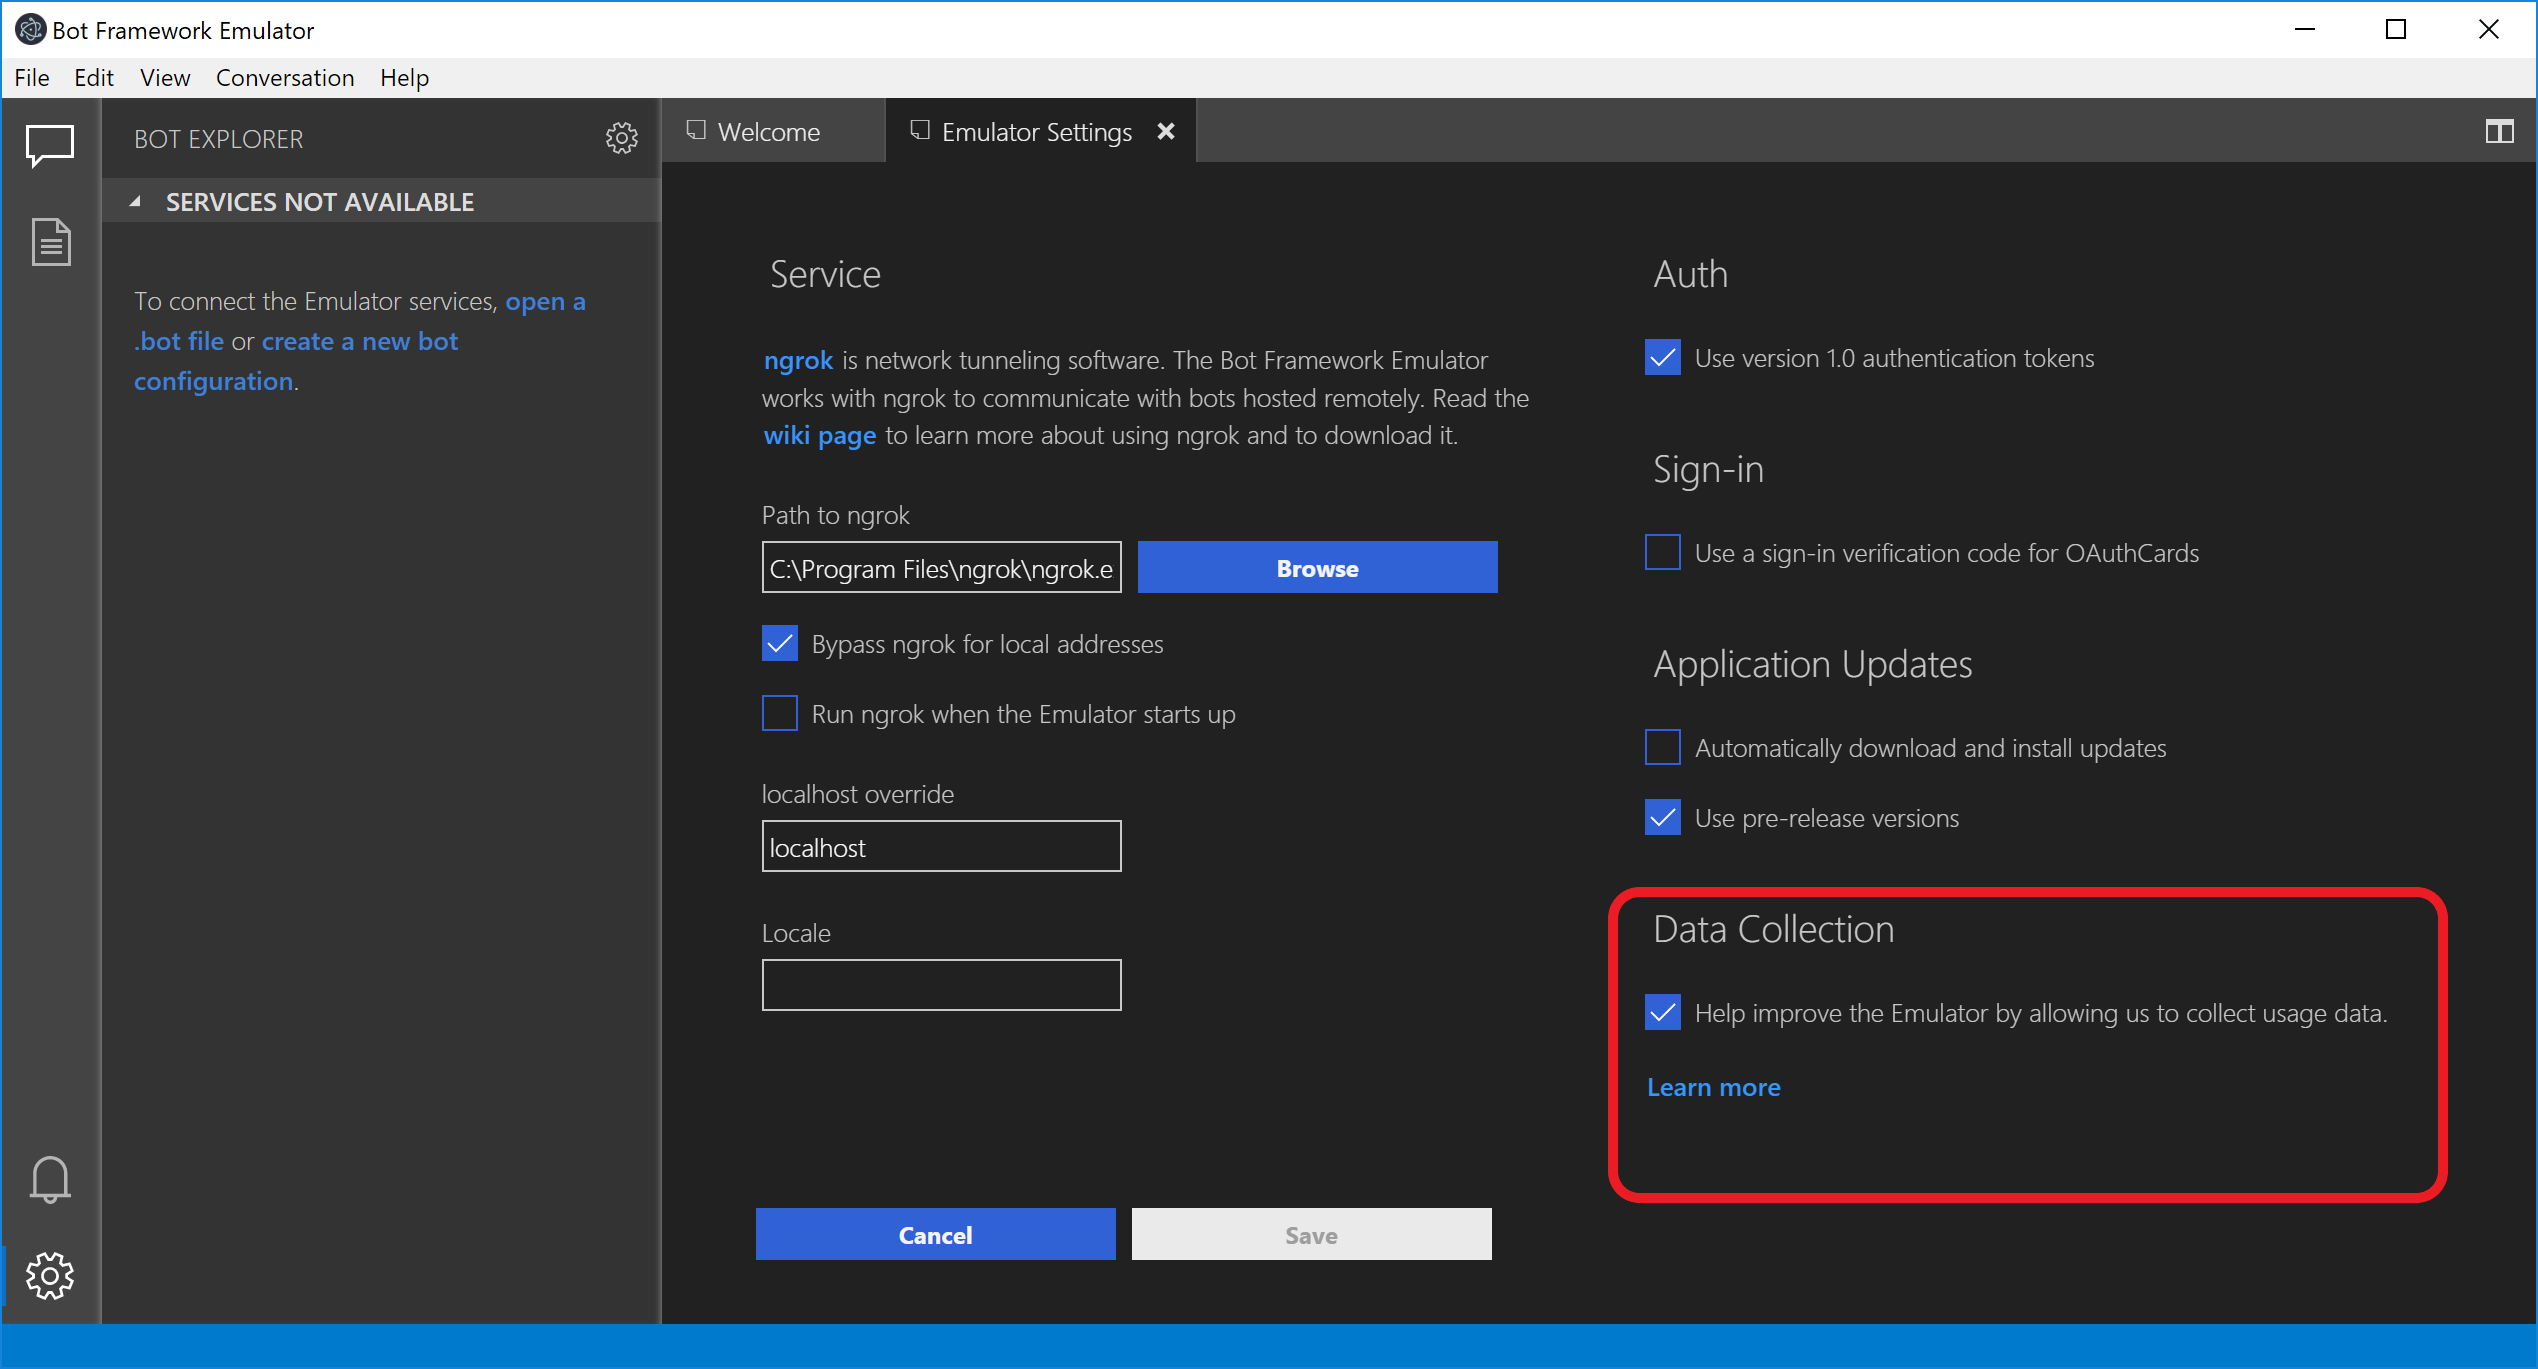
Navigate to the Emulator's settings page by clicking on the Settings button (gear icon) in the nav bar on the left side.

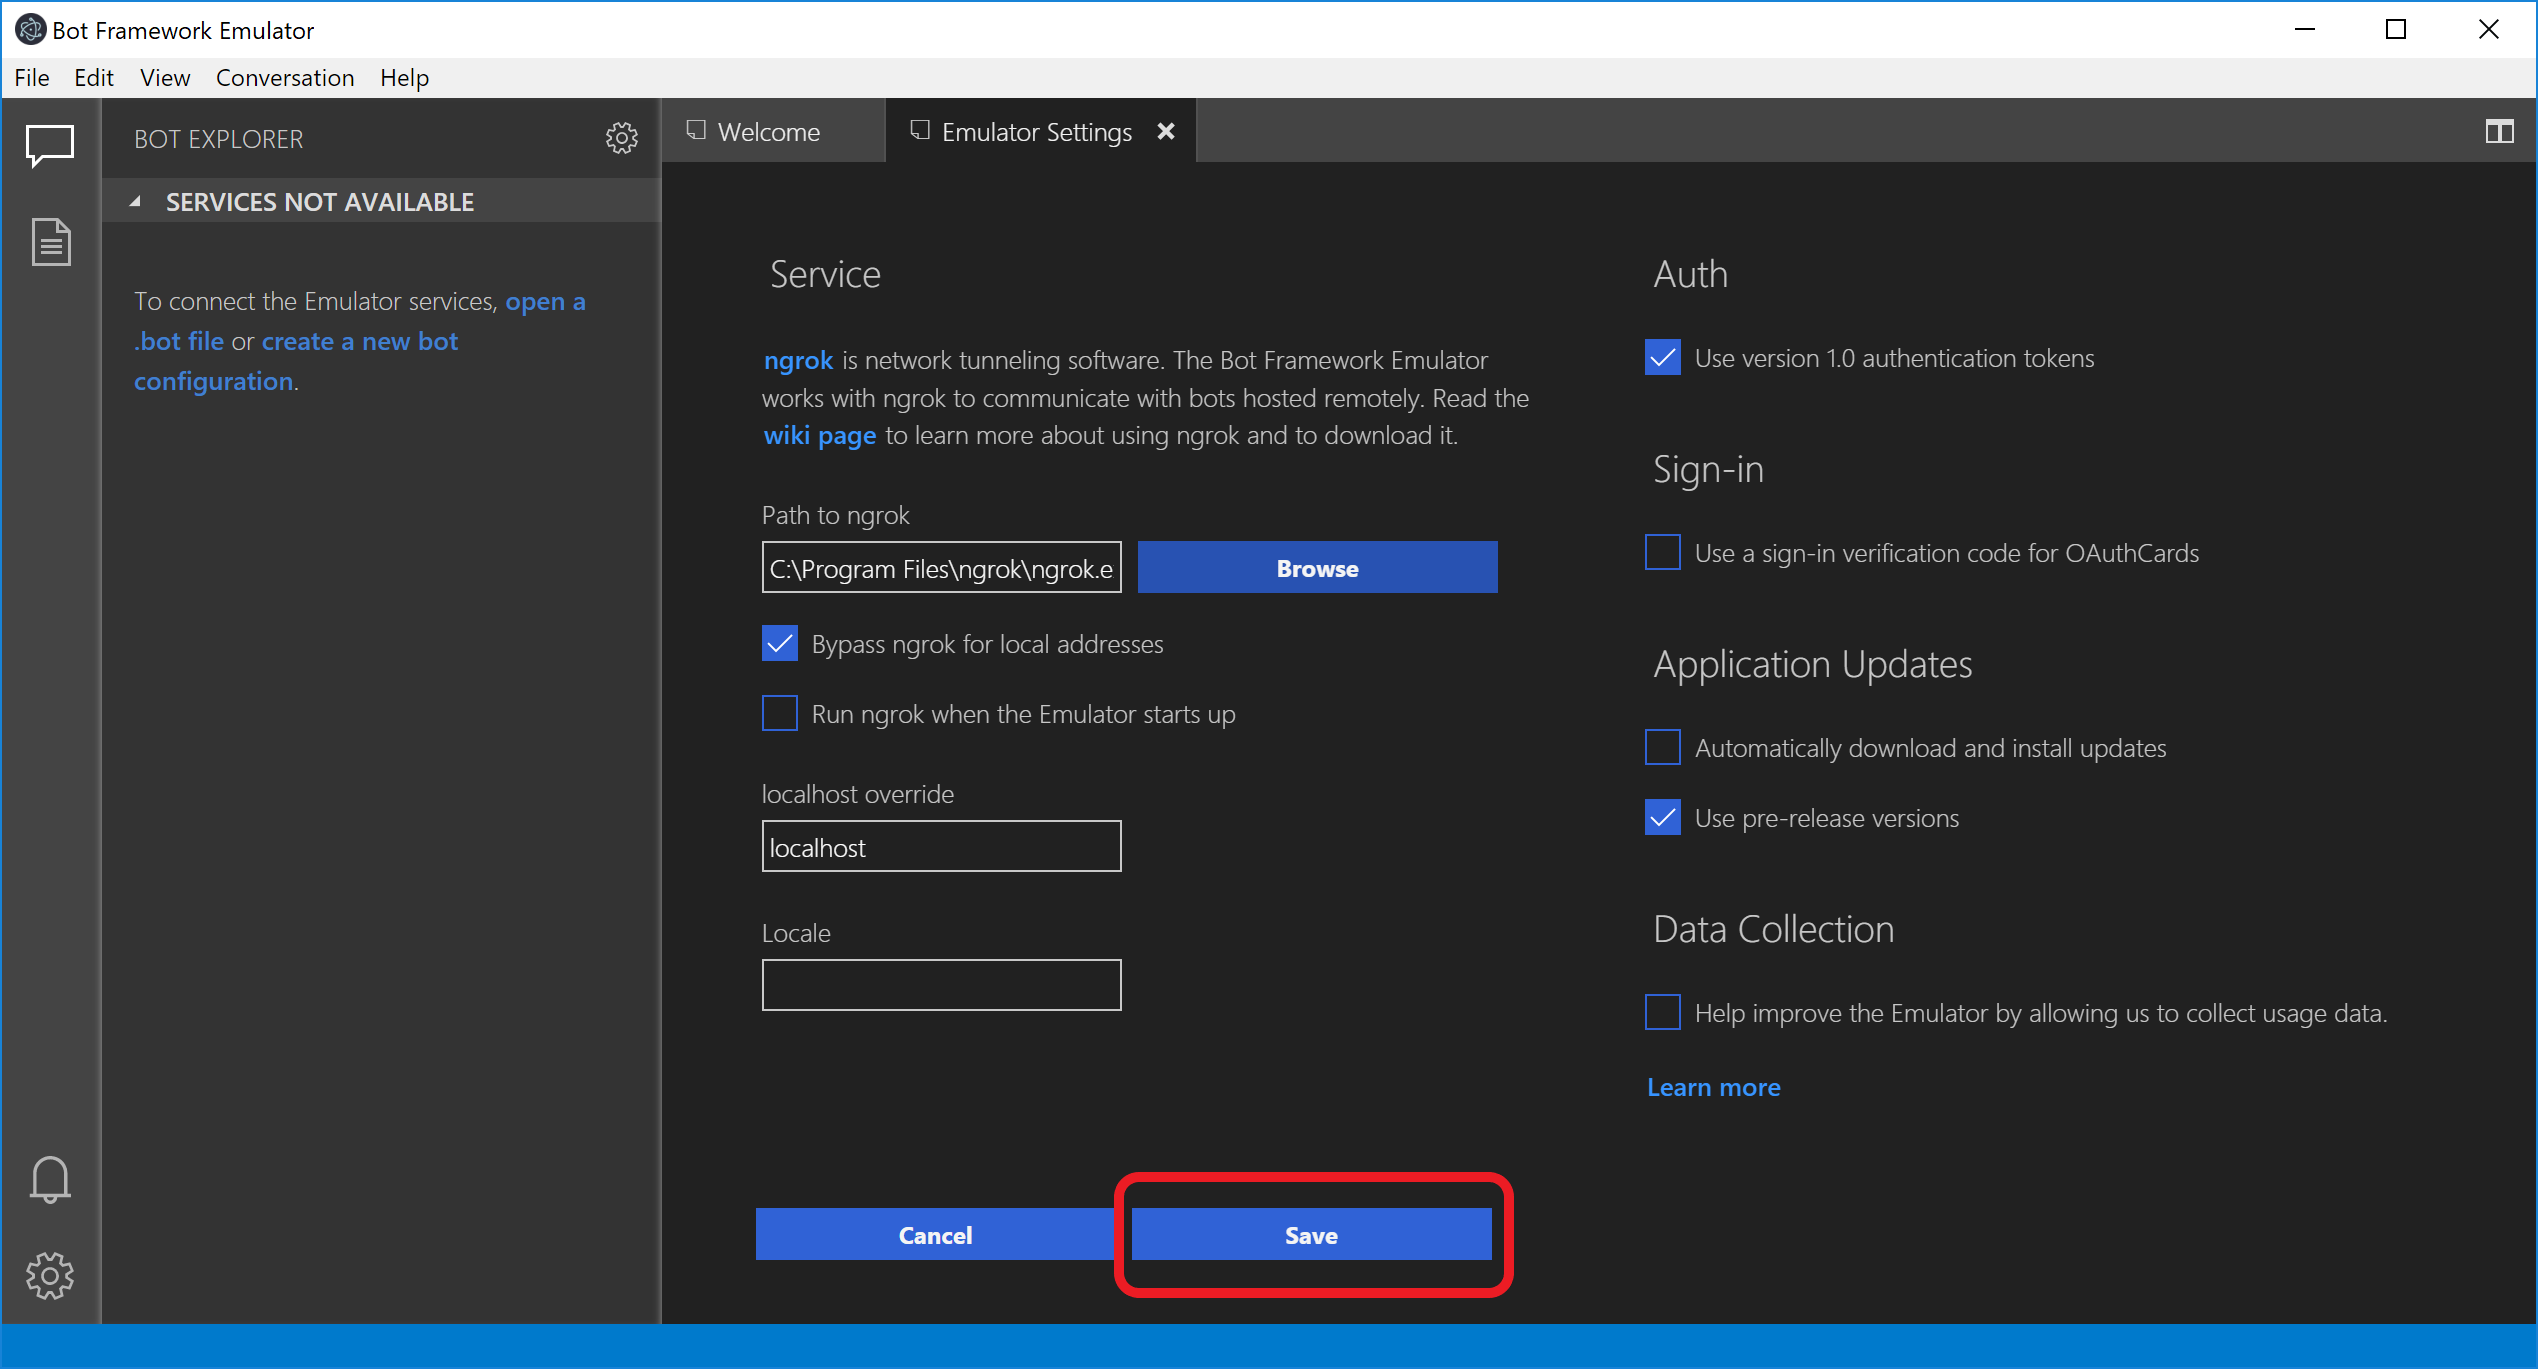
Uncheck the checkbox labeled Help improve the Emulator by allowing us to collect usage data under the Data Collection section.
Click the "Save" button.
If you change your mind, you can always enable it by re-checking the checkbox.
Additional resources
The Bot Framework Emulator is open source. You can contribute to the development and submit bugs and suggestions.
For troubleshooting, see troubleshoot general problems and the other troubleshooting articles in that section.