Create a Jupyter Notebook extension
This tutorial demonstrates how to create a new Jupyter Notebook Azure Data Studio extension. The extension ships a sample Jupyter Notebook that can be opened and run in Azure Data Studio.
In this article you learn how to:
- Create an extension project.
- Install the extension generator.
- Create your notebook extension.
- Run your extension.
- Package your extension.
- Publish your extension to the marketplace.
APIs used
azdata.nb.showNotebookDocument
Extension use cases
There are a few different reasons why you would create a notebook extension:
- Share interactive documentation
- Save and have constant access to that notebook
- Provide coding problems for users to follow along with
- Version and keep track of notebook updates
Prerequisites
Azure Data Studio is built on the same framework as Visual Studio Code, so extensions for Azure Data Studio are built by using Visual Studio Code. To get started, you need the following components:
- Node.js installed and available in your
$PATH. Node.js includes npm, the Node.js Package Manager, which is used to install the extension generator. - Visual Studio Code to debug the extension.
- Ensure
azuredatastudiois in your path. For Windows, make sure you choose the Add to Path option in setup.exe. For Mac or Linux, run Install 'azuredatastudio' command in PATH from the Command Palette in Azure Data Studio.
Install the extension generator
To simplify the process of creating extensions, we've built an extension generator using Yeoman. To install it, run the following command from the command prompt:
npm install -g yo generator-azuredatastudio
Create your extension
To create an extension:
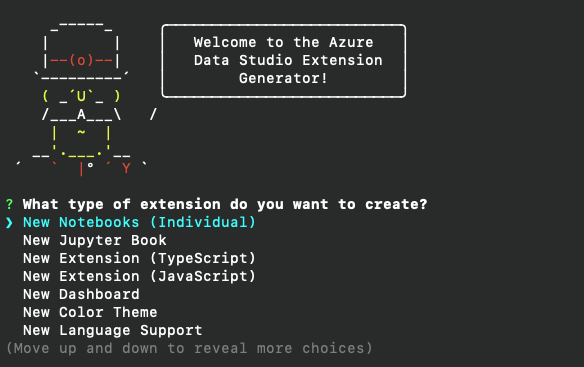
Start the extension generator with the following command:
yo azuredatastudioChoose New Notebooks (Individual) from the list of extension types.
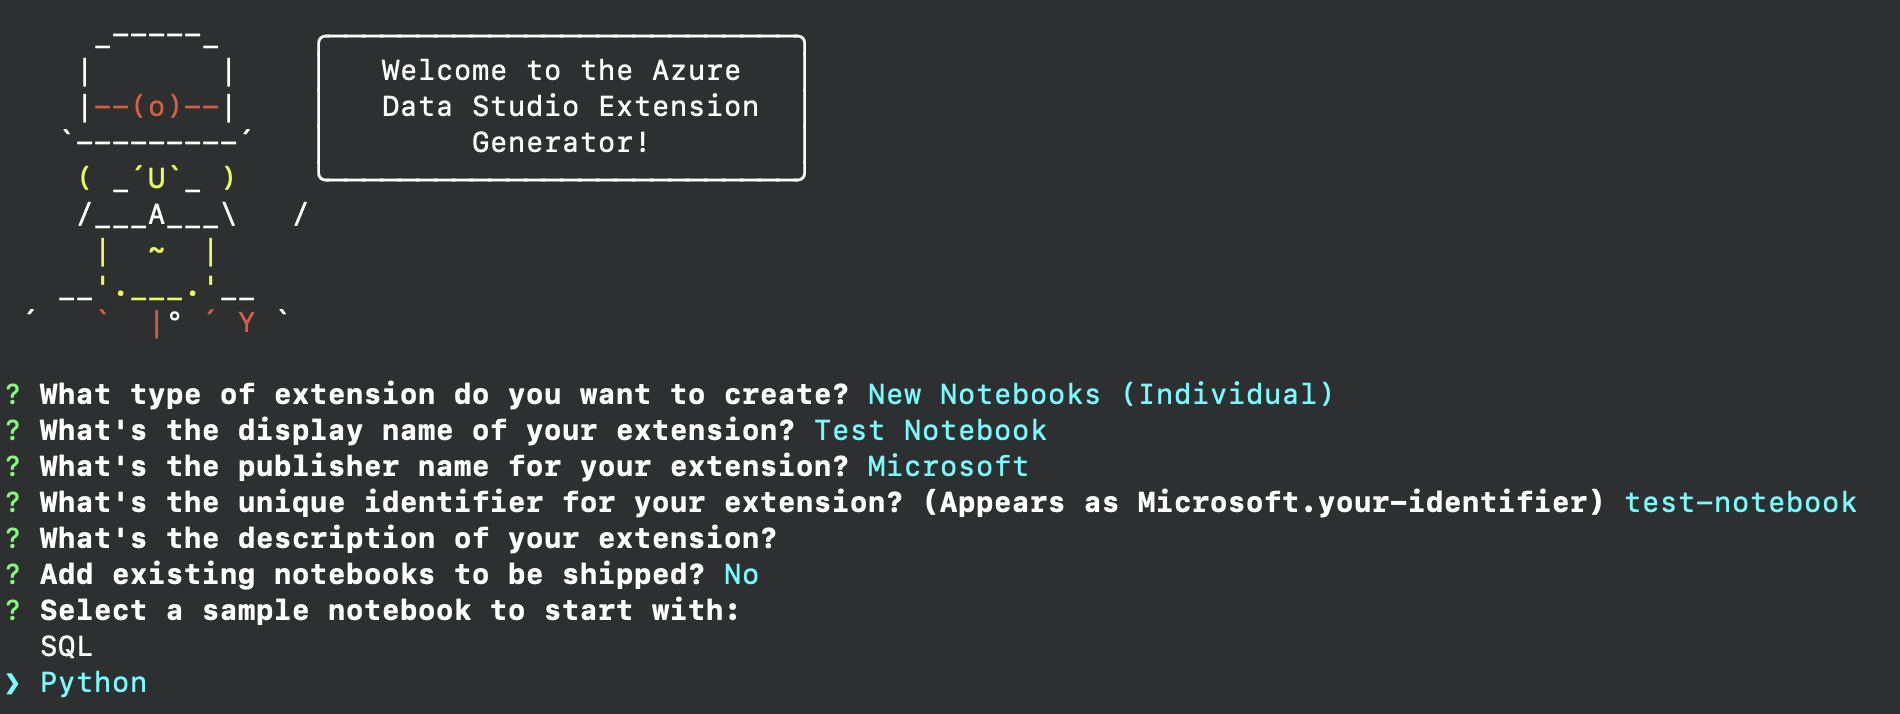
Follow the steps to fill in the extension name. For this tutorial, use Test Notebook. Then fill in a publisher name. For this tutorial, use Microsoft. Finally, add a description.
Now, this is where some branching exists. You can either add Jupyter Notebooks that you've already created or you can use sample notebooks provided to you through the generator.
For this tutorial, we'll use a sample Python notebook:
If you have notebooks that you're interested in shipping, answer that you have existing notebooks you want to ship. Provide the absolute file path where all of your notebooks or markdown files live.
Completing the previous steps creates a new folder with the sample notebook. Open the folder in Visual Studio Code, and you're ready to ship your new notebook extension.
Understand your extension
This is what your project should currently look like:
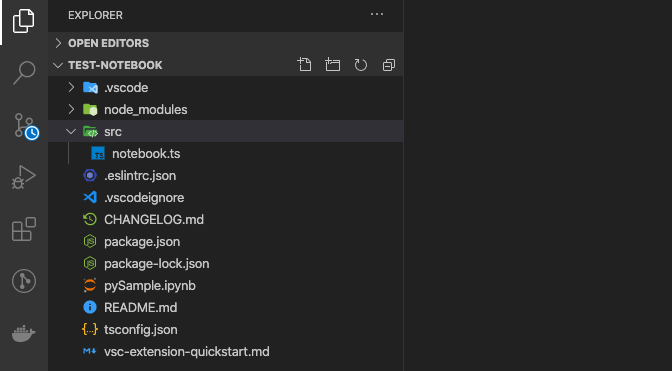
The vsc-extension-quickstart.md file provides you with a reference of the important files. The README.md file is where you can provide documentation for your new extension. Note the package.json, notebook.ts, and pySample.ipynb files.
If there are any files or folders that you don't want to publish, you can include their names in the .vscodeignore file.
Let's take a look at notebook.ts to understand what our newly formed extension is doing.
// This function is called when you run the command `Launch Notebooks: Test Notebook` from the
// command palette in Azure Data Studio. If you want any additional functionality
// to occur when you launch the book, add it to the activate function.
export function activate(context: vscode.ExtensionContext) {
    context.subscriptions.push(vscode.commands.registerCommand('launchNotebooks.test-notebook', () => {
        let notebooksToDisplay: Array<string> = processNotebooks();
        notebooksToDisplay.forEach(name => {
            azdata.nb.showNotebookDocument(vscode.Uri.file(name));
        });
    }));

    // Add other code here if you want to register another command.
}
This is the main function in notebook.ts that's called whenever we run our extension through the command Launch Notebooks: Test Notebook. We create our new command by using the vscode.commands.registerCommand API. The following definition inside the braces is the code that runs each time we call our command. For each notebook that's found from our processNotebooks function, we open it up in Azure Data Studio by using azdata.nb.showNotebookDocument.
The package.json file also plays an important role in registering our command Launch Notebooks: Test Notebook.
"activationEvents": [
		"onCommand:launchNotebooks.test-notebook"
	],
	"main": "./out/notebook.js",
	"contributes": {
		"commands": [
			{
				"command": "launchNotebooks.test-notebook",
				"title": "Launch Notebooks: Test Notebook"
			}
		]
	}
We have an activation event for the command, and we've also added specific contribution points. These contribution points show up in the extension marketplace, where extensions are published, when users are looking at your extension. If you want to add more commands, be sure to add them to the activationEvents field. For more options, see Activation events.
Package your extension
To share with others, you need to package the extension into a single file. Your extension can be published to the Azure Data Studio extension marketplace or shared with your team or community. To do this step, you need to install another npm package from the command line.
npm install -g vsce
Edit the README.md file to your liking. Then go to the base directory of the extension, and run vsce package. You can optionally link a repository with your extension or continue without one. To add one, add a similar line to your package.json file.
"repository": {
    "type": "git",
    "url": "https://github.com/laurajjiang/testnotebook.git"
}
After these lines are added, a my test-notebook-0.0.1.vsix file is created and ready to install and share with the world.
Run your extension
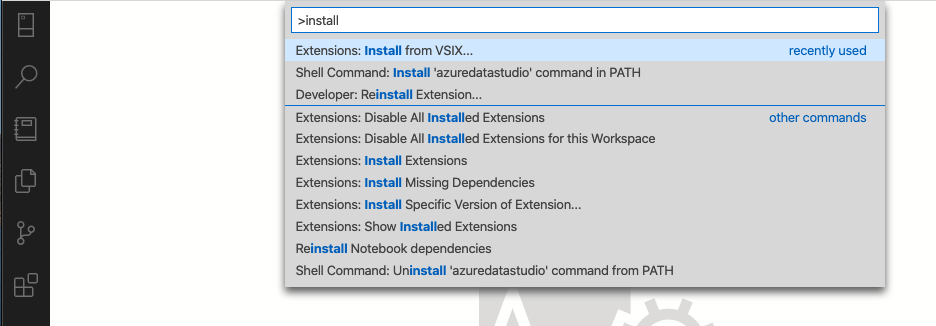
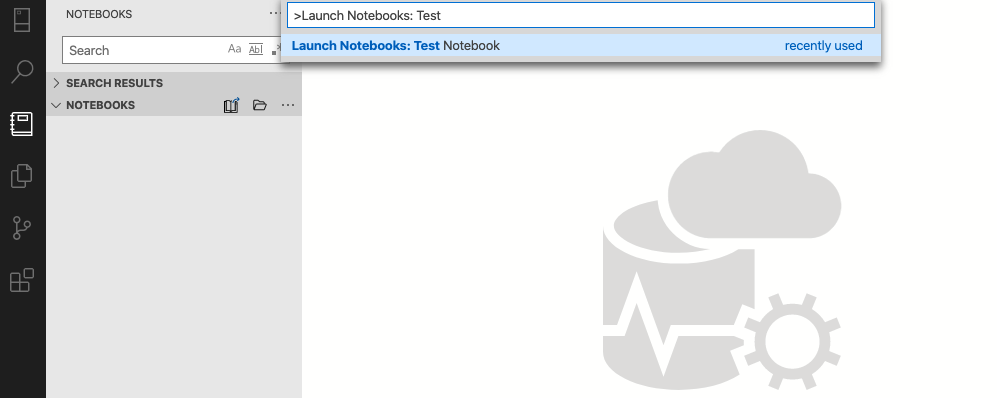
To run and test your extension, open Azure Data Studio and open the command palette by selecting Ctrl+Shift+P. Find the command Extensions: Install from VSIX, and go to the folder that contains your new extension.
Your extension should now show up in your extension panel in Azure Data Studio. Open the command palette again, and you'll find the new command that we created with our extension Launch Book: Test Book. Upon running, it should open the Jupyter Book that we packaged with our extension.
Congratulations! You built and can now ship your first Jupyter Notebook extension.
Publish your extension to the marketplace
The Azure Data Studio extension marketplace is under construction. To publish, host the extension VSIX somewhere, for example, on a GitHub release page. Then submit a pull request that updates this JSON file with your extension information.
Next steps
In this tutorial, you learned how to:
- Create an extension project.
- Install the extension generator.
- Create your notebook extension.
- Create your extension.
- Package your extension.
- Publish your extension to the marketplace.
We hope that after reading this article you'll be inspired to build your own extension for Azure Data Studio.
If you have an idea but aren't sure how to get started, open an issue or tweet the team at azuredatastudio.
For more information, the Visual Studio Code extension guide covers all the existing APIs and patterns.
คำติชม
เร็วๆ นี้: ตลอดปี 2024 เราจะขจัดปัญหา GitHub เพื่อเป็นกลไกคำติชมสำหรับเนื้อหา และแทนที่ด้วยระบบคำติชมใหม่ สำหรับข้อมูลเพิ่มเติม ให้ดู: https://aka.ms/ContentUserFeedback
ส่งและดูข้อคิดเห็นสำหรับ