Create a database and add tables in .NET Framework applications using Visual Studio
Note
Datasets and related classes are legacy .NET Framework technologies from the early 2000s that enable applications to work with data in memory while the applications are disconnected from the database. They are especially useful for applications that enable users to modify data and persist the changes back to the database. Although datasets have proven to be a very successful technology, we recommend that new .NET applications use Entity Framework Core. Entity Framework provides a more natural way to work with tabular data as object models, and it has a simpler programming interface.
You can use Visual Studio to create and update a local database file in SQL Server Express LocalDB. You can also create a database by executing Transact-SQL statements in the SQL Server Object Explorer tool window in Visual Studio. In this topic, you create an .mdf file and add tables and keys by using the Table Designer.
Prerequisites
To complete this walkthrough, you need the .NET desktop development and Data storage and processing workloads installed in Visual Studio. To install them, open Visual Studio Installer and choose Modify (or More > Modify) next to the version of Visual Studio you want to modify. See Modify Visual Studio.
Note
The procedures in this article apply only to .NET Framework Windows Forms projects, not to .NET Core Windows Forms projects.
Create a project and a local database file
Create a new Windows Forms App (.NET Framework) project and name it SampleDatabaseWalkthrough.
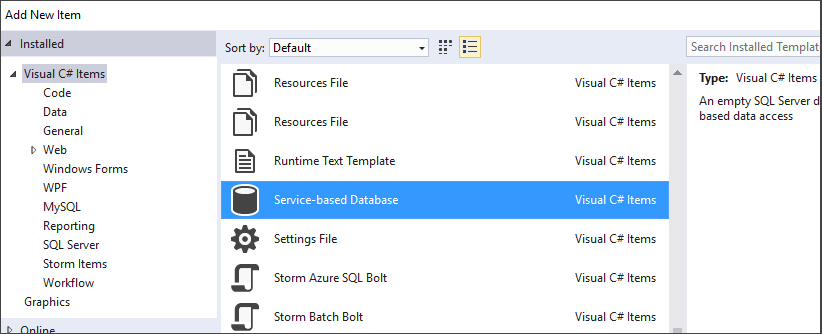
On the menu bar, select Project > Add New Item. If you see a small dialog box with a box for a filename, choose Show All Templates.
In the list of item templates, scroll down and select Service-based Database.
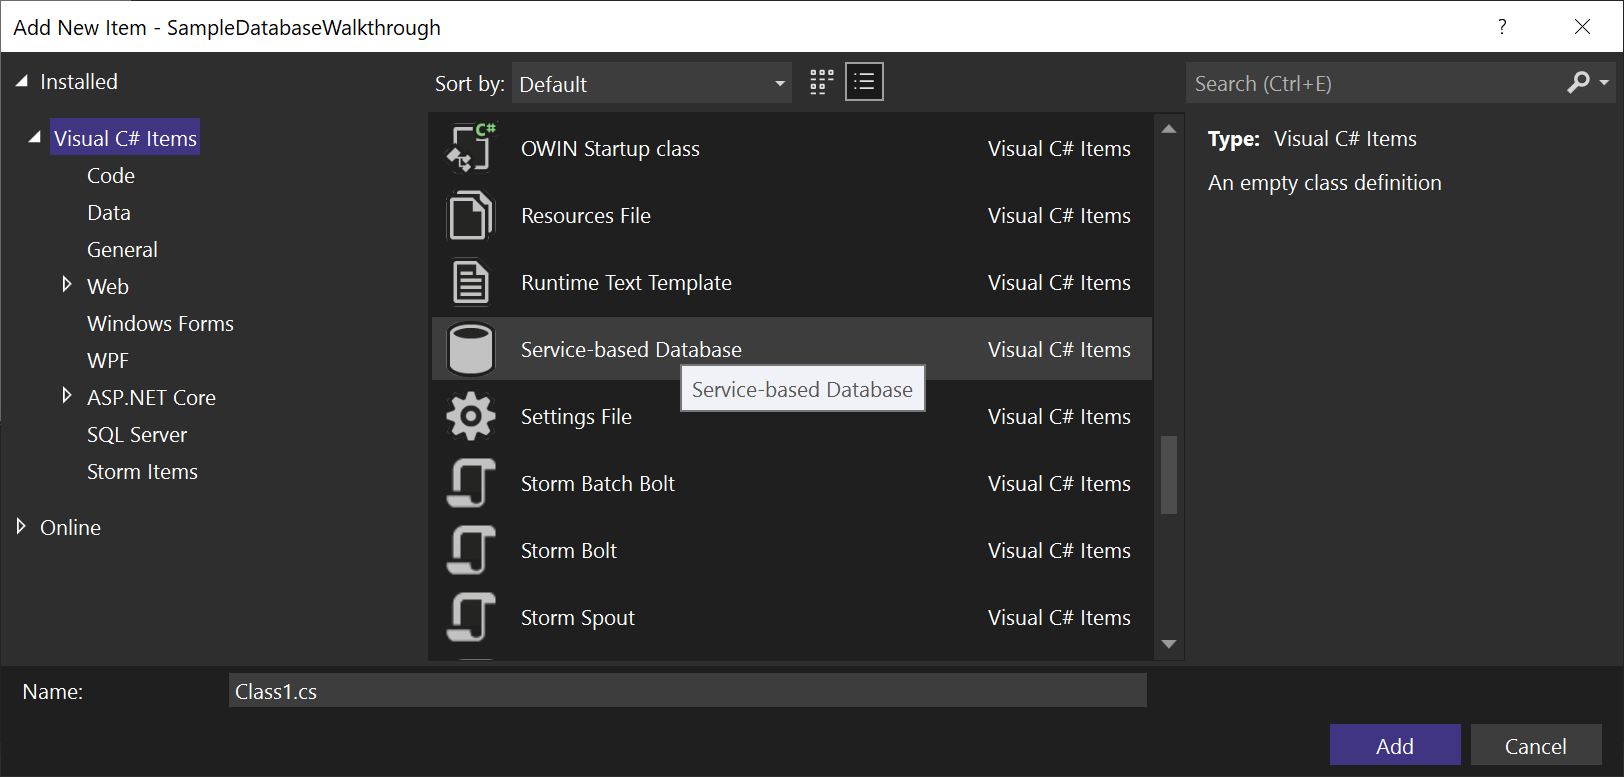
Name the database SampleDatabase.mdf, and then click Add.
Add a data source
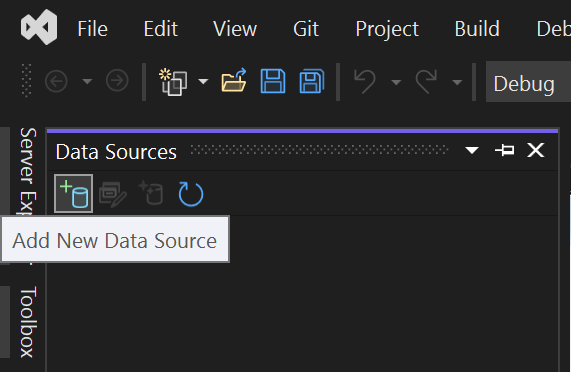
If the Data Sources window isn't open, open it by pressing Shift+Alt+D or selecting View > Other Windows > Data Sources on the menu bar.
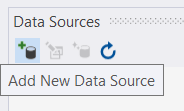
In the Data Sources window, select Add New Data Source.
The Data Source Configuration Wizard opens.
On the Choose a Data Source Type page, choose Database and then choose Next.
On the Choose a Database Model page, choose Next to accept the default (Dataset).
On the Choose Your Data Connection page, select the SampleDatabase.mdf file in the dropdown list, and then choose Next.
On the Save the Connection String to the Application Configuration File page, choose Next.
On the Choose your Database Objects page, you see a message that says the database doesn't contain any objects. Choose Finish.
View properties of the data connection
You can view some of the properties of the SampleDatabase.mdf file by opening the Properties window of the data connection:
Select View > SQL Server Object Explorer (or Ctrl+\, Ctrl+S) to open the SQL Server Object Explorer window. Expand (localdb)\MSSQLLocalDB > Databases, and then right-click on SampleDatabase.mdf (it might be listed as a full path) and select Properties.
Alternatively, you can select View > Server Explorer, if that window isn't already open. Open the Properties window by expanding the Data Connections node, right-clicking on SampleDatabase.mdf, and then selecting Properties.
Tip
If you can't expand the Data Connections node, or the SampleDatabase.mdf connection is not listed, select the Connect to Database button in the Server Explorer toolbar. In the Add Connection dialog box, make sure that Microsoft SQL Server Database File is selected under Data source, and then browse to and select the SampleDatabase.mdf file. Finish adding the connection by selecting OK.
To view the connection string, you can open the App.config file in Solution Explorer. You should see an entry under the connectionStrings element that resembles the following code:
    <connectionStrings>
        <add name="SampleDatabaseWalkthrough.Properties.Settings.SampleDatabaseConnectionString"
            connectionString="Data Source=(LocalDB)\MSSQLLocalDB;AttachDbFilename=|DataDirectory|\SampleDatabase.mdf;Integrated Security=True"
            providerName="System.Data.SqlClient" />
    </connectionStrings>
Create tables and keys by using Table Designer
In this section, you create two tables, a primary key in each table, and a few rows of sample data. you also create a foreign key to specify how records in one table correspond to records in the other table.
Create the Customers table
In Server Explorer or SQL Server Object Browser, expand the Data Connections node, and then expand the SampleDatabase.mdf node.
Right-click on Tables and select Add New Table.
The Table Designer opens and shows a grid with one default row, which represents a single column in the table that you're creating. By adding rows to the grid, you add columns in the table.
In the grid, add a row for each of the following entries:
Column name Data type Allow nulls CustomerIDnchar(5)False (cleared) CompanyNamenvarchar(50)False (cleared) ContactNamenvarchar (50)True (selected) Phonenvarchar (24)True (selected) Right-click on the
CustomerIDrow, and then select Set Primary Key.Right-click on the default row (
Id), and then select Delete.Name the Customers table by updating the first line in the script pane to match the following sample:
CREATE TABLE [dbo].[Customers]Add an index constraint to the Customers table. Add a comma at the end of the
Phoneline, then add the following sample before the closing parenthesis:CONSTRAINT [PK_Customers] PRIMARY KEY ([CustomerID])You should see something like this:
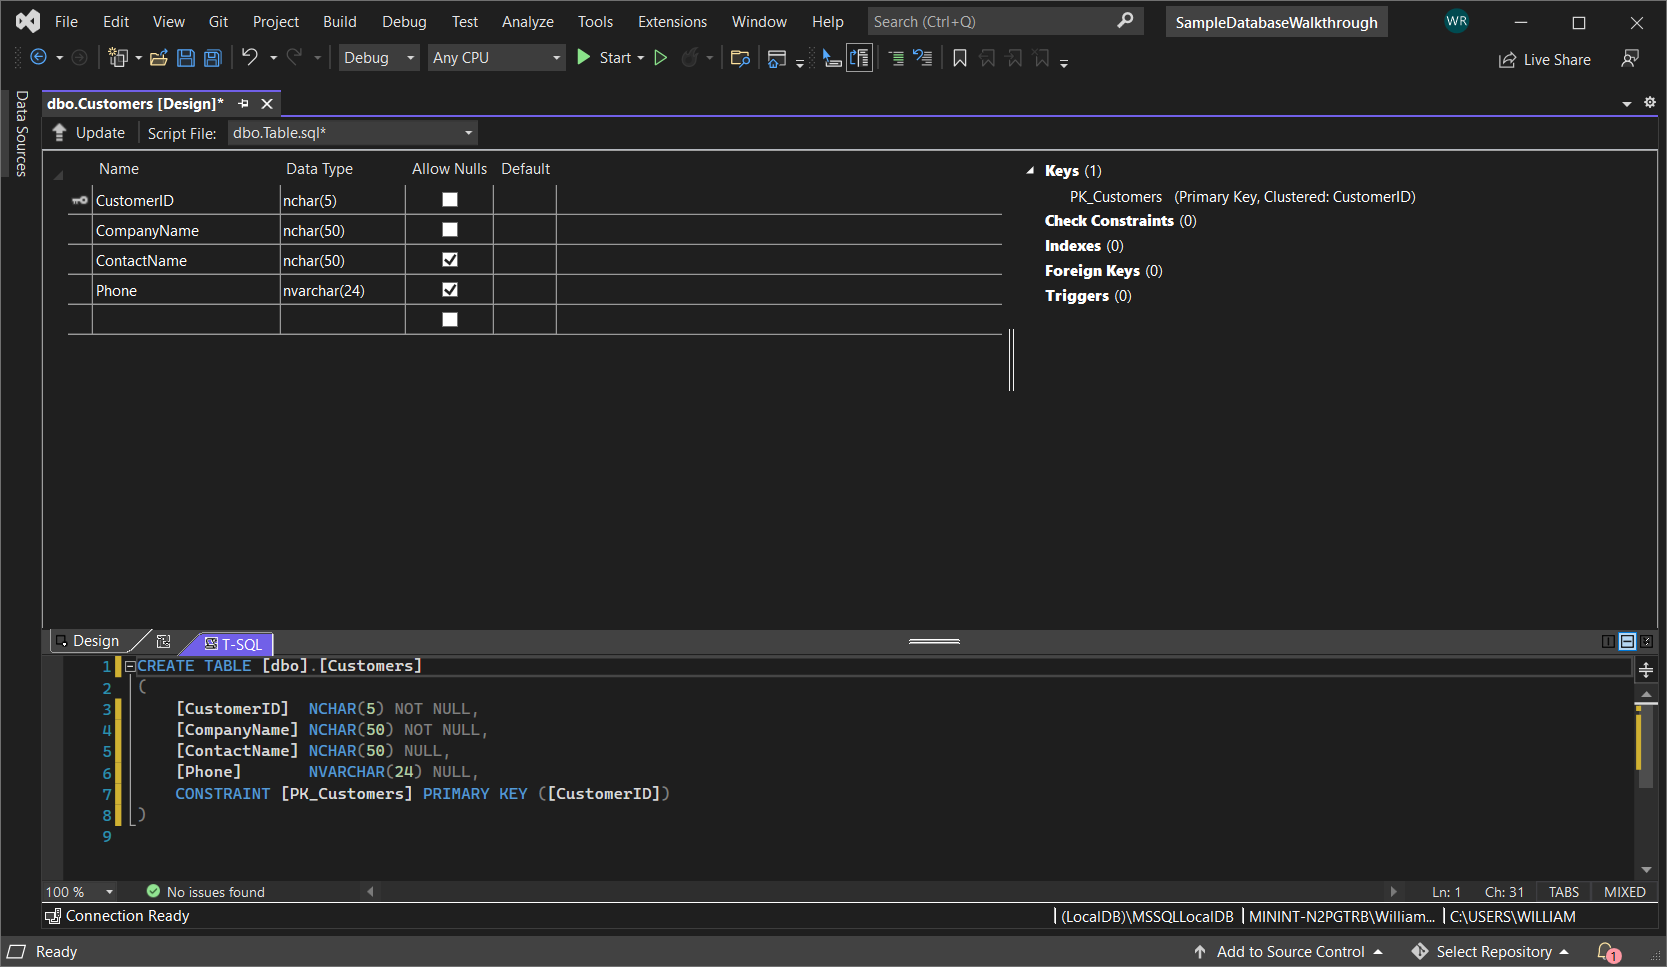
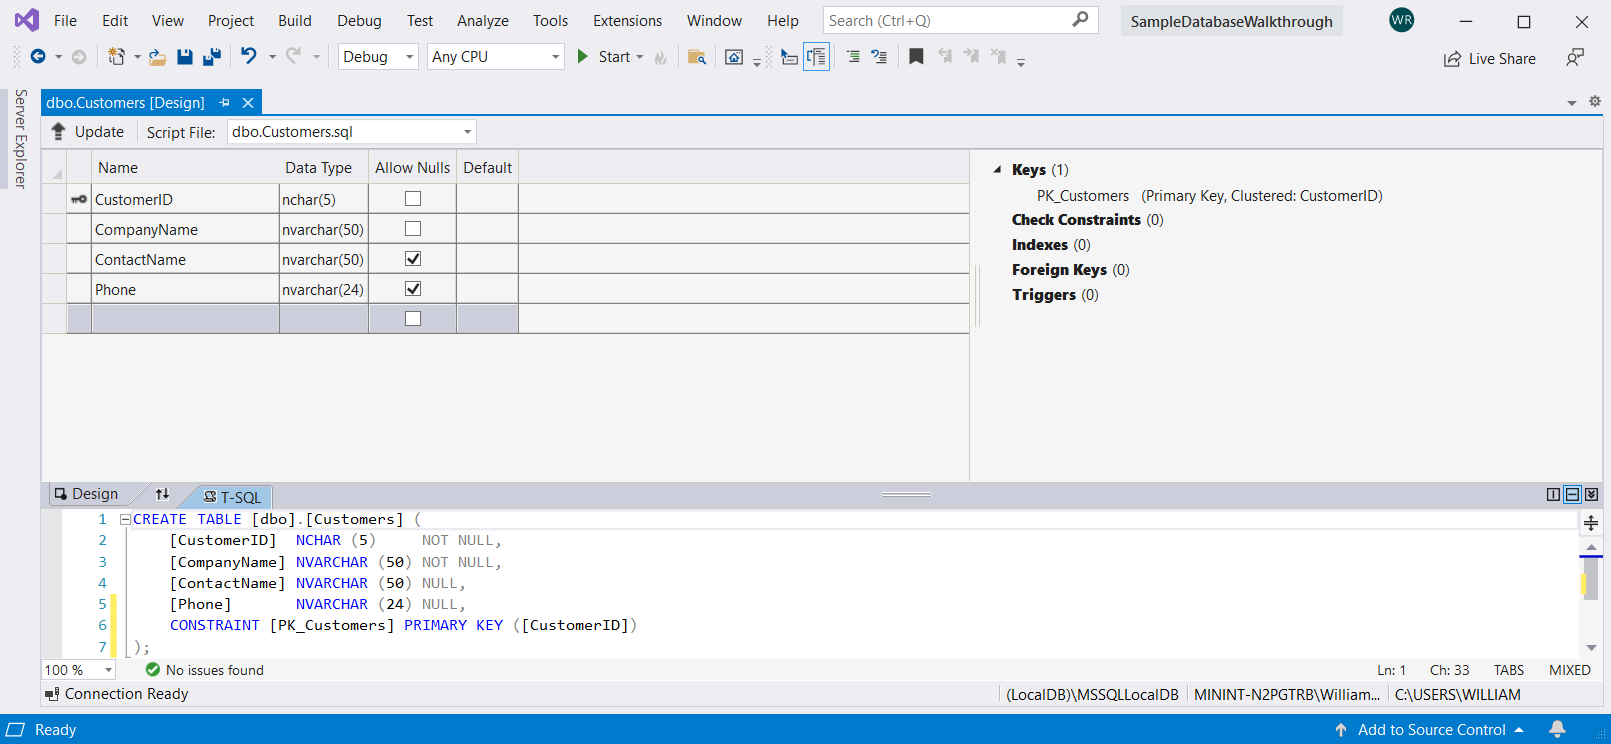
In the upper-left corner of Table Designer, select Update, or press Shift+Alt+U.
In the Preview Database Updates dialog box, select Update Database.
The Customers table is created in the local database file.
Create the Orders table
Add another table, and then add a row for each entry in the following table:
Column name Data type Allow nulls OrderIDintFalse (cleared) CustomerIDnchar(5)False (cleared) OrderDatedatetimeTrue (selected) OrderQuantityintTrue (selected) Set OrderID as the primary key, and then delete the default row.
Name the Orders table by updating the first line in the script pane to match the following sample:
CREATE TABLE [dbo].[Orders]Add an index constraint to the Customers table. Add a comma at the end of the
OrderQuantityline, then add the following sample before the closing parenthesis:CONSTRAINT [PK_Orders] PRIMARY KEY ([OrderId])In the upper-left corner of the Table Designer, select Update, or press Shift+Alt+U..
In the Preview Database Updates dialog box, select Update Database.
The Orders table is created in the local database file. If you expand the Tables node in Server Explorer, you see the two tables:
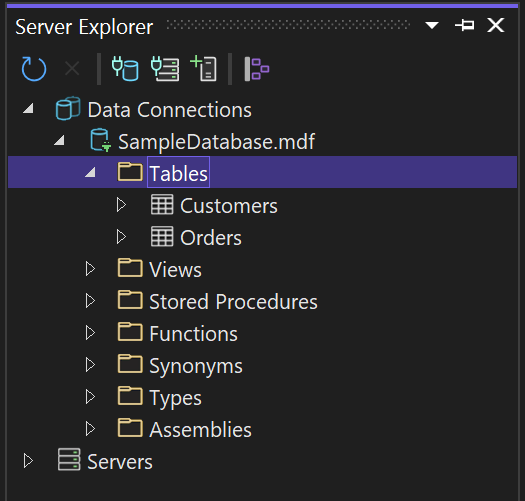
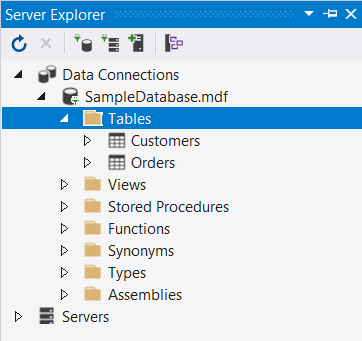
If you don't see it, hit the Refresh toolbar button.
Create a foreign key
In the context pane on the right side of the Table Designer grid for the Orders table, right-click on Foreign Keys and select Add New Foreign Key.


In the text box that appears, replace the text ToTable with Customers.
In the T-SQL pane, update the last line to match the following sample:
CONSTRAINT [FK_Orders_Customers] FOREIGN KEY ([CustomerID]) REFERENCES [Customers]([CustomerID])In the upper-left corner of the Table Designer, select Update (Shift+Alt+U).
In the Preview Database Updates dialog box, select Update Database.
The foreign key is created.
Populate the tables with data
In Server Explorer or SQL Server Object Explorer, expand the node for the sample database.
Open the shortcut menu for the Tables node, select Refresh, and then expand the Tables node.
Open the shortcut menu for the Customers table, and then select Show Table Data or View Data.
Add whatever data you want for some customers.
You can specify any five characters you want as the customer IDs, but choose at least one that you can remember for use later in this procedure.
Open the shortcut menu for the Orders table, and then select Show Table Data or View Data.
Add data for some orders. As you enter each row, it's saved in the database.
Important
Make sure that all order IDs and order quantities are integers and that each customer ID matches a value that you specified in the CustomerID column of the Customers table.
Congratulations! You now know how to create tables, link them with a foreign key, and add data.
Related content
Feedback
Coming soon: Throughout 2024 we will be phasing out GitHub Issues as the feedback mechanism for content and replacing it with a new feedback system. For more information see: https://aka.ms/ContentUserFeedback.
Submit and view feedback for