Model 3D terrain
This article demonstrates how to use the Model Editor to create a 3D terrain model.
Create a 3D terrain model
You can create a 3D terrain by subdividing a plane to make additional faces, and then manipulating their vertices to create interesting terrain features.
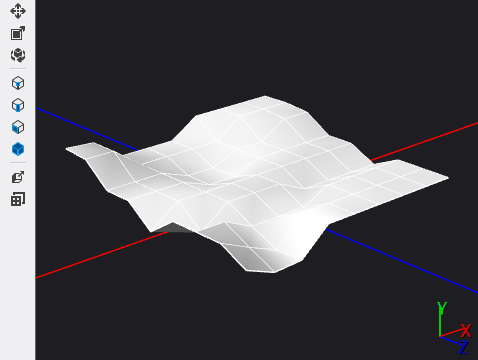
When you're finished, the model should look like this:
Before you begin, make sure that the Properties window and Toolbox are displayed.
Create a 3D model with which to work. For information about how to add a model to your project, see the Getting Started section in Model editor.
Add a plane to the scene. In the Toolbox, under Shapes, select Plane and move it to the design surface.
Tip
To make the plane object easier to work with, you can frame it in the design surface. In Select mode, select the plane object, and then on the Model Editor toolbar, choose the Frame Object button.
Enter face selection mode. On the Model Editor toolbar, choose Select Face.
Subdivide the plane. In face selection mode, choose the plane once to activate it for selection, and then choose it again to select its only face. On the Model Editor toolbar, choose Subdivide face. This adds new vertices to the plane that split it into four equally sized partitions.
Create more subdivisions. With the new faces still selected, choose Subdivide face two more times. This creates a total of 64 faces. By creating more subdivisions, you can give the terrain even more detail.
Enter point selection mode. On the Model Editor toolbar, choose Select Point.
Modify a point to create a terrain feature. In point selection mode, select one of the points, and then on the Model Editor toolbar, choose the Translate tool. A box that represents the point appears on the design surface. Use the green arrow to move the box and thereby modify the height of the point. Repeat this step for different points to create interesting terrain features.
Tip
You can select several points at once to modify them in a uniform manner.
The terrain model is complete. Here's the final model again, with Phong shading applied:
You can use this terrain model to demonstrate the effect of the gradient shader that's described in How to: Create a geometry-based gradient shader.
Related content
Feedback
Coming soon: Throughout 2024 we will be phasing out GitHub Issues as the feedback mechanism for content and replacing it with a new feedback system. For more information see: https://aka.ms/ContentUserFeedback.
Submit and view feedback for