Use Storage Migration Service to migrate a server
You can use Storage Migration Service and Windows Admin Center to migrate one server to another, including their files and configuration. This article describes how to migrate a Windows server, Windows Failover Cluster, Samba server, or a NetApp Fabric Attached Storage (FAS) array to another Windows server or Windows Failover Cluster.
The migration process begins with a server inventory to identify the content to migrate, and a firewall check to ensure successful migration. The process transfers data from your source servers to the destination servers, and then cuts over to your new servers. After migration, you can process the decommissioned source servers, and reissue certificates on your new destination server.
Step 1: Install migration service and check firewall
Before you get started, install Storage Migration Service and make sure the necessary firewall ports are open.
Check the Storage Migration Service requirements and install the latest version of Windows Admin Center on your PC or a management server if you haven't already. You also need the latest version of the Storage Migration Service extension, which is installed automatically by Windows Admin Center if Automatically update extensions is enabled in Settings > Extensions. If migrating domain-joined source computers, you must install and run the Storage Migration Service on a server joined to the same domain or forest as the source computers.
In Windows Admin Center, connect to the orchestrator server running Windows Server 2019 or Windows Server 2022. This orchestrator is the server that you install Storage Migration Service on and use to manage the migration.
- If you're migrating only one server, you can use the destination server as long as it's running Windows Server 2019 or Windows Server 2022.
- We recommend you use a separate orchestration server for any multi-server migrations.
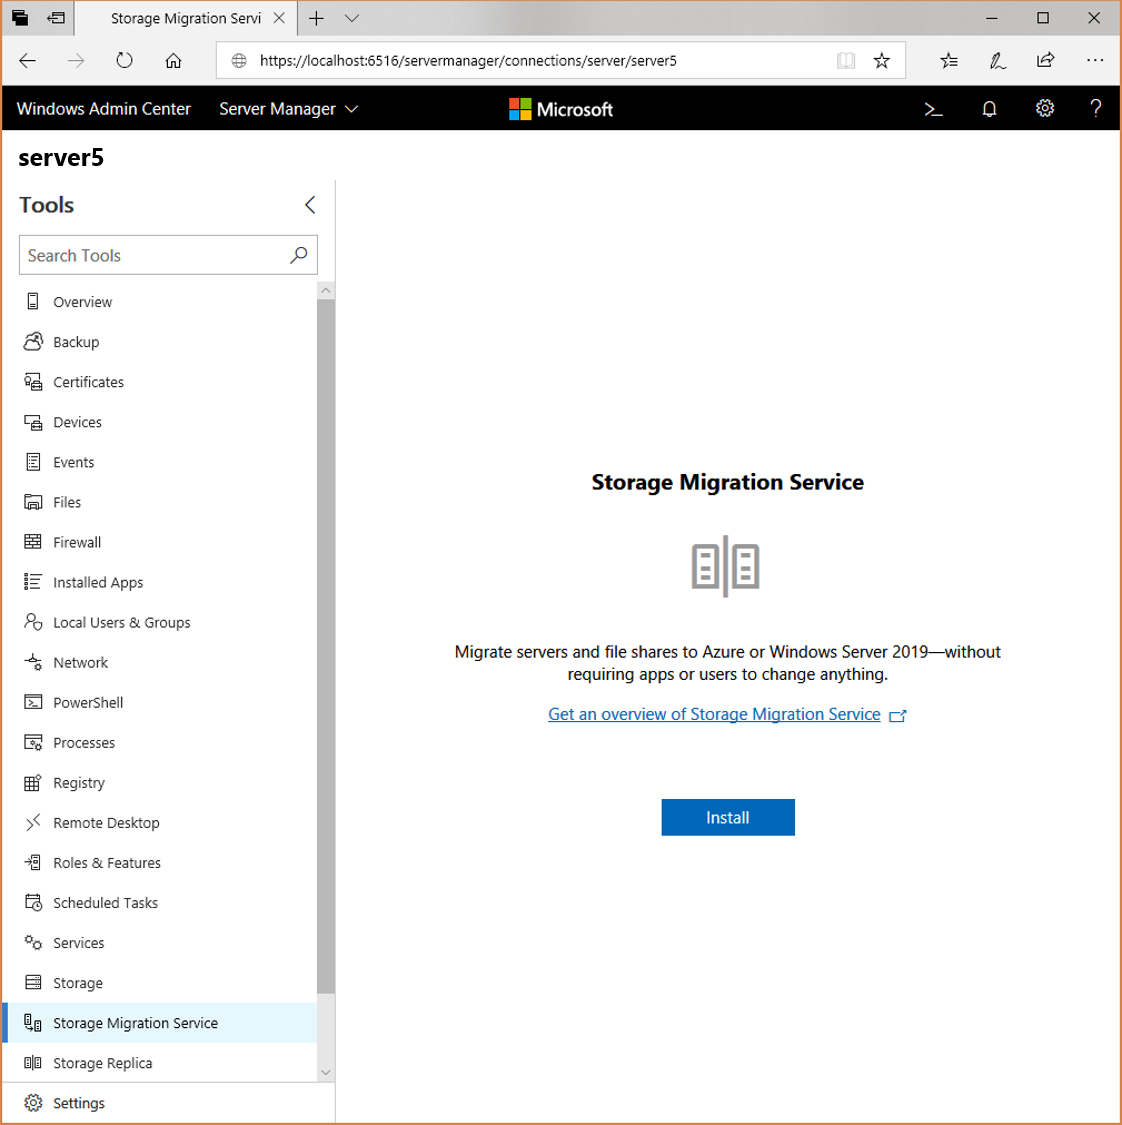
In Windows Admin Center, go to Server Manager > Storage Migration Service. Select Install to install Storage Migration Service and its required components, as shown in the following figure.
Install the Storage Migration Service proxy on all destination servers running Windows Server 2019 or Windows Server 2022. This setup doubles the transfer speed when installed on destination servers.
- Connect to the destination server in Windows Admin Center.
- Go to Server Manager (in Windows Admin Center) > Roles and features > Features.
- Select Storage Migration Service Proxy, and then select Install.
If you intend to migrate to or from Windows Failover Clusters, install the Failover Clustering tools on the orchestrator server. This installation happens automatically in the latest version of Windows Admin Center when you select Migrate from failover clusters in the Job Settings option of Inventory.
- To install outside of the Storage Migration Service Inventory phase, connect to the orchestrator server in Windows Admin Center.
- Go to Server Manager (in Windows Admin Center) > Roles and features, > Features, > Remote Server Administration Tools, > Feature Administration Tools.
- Select Failover Clustering Tools, and then select Install.
Note
If you're migrating from a NetApp FAS array, you must manually install the latest version of the NetApp PowerShell Toolkit onto the orchestrator. This toolkit is available to all licensed NetApp customers with an active NetApp support agreement from mysupport.netapp.com.
On all source servers and on any destination servers running Windows Server 2016 or Windows Server 2012 R2, in Windows Admin Center, connect to each server, go to Server Manager (in Windows Admin Center) > Firewall > Incoming rules, and then confirm the following rules are enabled:
- File and Printer Sharing (SMB-In)
- Netlogon Service (NP-In)
- Windows Management Instrumentation (DCOM-In)
- Windows Management Instrumentation (WMI-In)
If you're using third party firewalls, the inbound port ranges to open are as follows:
- TCP/445 (SMB)
- TCP/135 (RPC/DCOM endpoint mapper)
- TCP 1025-65535 (RPC/DCOM ephemeral ports)
The Storage Migration Service ports are as follows:
- TCP/28940 (Orchestrator)
- TCP/28941 (Proxy).
If you're using an orchestrator server, and you want to download events or a data transfer log, confirm the File and Printer Sharing (SMB-In) firewall rule is enabled on the server.
Step 2: Create job and inventory server data
In this step, specify what servers to migrate and then scan them to collect info on their files and configurations.
In Storage Migration Service, select New job, name the job, and then select whether to migrate Windows servers and clusters, Linux servers that use Samba, or NetApp FAS array. Then select OK.
On the Check prerequisites page, review the prerequisites. Then select Next.
If you're migrating from a NetApp FAS Array, on the Select the NetApp FAS array page, enter your NetApp FAS Array IP address, admin credential, and password. Then select Next.
If you're migrating from a Windows server or cluster, on the Enter credentials page, enter admin credentials for the servers you want to migrate from, and then select Next.
If you're migrating from Linux servers, enter credentials on the Samba credentials and Linux credentials pages, including an SSH password or private key.
If you're migrating from a NetApp FAS Array, complete the following steps:
- Use the Enter credentials and prescan NetApp page to enter admin credentials for the NetApp Common Internet File System (CIFS) servers you want to migrate from.
- Select Start scan to list all the NetApp CIFS servers running on the NetApp FAS array. You can uncheck any CIFS servers you don't want to migrate.
- Select Next.
On the Install required tools page, confirm the required tools have installed without error. Then select Next.
If you're migrating from a Windows server or cluster, or from Linux Samba, on the Add and scan devices page, select Add a device, then search Active Directory for a source server cluster. You can use an asterisk to perform wildcard partial searches. You can also enter an exact source server name or the name of a clustered file server. Select OK.
Repeat this step for any other servers you want to inventory. If you're migrating from a NetApp FAS array, the Select and scan servers page already lists the source server.Select Validate and ensure validation passes for all servers.
Note
An error for backup privileges is expected from NetApp CIFS servers. You can safely ignore this error.
Select Start scan. The page updates to show when the scan is complete.
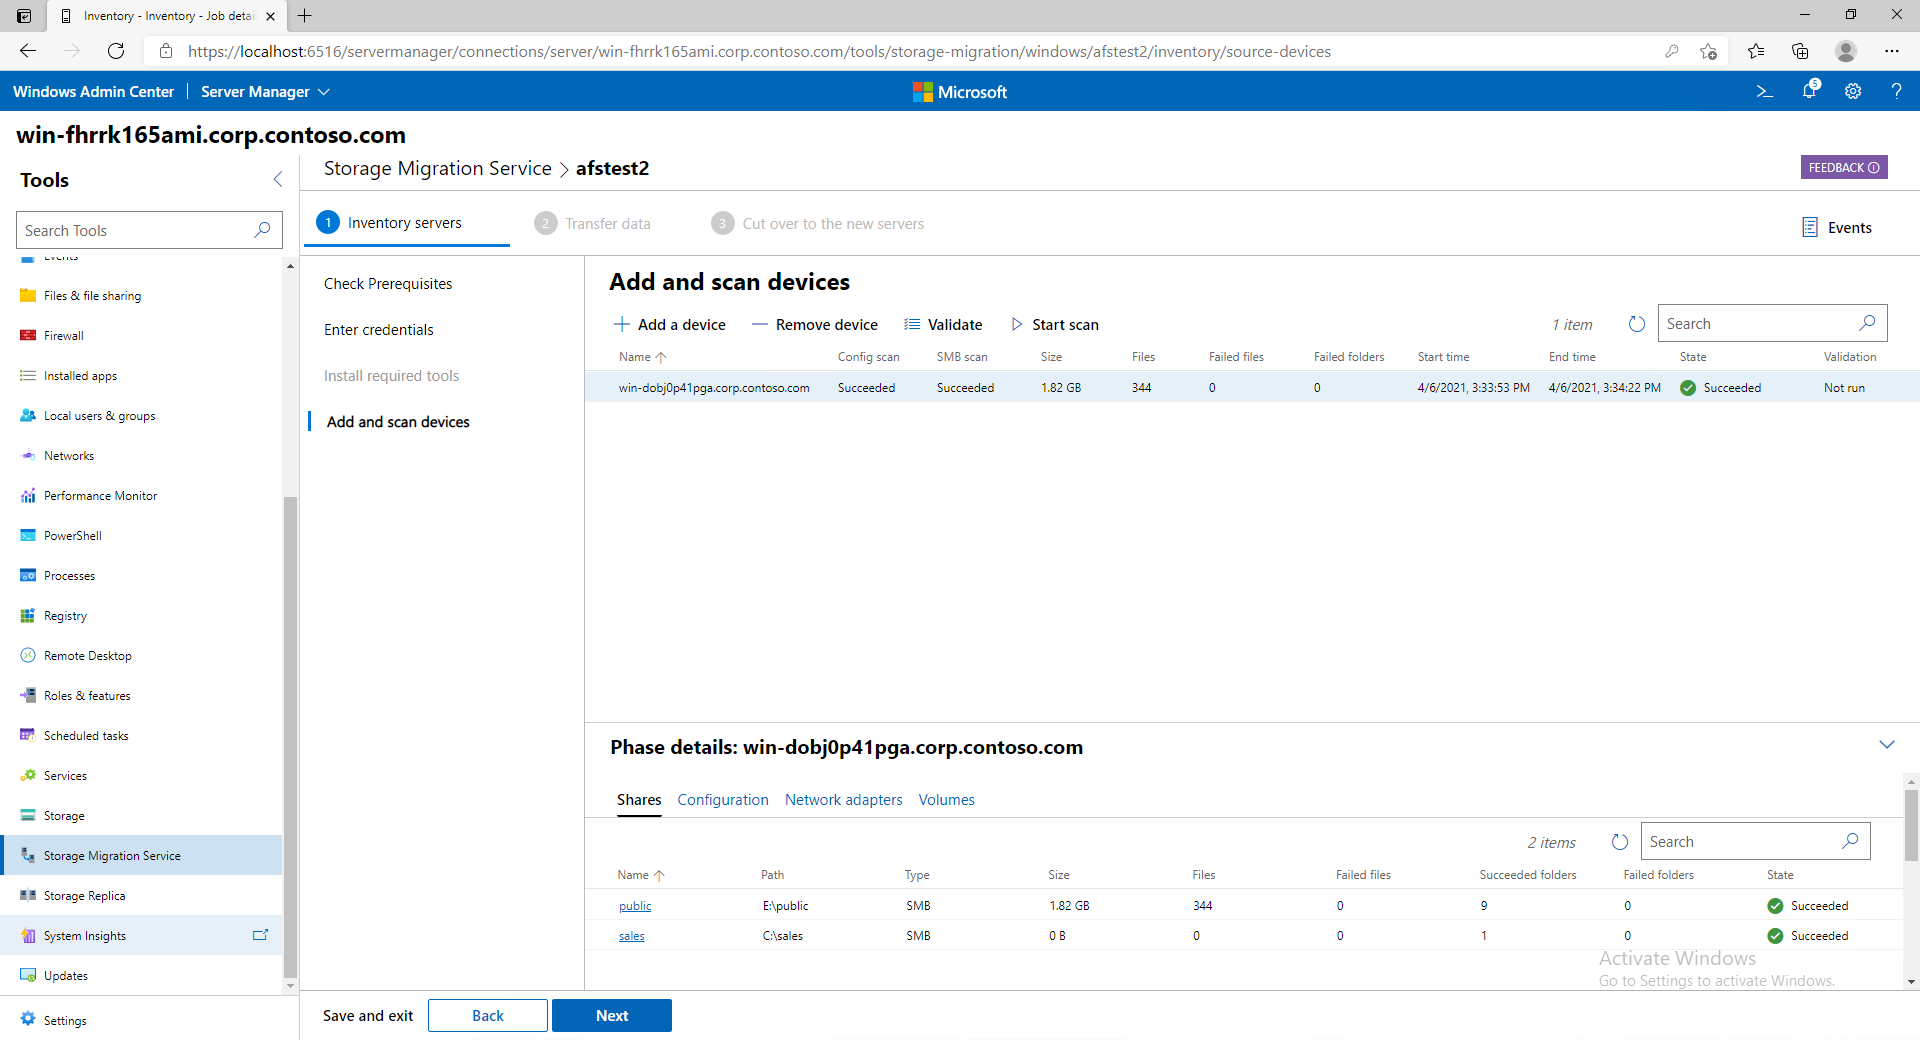
Select each server to review the inventoried shares, configuration, network adapters, and volumes.
Storage Migration Service doesn't transfer files or folders that could interfere with Windows operation, so you see warnings for any shares located in the Windows system folder. You have to skip these shares during the transfer phase. For more information, see What files and folders are excluded from transfers.
Select Next to move on to transferring data.

Step 3: Transfer data to destination servers
In this step you transfer data after specifying where to put it on the destination servers.
On the Transfer data > Enter credentials page, enter admin credentials that work on the destination servers you want to migrate to, and then select Next.
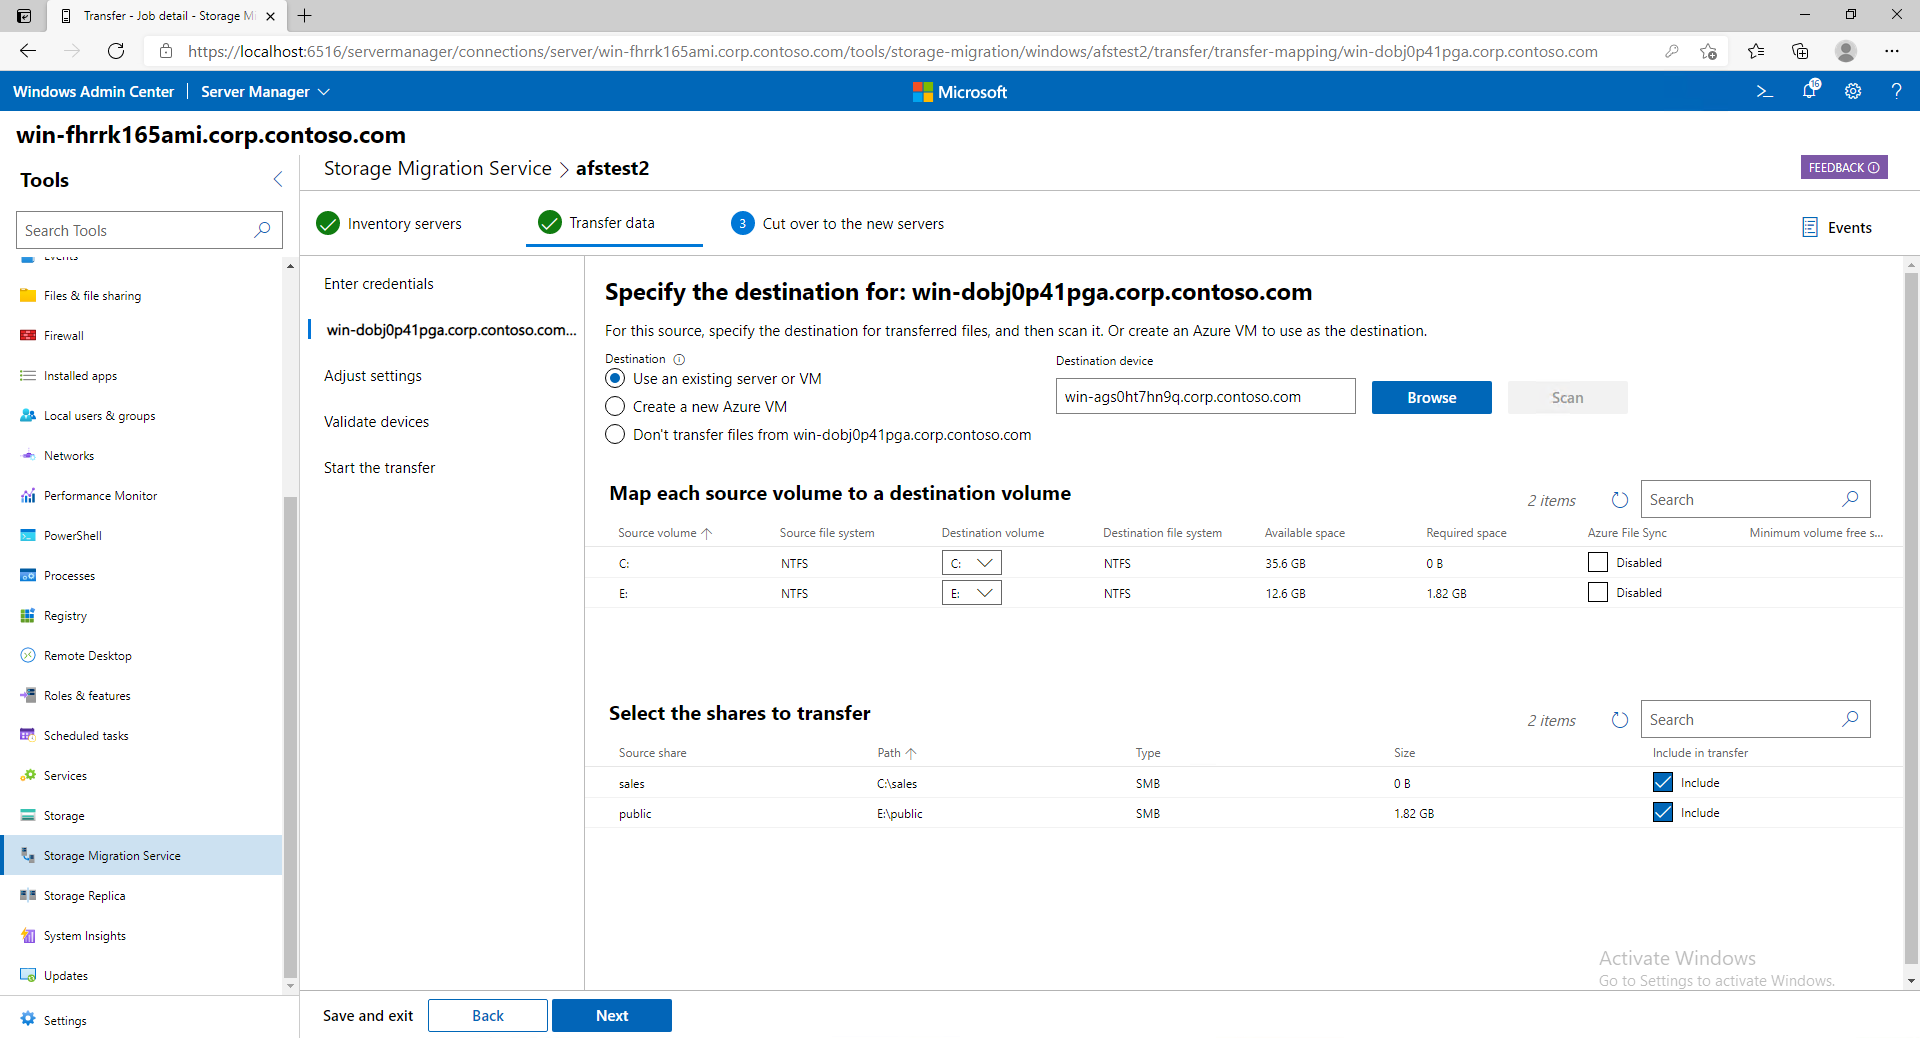
On the Add a destination device and mappings page, the first source server is listed. Enter the name of the server or clustered file server to which you want to migrate and then select Scan device. If migrating from a domain-joined source computer, the destination server must be joined to the same domain. You can also select Create a new Azure VM then use the wizard to deploy a new destination server in Azure. This function automatically sizes your VM, provisions storage, formats disks, joins the domain, and adds the Storage Migration Service proxy to a Windows Server 2019 or Windows Server 2022 destination. You can choose from Windows Server 2022 (recommended), Windows Server 2019, Windows Server 2016, and Windows Server 2012 R2 VMs of any size and use managed disks.
Note
Using Create a new Azure VM requires you to have the following items:
- A valid Azure subscription.
- An existing Azure Compute resource group where you have Create rights.
- An existing Azure Virtual Network and subnet.
- An Azure ExpressRoute circuit or Azure VPN solution tied to the Virtual Network and subnet that allows connectivity from this Azure IaaS VM to your on-premises clients, domain controllers, the Storage Migration Service orchestrator computer, the Windows Admin Center computer, and the source computer to be migrated.
The following video shows how to use Storage Migration Service to migrate to Azure VMs.
Map the source volumes to destination volumes, clear the Include checkbox for any shares you don't want to transfer (including any administrative shares located in the Windows system folder) and ensuring the Azure File Sync checkbox is set for any volumes or shares cloud tiering with Azure File Sync, and then select Next.
Note
When migrating NetApp CIFS servers, source volumes don't show drive letters. You can map these volumes to any destination volumes, and you can map multiple NetApp CIFS volumes to the same destination volume. New root folder paths are created to avoid any folder overwrites or collisions, and then shares are created at the correct level. The Shares detail pane shows the folder structure you're about to create.
Add a destination server and mappings for any more source servers, and then select Next.
On the Adjust transfer settings page, specify whether to migrate local users and groups on the source servers and then select Next. This option lets you recreate any local users and groups on the destination servers so file or share permissions set to local users and groups aren't lost. Here are the options when migrating local users and groups:
Important
If migrating NetApp CIFS servers, you cannot migrate local users and groups.
- Rename accounts with the same name is selected by default and migrates all local users and groups on the source server. If local users or groups on the source are found with the same name on the destination, these items receive new names on the destination. However, a built-in user or group uses the same name on the source and destination, such as the Administrator user or the Administrators group.
- Reuse accounts with the same name maps identically named users and groups on the source and destination. Don't use this setting if your source or destination server is a domain controller.
- Don't transfer users and groups skips migrating local users and groups, which is required when your source or destination is a domain controller, or when seeding data for DFS Replication (DFS Replication doesn't support local groups and users).
Note
Migrated user accounts are disabled on the destination and assigned a 127-character password that's both complex and random, so you'll have to enable them and assign a new password when you're finished to keep using them. This helps ensure any old accounts with forgotten and weak passwords on the source don't continue to be a security problem on the destination. You might also want to check out Local Administrator Password Solution (LAPS) as a way to manage local Administrator passwords.
Select Validate and then select Next.
Select Start transfer to start transferring data.
The first time you transfer, we move any existing files in a destination to a backup folder. For destination servers running Azure File Sync with cloud tiering, this backup option isn't supported. We otherwise fully support Azure File Sync with cloud tiering and include updated transfer information details in Windows Admin Center. On subsequent transfers, by default we refresh the destination without backing it up first.
Also, Storage Migration Service is smart enough to deal with overlapping shares—we don't copy the same folders twice in the same job.After the transfer completes, check out the destination server to make sure everything transferred properly. Select Error log only if you want to download a log of any files that didn't transfer.
Note
If you want to keep an audit trail of transfers or are planning to perform more than one transfer in a job, click Transfer log or the other log save options to save a CSV copy. Every subsequent transfer overwrites the database information of a previous run. If you're migrating a large number of files, you might need to adjust the timeout for saving this CSV file. For details, see Storage Migration Service times out downloading the transfer or errors CSV.

At this point, you have three options:
- Go to the next step, cutting over so the destination servers adopt the identities of the source servers.
- Consider the migration complete without taking over the source servers' identities.
- Transfer again, copying only files updated since the last transfer.
If your goal is to sync the files with Azure, you could set up the destination servers with Azure File Sync after transferring files, or after cutting over to the destination servers. See Planning for an Azure File Sync deployment.
Step 4: Cut over to new servers
In this step you cut over from the source servers to the destination servers, moving the IP addresses and computer names to the destination servers. After this step is finished, apps and users access the new servers via the names and addresses of the servers you migrated from.
If you've navigated away from the migration job, in Windows Admin Center, go to Server Manager > Storage Migration Service and then select the job you want to complete.
On the Cut over to the new servers > Enter credentials page, select Next to use the credentials you entered previously.
On the Configure cutover page, specify which network adapter on the destination should take over the settings from each adapter on the source. This option moves the IP address from the source to the destination as part of the cutover, giving the source server a new DHCP or static IP address. You can skip all network migrations or certain interfaces.
Specify what IP address to use for the source server after cutover moves its address to the destination. If migrating a Windows server or cluster, or to Linux Samba, you can use DHCP or specify a new static IP address. If using a static address, the new subnet must be the same as the old subnet or cutover fails. If you're migrating a NetApp FAS array, use NetApp subnets instead of DHCP.
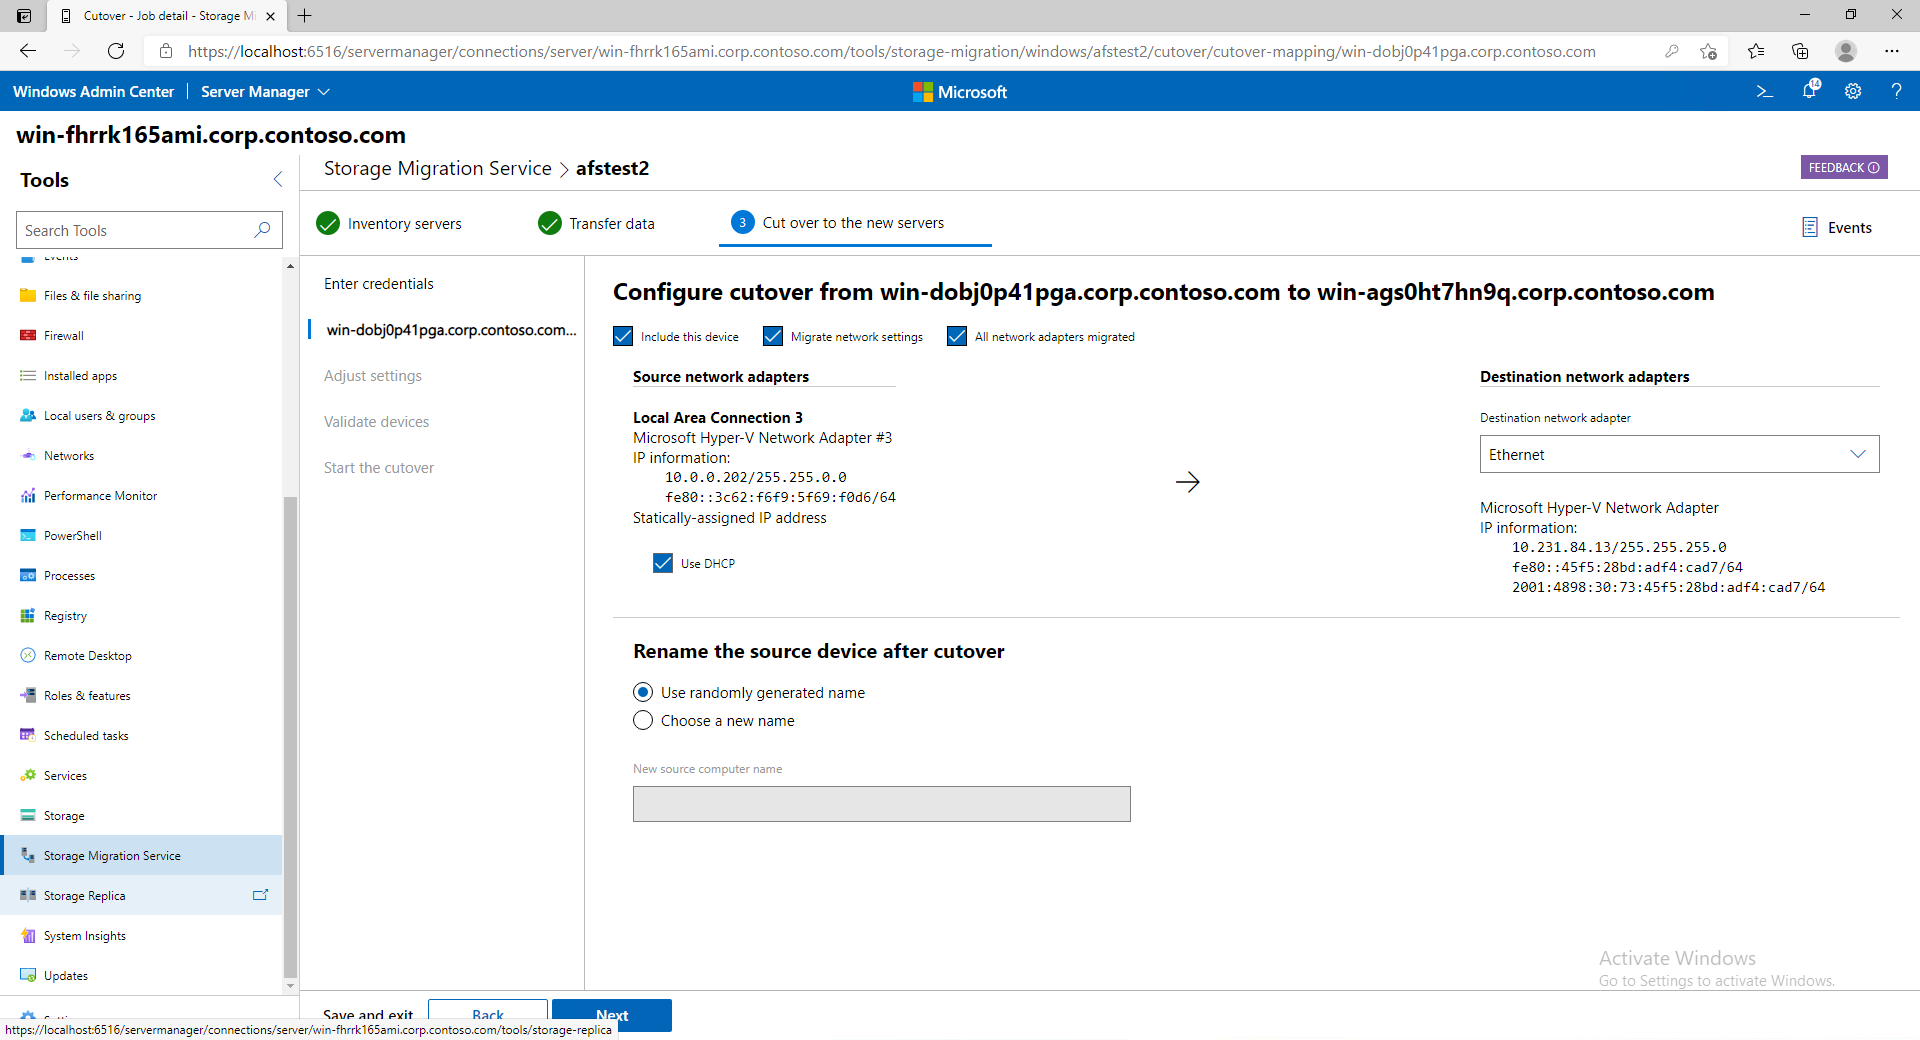
Specify how to rename the source server after the destination server takes over its name. You can use a randomly generated name or enter one yourself. Then select Next.
On the Adjust settings page, you might need to provide new AD user credentials with permissions to remove the source computer or clustered file server from the domain and then add them back with a new name if your source migration credentials don't have that permission.
Select Validate on the Validate source and destination device page, and then select Next.
When you're ready to perform the cutover, select Start cutover.
Users and apps might experience an interruption while the address and names are moved and the servers restarted several times. Note that users and apps aren’t otherwise affected by the migration. The amount of time to complete the cutover depends on how quickly the servers restart, and Active Directory and DNS replication times.

Post-migration operations
After migrating a server or cluster, evaluate the environment for possible post migration operations.
- Create a plan for the now-decommissioned source server: The Storage Migration Service uses the cutover process to enable a destination server to assume the identity of a source server. The process changes the names and IP addresses of the source server to prevent access by users and applications. It doesn't, however, turn off or otherwise alter the contents of the source server. You should create a plan for decommissioning the source server. We recommend keeping the source online for at least two weeks to allow for migration of any in-use data. The waiting period ensures that all files can easily be retrieved without a need for offline backup restoration. After that period, we recommend turning off the server for another four weeks so it's still available for data retrieval but is no longer consuming operational or power resources. After that period, perform one final full backup of the server, then evaluate repurposing if it's a physical server, or deleting if it's a virtual machine.
- Reissue certificates on the new destination server: During the time the destination server was online but not yet cut over, certificates might have been issued to it through autoenrollment or other processes. Renaming a Windows Server doesn't automatically change or reissue existing certificates, so the existing certificates might contain the name of the server prior to it cutover. You should examine the existing certificates on the server and reissue new ones as necessary.
Related links
Feedback
Coming soon: Throughout 2024 we will be phasing out GitHub Issues as the feedback mechanism for content and replacing it with a new feedback system. For more information see: https://aka.ms/ContentUserFeedback.
Submit and view feedback for