使用安装向导安装 Exchange 邮箱服务器
在安装 Exchange Server 2016 或 Exchange Server 2019 邮箱服务器前,请验证以下必备组件:
在 Exchange Server 系统要求和 Exchange Server 必备组件中验证网络、计算机硬件、操作系统和软件要求。
目标服务器必须是 Active Directory 域的成员。
用于安装 Exchange 的帐户需要以下权限*:
企业管理员组成员身份:如果这是组织中的首台 Exchange 服务器,帐户必须拥有此权限。
架构管理员组成员身份:如果以前尚未为 Exchange 2016 或 Exchange 2019 扩展过 Active Directory 架构或准备过 Active Directory,必须拥有此权限。
Exchange 组织管理角色组成员身份:如果已准备 Active Directory 域(包含 Exchange 服务器),或如果组织中已有其他 Exchange 服务器,必须拥有此权限。
*委派安装程序角色组的成员可以在 Exchange 管理员已在 Active Directory 中预配的服务器上安装 Exchange。 有关详细信息,请参阅委派安装 Exchange 服务器。
确认你已阅读 Exchange Server 发行说明中的发行说明。
有关计划和部署 Exchange 的详细信息,请参阅计划和部署 Exchange Server。
若要在计算机上安装边缘传输角色,请参阅 使用安装向导安装 Exchange 边缘传输服务器。 请注意,无法在邮箱服务器上安装边缘传输角色。
开始前,有必要了解什么?
估计完成时间:60 分钟
若要了解本主题中的过程可能适用的键盘快捷键,请参阅 Exchange 管理中心内的键盘快捷键。
谨慎
在服务器上安装 Exchange 之后,不得更改服务器名称。 不支持在安装 Exchange 服务器角色后重命名服务器。
安装 Exchange 邮箱服务器角色
下载最新版本的 Exchange。 有关详细信息,请参阅Exchange Server汇报。
In File Explorer, right-click on the Exchange ISO image file that you downloaded, and then select Mount. 在出现的生成的虚拟 DVD 驱动器中,双击
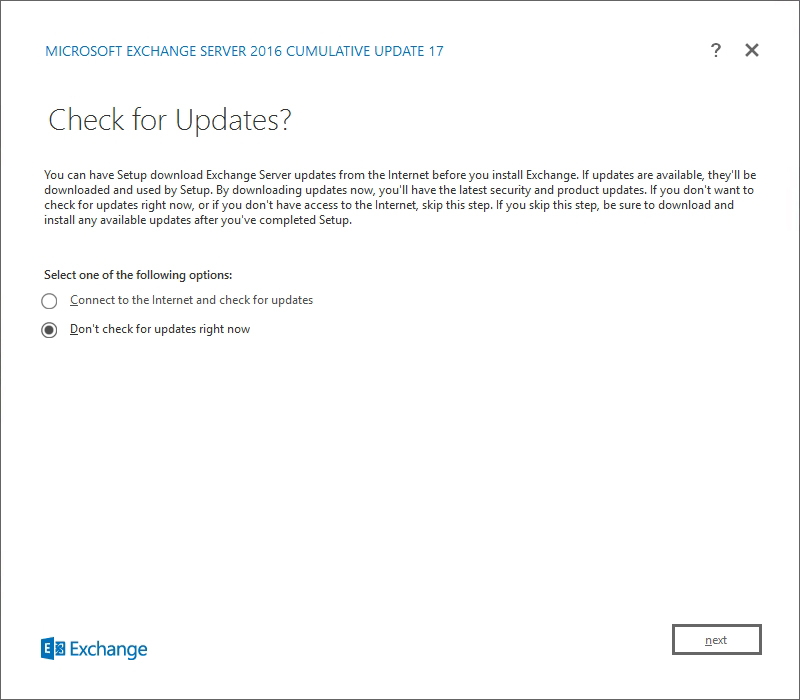
Setup.exe启动 Exchange 安装程序。此时会打开“Exchange Server安装”向导。 在“检查更新?”页上,选中下列选项之一,然后单击“下一步”继续操作:
连接到 Internet 并检查更新:建议使用此选项,以搜索当前正在安装的 Exchange 版本的更新, (它不会检测到更新的累积汇报) 。 This option takes you to the Downloading Updates page that searches for updates. Click Next to continue.
暂不检查是否有更新
The Copying Files page shows the progress of copying files to the local hard drive. 通常,文件将
%WinDir%\Temp\ExchangeSetup复制到 ,但你可以在 的 Exchange 安装日志C:\ExchangeSetupLogs\ExchangeSetup.log中确认位置。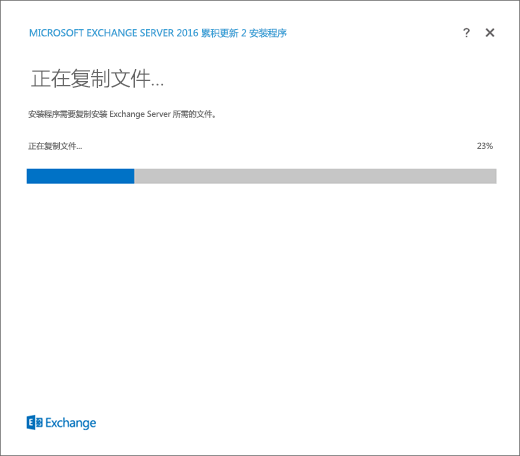
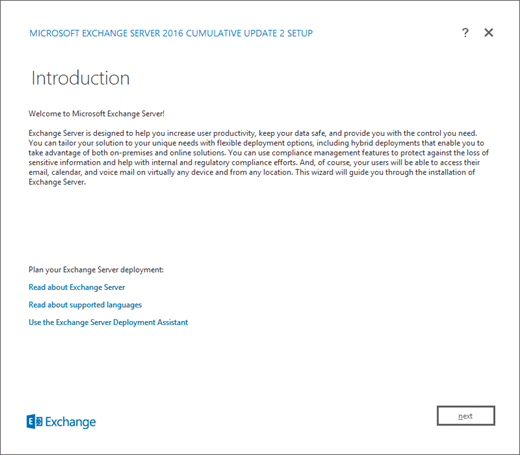
在“简介”页上,建议访问Exchange Server部署规划链接(如果尚未查看这些链接)。 单击“下一步”即可继续操作。
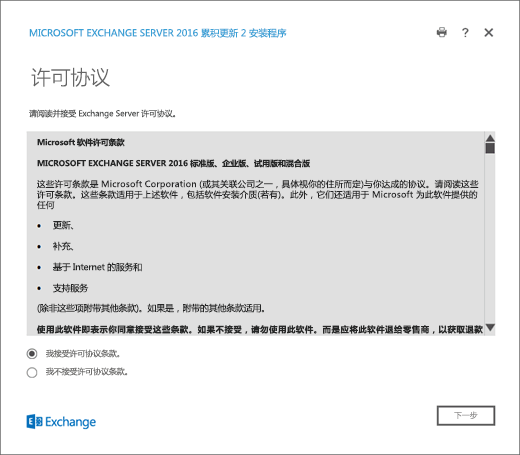
在“许可协议”页上,查看软件许可条款,选中“我接受许可协议中的条款”,然后单击“下一步”继续操作。
在“推荐设置”页上,选中下列设置之一:
使用建议的设置:Exchange 会自动向 Microsoft 发送有关计算机硬件以及 Exchange 使用方式的错误报告和信息。 有关发送到 Microsoft 的内容及其使用方式的信息,请单击页面上的帮助链接 或 帮助链接。
不使用推荐设置:将禁用推荐设置,但可以在安装程序完成后随时启用这些设置。
单击“下一步”即可继续操作。

在“服务器角色选择”页上,配置以下选项:
邮箱角色:选中此选项还会自动安装管理工具。
自动安装安装 Exchange 所需的 Windows Server 角色和功能:选择此选项可让安装向导安装所需的 Windows 先决条件。 需要重启计算机,才能完成安装一些 Windows 功能。 如果不选中此选项,需要手动安装 Windows 功能。
注意:选择此选项仅安装 Exchange 所需的 Windows 功能 。 需要手动安装其他必备组件。 有关详细信息,请参阅Exchange Server先决条件。
单击“下一步”即可继续操作。

在 “安装空间和位置 ”页上,接受默认安装位置 (
C:\Program Files\Microsoft\Exchange Server\V15) ,或单击“ 浏览 ”选择新位置。 Make sure that you have enough disk space available in the location where you want to install Exchange. 单击“下一步”即可继续操作。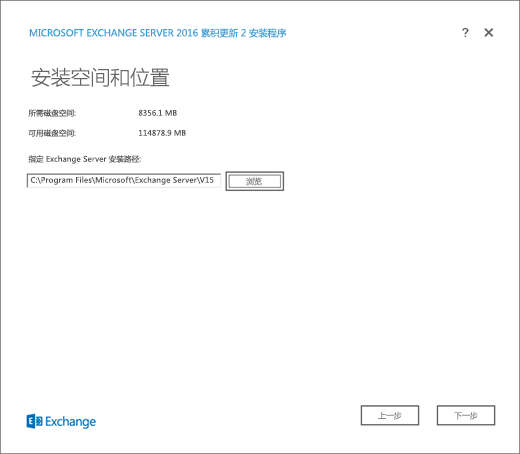
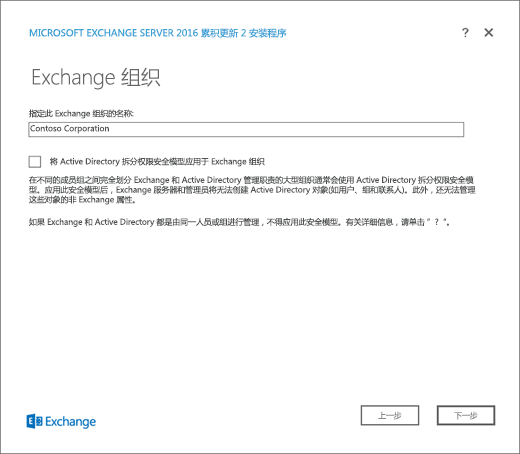
如果这是组织中第一台 Exchange 2016 或 Exchange 2019 服务器,并且尚未完成 准备 Exchange 的 Active Directory 和域中的步骤,则你将到达 Exchange 组织 页面。 在此页上,配置以下设置:
指定此 Exchange 组织的名称:默认值为 First Organization,但通常对此值使用公司名称。 组织名称由 Exchange 在内部使用,通常对用户不可见,既不会影响 Exchange 的功能,也不会确定可使用的电子邮件地址。
组织名称的字符数不得超过 64 个,且不得为空。
有效字符为 A-Z、a-z、0-9、连字符或短划线 (-) 和空格(但不允许使用前导或尾随空格)。
组织名称一旦设置便无法再更改。
将 Active Directory 拆分权限安全模型应用于 Exchange 组织:大多数组织不需要选择此选项。 If you need to separate management of Active Directory security principals and the Exchange configuration, split permissions might work for you. For more information, click ?.
单击“下一步”即可继续操作。
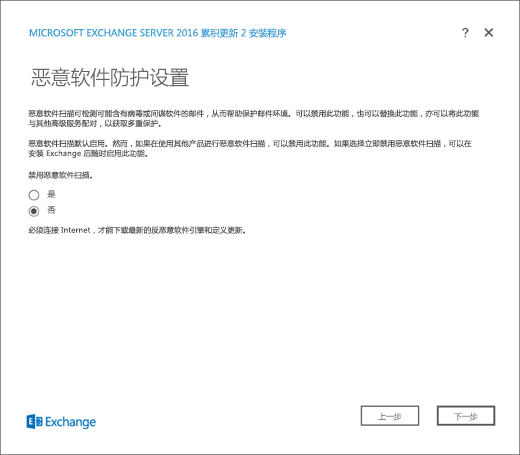
On the Malware Protection Settings page, choose whether you want disable malware scanning. Malware scanning is enabled by default (the value No is selected). If you disable malware scanning, you can enable it in the future. 单击“下一步”即可继续操作。
On the Readiness Checks page, verify that the organization and server role prerequisite checks completed successfully. If they haven't, the only option on the page is Retry, so you need to resolve the errors before you can continue.

After you resolve the errors, click Retry to run the prerequisite checks again. 可以在不退出安装程序的情况下修复一些错误,而修复另一些错误则需要重启计算机。 If you restart the computer, you need to start over at Step 1.
When no more errors are detected on the Readiness Checks page, the Retry button changes to Install so you can continue. 请务必查看任何警告,然后单击“ 安装 ”以安装 Exchange。

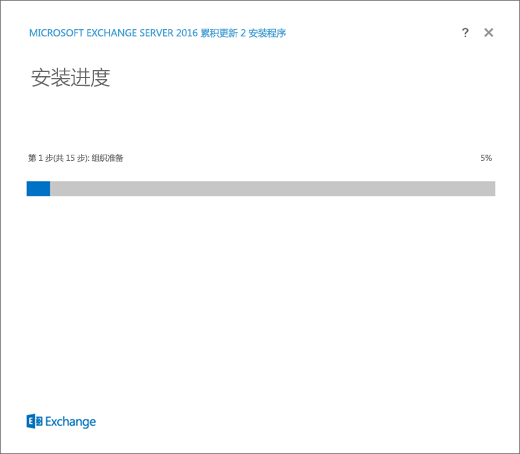
在“安装进度”页上,由进度栏指示安装进度。
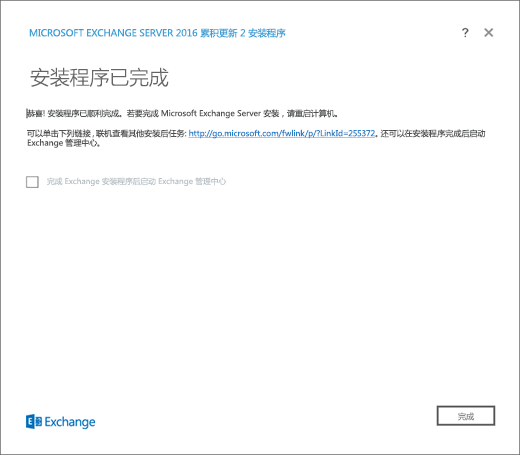
在“安装已完成”页上,单击“完成”,然后重启计算机。
后续步骤
若要验证是否已成功安装 Exchange,请参阅验证 Exchange 安装。
通过执行 Exchange 安装后任务中介绍的任务来完成部署。
是否有任何疑问? 在 Exchange 论坛中寻求帮助。 访问 Exchange Server 的论坛。