教學課程:將輸出新增至 ARM 範本
在本教學課程中,您將了解如何從 Azure Resource Manager 範本 (ARM 範本) 傳回值。 當您需要所部署資源的值時,可以使用輸出。 完成此教學課程需要 7 分鐘。
必要條件
我們建議您完成有關變數的教學課程,但並非必要。
您必須具有 Visual Studio Code 並搭配 Resource Manager 工具延伸模組,以及 Azure PowerShell 或 Azure 命令列介面 (CLI)。 如需詳細資訊,請參閱範本工具。
檢閱範本
在上一個教學課程結束時,您的範本會具有下列 JSON:
{
  "$schema": "https://schema.management.azure.com/schemas/2019-04-01/deploymentTemplate.json#",
  "contentVersion": "1.0.0.0",
  "parameters": {
    "storagePrefix": {
      "type": "string",
      "minLength": 3,
      "maxLength": 11
    },
    "storageSKU": {
      "type": "string",
      "defaultValue": "Standard_LRS",
      "allowedValues": [
        "Standard_LRS",
        "Standard_GRS",
        "Standard_RAGRS",
        "Standard_ZRS",
        "Premium_LRS",
        "Premium_ZRS",
        "Standard_GZRS",
        "Standard_RAGZRS"
      ]
    },
    "location": {
      "type": "string",
      "defaultValue": "[resourceGroup().location]"
    }
  },
  "variables": {
    "uniqueStorageName": "[concat(parameters('storagePrefix'), uniqueString(resourceGroup().id))]"
  },
  "resources": [
    {
      "type": "Microsoft.Storage/storageAccounts",
      "apiVersion": "2021-09-01",
      "name": "[variables('uniqueStorageName')]",
      "location": "[parameters('location')]",
      "sku": {
        "name": "[parameters('storageSKU')]"
      },
      "kind": "StorageV2",
      "properties": {
        "supportsHttpsTrafficOnly": true
      }
    }
  ]
}
會部署儲存體帳戶,但是不會傳回任何有關儲存體帳戶的資訊。 您可能需要擷取新資源的屬性,以便稍後可供參考。
新增輸出
您可以使用輸出來從範本傳回值。 例如,可能有助於取得新儲存體帳戶的端點。
下列範例會反白顯示對範本所做以新增輸出值的變更。 複製整個檔案,並以其內容取代您的範本。
{
  "$schema": "https://schema.management.azure.com/schemas/2019-04-01/deploymentTemplate.json#",
  "contentVersion": "1.0.0.0",
  "parameters": {
    "storagePrefix": {
      "type": "string",
      "minLength": 3,
      "maxLength": 11
    },
    "storageSKU": {
      "type": "string",
      "defaultValue": "Standard_LRS",
      "allowedValues": [
        "Standard_LRS",
        "Standard_GRS",
        "Standard_RAGRS",
        "Standard_ZRS",
        "Premium_LRS",
        "Premium_ZRS",
        "Standard_GZRS",
        "Standard_RAGZRS"
      ]
    },
    "location": {
      "type": "string",
      "defaultValue": "[resourceGroup().location]"
    }
  },
  "variables": {
    "uniqueStorageName": "[concat(parameters('storagePrefix'), uniqueString(resourceGroup().id))]"
  },
  "resources": [
    {
      "type": "Microsoft.Storage/storageAccounts",
      "apiVersion": "2021-09-01",
      "name": "[variables('uniqueStorageName')]",
      "location": "[parameters('location')]",
      "sku": {
        "name": "[parameters('storageSKU')]"
      },
      "kind": "StorageV2",
      "properties": {
        "supportsHttpsTrafficOnly": true
      }
    }
  ],
  "outputs": {
    "storageEndpoint": {
      "type": "object",
      "value": "[reference(variables('uniqueStorageName')).primaryEndpoints]"
    }
  }
}
關於您新增的輸出值,有一些需注意的重要項目。
傳回值的類型會設定為 object,表示其會傳回 JSON 物件。
它會使用 reference 函式,來取得儲存體帳戶的執行階段狀態。 若要取得資源的執行階段狀態,請傳入資源的名稱或識別碼。 在此案例中,您會使用您用來建立儲存體帳戶名稱的相同變數。
最後,其會從儲存體帳戶中傳回 primaryEndpoints 屬性。
部署範本
您已經準備好部署範本,並查看傳回的值。
如果您尚未建立資源群組,請參閱建立資源群組。 此範例會假設您已將 templateFile 變數設為範本檔案的路徑,如第一個教學課程中所示。
New-AzResourceGroupDeployment `
  -Name addoutputs `
  -ResourceGroupName myResourceGroup `
  -TemplateFile $templateFile `
  -storagePrefix "store" `
  -storageSKU Standard_LRS
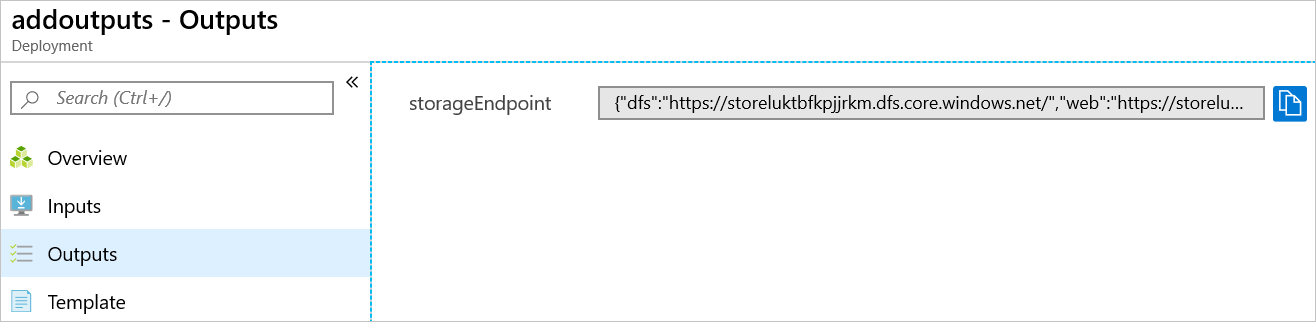
在部署命令的輸出中,只有在輸出是 JSON 格式時,才會看到類似下列範例的物件:
{
    "dfs": "https://storeluktbfkpjjrkm.dfs.core.windows.net/",
    "web": "https://storeluktbfkpjjrkm.z19.web.core.windows.net/",
    "blob": "https://storeluktbfkpjjrkm.blob.core.windows.net/",
    "queue": "https://storeluktbfkpjjrkm.queue.core.windows.net/",
    "table": "https://storeluktbfkpjjrkm.table.core.windows.net/",
    "file": "https://storeluktbfkpjjrkm.file.core.windows.net/"
}
注意
如果部署失敗,請使用 verbose 參數來取得所建立資源的相關資訊。 使用 debug 參數來取得更多資訊以進行偵錯。
檢閱您的工作
您已在最後六個教學課程中完成許多作業。 讓我們花一點時間來檢閱您已完成的作業。 您已建立含易於提供之參數的範本。 此範本可在不同環境中重複使用,因為它允許自訂且可以動態方式建立所需的值。 它也會傳回您可在指令碼中使用之儲存體帳戶的相關資訊。
現在,讓我們查看資源群組和部署記錄。
登入 Azure 入口網站。
從左側功能表中,選取 [資源群組]。
選取您已部署的目標資源群組。
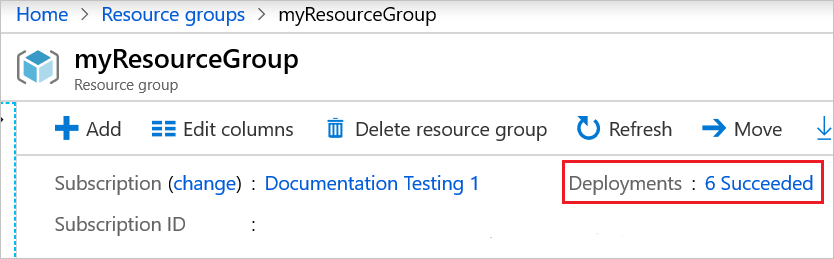
根據您所執行的步驟而定,資源群組中應該至少有一個儲存體帳戶,且可能有數個。
您也應該在記錄中列出數個成功的部署。 選取該連結。
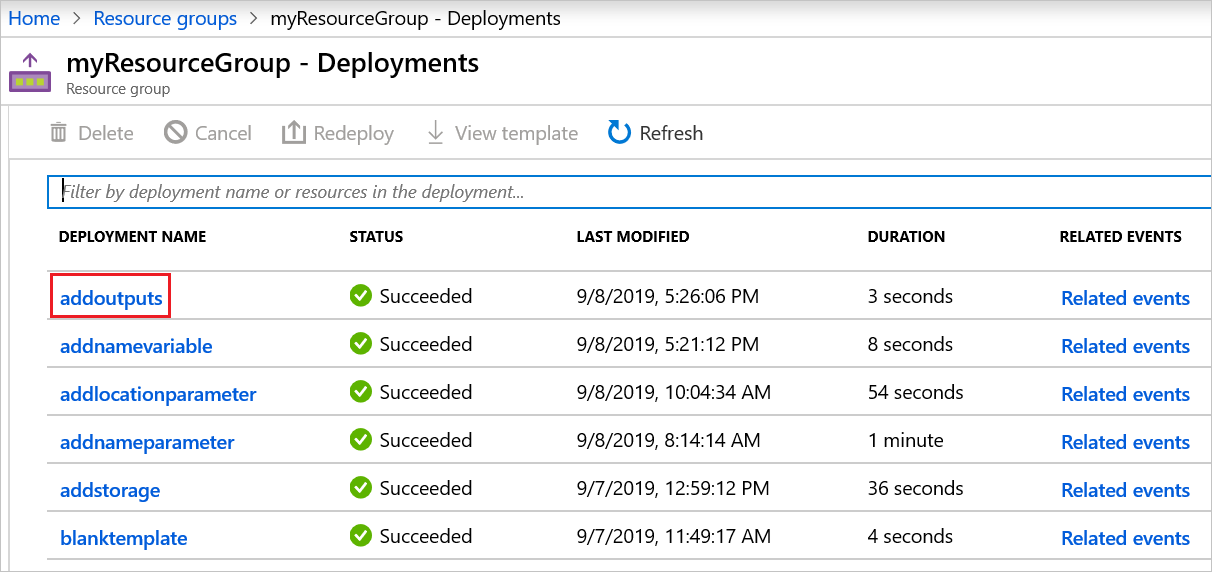
您會在記錄中看到所有部署。 選取名為 addoutputs 的部署。
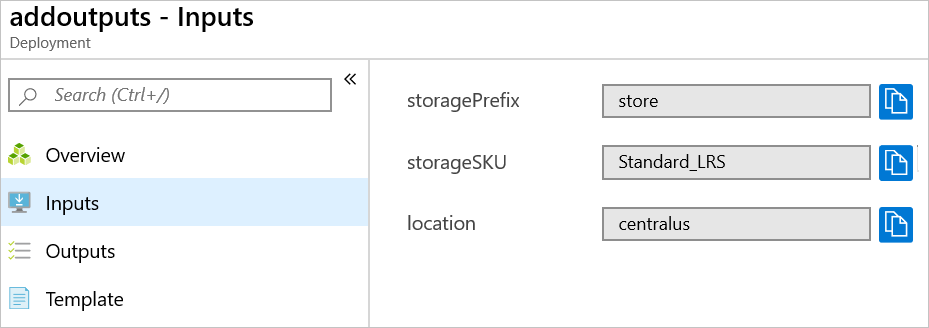
您可以檢閱輸入。
您可以檢閱輸出。
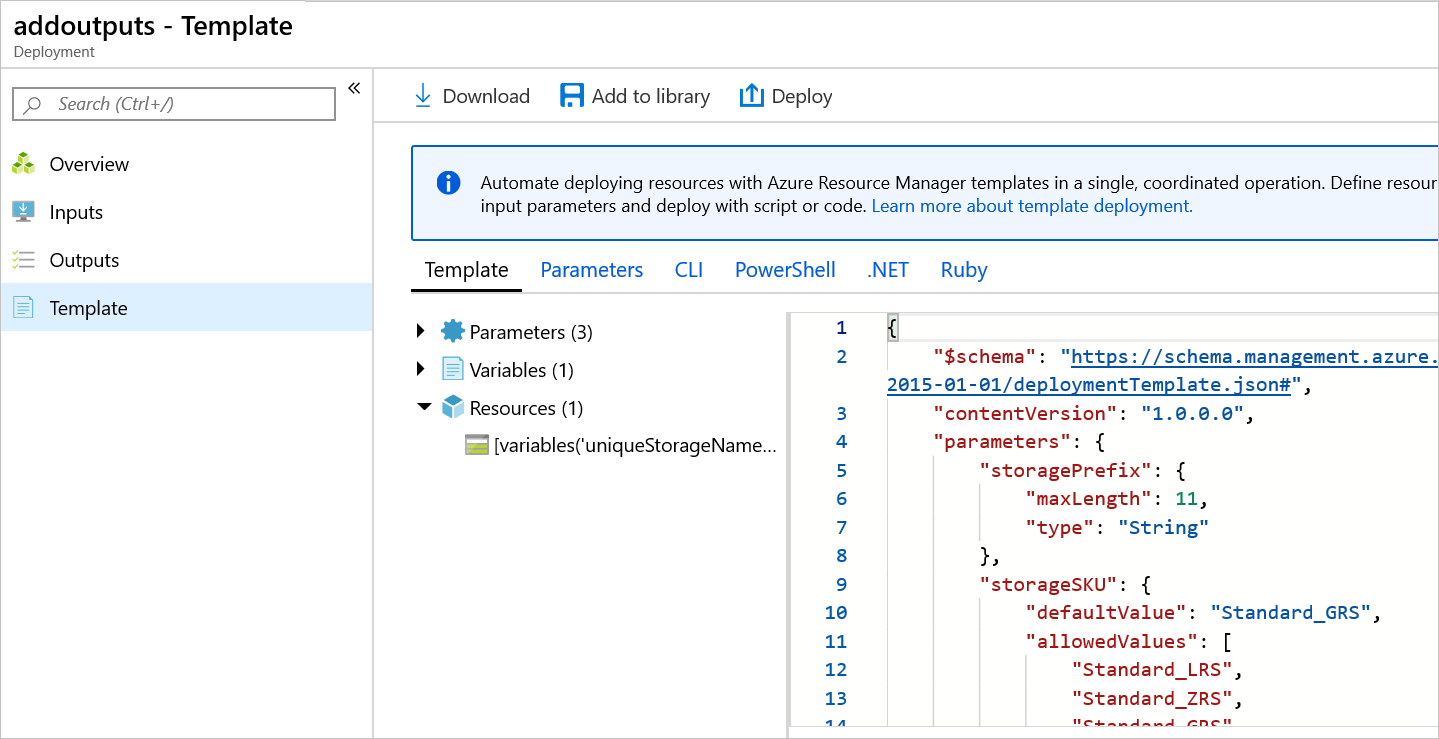
您可以檢閱範本。
清除資源
如果您要繼續進行下一個教學課程,則不需要刪除資源群組。
如果您現在要停止,則可能想要刪除資源群組。
- 在 Azure 入口網站中,選取左側功能表中的 [資源群組]。
- 在 [篩選任何欄位...] 文字欄位中輸入資源群組名稱。
- 核取 myResourceGroup 旁的方塊,然後選取 myResourceGroup 或資源群組名稱。
- 從頂端功能表中選取 [刪除資源群組]。
下一步
在此教學課程中,您已將傳回值新增至範本。 在下一個教學課程中,您將了解如何匯出範本,並在範本中使用該匯出範本的組件。