使用 Terraform 方案來部署 Google Cloud Platform Ubuntu 實例,並將其連線至 Azure Arc
本文提供使用提供的 Terraform 計劃來部署 Google Cloud Platform (GCP) 實例,並將其連線為已啟用 Azure Arc 的伺服器資源的指導。
必要條件
複製 Azure Arc Jumpstart 存放庫。
git clone https://github.com/microsoft/azure_arc.git將 Azure CLI 安裝或更新為 2.7 版和更新版本。 使用下列命令來檢查您目前的已安裝版本。
az --version產生 SSH 金鑰 (或使用現有的 SSH 金鑰 )
建立 Azure 服務主體。
若要將 GCP 虛擬機連線到 Azure Arc,則需要指派參與者角色的 Azure 服務主體。 若要建立它,請登入您的 Azure 帳戶,然後執行下列命令。 您也可以在 Azure Cloud Shell 中執行此命令。
az login
az account set -s <Your Subscription ID>
az ad sp create-for-rbac -n "<Unique SP Name>" --role contributor --scopes "/subscriptions/<Your Subscription ID>"
例如:
az ad sp create-for-rbac -n "http://AzureArcGCP" --role contributor --scopes "/subscriptions/00000000-0000-0000-0000-000000000000"輸出應該看起來像這樣:
{
  "appId": "XXXXXXXXXXXXXXXXXXXXXXXXXXXX",
  "displayName": "http://AzureArcGCP",
  "password": "XXXXXXXXXXXXXXXXXXXXXXXXXXXX",
  "tenant": "XXXXXXXXXXXXXXXXXXXXXXXXXXXX"
}
注意
強烈建議您將服務主體的範圍設定為特定的 Azure 訂用帳戶和資源群組。
建立新的 GCP 專案
流覽至 Google API控制台 ,並使用您的Google帳戶登入。 登入之後,請建立名為
Azure Arc demo的新專案。 建立之後,請務必複製專案標識符,因為專案名稱通常不同。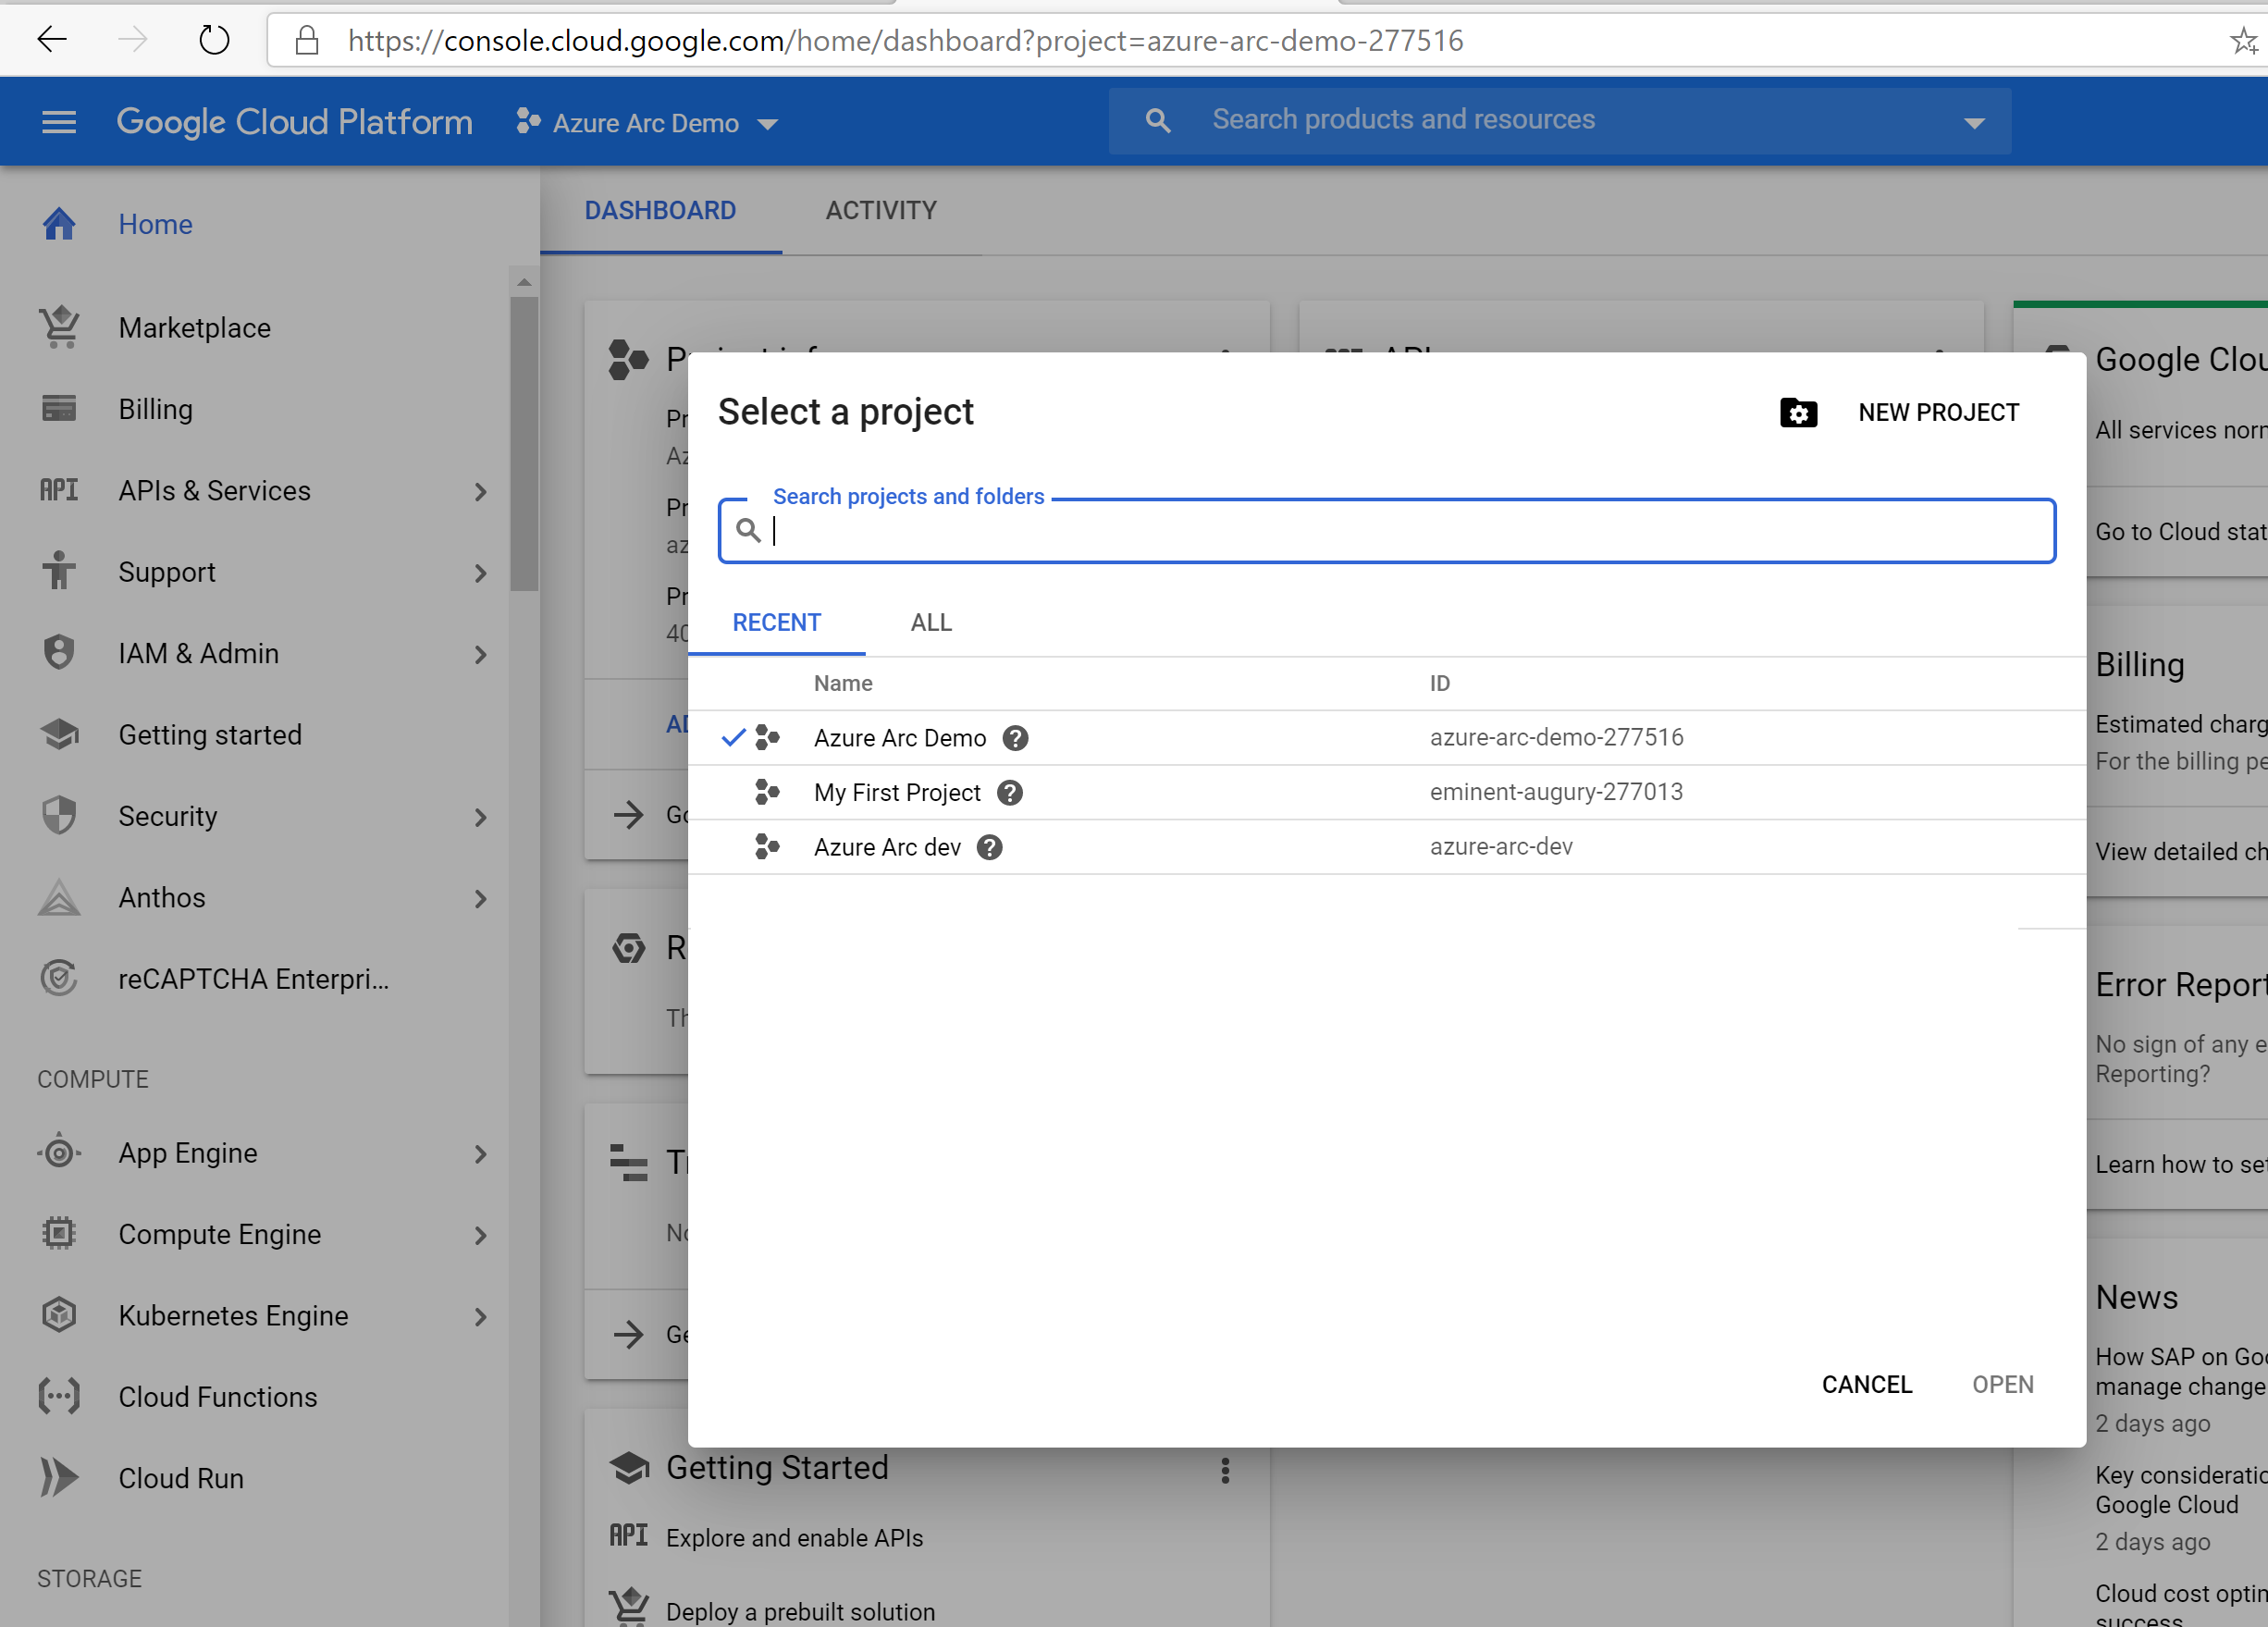

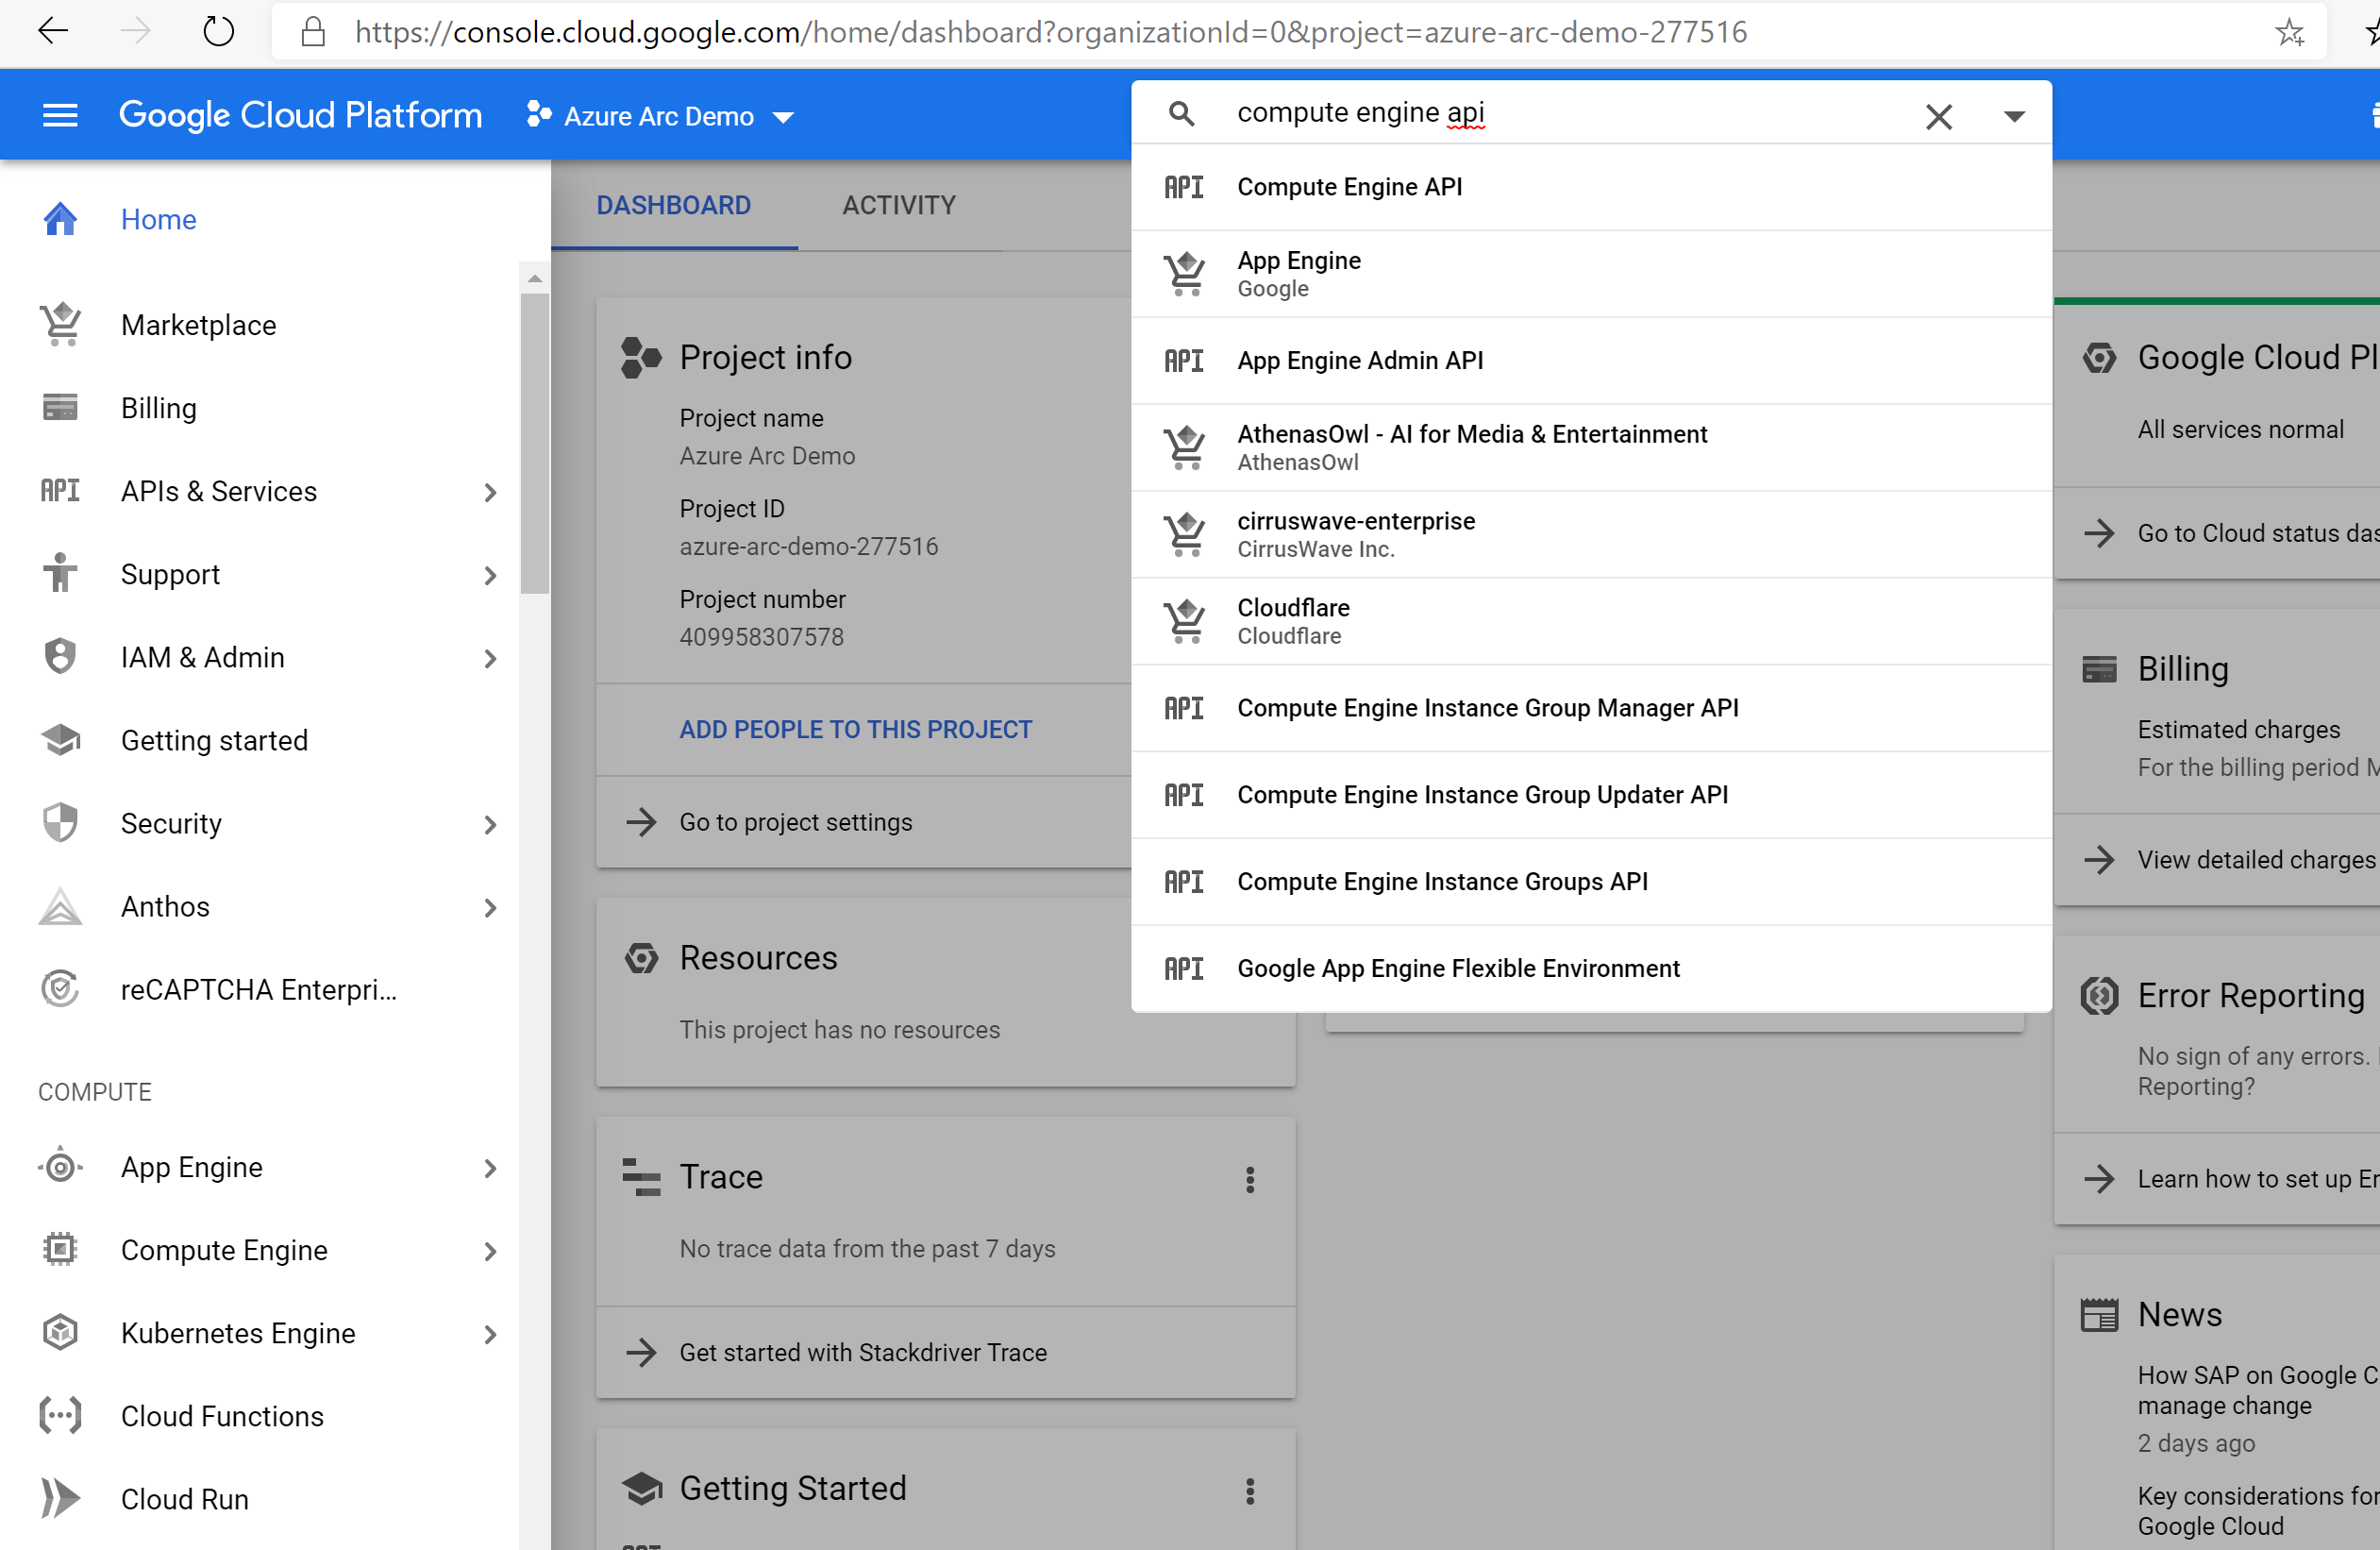
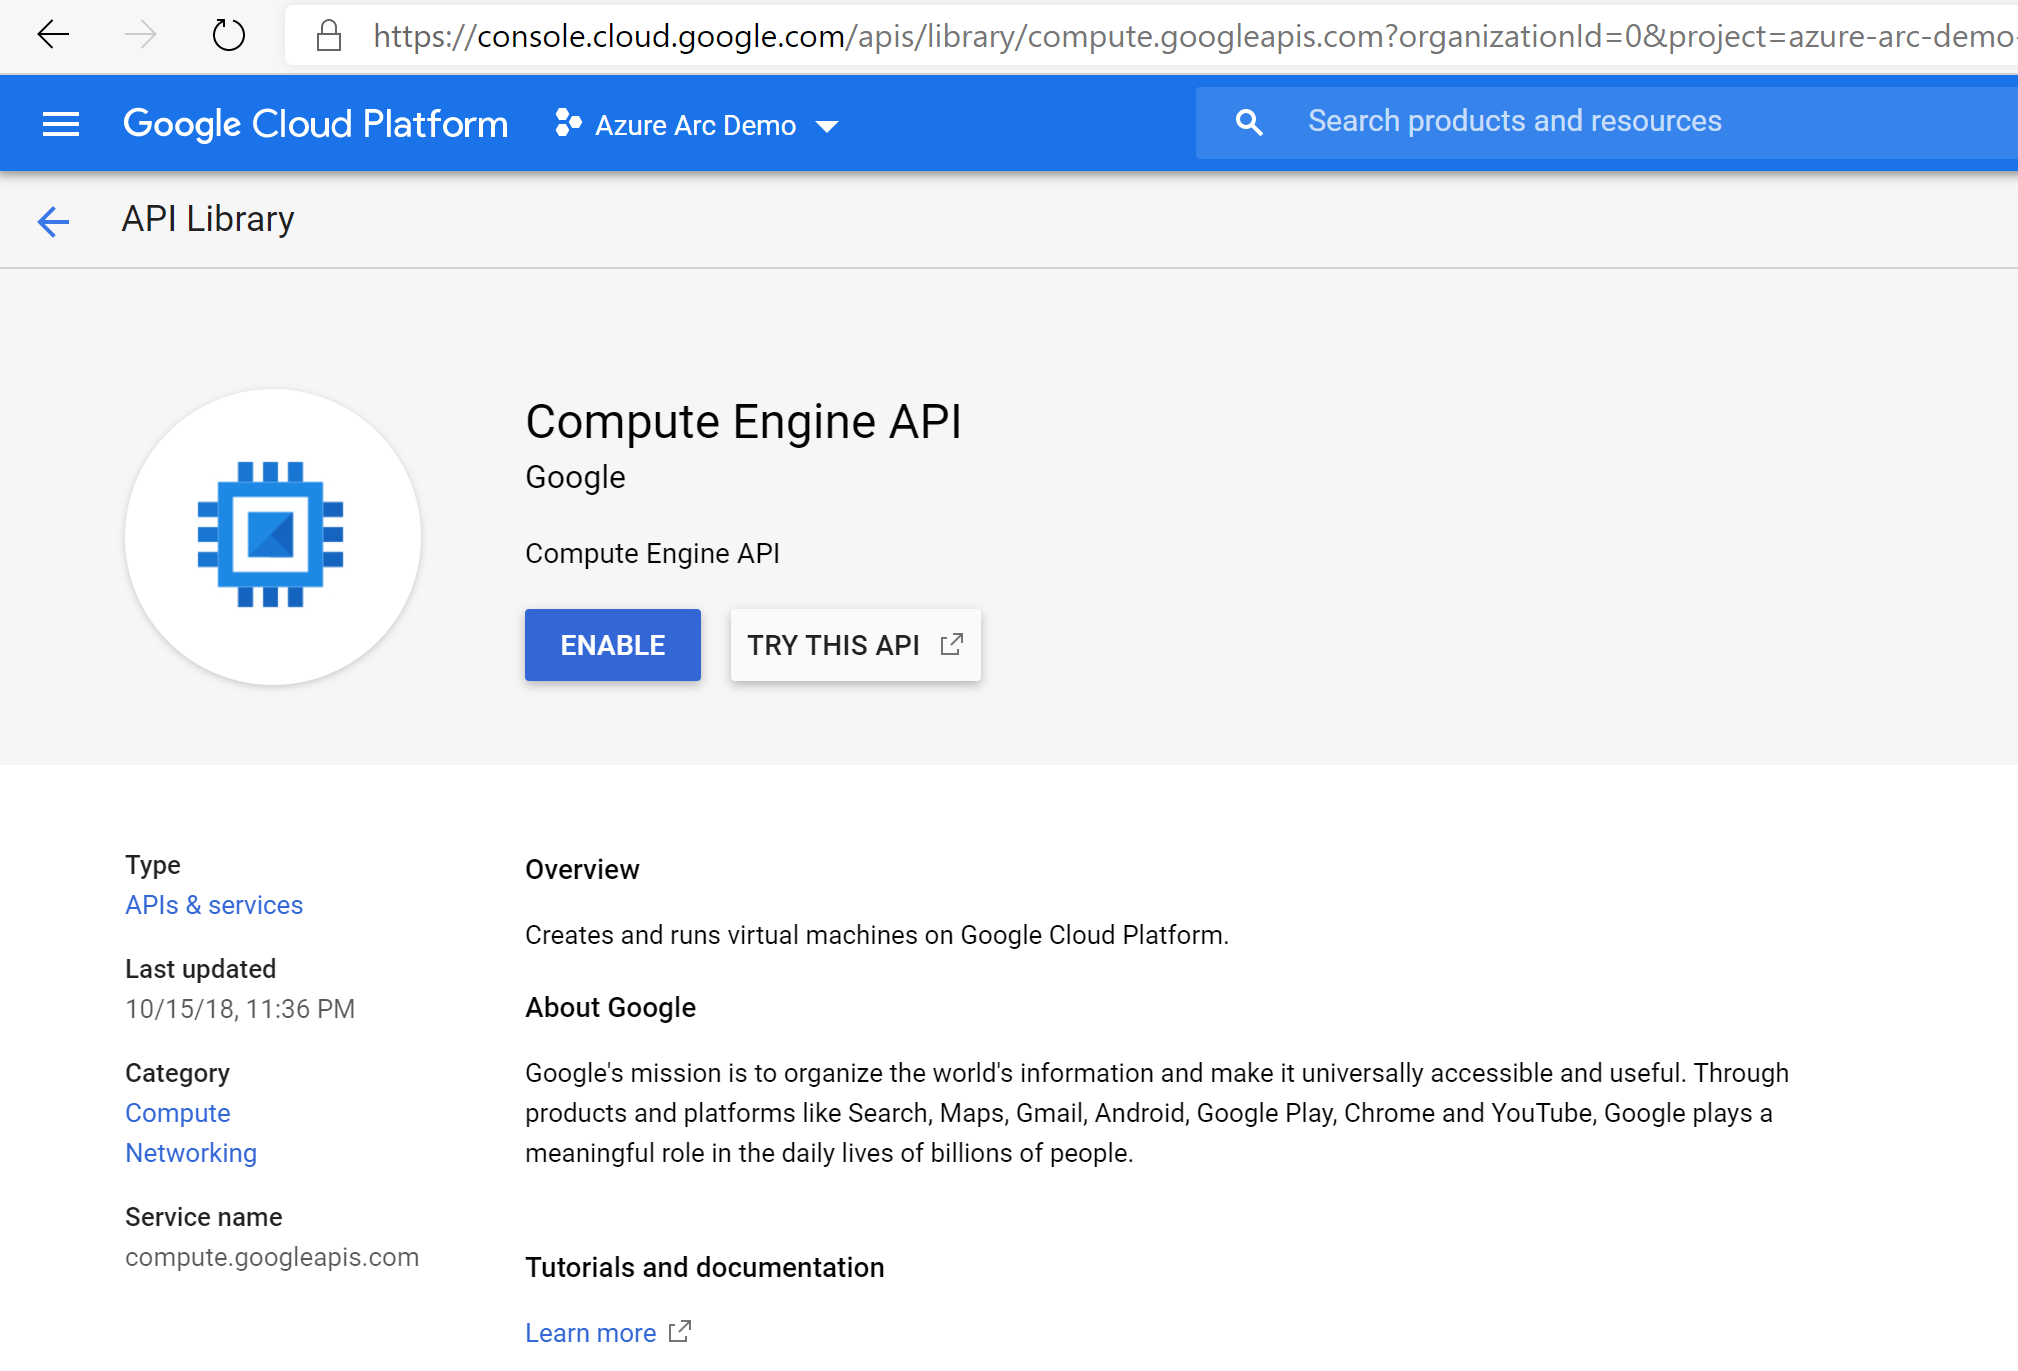
在頁面頂端的下拉式清單中建立並選取新項目之後,您必須啟用專案的計算引擎 API 存取。 按兩下 [ + 啟用 API 和服務 ],然後搜尋 計算引擎。 然後選取 [ 啟用 ] 以啟用 API 存取。
接下來,設定服務帳戶密鑰,Terraform 將會用來在 GCP 專案中建立和管理資源。 移至 [ 建立服務帳戶金鑰] 頁面。 從下拉式清單中選取 [新增服務帳戶],為其命名、選取專案,然後選取擁有者作為角色、JSON 作為密鑰類型,然後選取 [建立]。 這會下載 JSON 檔案,其中包含 Terraform 管理資源所需的所有認證。 將下載的 JSON 檔案複製到
azure_arc_servers_jumpstart/gcp/ubuntu/terraform目錄。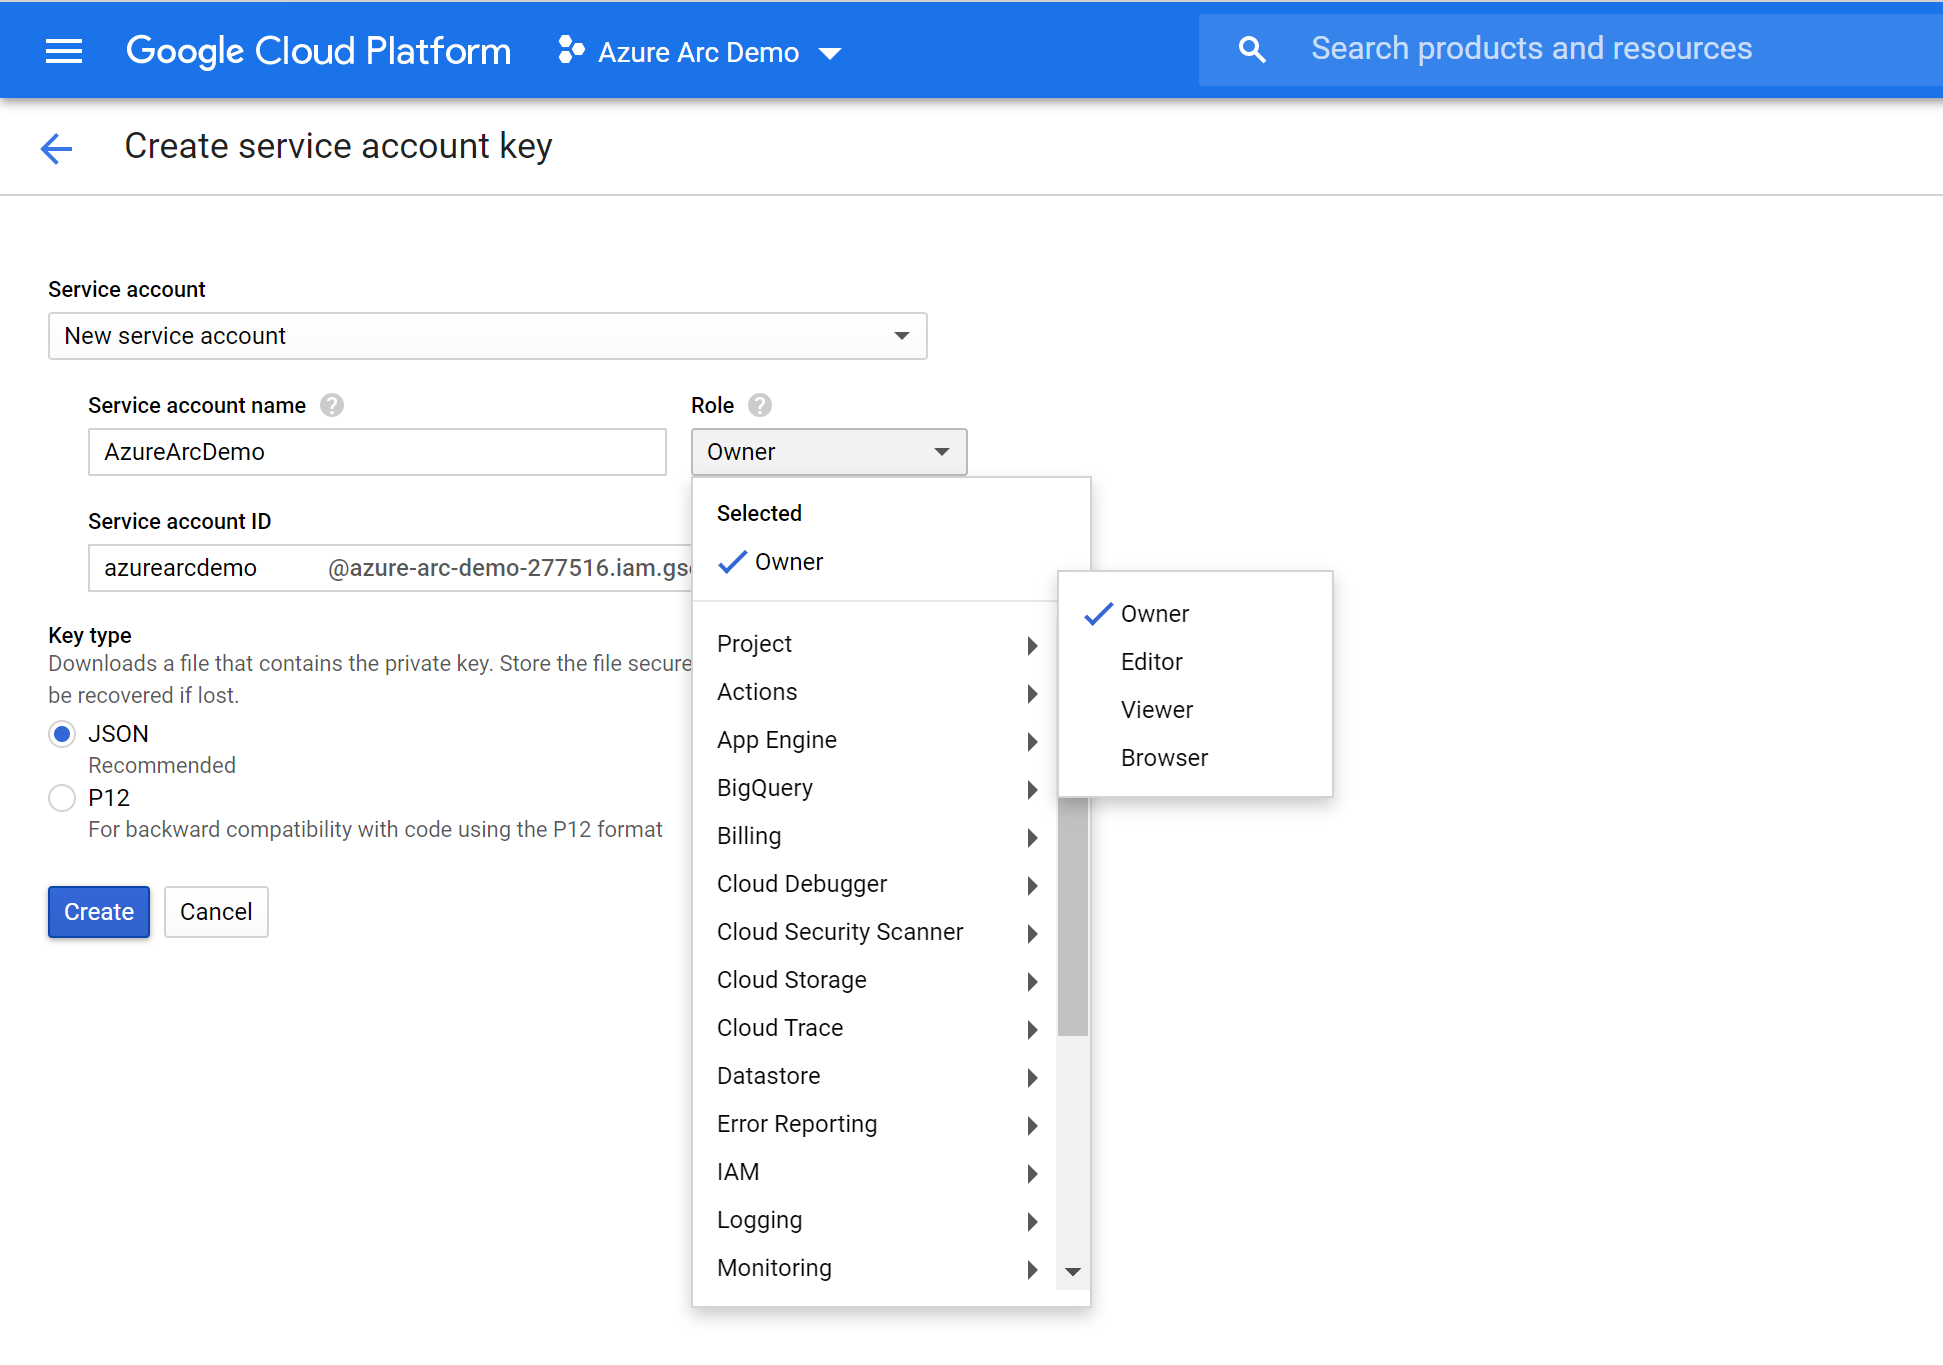
最後,請確定您的 SSH 金鑰可在 與中
~/.ssh取得,並命名id_rsa.pub為 與id_rsa。 如果您遵循ssh-keygen上述指南來建立密鑰,則應該已正確設定此金鑰。 如果沒有,您可能需要修改main.tf,才能使用不同的路徑使用索引鍵。
部署
在執行 Terraform 方案之前,您必須匯出計劃將使用的環境變數。 這些變數是以您剛才建立的 Azure 服務主體、您的 Azure 訂用帳戶和租使用者,以及 GCP 專案名稱為基礎。
使用 命令擷取您的 Azure 訂用帳戶標識碼和租用戶
az account list標識碼。Terraform 方案會在 Microsoft Azure 和 Google Cloud Platform 中建立資源。 接著,它會在 GCP 虛擬機上執行腳本,以安裝 Azure Arc 代理程式和所有必要的成品。 此腳本需要 GCP 和 Azure 環境的特定資訊。 使用適當的值編輯
scripts/vars.sh和更新每個變數。TF_VAR_subscription_id= 您的 Azure 訂用帳戶識別碼TF_VAR_client_id= 您的 Azure 服務主體應用程式識別碼TF_VAR_client_secret= 您的 Azure 服務主體密碼TF_VAR_tenant_id= 您的 Azure 租使用者識別碼TF_VAR_gcp_project_id= GCP 項目識別碼TF_VAR_gcp_credentials_filename= GCP 認證 JSON 檔名
從 CLI,瀏覽至
azure_arc_servers_jumpstart/gcp/ubuntu/terraform複製存放庫的目錄。使用source命令執行
scripts/vars.sh來匯出您編輯的環境變數,如下所示。 Terraform 需要設定這些項目,計劃才能正確執行。 請注意,此腳本也會在 Terraform 部署中從遠端在 GCP 虛擬機上自動執行。source ./scripts/vars.shterraform init執行命令,以下載 Terraform AzureRM 提供者。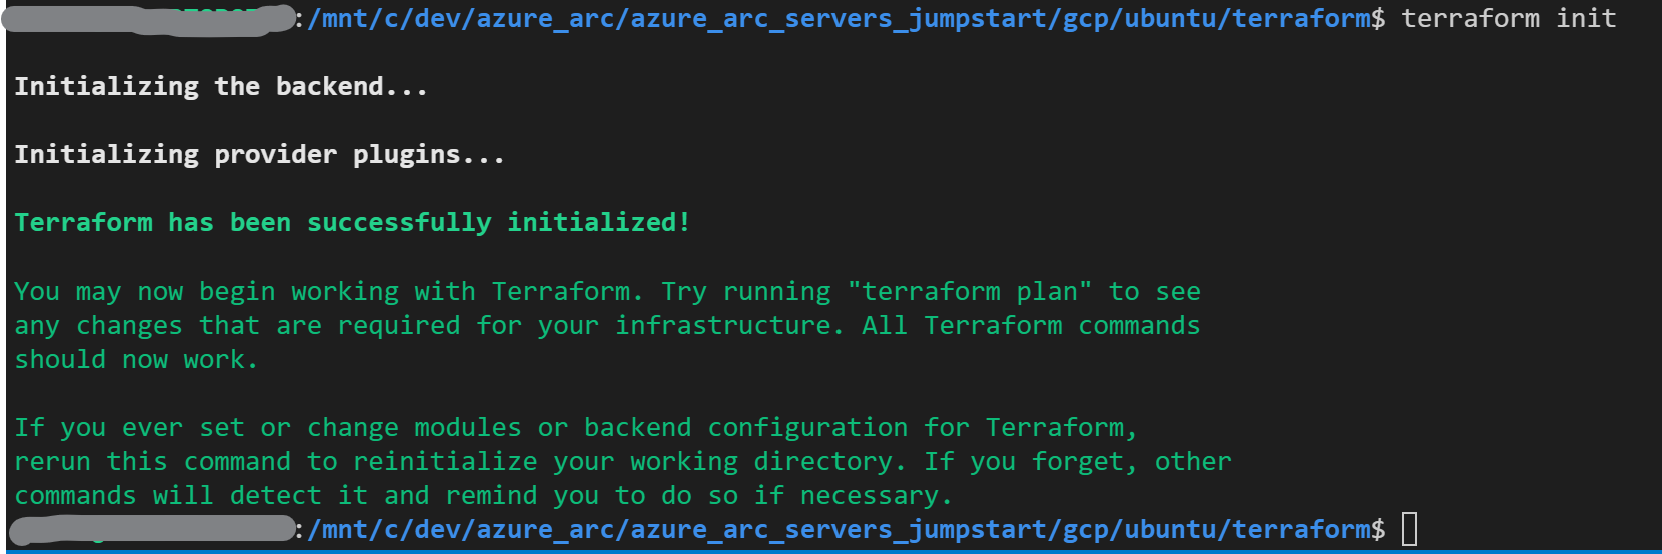
接下來,執行
terraform apply --auto-approve命令,並等候計劃完成。 完成後,您會在新的資源群組內,將 GCP Ubuntu VM 部署並連線為已啟用 Azure Arc 的新伺服器。開啟 Azure 入口網站 並流覽至
arc-gcp-demo資源群組。 在 GCP 中建立的虛擬機會顯示為資源。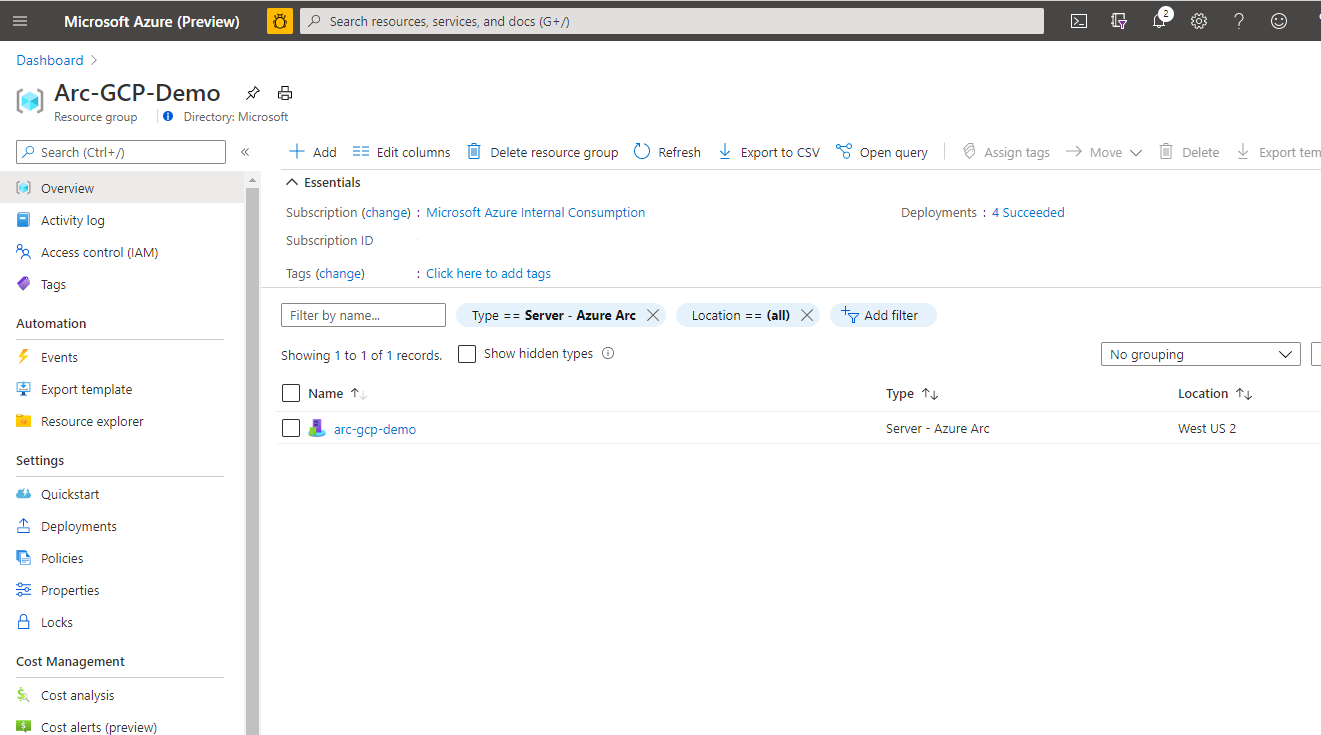
半自動化部署(選擇性)
如您所注意到,執行的最後一個步驟是將 VM 註冊為已啟用 Azure Arc 的新伺服器資源。
如果您想要示範/控制實際的註冊程式,請執行下列動作:
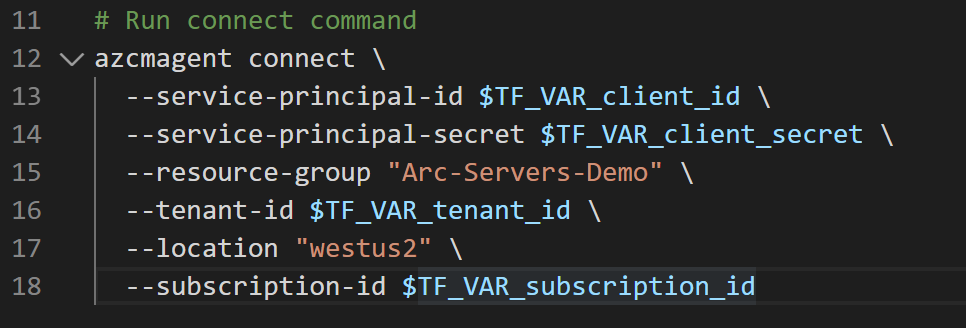
在腳本範本範本中
install_arc_agent.sh.tmpl,將run connect command區段批注化並儲存盤案。
執行
terraform output以取得 GCP VM 的公用 IP。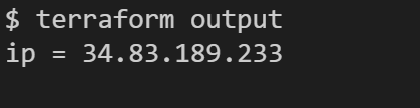
使用
ssh arcadmin@xx.xx.xx.xx其中xx.xx.xx.xx是主機 IP 的 SSH VM。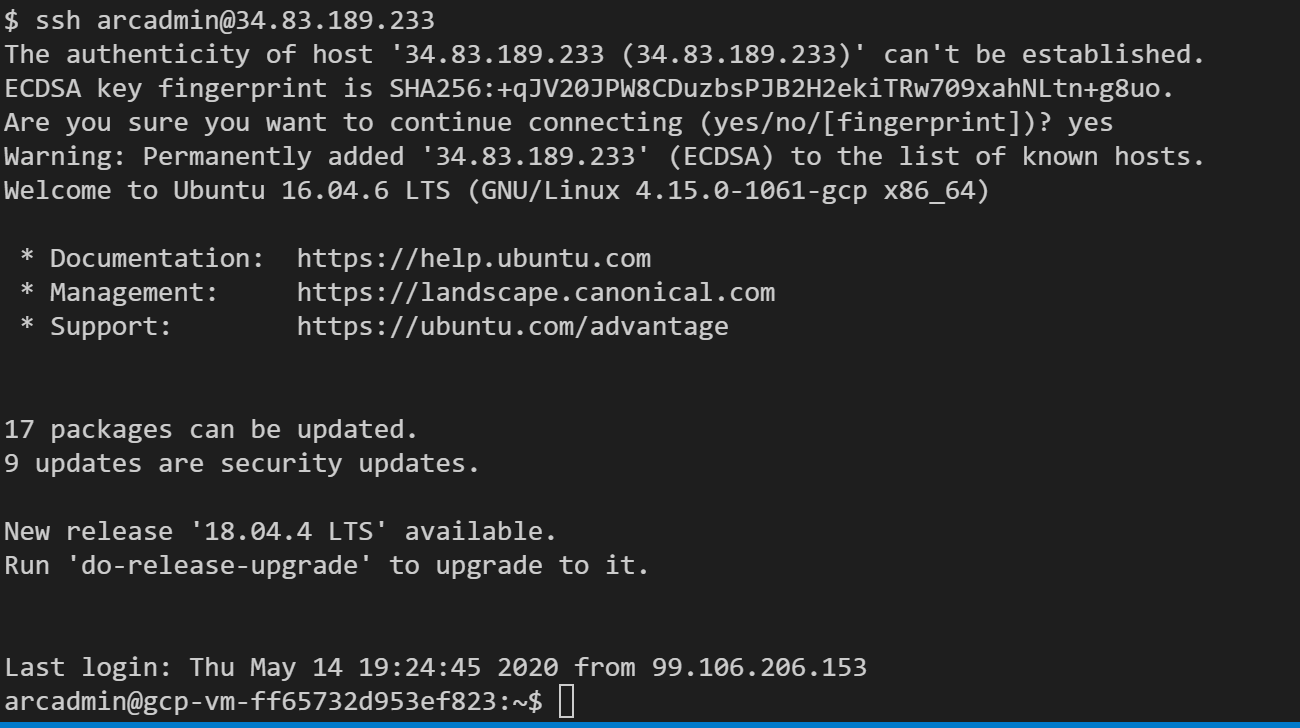
匯出 中的所有環境變數
vars.sh
執行以下命令:
azcmagent connect --service-principal-id $TF_VAR_client_id --service-principal-secret $TF_VAR_client_secret --resource-group "Azure Arc gcp-demo" --tenant-id $TF_VAR_tenant_id --location "westus2" --subscription-id $TF_VAR_subscription_id
完成時,您的 VM 將會向 Azure Arc 註冊,並透過 Azure 入口網站 在資源群組中顯示。
刪除部署
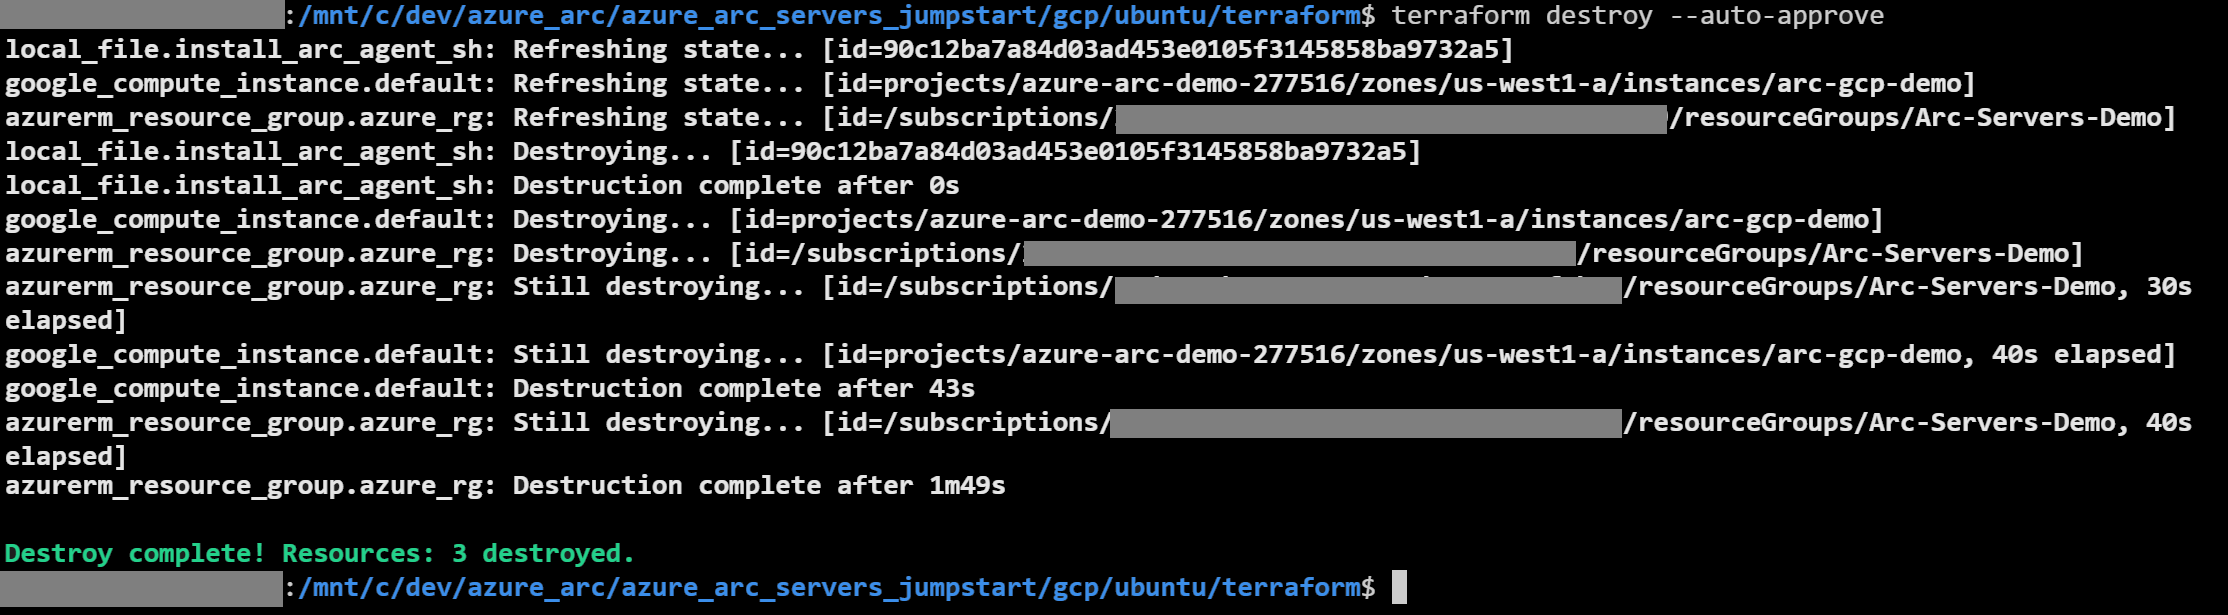
若要刪除您在此示範中建立的所有資源,請使用 terraform destroy --auto-approve 命令,如下所示。
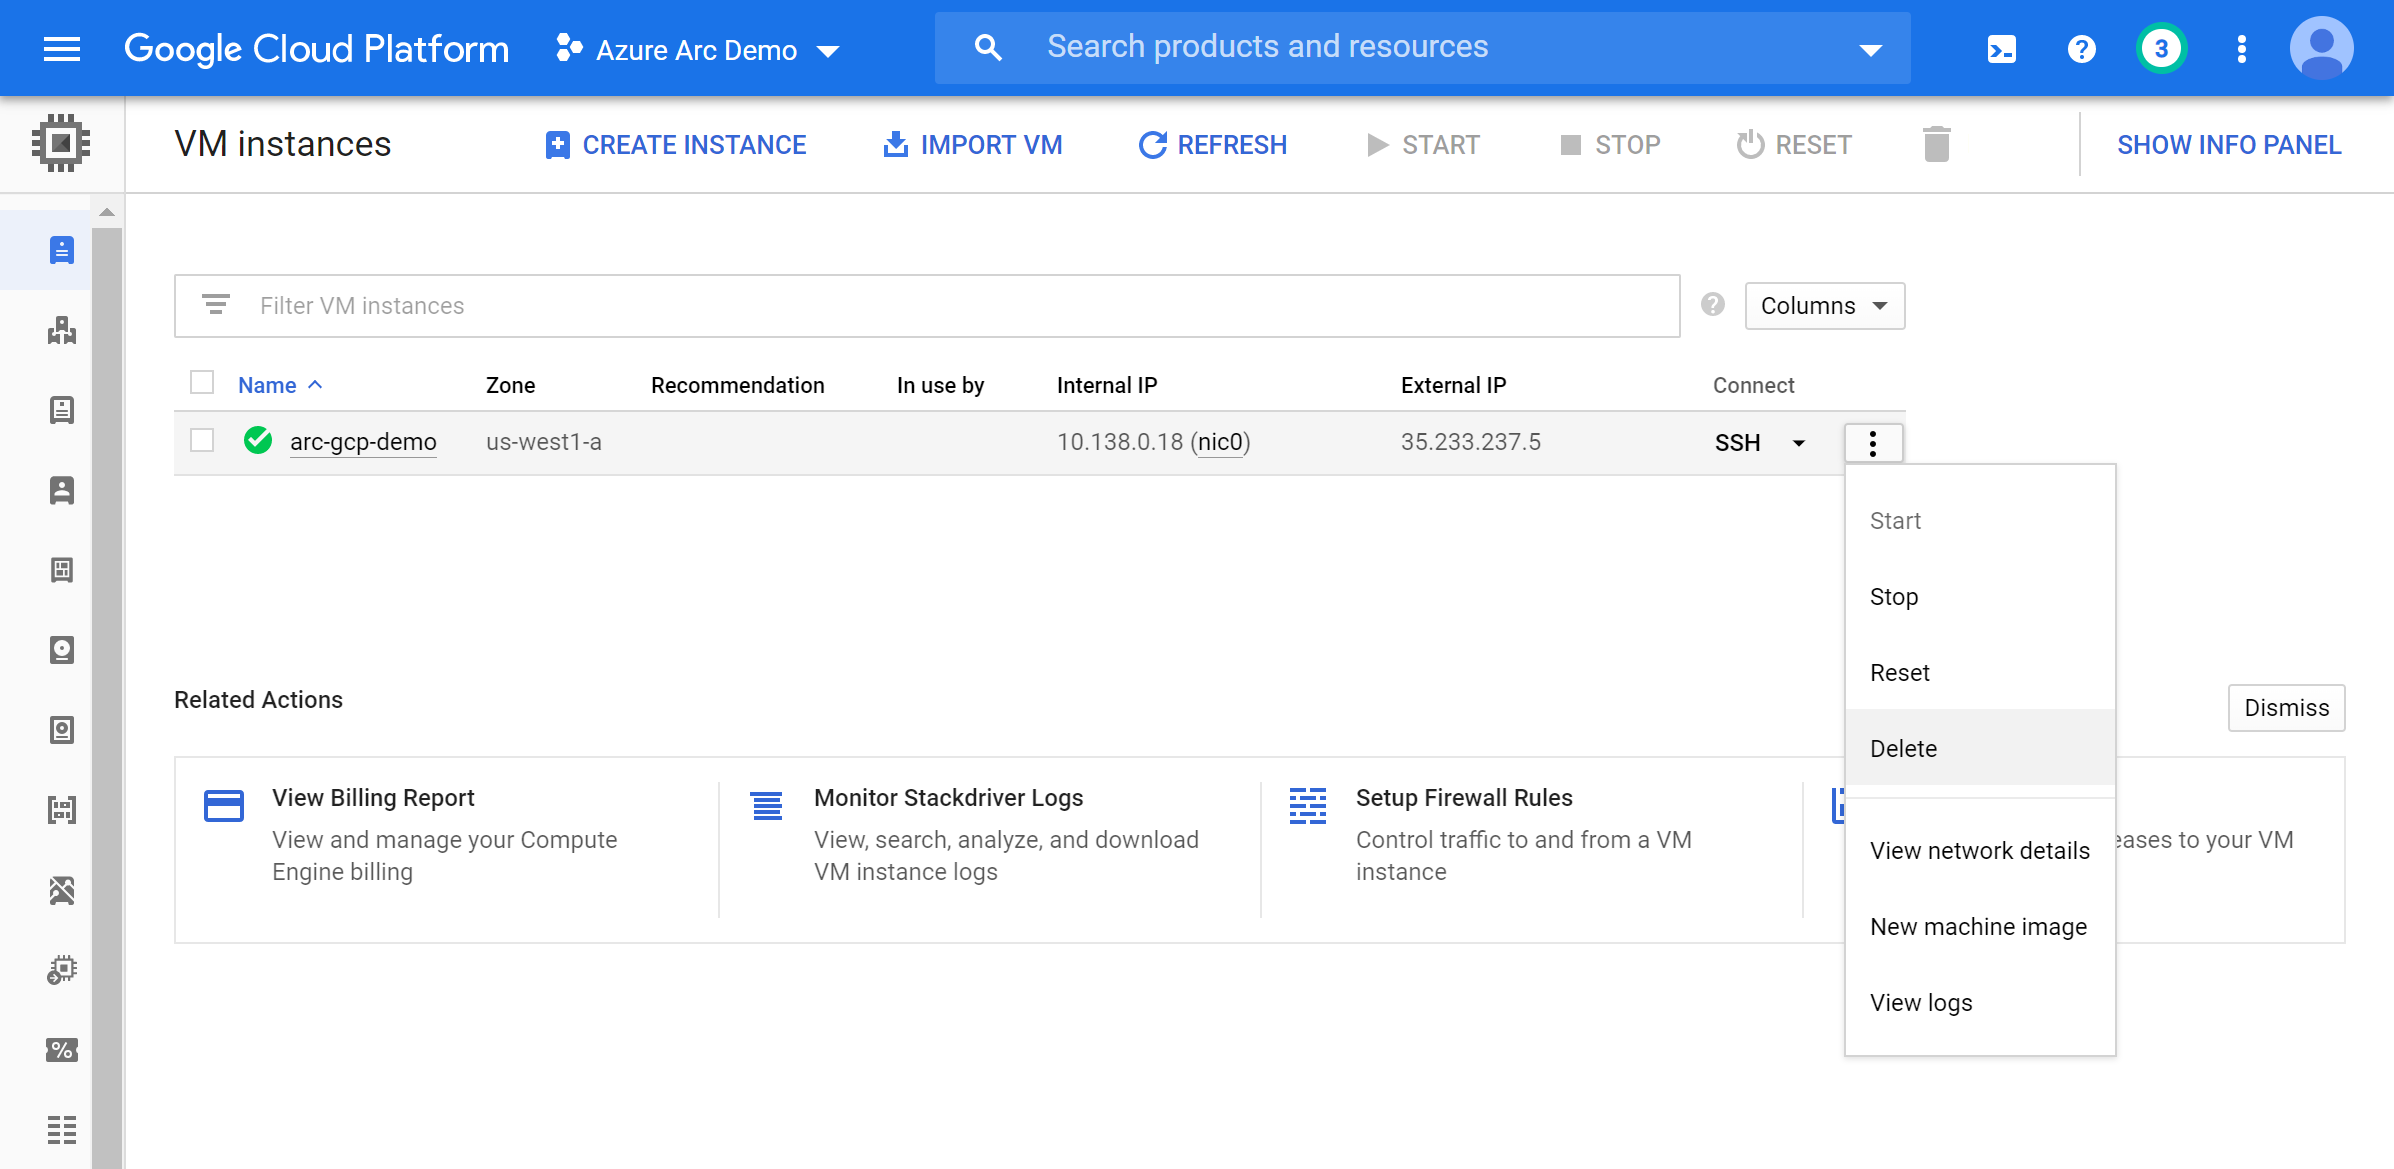
或者,您可以直接從 GCP 控制台刪除 GCP VM。
意見反應
即將登場:在 2024 年,我們將逐步淘汰 GitHub 問題作為內容的意見反應機制,並將它取代為新的意見反應系統。 如需詳細資訊,請參閱:https://aka.ms/ContentUserFeedback。
提交並檢視相關的意見反應