使用 VMware PowerCLI 將 VMware vSphere Windows Server 虛擬機上線調整至 Azure Arc
本文提供使用所提供 VMware PowerCLI 腳本的指引,讓您可以在多個 VMware vSphere 虛擬機中執行 Azure Arc 連線機器代理程式的自動調整部署,並因此將這些 VM 上線為已啟用 Azure Arc 的伺服器。
本指南假設您已經有 VMware 虛擬機的結束清查,並使用 PowerCLI PowerShell 模組將 VM 上線程式自動化至 Azure Arc。
必要條件
複製 Azure Arc Jumpstart 存放庫。
git clone https://github.com/microsoft/azure_arc.git將 Azure CLI 安裝或更新為 2.7 版或更高版本。 使用此指令來檢查您目前的已安裝版本:
az --version安裝 VMware PowerCLI。
注意
本指南已經過最新版 PowerCLI 測試(12.0.0),但舊版也能夠運作
- 支援的 PowerShell 版本: VMware PowerCLI 12.0.0 與下列 PowerShell 版本兼容:
Windows PowerShell 5.1
PowerShell 7
如需詳細的安裝指示,請參閱 安裝 PowerCLI,但最簡單的方式是使用下列命令從 PowerShell 資源庫使用 VMware.PowerCLI 模組。
Install-Module -Name VMware.PowerCLI
- 支援的 PowerShell 版本: VMware PowerCLI 12.0.0 與下列 PowerShell 版本兼容:
若要能夠從 vCenter 讀取 VM 清查,以及在 VM OS 層級上叫用腳本,需要下列許可權:
建立 Azure 服務主體。
若要將 VMware vSphere 虛擬機連線至 Azure Arc,則需要指派參與者角色的 Azure 服務主體。 若要建立它,請登入您的 Azure 帳戶,然後執行下列命令。 您也可以在 Azure Cloud Shell 中執行此命令。
az login
az account set -s <Your Subscription ID>
az ad sp create-for-rbac -n "<Unique SP Name>" --role contributor --scopes "/subscriptions/<Your Subscription ID>"
例如:
az ad sp create-for-rbac -n "http://AzureArcServers" --role contributor --scopes "/subscriptions/00000000-0000-0000-0000-000000000000"輸出應該看起來像這樣:
{
  "appId": "XXXXXXXXXXXXXXXXXXXXXXXXXXXX",
  "displayName": "http://AzureArcServers",
  "password": "XXXXXXXXXXXXXXXXXXXXXXXXXXXX",
  "tenant": "XXXXXXXXXXXXXXXXXXXXXXXXXXXX"
}
注意
強烈建議您將服務主體的範圍設定為特定的 Azure 訂用帳戶和資源群組。
自動化流程
您可以在這裡找到此案例的自動化流程:
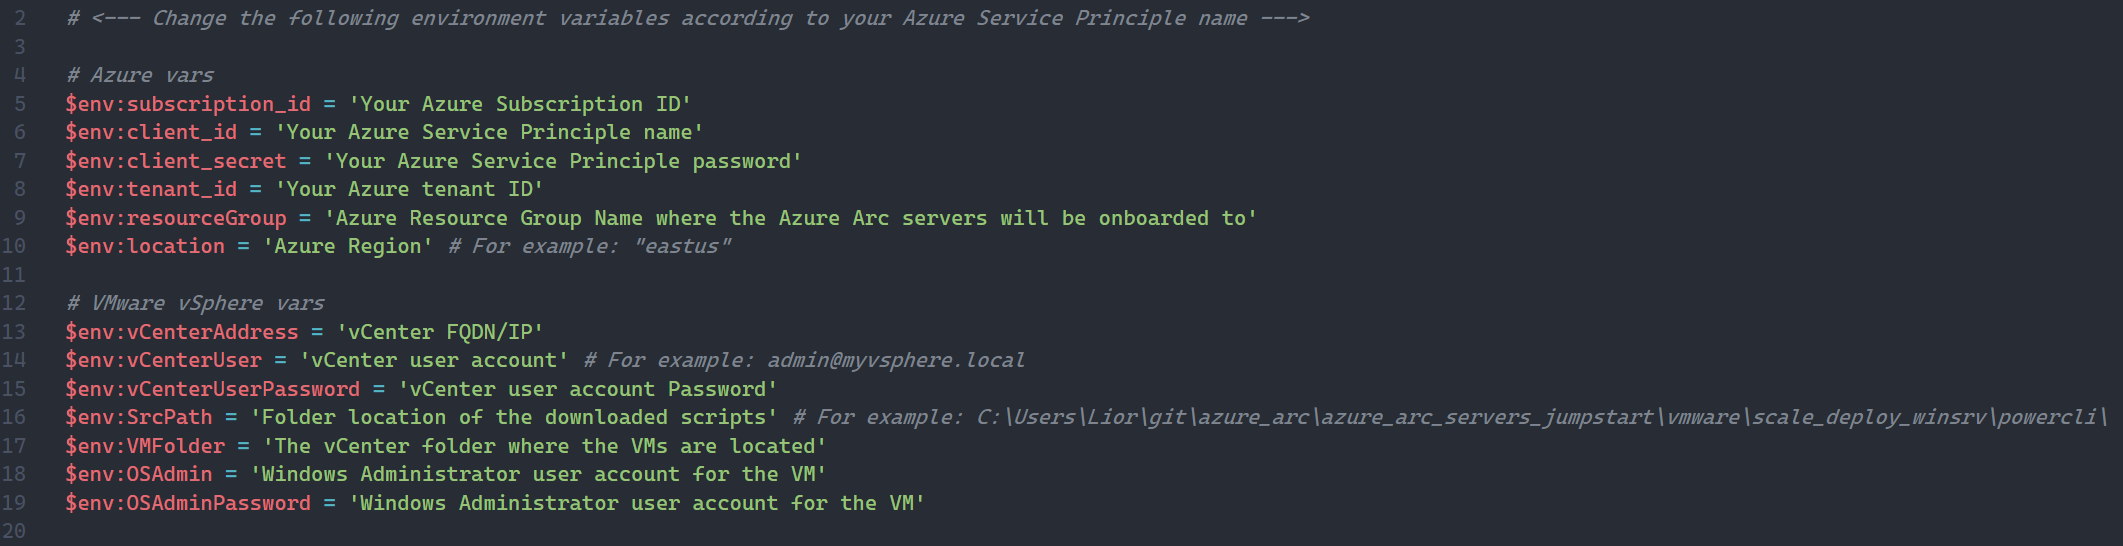
用戶編輯
vars.ps1PowerCLI腳本。腳本
scale_deploy.ps1執行會起始對 vCenter 的驗證,並將掃描 Azure Arc 候選 VM 所在的目標 VM 資料夾,並將和install_azure_arc_agent.ps1PowerCLI 腳本複製到vars.ps1位於 GitHub 存放庫中的 VM Windows OSazure-arc到該 VM 資料夾中的每個 VM。install-azure_arc_agent.ps1PowerCLI 腳本會在 VM 客體 OS 上執行,並將安裝與 Azure Arc 連線的機器代理程式,以便將 VM 上線至 Azure Arc。
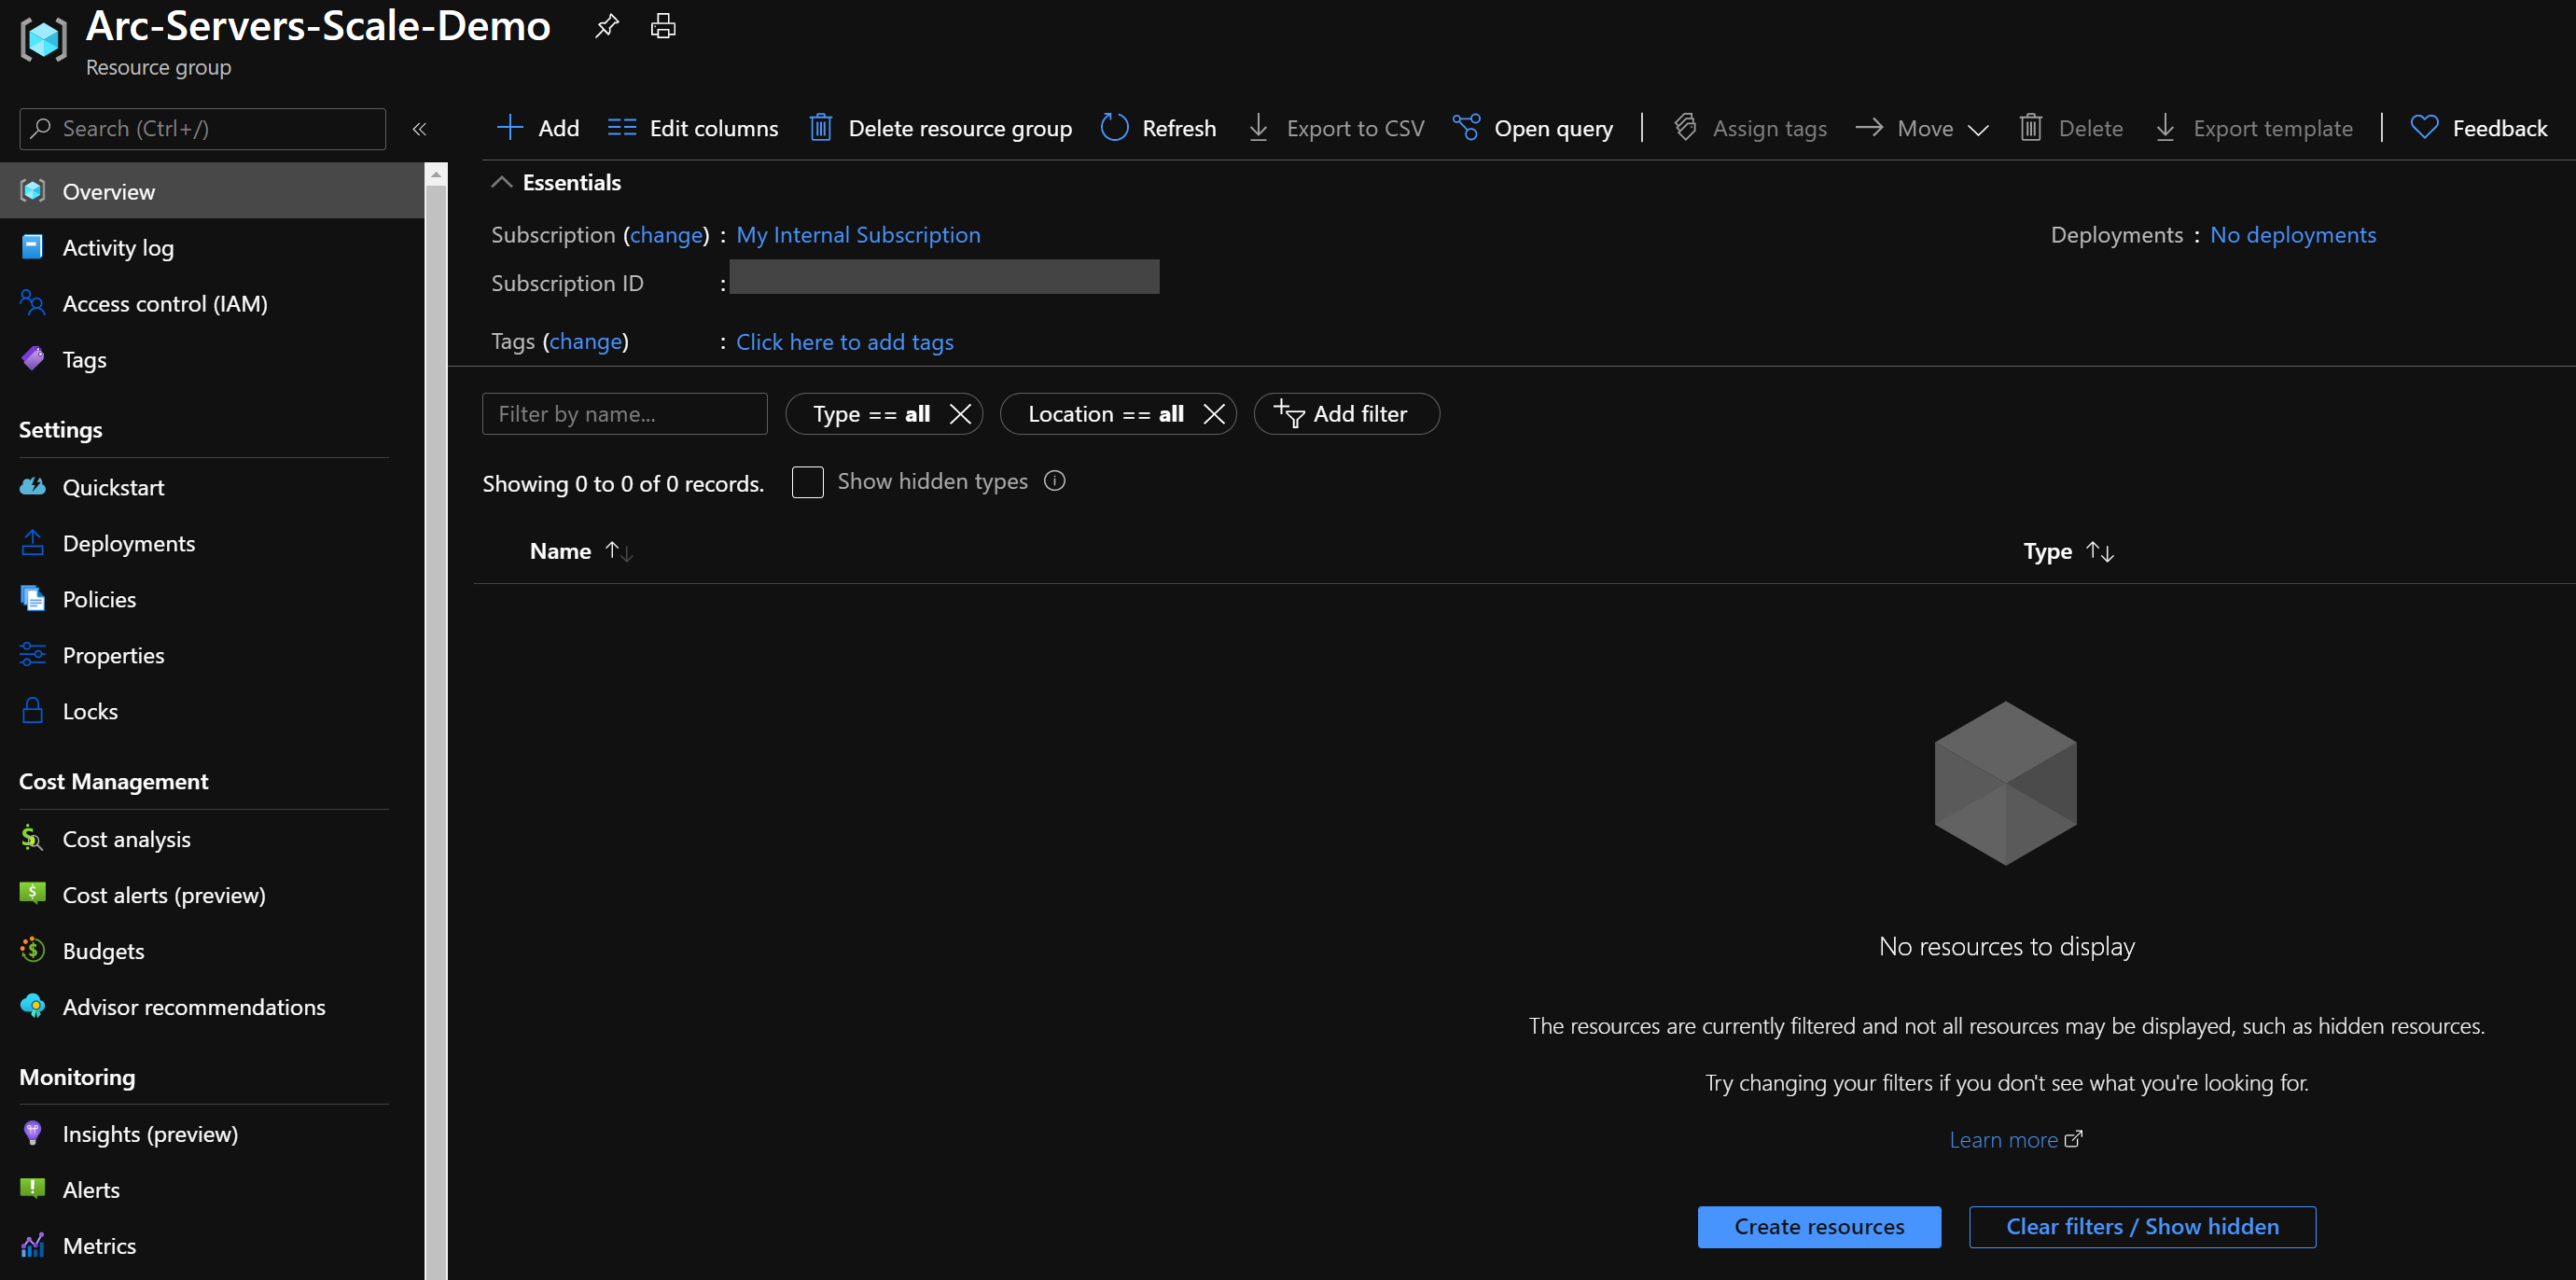
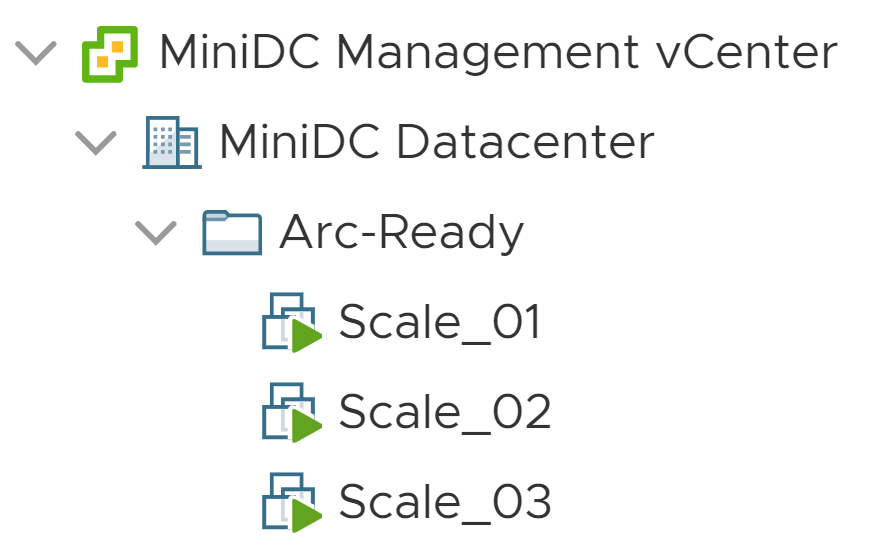
前置部署
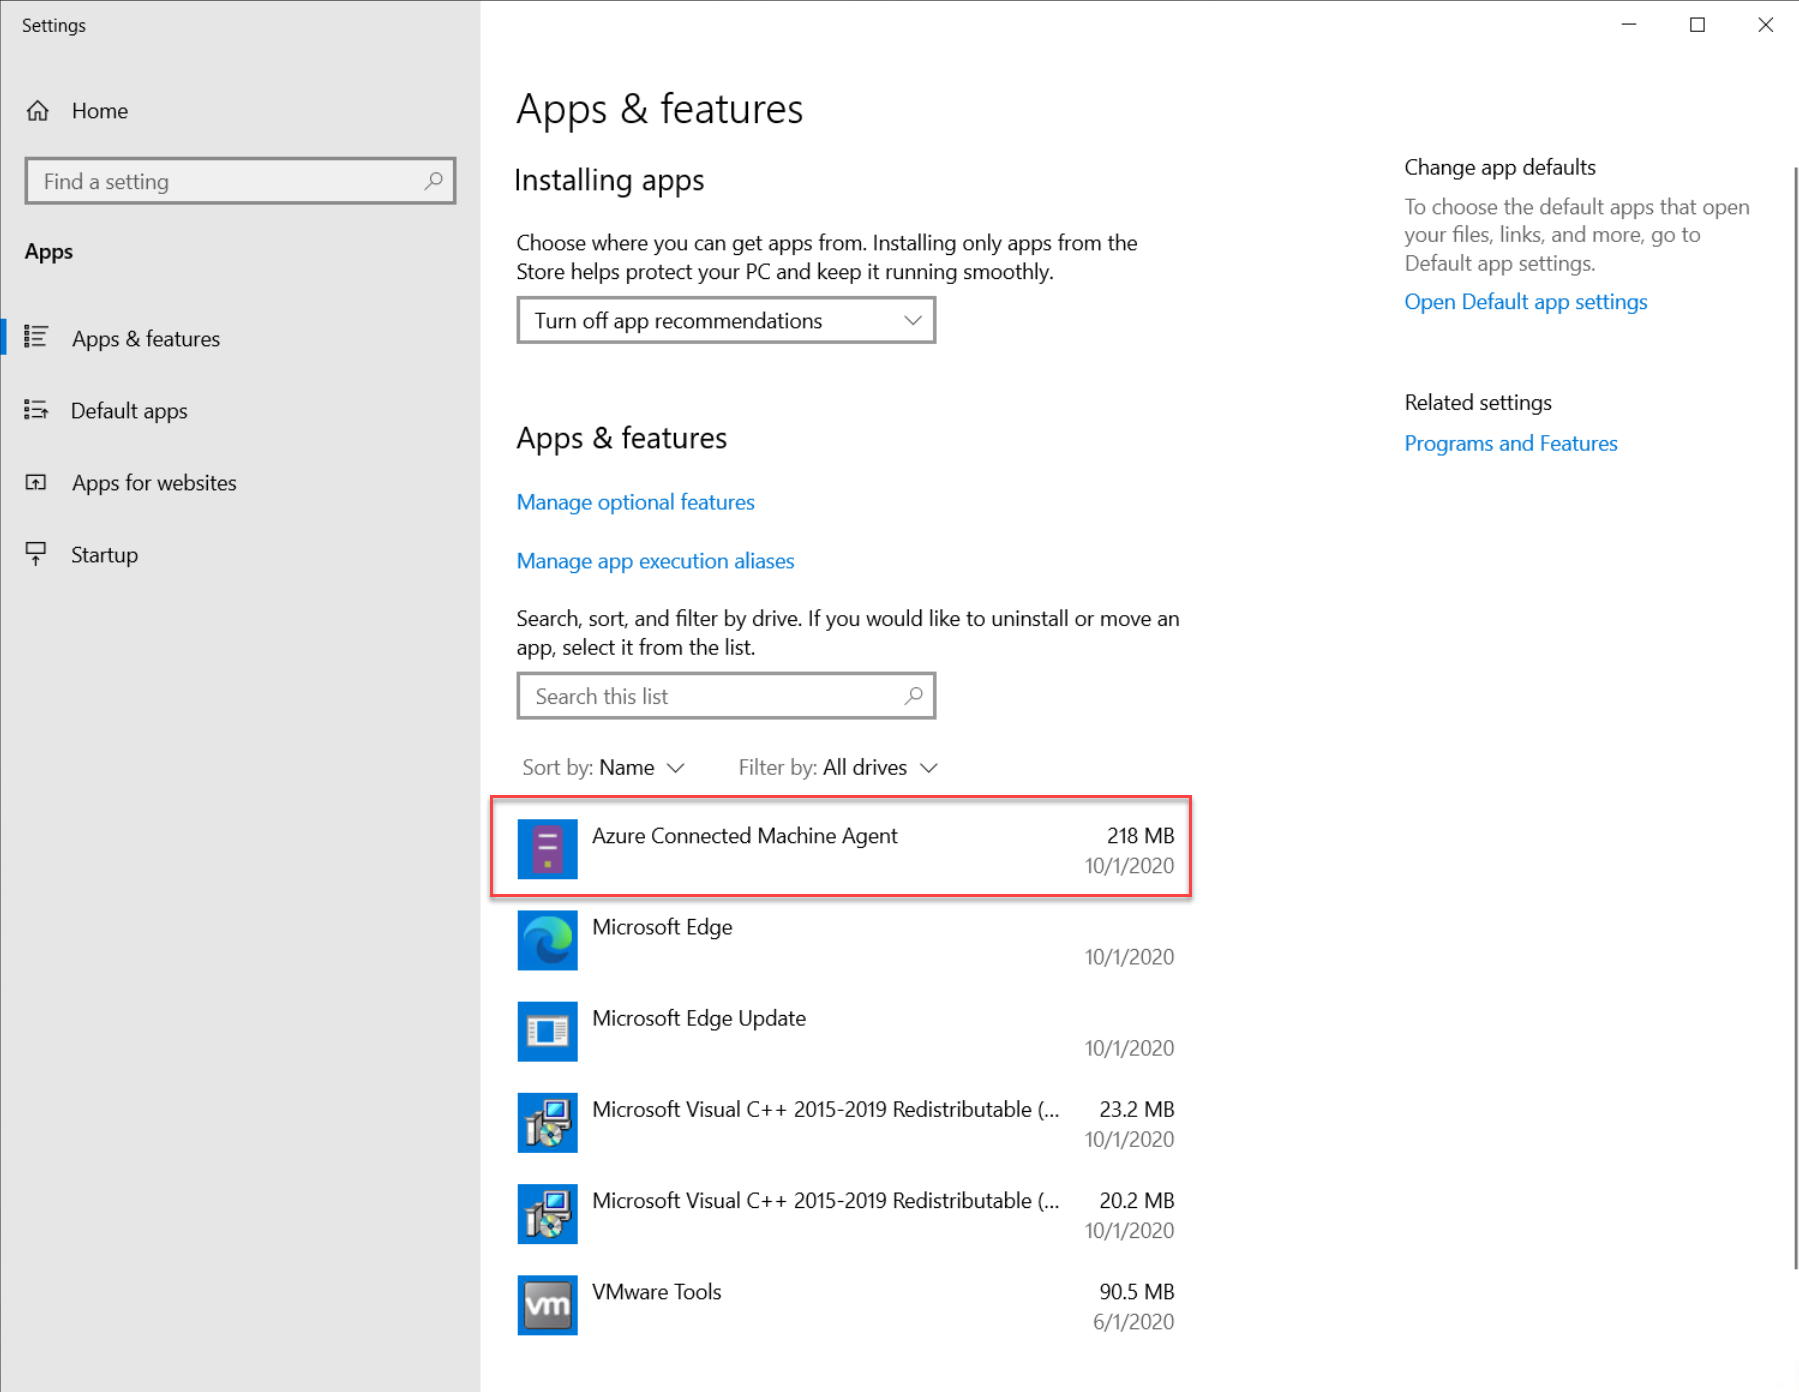
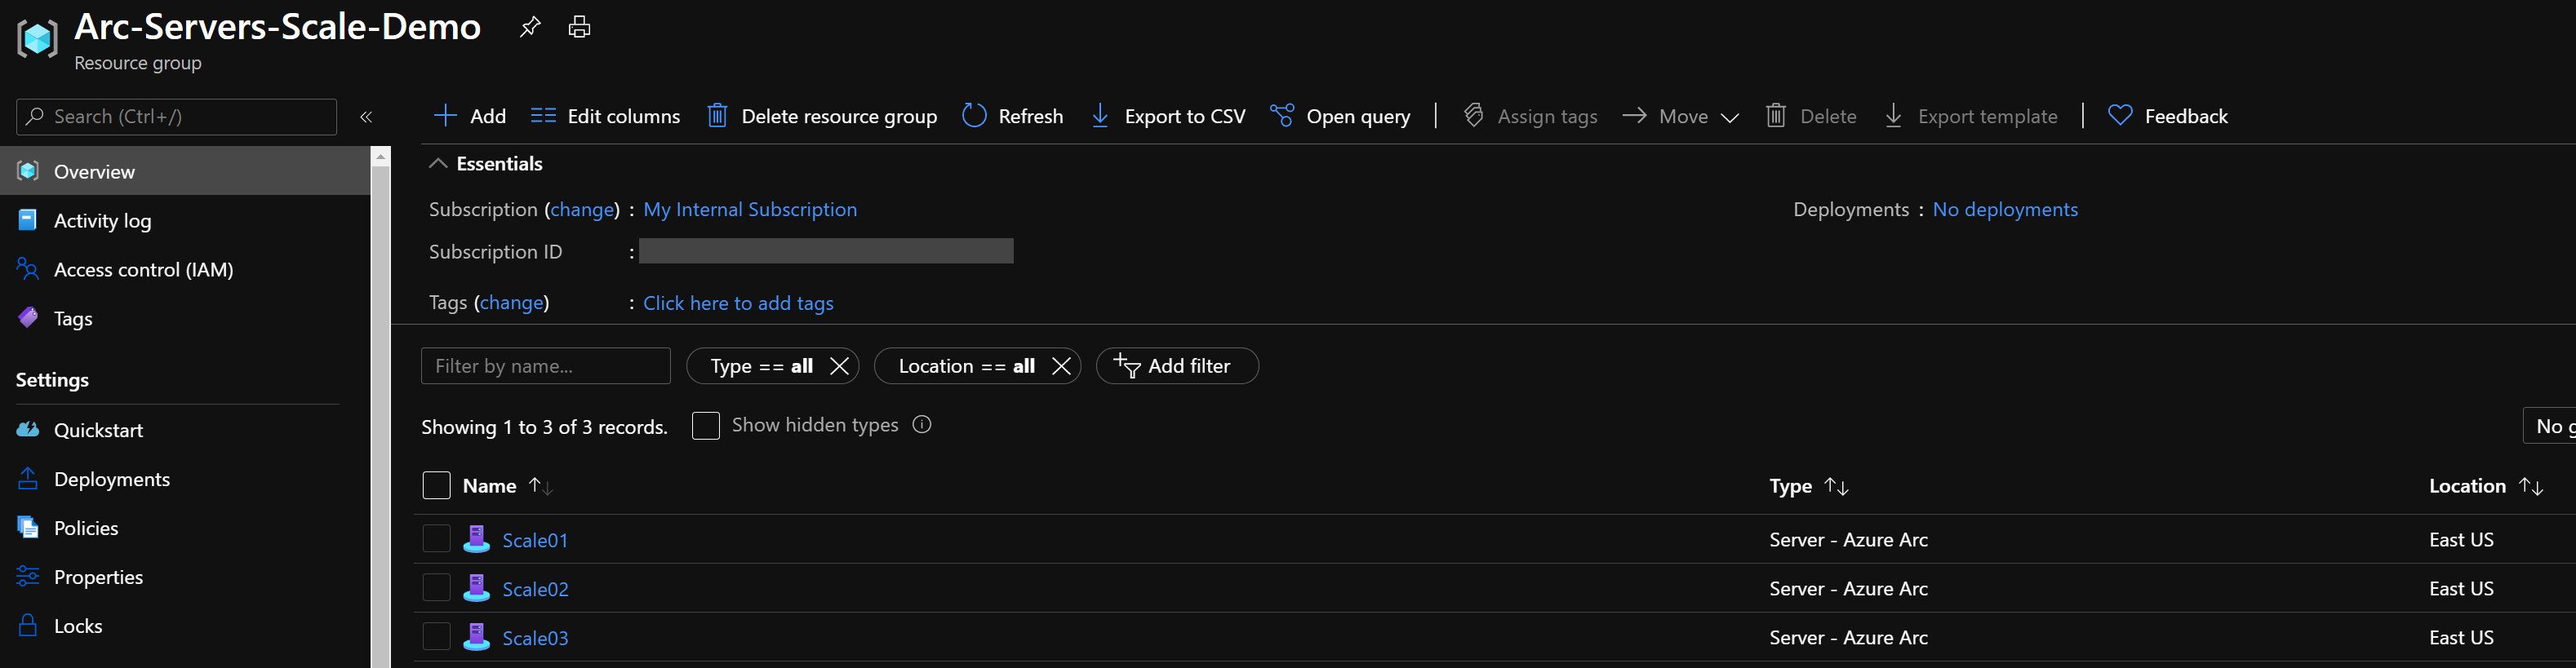
為了示範此案例的前後,下列螢幕快照顯示專用的空白 Azure 資源群組、具有候選 VM 的 vCenter VM 資料夾,以及 Windows 中顯示未安裝代理程式的 Apps 和功能 檢視。

部署
在執行 PowerCLI 腳稿之前,您必須設定文稿將使用的install_arc_agent.ps1環境變數。 這些變數是以您剛才建立的 Azure 服務主體、您的 Azure 訂用帳戶和租使用者,以及 VMware vSphere 認證和數據為基礎。
使用 命令擷取您的 Azure 訂用
az account list帳戶標識碼和租用戶標識碼使用必要條件一節中建立的 Azure 服務主體識別碼和密碼:
azure_arc_servers_jumpstart\vmware\scaled-deploy\powercli\windows從資料夾中,以系統管理員身分開啟PowerShell工作階段,然後執行scale-deploy.ps1腳本。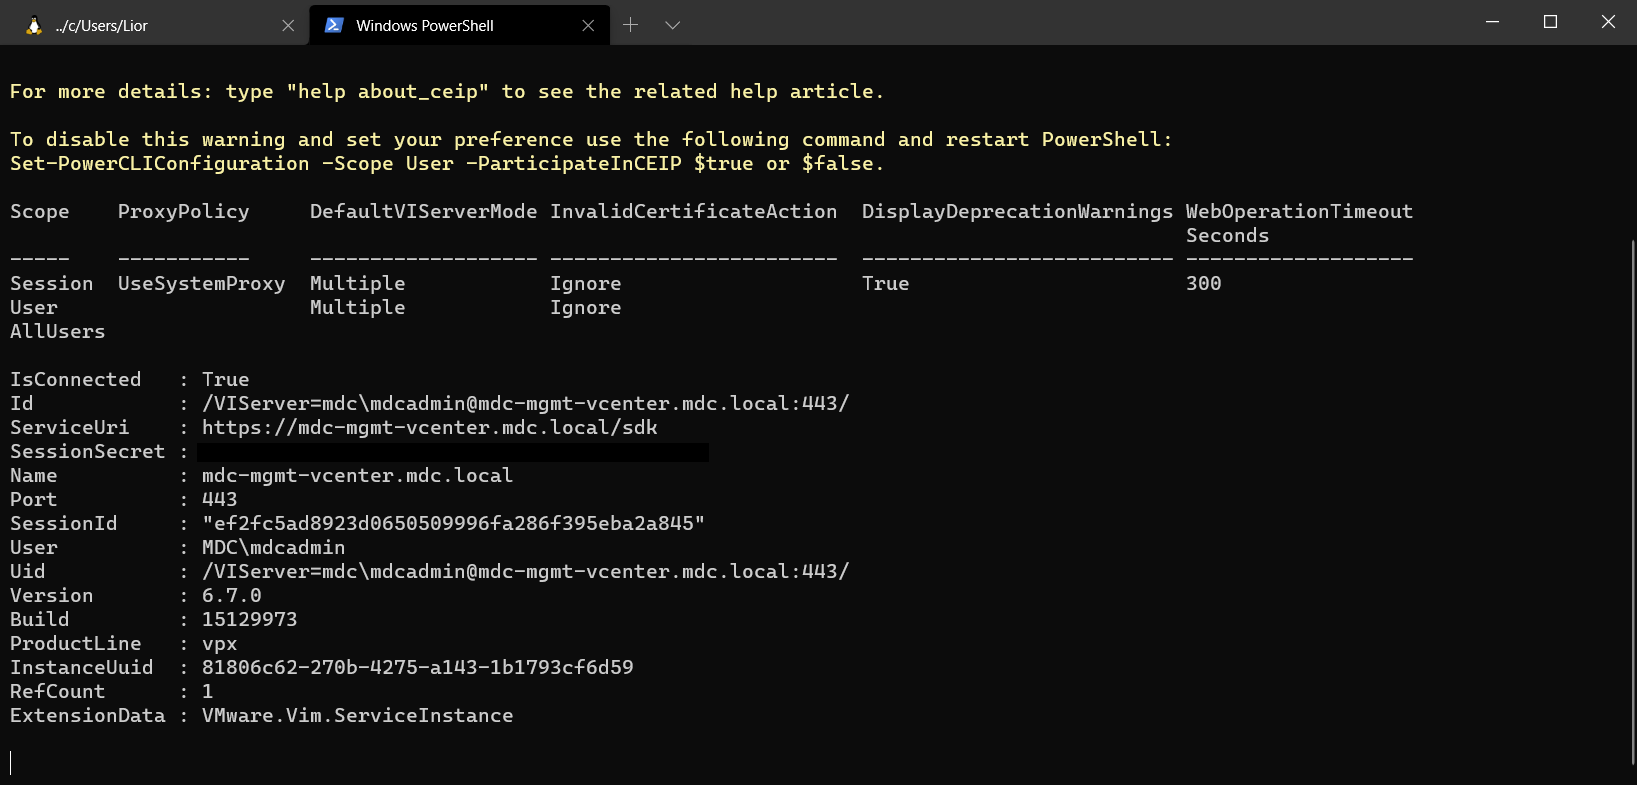
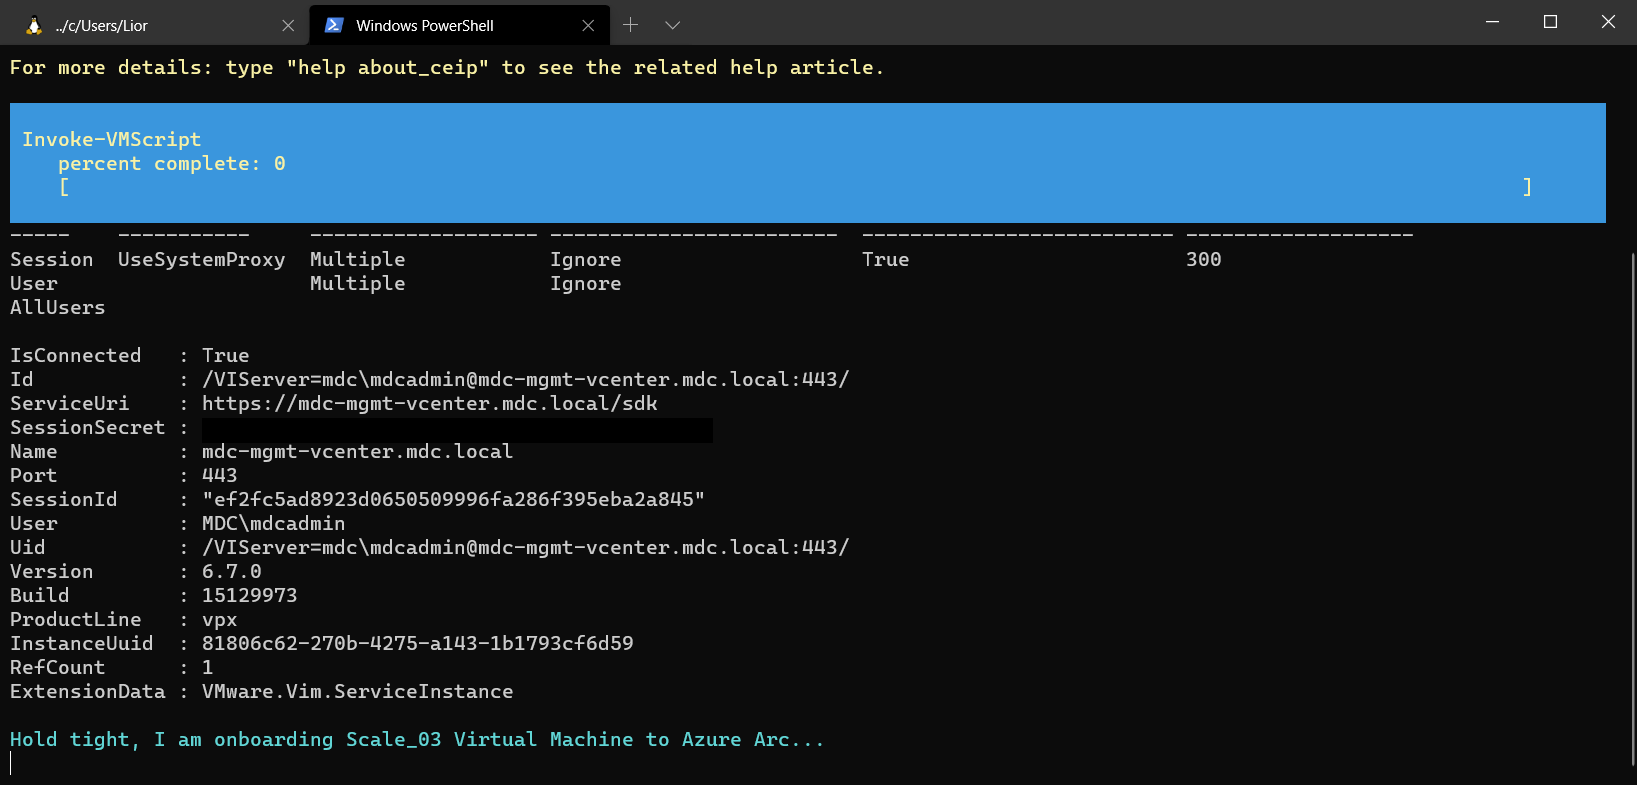
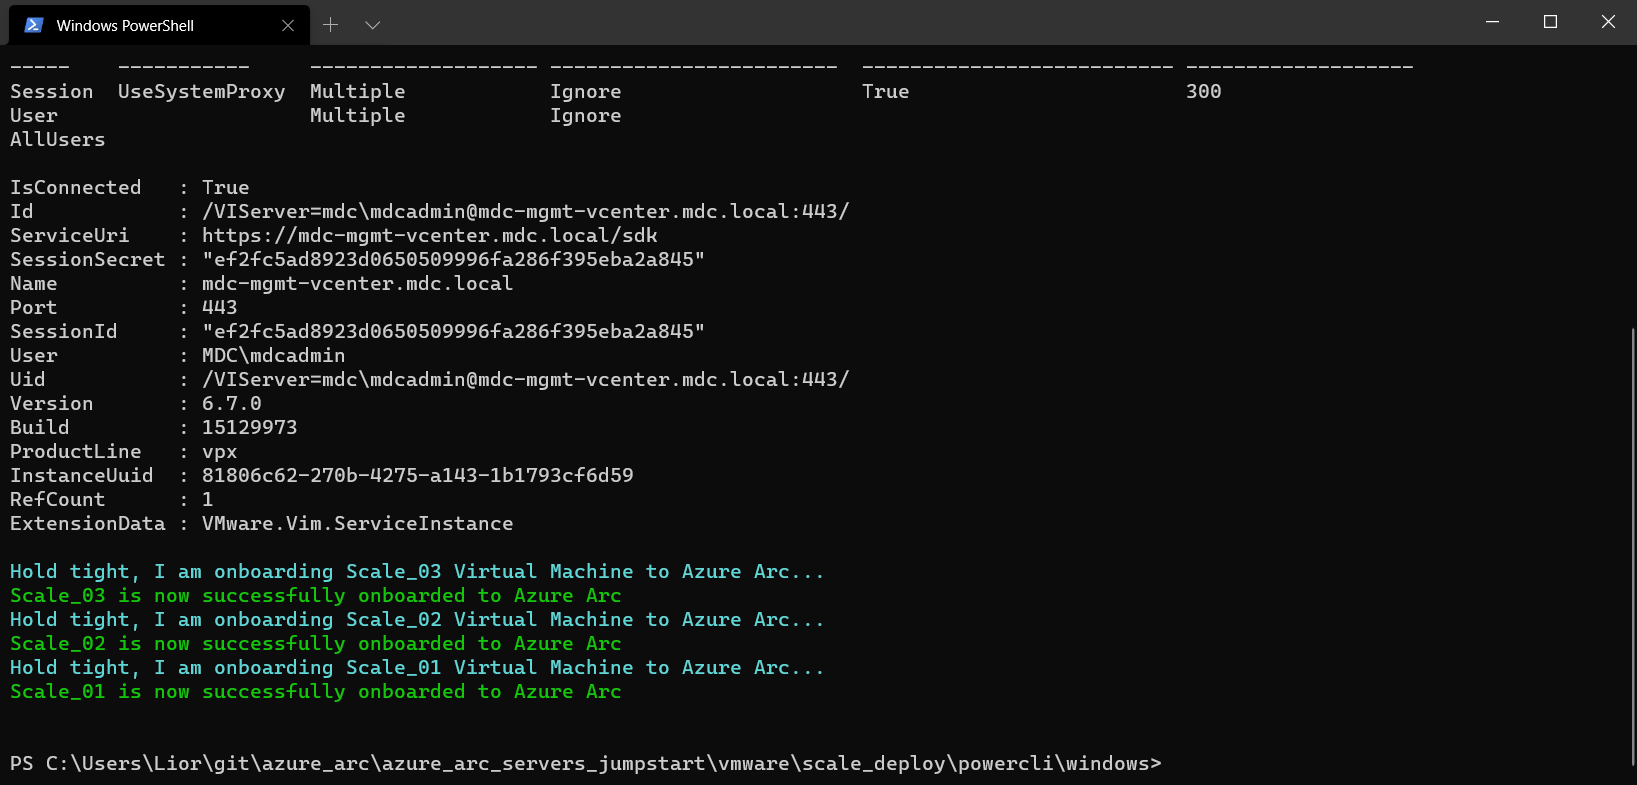
完成時,VM 會安裝已連線到 Azure Arc 的電腦代理程式,以及填入已啟用 Azure Arc 的新伺服器 Azure 資源群組。

意見反應
即將登場:在 2024 年,我們將逐步淘汰 GitHub 問題作為內容的意見反應機制,並將它取代為新的意見反應系統。 如需詳細資訊,請參閱:https://aka.ms/ContentUserFeedback。
提交並檢視相關的意見反應