準備憑證以在 Azure Stack Edge Pro GPU 上上傳
適用于:  Azure Stack Edge Pro - GPU Azure Stack Edge Pro 2 Azure Stack Edge Pro R Azure Stack Edge Mini R
本文說明如何將憑證轉換成適當的格式,以在 Azure Stack Edge 裝置上上傳。 當您攜帶自己的憑證時,通常需要此程式。
若要深入瞭解如何建立這些憑證,請參閱 使用 Azure PowerShell 建立憑證。
準備憑證
如果您攜帶自己的憑證,則根據預設,您為裝置建立的憑證會位於 用戶端的 [個人] 存放區 中。 這些憑證必須在用戶端上匯出為適當的格式檔案,然後上傳至您的裝置。
準備根憑證 :根憑證必須匯出為具有延伸模組的 DER 格式
.cer。 如需詳細步驟,請參閱 將憑證匯出為 DER 格式 。準備端點憑證:端點憑證 必須匯出為 具有私密金鑰的 .pfx 檔案。 如需詳細步驟,請參閱 使用私密金鑰 將憑證匯出為 .pfx 檔案。
將憑證匯出為 DER 格式
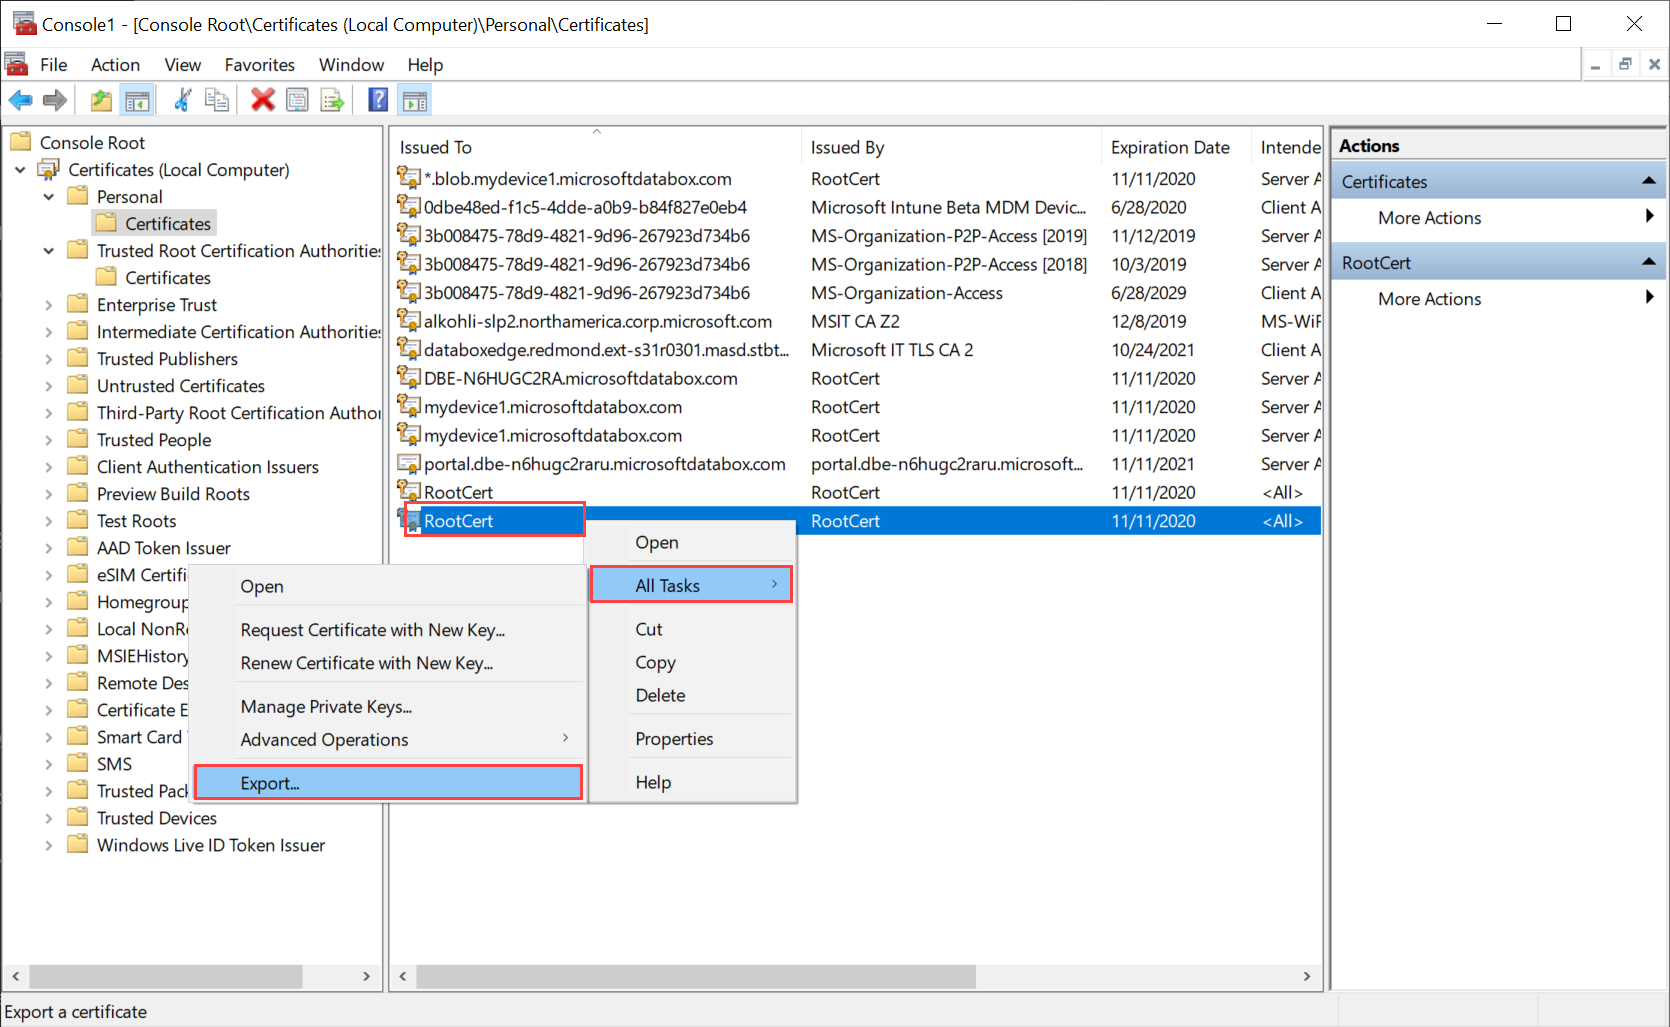
執行 certlm.msc 以啟動本機電腦憑證存放區。
在 [個人] 憑證存放區中,選取根憑證。 以滑鼠右鍵按一下並選取 [ 所有工作 > 匯出...
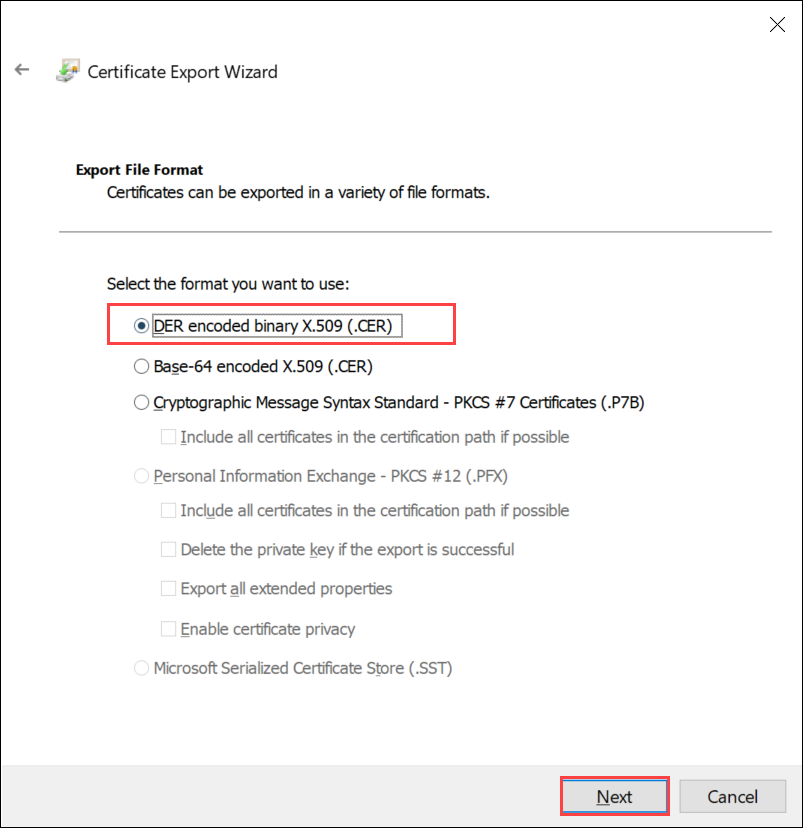
憑證精靈隨即開啟。 選取 DER 編碼二進位 X.509 (.cer) 格式 。 選取 [下一步] 。
流覽並選取您要匯出 .cer 格式檔案的位置。
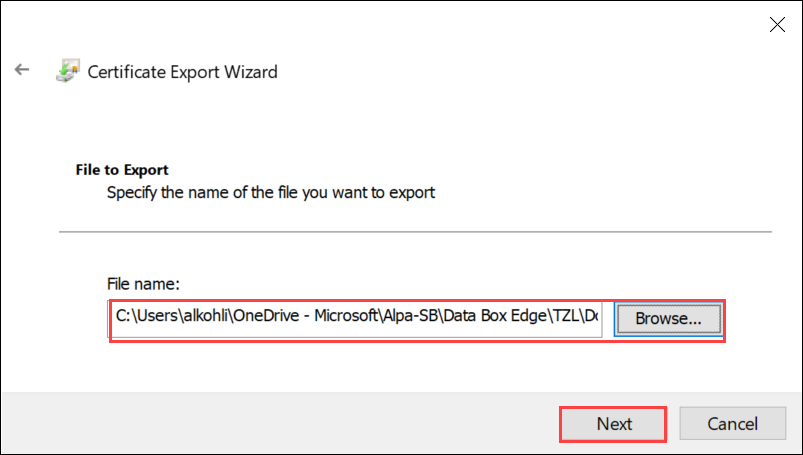
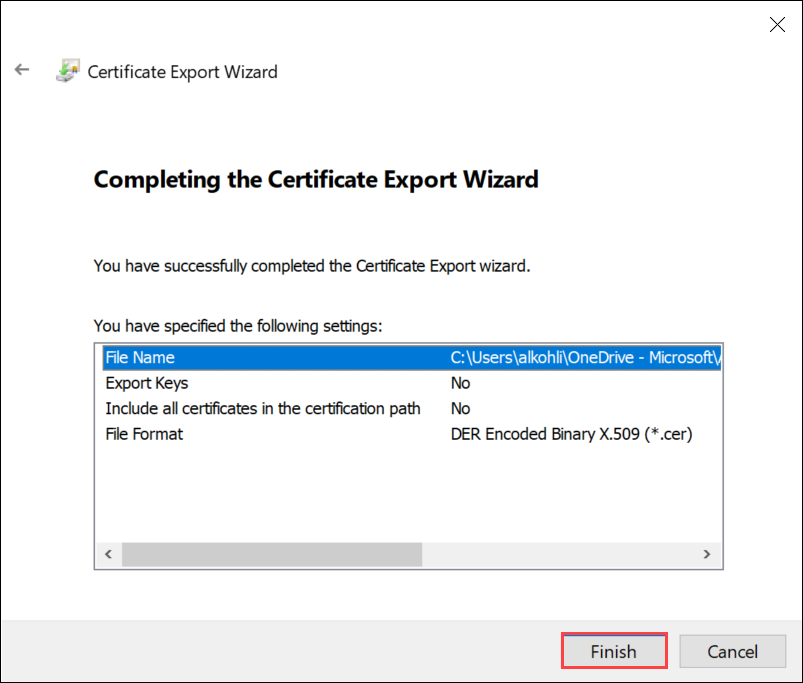
選取完成。
使用私密金鑰將憑證匯出為 .pfx 格式
採取下列步驟,在 Windows 電腦上匯出具有私密金鑰的 SSL 憑證。
重要
在用來建立憑證的相同電腦上執行這些步驟。
執行 certlm.msc 以啟動本機電腦憑證存放區。
按兩下 [個人] 資料夾,然後按一下 [ 憑證 ]。
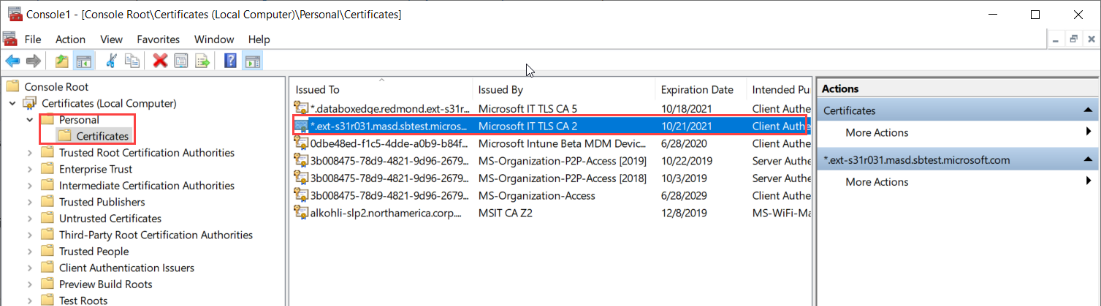
以滑鼠右鍵按一下您想要備份的憑證,然後選擇 [所有 > 工作匯出... ]。

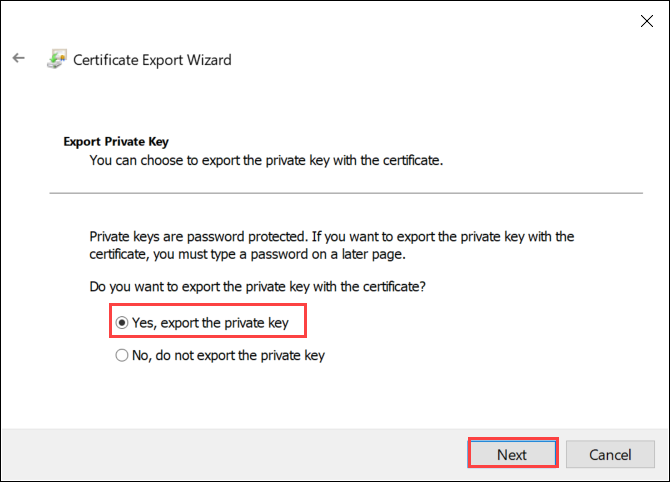
遵循 [憑證匯出精靈] 將憑證備份至 .pfx 檔案。

選擇 [ 是],匯出私密金鑰 。
如果可能的話,請選擇 [在憑證路徑中包含所有憑證]、 [匯出所有擴充屬性 ] 和 [ 啟用憑證隱私權 ]。
當您在匯出中包含所有憑證時,當您使用本機 Web UI 設定憑證時,不需要另外新增簽署鏈結。 如需詳細資訊,請參閱 自備憑證 。
重要
如果匯出成功 ,請勿選取 [ 刪除私密金鑰] 選項。

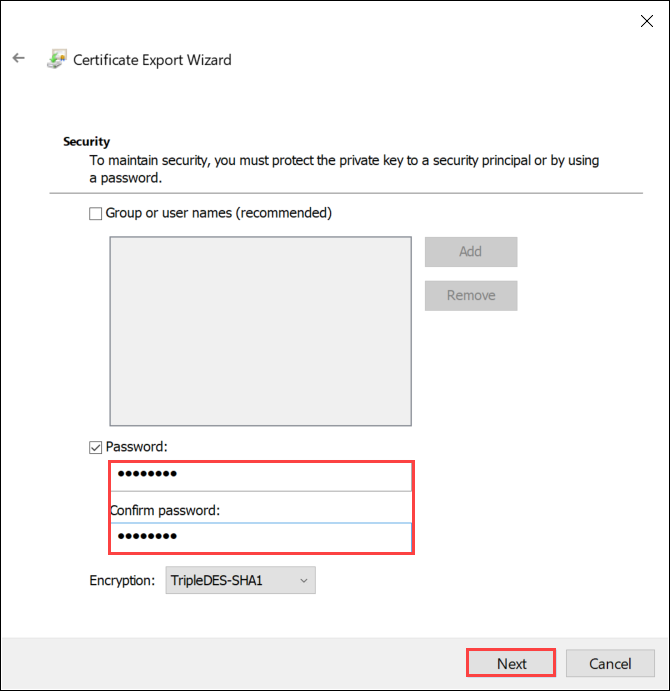
輸入您將記住的密碼。 確認密碼。 密碼會保護私密金鑰。
選擇將檔案儲存在集合位置。
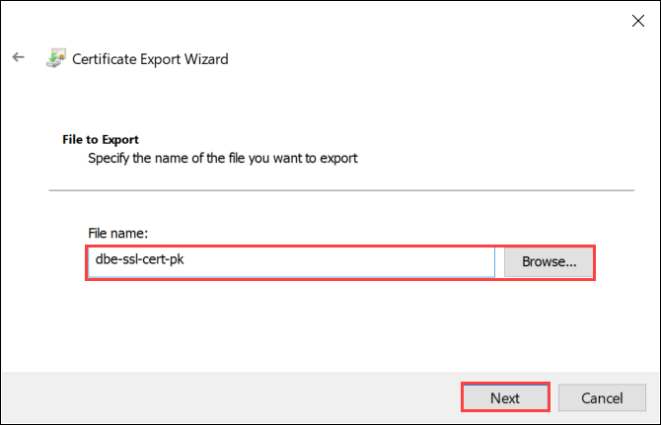
選取完成。

您會收到一則訊息,指出匯出成功。 選取 [確定]。
.pfx 檔案備份現在會儲存在選取的位置,並準備好移動或儲存以供保護。
下一步
瞭解如何 在裝置 上上傳憑證。