快速入門:建立第一個管線以複製數據
在本快速入門中,您會建置數據管線,以將範例數據集移至 Lakehouse。 此體驗說明如何使用管線複製活動,以及如何將數據載入 Lakehouse 的快速示範。
必要條件
若要開始使用,您必須完成下列必要條件:
建立數據管線
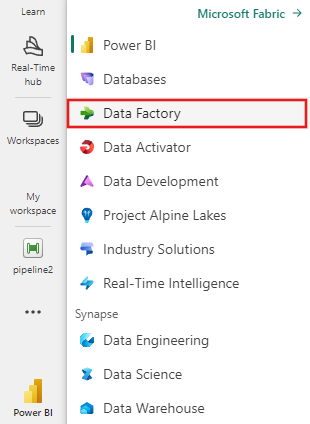
流覽至 Power BI。
選取畫面左下方的Power BI 圖示,然後選取 [Data Factory ] 以開啟Data Factory的首頁。
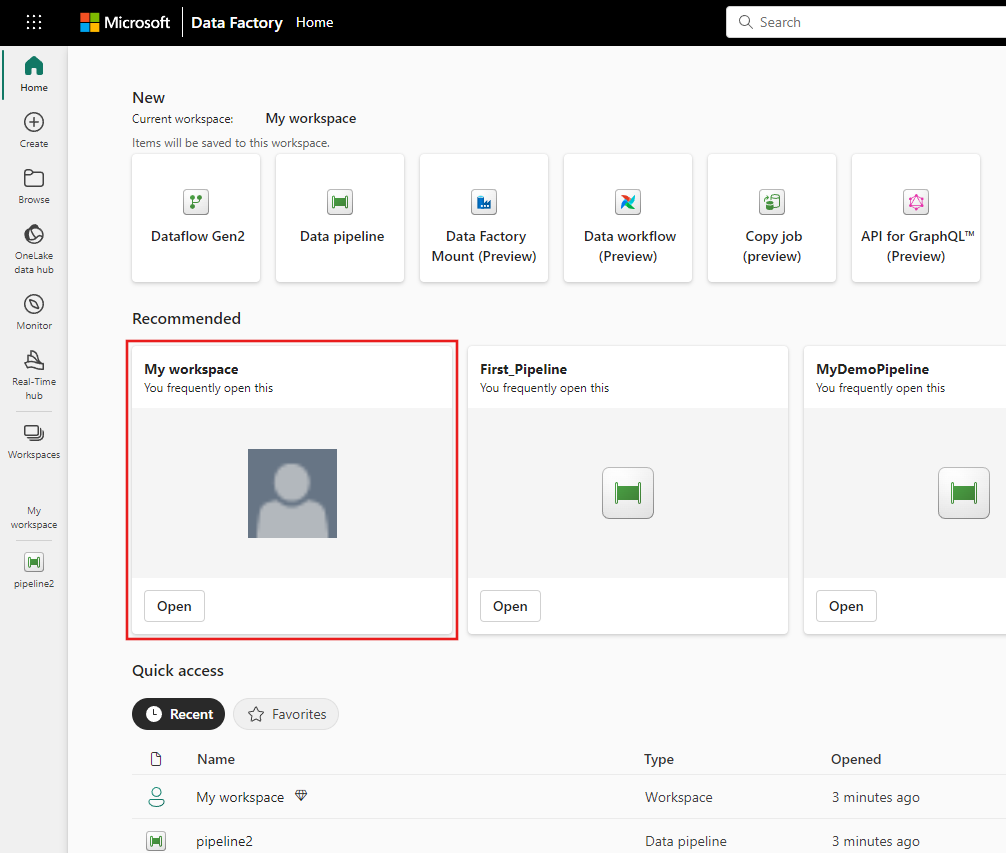
流覽至您的 Microsoft Fabric 工作區。 如果您在先前的必要條件一節中建立新的工作區,請使用此工作區。
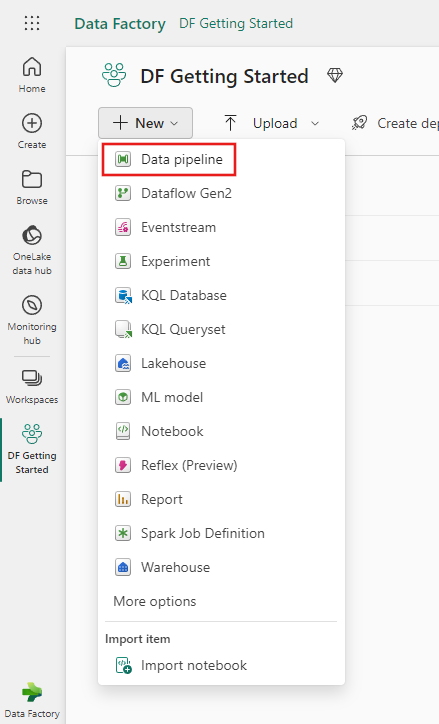
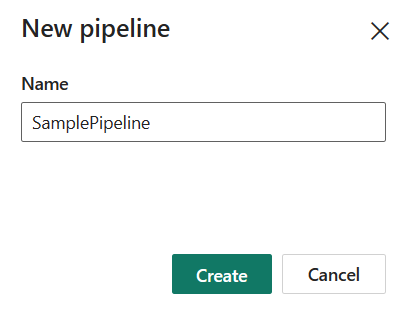
選取 [數據管線 ],然後輸入管線名稱以建立新的管線。
使用管線複製數據
在此會話中,您可以遵循下列步驟,從管線提供的範例數據集複製到 Lakehouse,開始建置您的第一個管線。
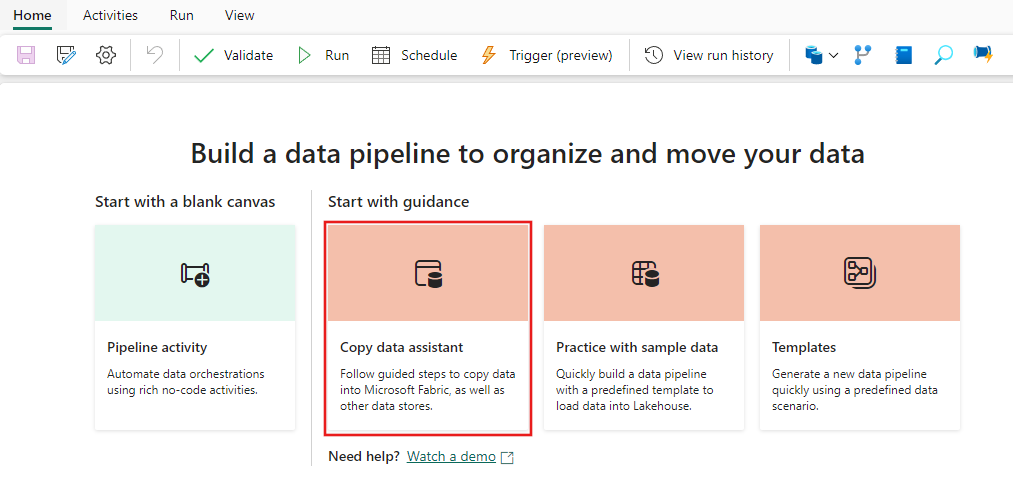
步驟 1:從複製助理開始
選取畫布上的 [ 複製數據 ] 之後, 將會開啟複製小幫 手工具以開始使用。
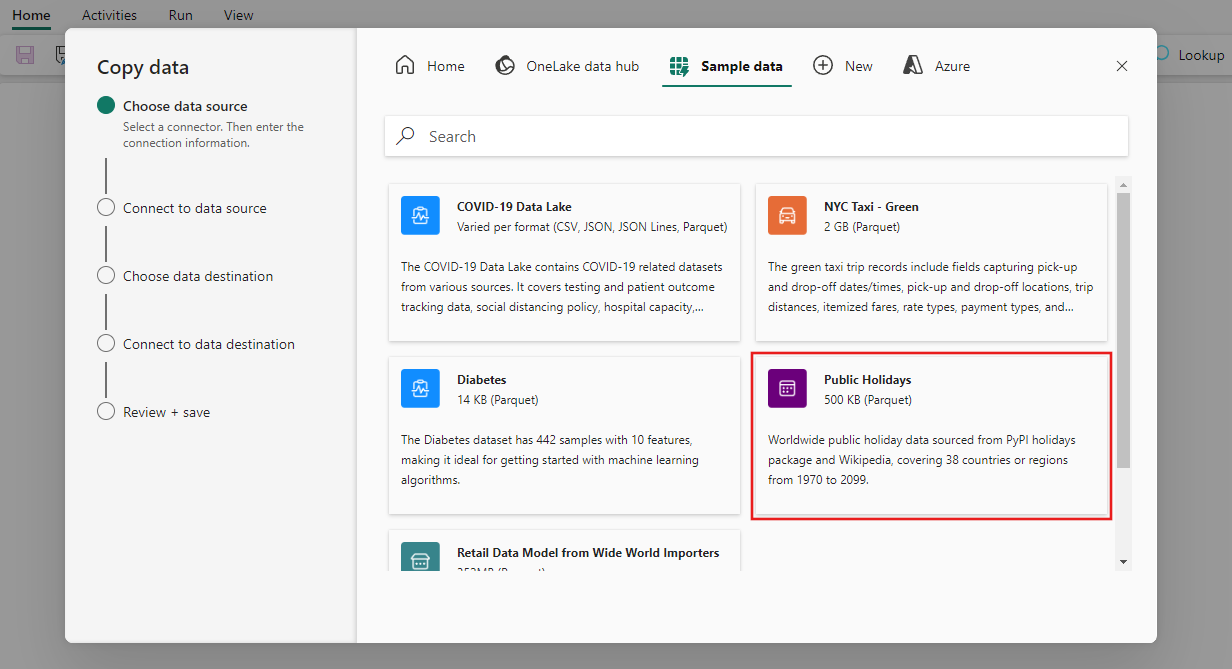
步驟 2:設定來源
選擇 [ 公用假日 ] 範例數據,然後選取 [ 下一步]。
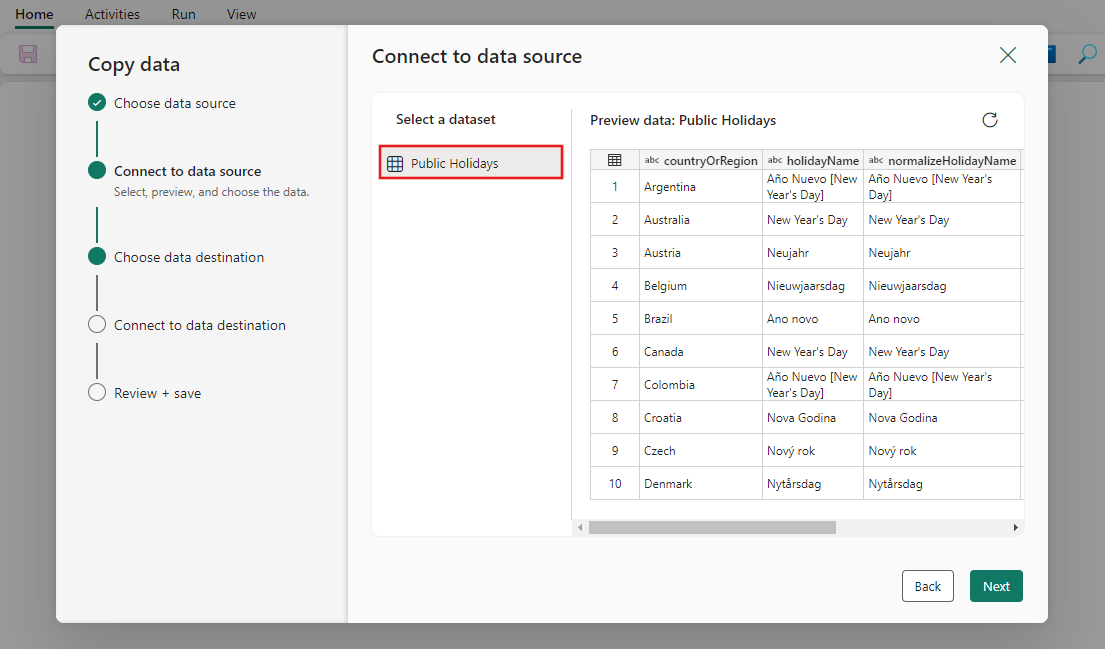
在助理的 [連線 數據源] 頁面上,會顯示公開假日範例數據的預覽,然後按 [下一步]。
步驟 3:設定目的地
選取 [Lakehouse],然後選取 [下一步]。
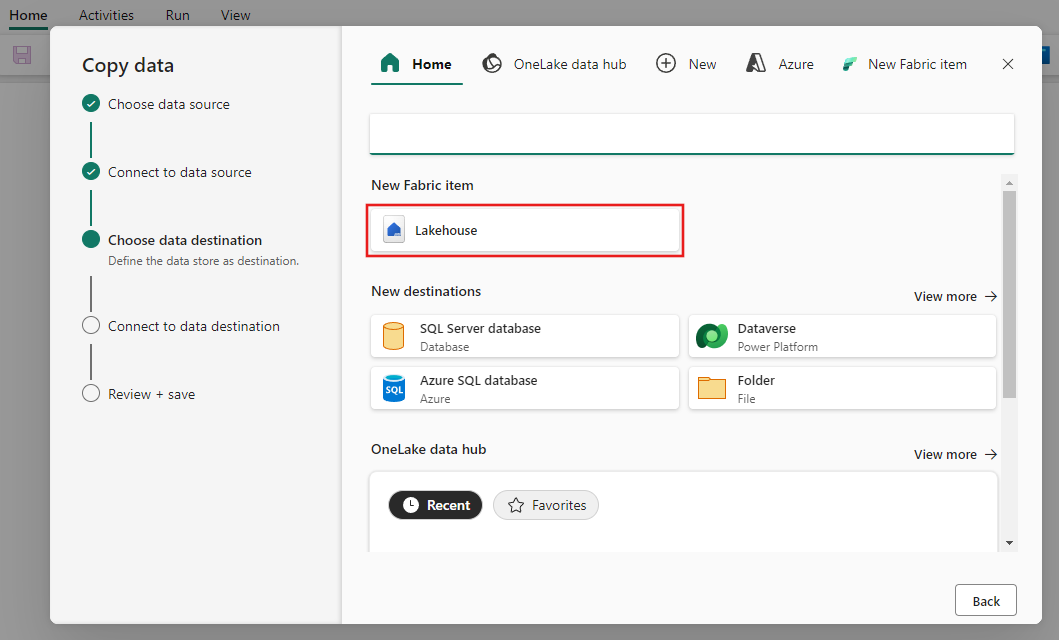
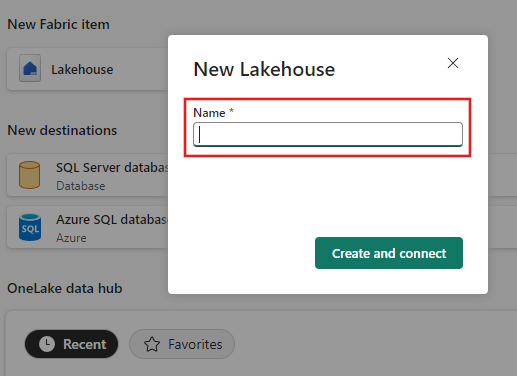
選取 [建立新的 Lakehouse],然後輸入 Lakehouse 名稱,然後選取 [下一步]。
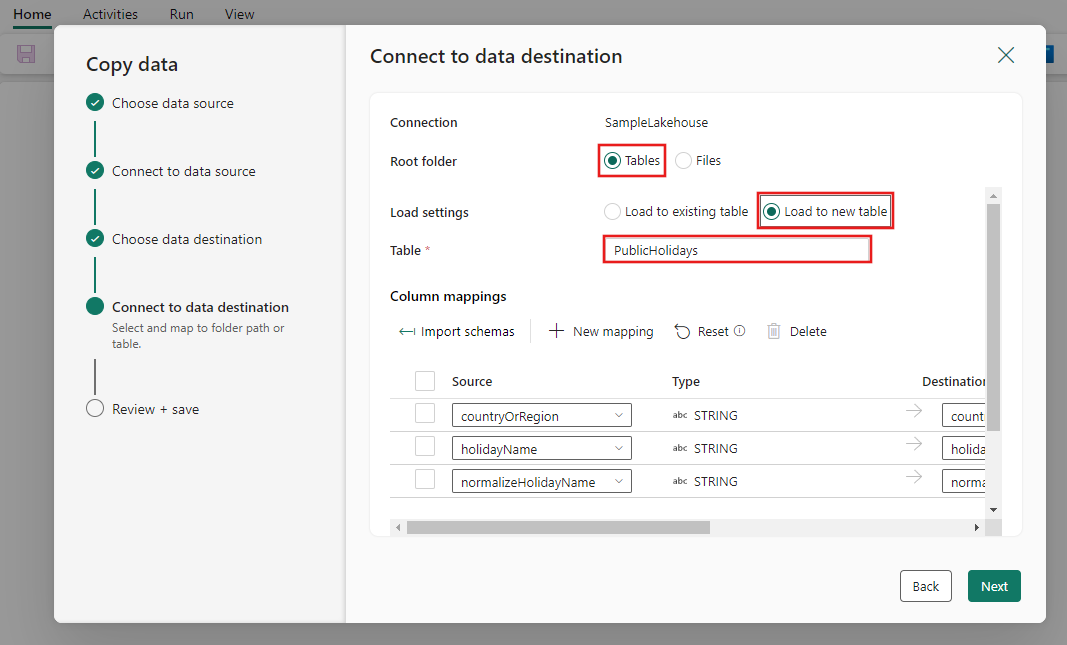
設定源數據並將其對應至目的地 Lakehouse 數據表。 選取資料表並提供 [根資料夾] 底下的 [資料表名稱],然後選擇 [數據表] 動作的 [覆寫] 選項,然後選取 [下一步]。
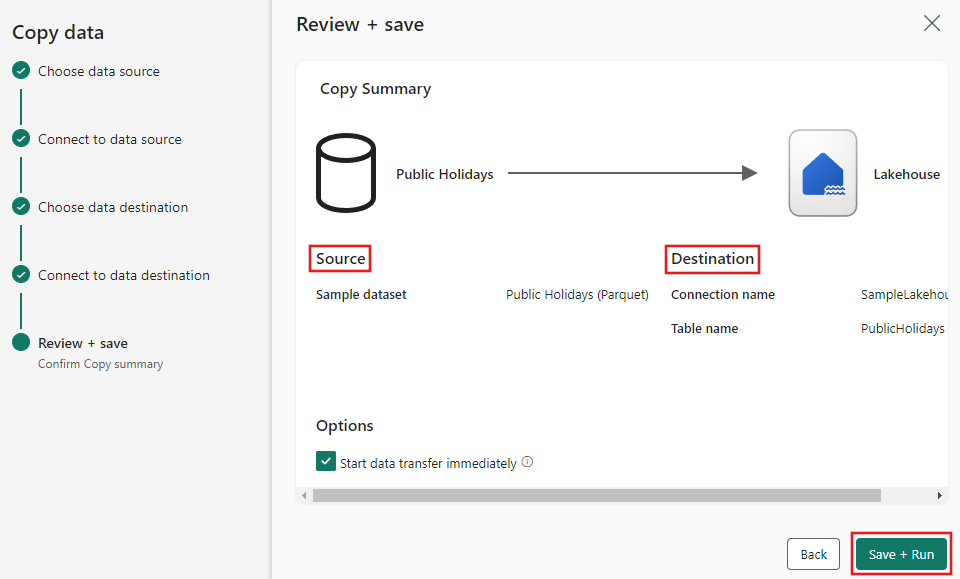
步驟 4:檢閱並建立複製活動
在先前的步驟中檢閱您的複製活動設定,然後選取 [確定] 以完成。 或者,您可以視需要重新瀏覽工具中的先前步驟來編輯您的設定。
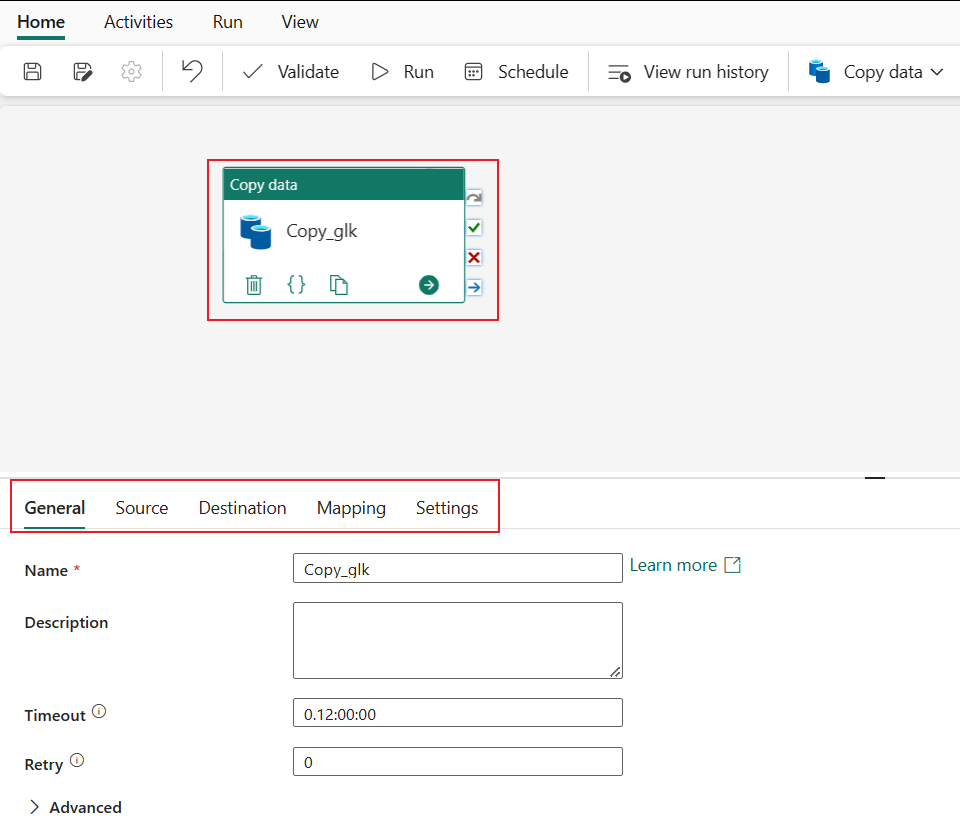
複製活動 會新增至新的數據管線畫布。 選取建立 的複製數據 活動時,管線畫布下方的索引標籤中提供所有包括活動進階設定在內的所有設定。
執行並排程您的數據管線
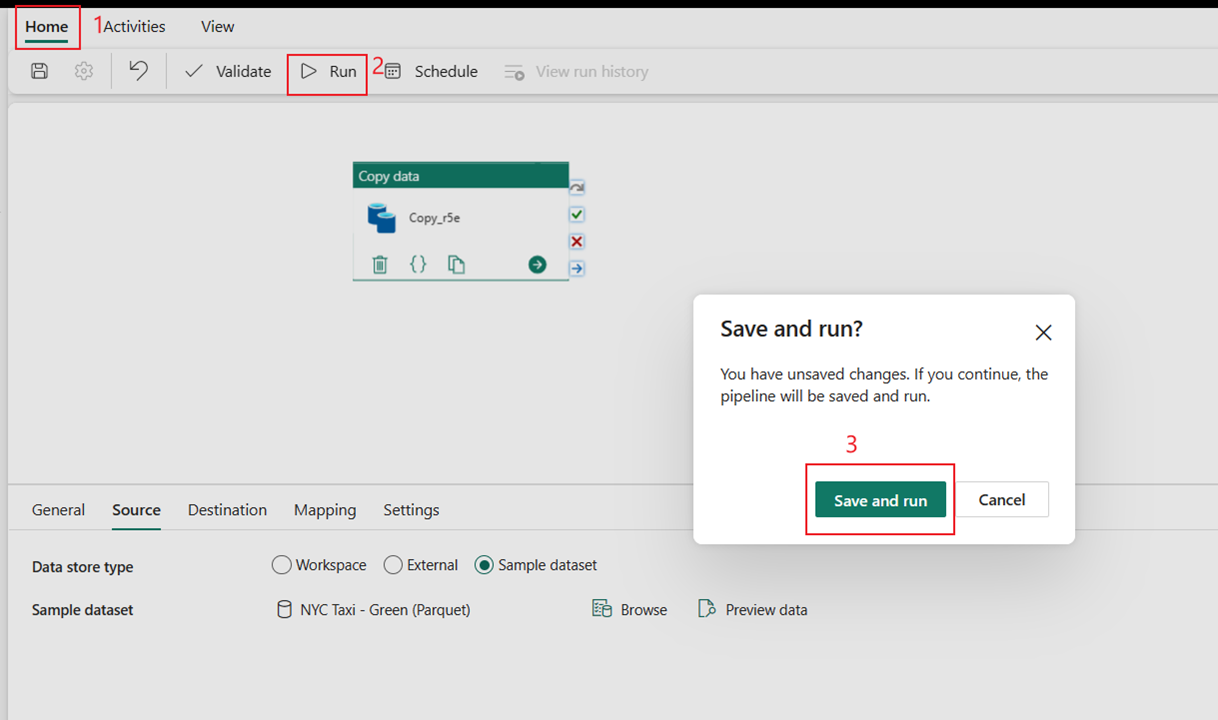
切換至 [ 首頁] 索引標籤,然後選取 [ 執行]。 隨即顯示確認對話框。 然後選取 [ 儲存並執行 ] 以啟動活動。
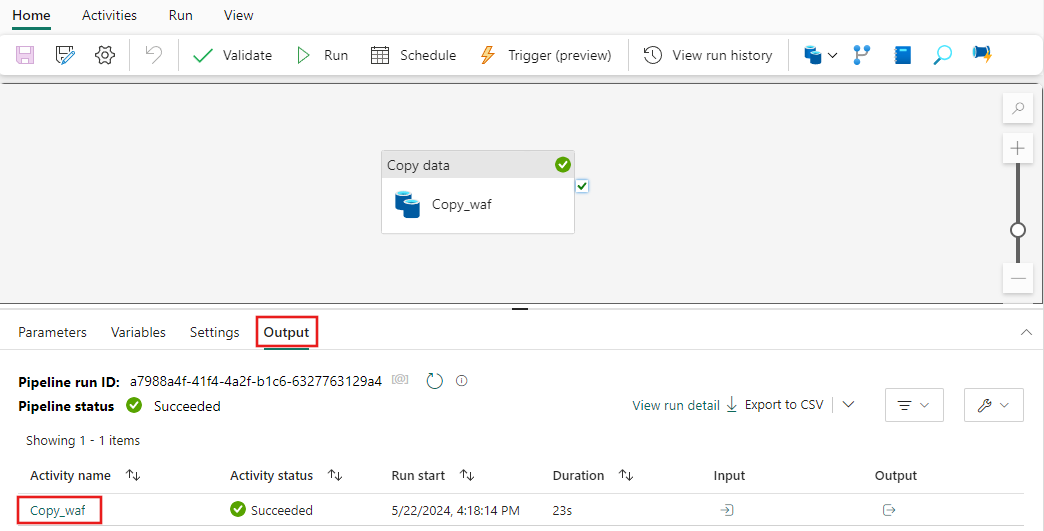
您可以監視執行中的進程,並在管線畫布下方的 [輸出 ] 索引標籤上檢查結果。 選取 [執行詳細數據] 按鈕(醒目提示眼鏡圖示),以檢視執行詳細數據。
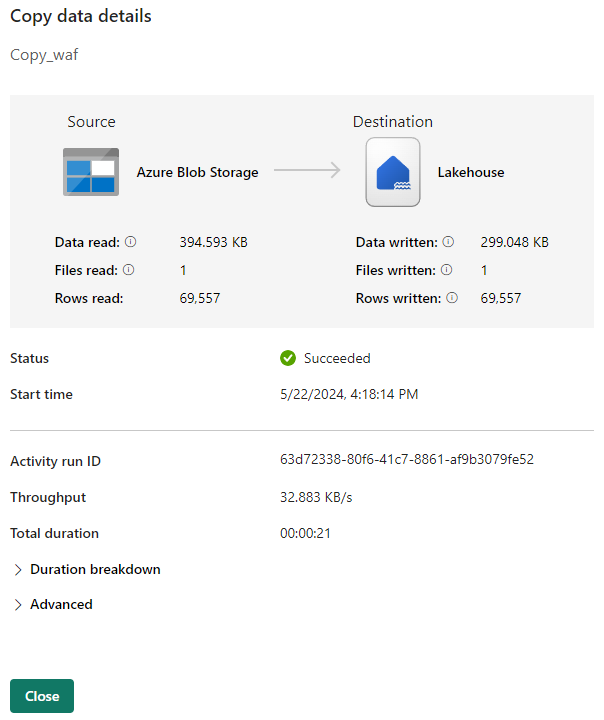
執行詳細數據會顯示讀取和寫入的數據量,以及執行的其他各種詳細數據。
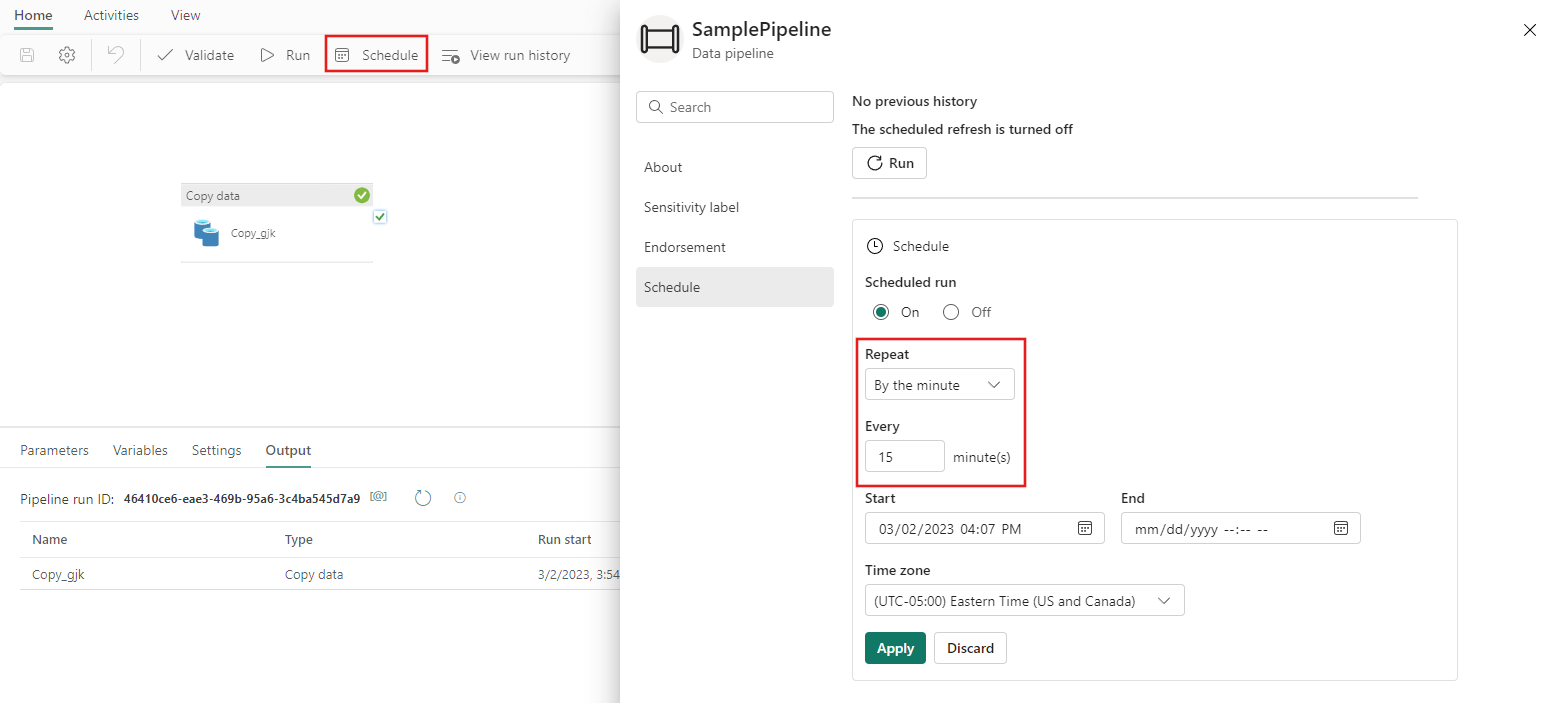
您也可以視需要排程管線以特定頻率執行。 以下是排程管線每隔 15 分鐘執行一次的範例。

相關內容
此範例中的管線會示範如何將範例數據複製到 Lakehouse。 您已了解如何︰
- 建立數據管線。
- 使用複製小幫手複製數據。
- 執行並排程您的數據管線。
接下來,請繼續進行以深入瞭解如何監視管線執行。
意見反應
即將登場:在 2024 年,我們將逐步淘汰 GitHub 問題作為內容的意見反應機制,並將它取代為新的意見反應系統。 如需詳細資訊,請參閱:https://aka.ms/ContentUserFeedback。
提交並檢視相關的意見反應