將 Spring Boot 應用程式部署至 Azure Kubernetes Service
注意
對於 Spring Boot 應用程式,建議使用 Azure Spring 應用程式。 不過,您仍然可以選擇使用 Azure Kubernetes Service 作為目的地。 如需詳細資訊,請參閱 為您的 Java 應用程式選擇正確的 Azure 服務。
本教學課程將逐步引導您結合 Kubernetes 和 Docker,以開發 Spring Boot 應用程式並將其部署至 Microsoft Azure。 更具體來說,您會使用 Spring Boot 進行應用程式開發、 用於容器部署的 Kubernetes ,以及 Azure Kubernetes Service (AKS) 來裝載您的應用程式。
Kubernetes 和 Docker 是開放原始碼解決方案,可協助開發人員自動部署、調整及管理其在容器中執行的應用程式。
必要條件
- Azure 訂用帳戶;如果您還沒有 Azure 訂用帳戶,則可以啟用 MSDN 訂戶權益或註冊免費的 Azure 帳戶。
- Azure 命令列介面 (CLI)。
- 受支援的 Java 開發套件 (JDK)。 如需在 Azure 上進行開發時可供使用的 JDK 詳細資訊,請參閱 Azure 和 Azure Stack 上的 Java 支援。
- Apache 的 Maven 建置工具 (第 3 版)。
- Git 用戶端。
- Docker 用戶端。
- ACR Docker 認證協助程式。
注意
由於本教學課程的虛擬化需求,您無法遵循虛擬機上本文中的步驟;您必須使用已啟用虛擬化功能的實體電腦。
在 Docker 使用者入門 Web 應用程式上建立 Spring Boot
下列步驟會逐步引導您建置 Spring Boot Web 應用程式,並在本機進行測試。
開啟命令提示字元,並建立本機目錄來保存您的應用程式,並變更至該目錄;例如:
mkdir C:\SpringBoot
cd C:\SpringBoot
-- 或 --
mkdir /users/$USER/SpringBoot
cd /users/$USER/SpringBoot
將 Docker 快速入門 範例專案的 Spring Boot 複製到 目錄中。
git clone https://github.com/spring-guides/gs-spring-boot-docker.git將目錄變更至已完成的專案。
cd gs-spring-boot-docker
cd complete
使用 Maven 建置並執行範例應用程式。
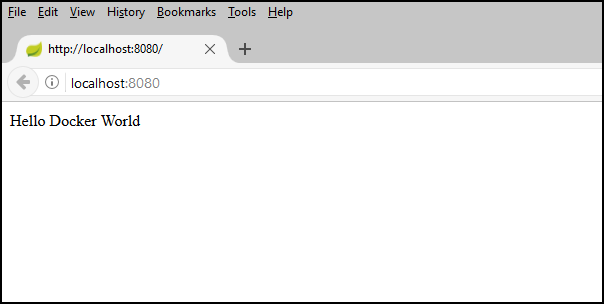
mvn package spring-boot:run瀏覽至
http://localhost:8080,或使用下列curl命令測試 Web 應用程式:curl http://localhost:8080您應該會看到下列訊息顯示: Hello Docker World
使用 Azure CLI 建立 Azure Container Registry
開啟命令提示字元。
登入您的 Azure 帳戶:
az login選擇您的 Azure 訂用帳戶:
az account set -s <YourSubscriptionID>為本教學課程中使用的 Azure 資源建立資源群組。
az group create --name=wingtiptoys-kubernetes --location=eastus在資源群組中建立私人 Azure 容器登錄。 本教學課程會在後續步驟中將範例應用程式推送為 Docker 映射至此登錄。 以登錄的唯一名稱取代
wingtiptoysregistry。az acr create --resource-group wingtiptoys-kubernetes --location eastus \ --name wingtiptoysregistry --sku Basic
透過 Jib 將您的應用程式推送至容器登錄
從 Azure CLI 登入您的 Azure Container Registry。
# set the default name for Azure Container Registry, otherwise you need to specify the name in "az acr login" az config set defaults.acr=wingtiptoysregistry az acr login使用文本編輯器開啟pom.xml檔案;例如Visual StudioCode。
code pom.xml使用
<properties>Azure Container Registry 的登錄名稱和最新版 jib-maven-plugin 更新pom.xml檔案中的集合。<properties> <!-- Note: If your ACR name contains upper case characters, be sure to convert them to lower case characters. --> <docker.image.prefix>wingtiptoysregistry.azurecr.io</docker.image.prefix> <jib-maven-plugin.version>2.5.2</jib-maven-plugin.version> <java.version>1.8</java.version> </properties><plugins>更新 pom.xml 檔案中的集合,讓<plugin>專案包含的專案jib-maven-plugin,如下列範例所示。 請注意,我們使用的是 Microsoft Container Registry (MCR): 的基底映射,mcr.microsoft.com/openjdk/jdk:11-ubuntu其中包含正式支援的 Azure JDK。 如需具有正式支援的 JDK 的其他 MCR 基底映射,請參閱安裝 Microsoft Build of OpenJDK。<plugin> <artifactId>jib-maven-plugin</artifactId> <groupId>com.google.cloud.tools</groupId> <version>${jib-maven-plugin.version}</version> <configuration> <from> <image>mcr.microsoft.com/openjdk/jdk:11-ubuntu</image> </from> <to> <image>${docker.image.prefix}/gs-spring-boot-docker</image> </to> </configuration> </plugin>瀏覽至 Spring Boot 應用程式已完成的項目目錄,然後執行下列命令來建置映像,並將映像推送至登錄:
az acr login && mvn compile jib:build
注意
由於 Azure Cli 和 Azure Container Registry 的安全性考慮,所 az acr login 建立的認證有效期為 1 小時。 如果您看到 401 未經授權 錯誤,您可以再次執行 az acr login --name <your registry name> 命令以重新驗證。 如果您看到讀取 逾 時錯誤,您可以嘗試使用 mvn -Djib.httpTimeout=7200000 jib:dockerBuild來增加逾時,或 -Djib.httpTimeout=0 進行無限逾時。
使用 Azure CLI 在 AKS 上建立 Kubernetes 叢集
在 Azure Kubernetes Service 中建立 Kubernetes 叢集。 下列命令會在 wingtiptoys-kubernetes 資源群組中建立 kubernetes 叢集,並將 wingtiptoys-akscluster 作為叢集名稱,並附加 Azure Container Registry (ACR)
wingtiptoysregistry並附加 wingtiptoys-kubernetes 作為 DNS 前置詞:az aks create --resource-group=wingtiptoys-kubernetes --name=wingtiptoys-akscluster \ --attach-acr wingtiptoysregistry \ --dns-name-prefix=wingtiptoys-kubernetes --generate-ssh-keys此命令可能需要一些時間才能完成。
使用 Azure CLI 進行安裝
kubectl。 Linux 使用者可能必須加上此命令sudo的前置詞,因為它會將 Kubernetes CLI 部署至/usr/local/bin。az aks install-cli下載叢集組態資訊,以便您可以從 Kubernetes Web 介面和
kubectl管理叢集。az aks get-credentials --resource-group=wingtiptoys-kubernetes --name=wingtiptoys-akscluster
將映像部署至 Kubernetes 叢集
本教學課程會使用 kubectl來部署應用程式,然後可讓您透過 Kubernetes Web 介面探索部署。
使用 kubectl 部署
開啟命令提示字元。
使用
kubectl run命令,在 Kubernetes 叢集中執行您的容器。 在 Kubernetes 中為您的應用程式提供服務名稱,以及完整的映像名稱。 例如:kubectl run gs-spring-boot-docker --image=wingtiptoysregistry.azurecr.io/gs-spring-boot-docker:latest在這個命令中:
命令後面
run會立即指定容器名稱gs-spring-boot-docker參數
--image會將合併的登入伺服器和映像名稱指定為wingtiptoysregistry.azurecr.io/gs-spring-boot-docker:latest
使用
kubectl expose命令在外部公開 Kubernetes 叢集。 指定您的服務名稱、用來存取應用程式的公開 TCP 連接埠,以及應用程式接聽的內部目標埠。 例如:kubectl expose pod gs-spring-boot-docker --type=LoadBalancer --port=80 --target-port=8080在這個命令中:
容器名稱
gs-spring-boot-docker會緊接在expose pod命令之後指定。參數
--type會指定叢集使用負載平衡器。參數
--port會指定 80 的公用 TCP 連接埠。 您可以在此埠上存取應用程式。參數
--target-port會指定 8080 的內部 TCP 連接埠。 負載平衡器會將要求轉送至此埠上的應用程式。
將應用程式部署至叢集之後,請查詢外部IP位址,並在網頁瀏覽器開啟它:
kubectl get services -o=jsonpath='{.items[*].status.loadBalancer.ingress[0].ip}'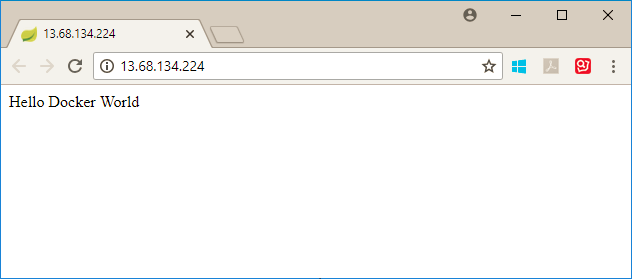
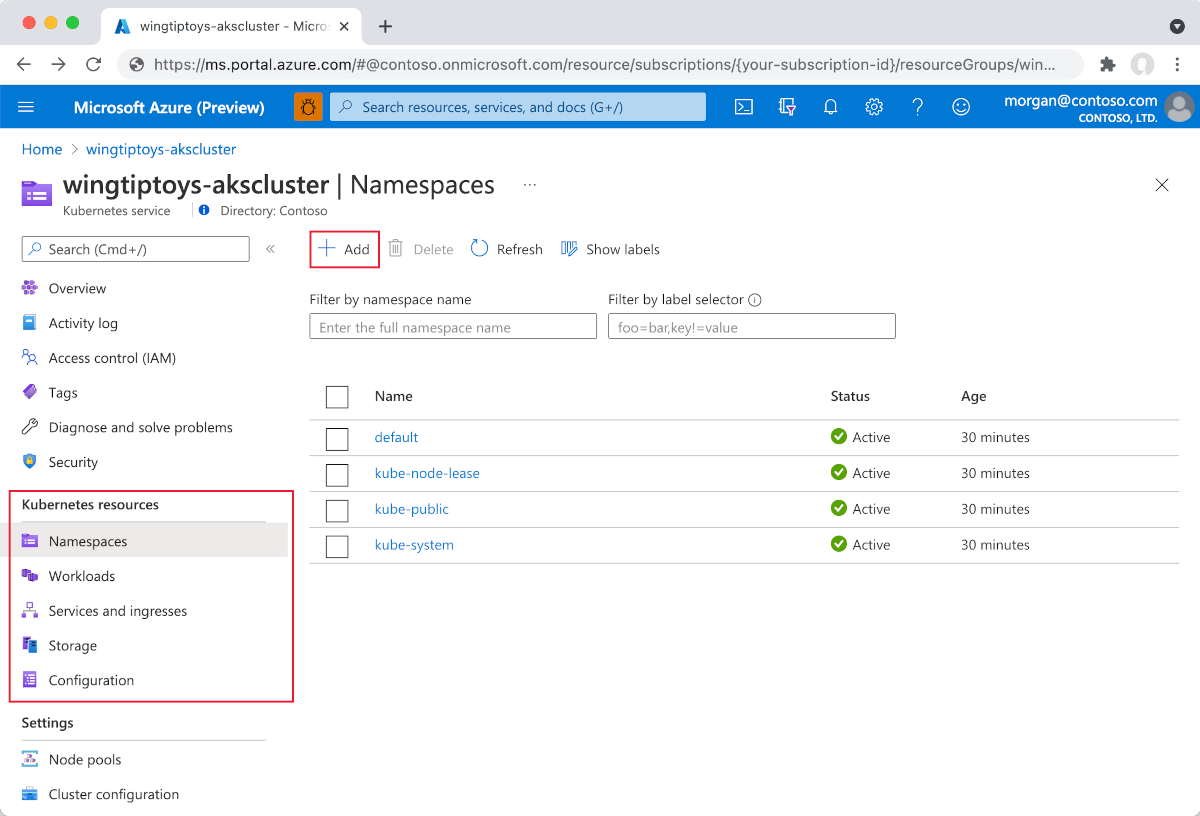
使用 Kubernetes 資源檢視進行部署
從任何資源檢視中選取 [新增] (命名空間、工作負載、服務和輸入、儲存體 或組態)。
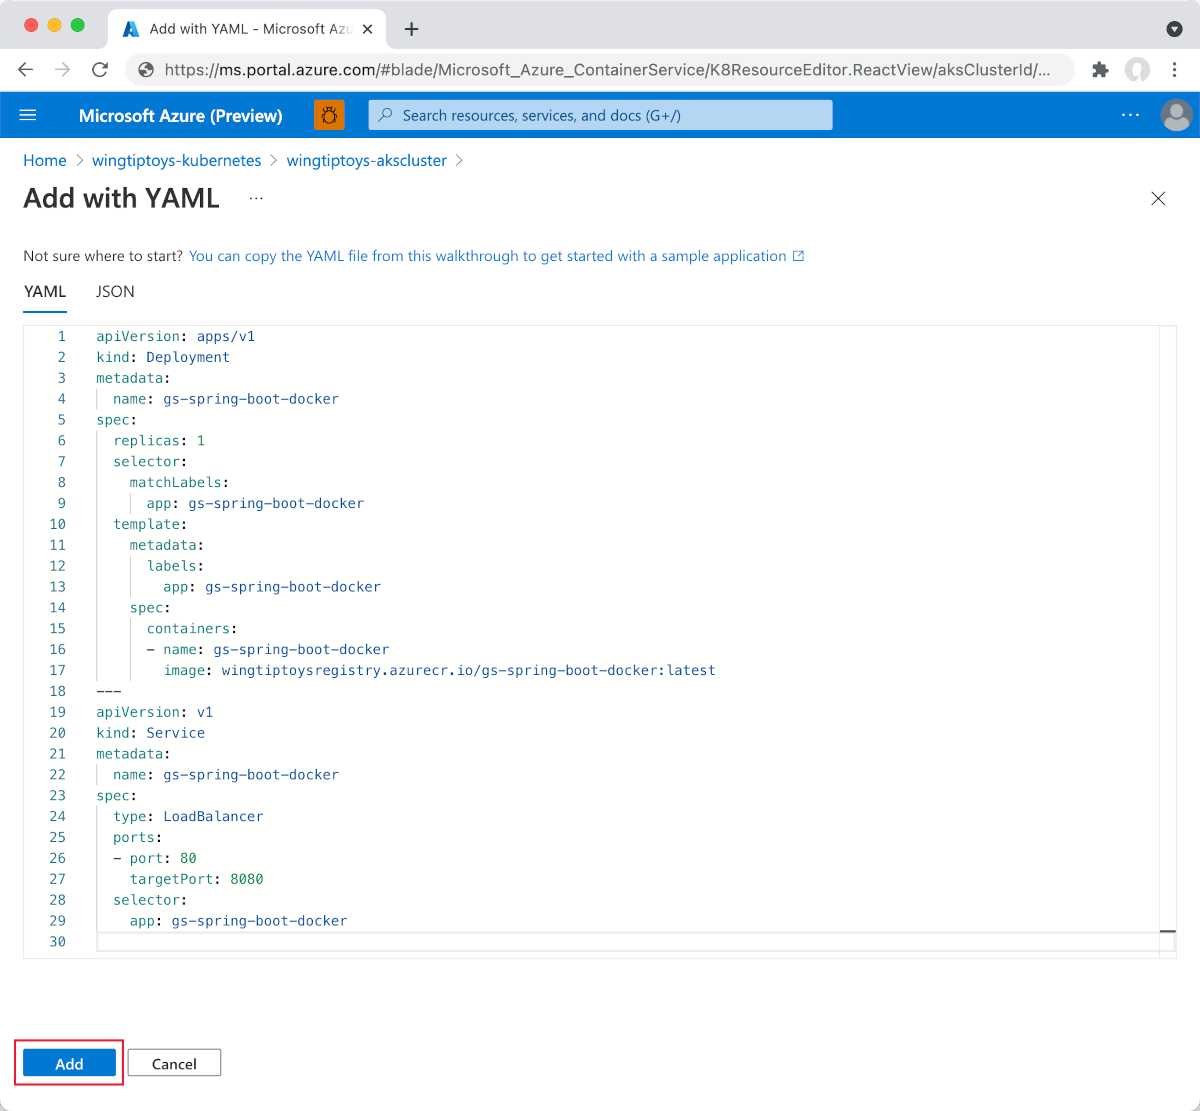
貼上下列 YAML:
apiVersion: apps/v1
kind: Deployment
metadata:
  name: gs-spring-boot-docker
spec:
  replicas: 1
  selector:
    matchLabels:
      app: gs-spring-boot-docker
  template:
    metadata:
      labels:
        app: gs-spring-boot-docker
    spec:
      containers:
      - name: gs-spring-boot-docker
        image: wingtiptoysregistry.azurecr.io/gs-spring-boot-docker:latest
選取 YAML 編輯器底部的 [新增 ] 以部署應用程式。
部署
Deployment之後,就像上述一樣,選取 YAML 編輯器底部的 [新增 ],以使用下列 YAML 部署Service:apiVersion: v1 kind: Service metadata: name: gs-spring-boot-docker spec: type: LoadBalancer ports: - port: 80 targetPort: 8080 selector: app: gs-spring-boot-docker新增 YAML 檔案之後,資源檢視器會顯示您的 Spring Boot 應用程式。 外部服務包含連結的外部IP位址,讓您可以輕鬆地在瀏覽器中檢視應用程式。
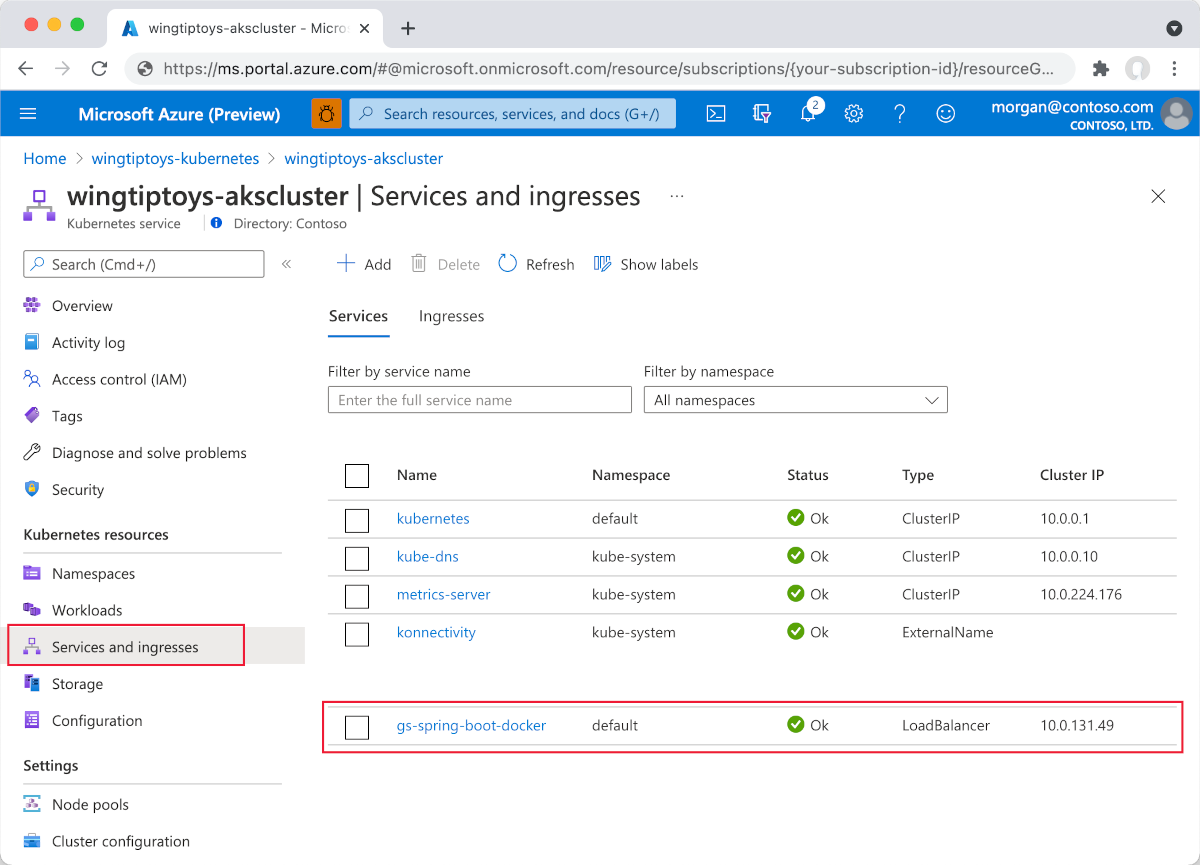

選取 [外部 IP]。 接著,您會看到在 Azure 上執行的 Spring Boot 應用程式。
下一步
若要深入了解 Spring 和 Azure,請繼續閱讀「Azure 上的 Spring」文件中心中的資訊。
另請參閱
如需在 Azure 上使用 Spring Boot 的詳細資訊,請參閱下列文章:
如需如何搭配使用 Azure 和 Java 的詳細資訊,請參閱適用於 Java 開發人員的 Azure 和使用 Azure DevOps 和 Java。
如需使用 Visual Studio Code 將 Java 應用程式部署至 Kubernetes 的詳細資訊,請參閱 Visual Studio Code Java 教學課程。
如需 Docker 上 Spring Boot 範例項目的詳細資訊,請參閱 Docker 快速入門上的 Spring Boot。
下列連結提供建立 Spring Boot 應用程式的其他資訊:
- 如需建立簡單 Spring Boot 應用程式的詳細資訊,請參閱 上的 Spring Initializr https://start.spring.io/。
下列連結提供搭配 Azure 使用 Kubernetes 的其他資訊:
如需有關使用 Kubernetes 命令行介面 的詳細資訊,請參閱 kubectl 使用者指南: https://kubernetes.io/docs/reference/kubectl/。
Kubernetes 網站有數篇文章,討論在私人登錄中使用映射:
如需如何搭配 Azure 使用自訂 Docker 映像的其他範例,請參閱 在 Linux 上使用 Azure Web 應用程式的自定義 Docker 映像。
如需使用 Azure Dev Spaces 直接在 Azure Kubernetes Service 中反覆執行和偵錯容器的詳細資訊,請參閱 使用 Java 開始使用 Azure Dev Spaces
意見反應
即將登場:在 2024 年,我們將逐步淘汰 GitHub 問題作為內容的意見反應機制,並將它取代為新的意見反應系統。 如需詳細資訊,請參閱:https://aka.ms/ContentUserFeedback。
提交並檢視相關的意見反應