使用 Visual Studio 已連線的服務新增 Azure Cache for Redis
使用 Visual Studio 時,您可以使用 [已連線的服務] 功能,將下列任何一項連線到 Azure Cache for Redis:
- .NET Framework 主控台應用程式
- ASP.NET 模型-視圖-控制程式 (MVC) (.NET Framework)
- ASP.NET Core
- .NET Core (包括主控台應用程式、WPF、Windows Forms、類別庫)
- .NET Core 背景工作角色
- Azure Functions
- 通用 Windows 平台應用程式
- Xamarin
- Cordova
已連接服務功能會將所有必要的參考和連接程式碼新增到您的專案中,並適當地修改組態檔。
注意
本主題適用於 Windows 上的 Visual Studio。 若是 Visual Studio for Mac,請參閱 Visual Studio for Mac 中已連線的服務。
必要條件
- 已安裝 Azure 工作負載的 Visual Studio。
- 其中一種支援類型的專案
- Azure 帳戶。 如果您沒有 Azure 帳戶,請啟用適用於 Visual Studio 訂閱者的 Azure 權益或註冊免費試用。
使用已連線的服務連線到 Azure Cache for Redis
在 Visual Studio 中,開啟您的專案。
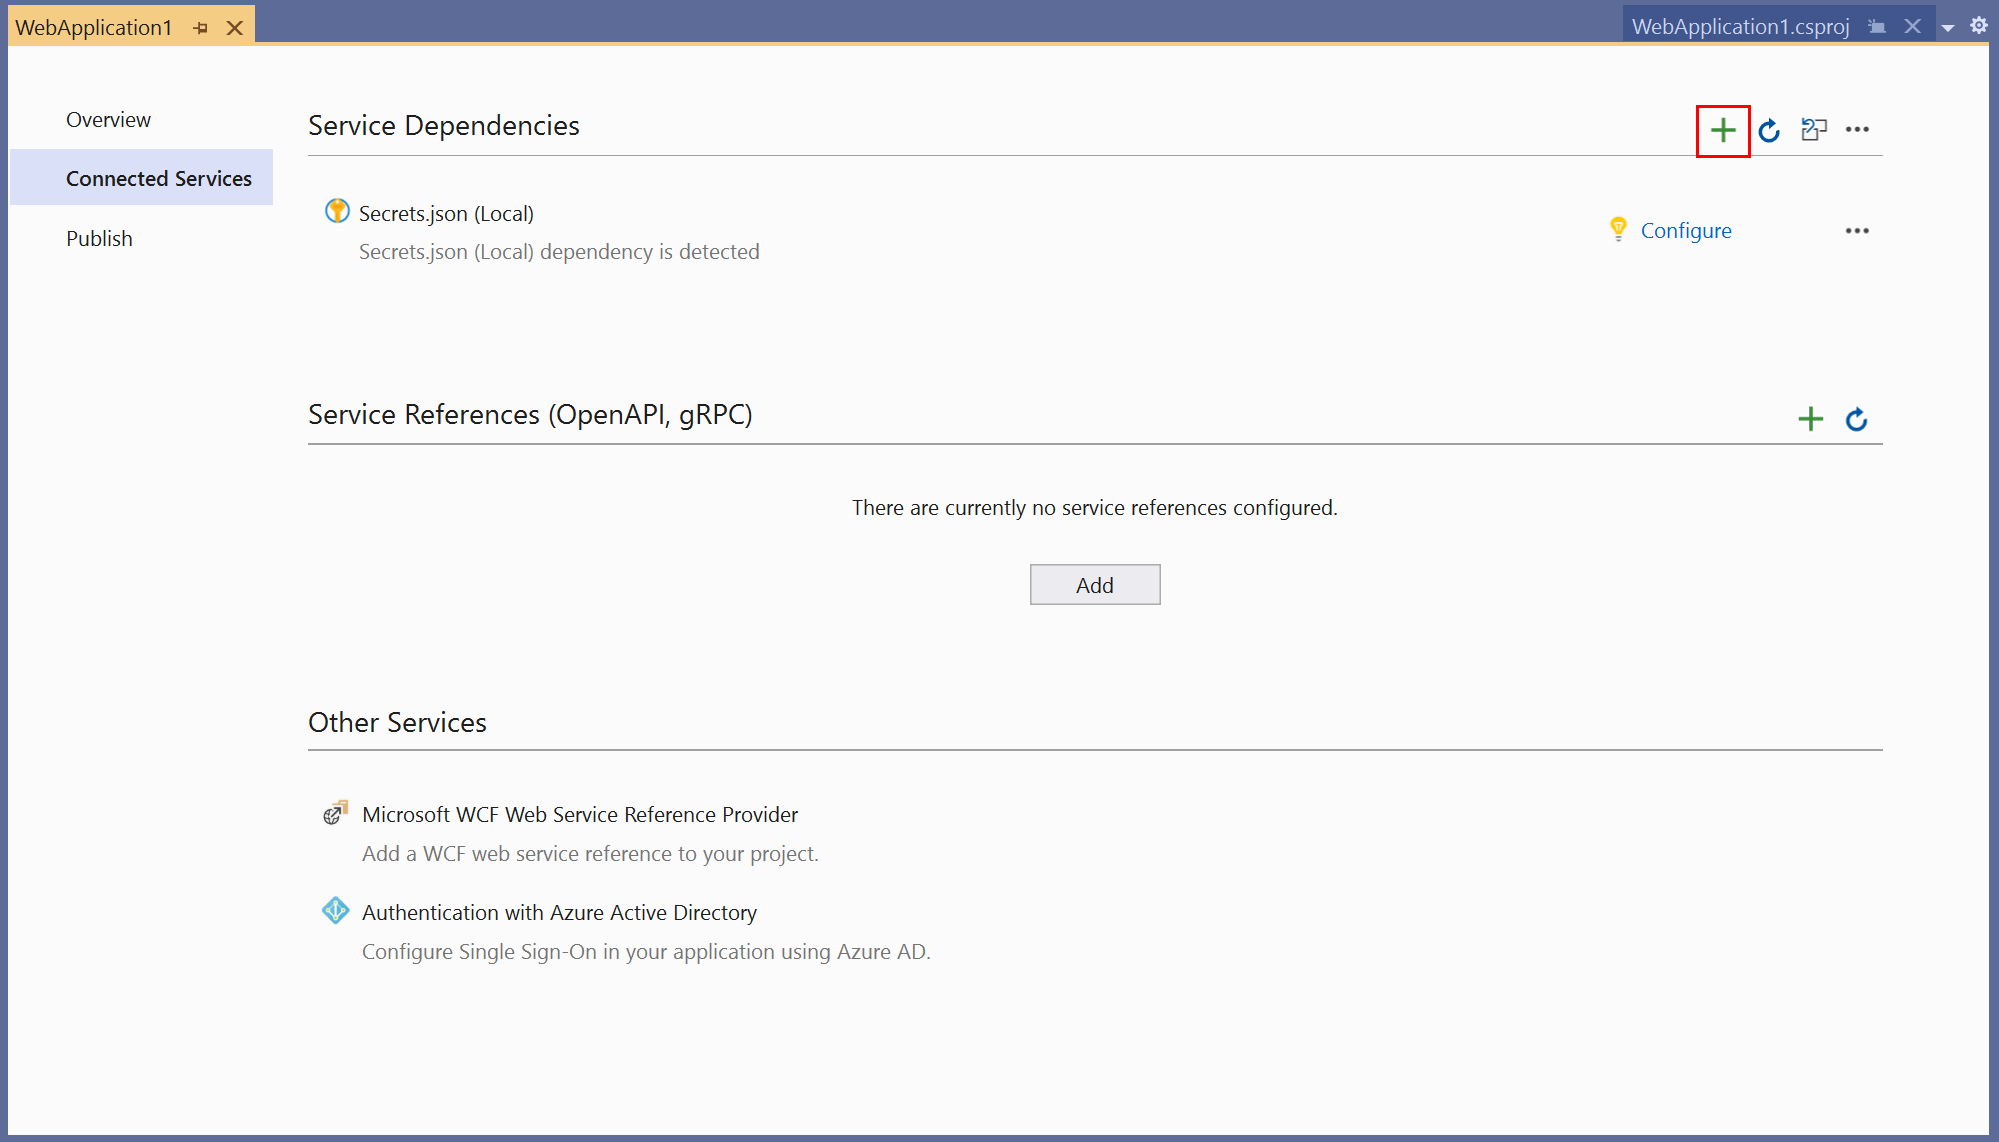
在 [方案總管] 中,於 [已連線的服務] 節點上按一下滑鼠右鍵,然後從捷徑功能表中選取 [已連線的服務]。
在 [已連線的服務] 索引標籤中,選取 [服務相依性] 的 + 圖示。
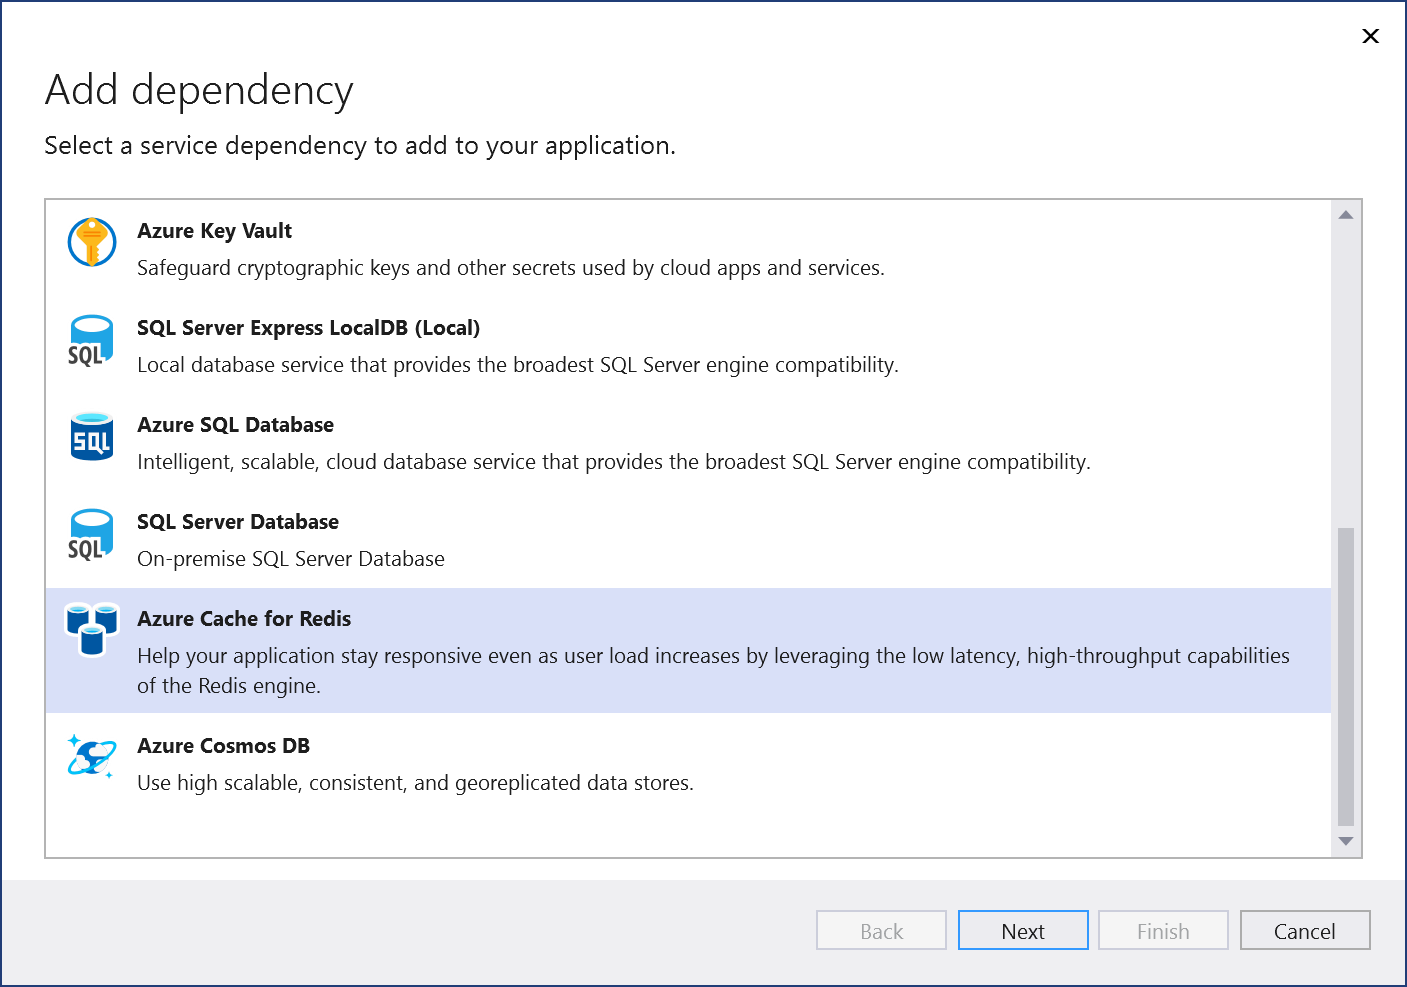
在 [新增相依性] 頁面中,選取 [Azure Cache for Redis]。
如果您尚未登入,請登入您的 Azure 帳戶。 如果您沒有 Azure 帳戶,您可以註冊免費試用。
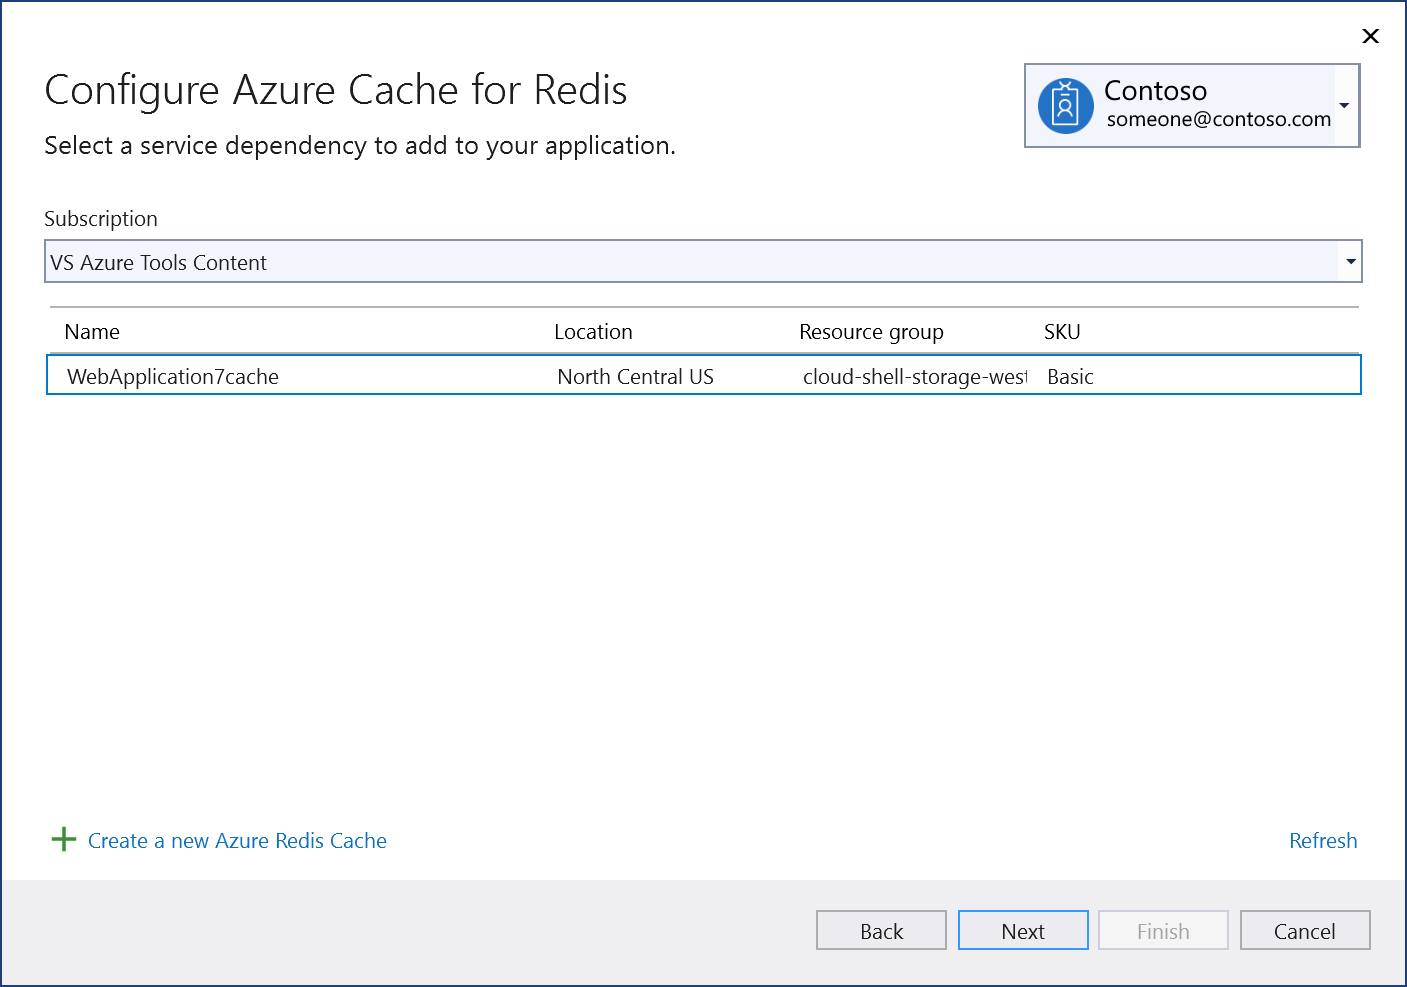
在 [設定 Azure Cache for Redis] 畫面中,選取現有的 Azure Cache for Redis,然後選取 [下一步]。
如果您需要建立新的元件,請移至下一個步驟。 否則,請跳至步驟 7。
若要建立 Azure Cache for Redis:
選取畫面底部的 [建立新的 Azure Redis Cache]。
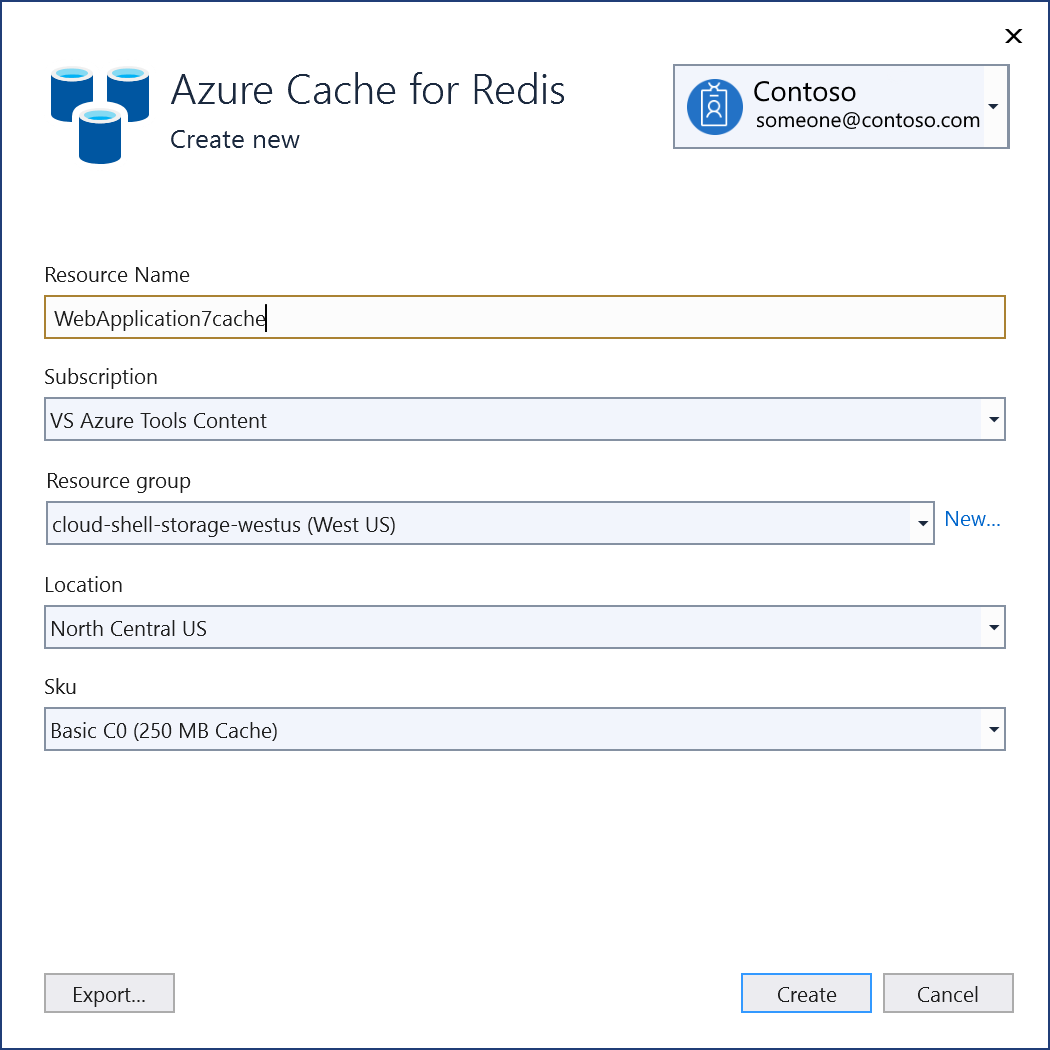
填寫 [Azure Cache for Redis:新建] 畫面,然後選取 [建立]。
當 [設定 Azure Cache for Redis] 畫面顯示時,新的快取會出現在清單中。 選取清單中的新資料庫,然後選取 [下一步]。
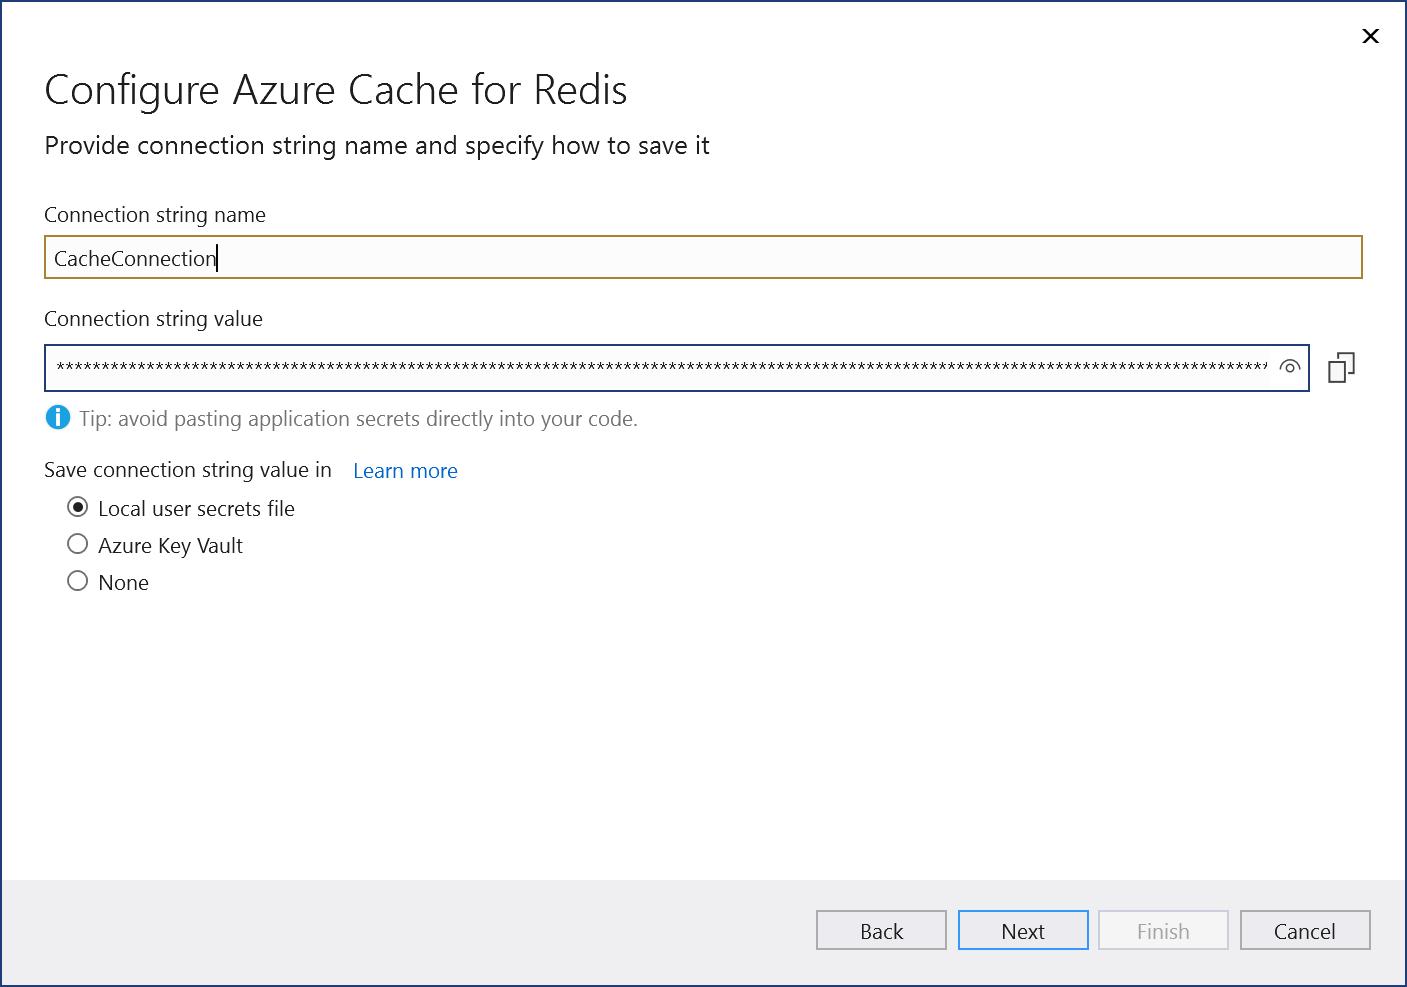
輸入連接字串名稱,或選擇預設值,然後選擇您要將連接字串儲存在本機秘密檔案中,還是 Azure Key Vault 中。
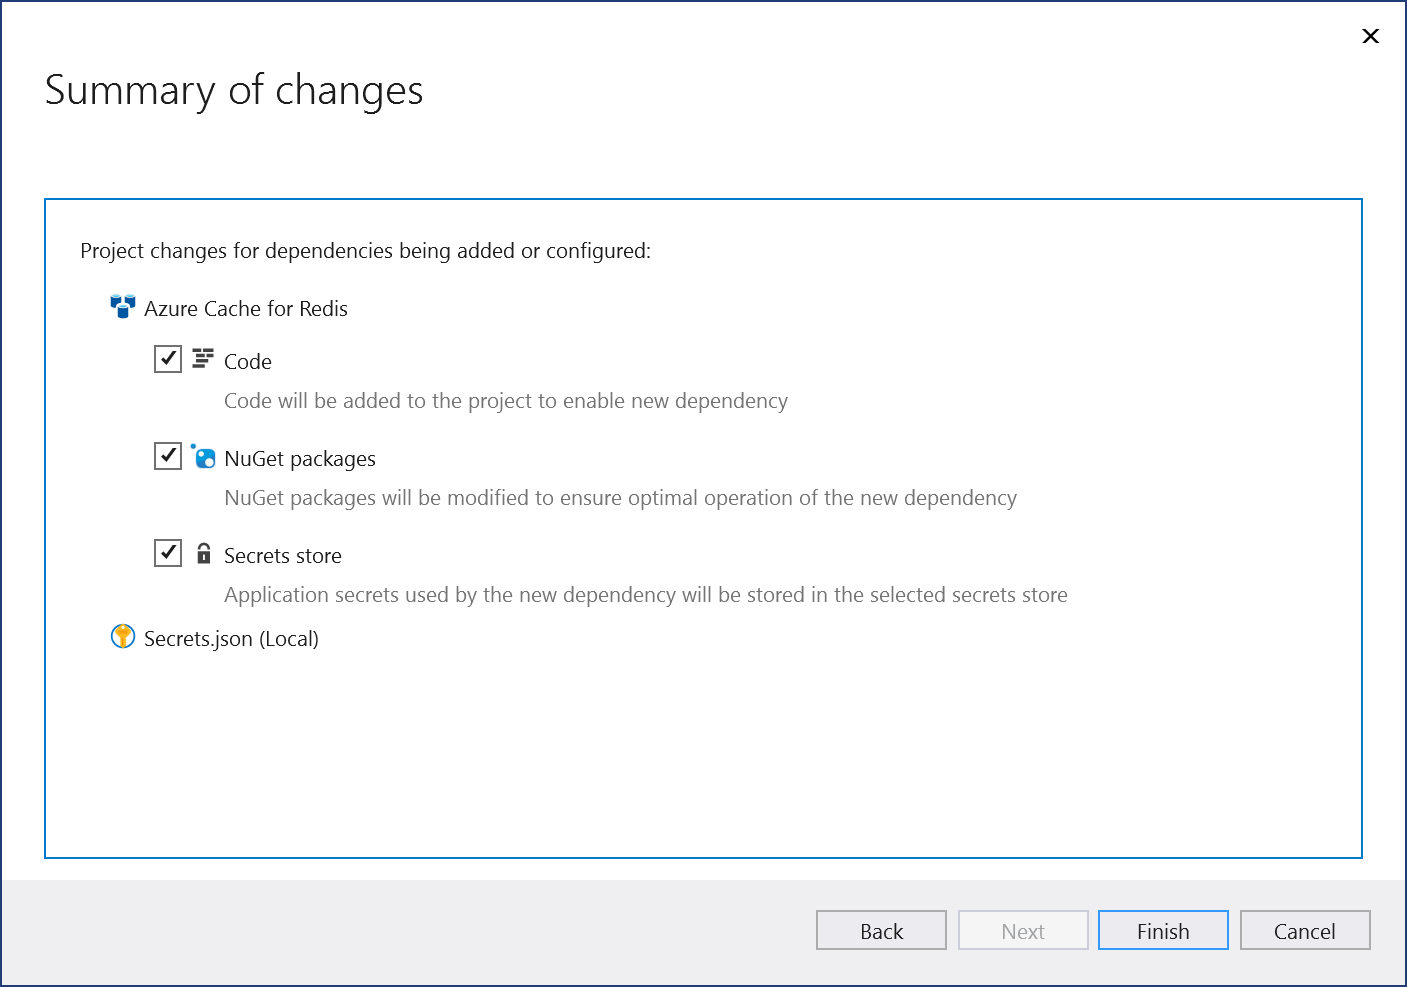
[變更摘要] 畫面會顯示當您完成程序時,將會對專案進行的所有修改。 如果變更看起來正常,請選擇 [完成]。
連線會出現在 [已連線的服務] 索引標籤的 [服務相依性] 區段底下。

注意
對於 .NET Framework 專案,已連線的服務 UI 稍有不同。 若要了解差異,請與此頁面的 Visual Studio 2019 版本進行比較。
在 Visual Studio 中,開啟您的專案。
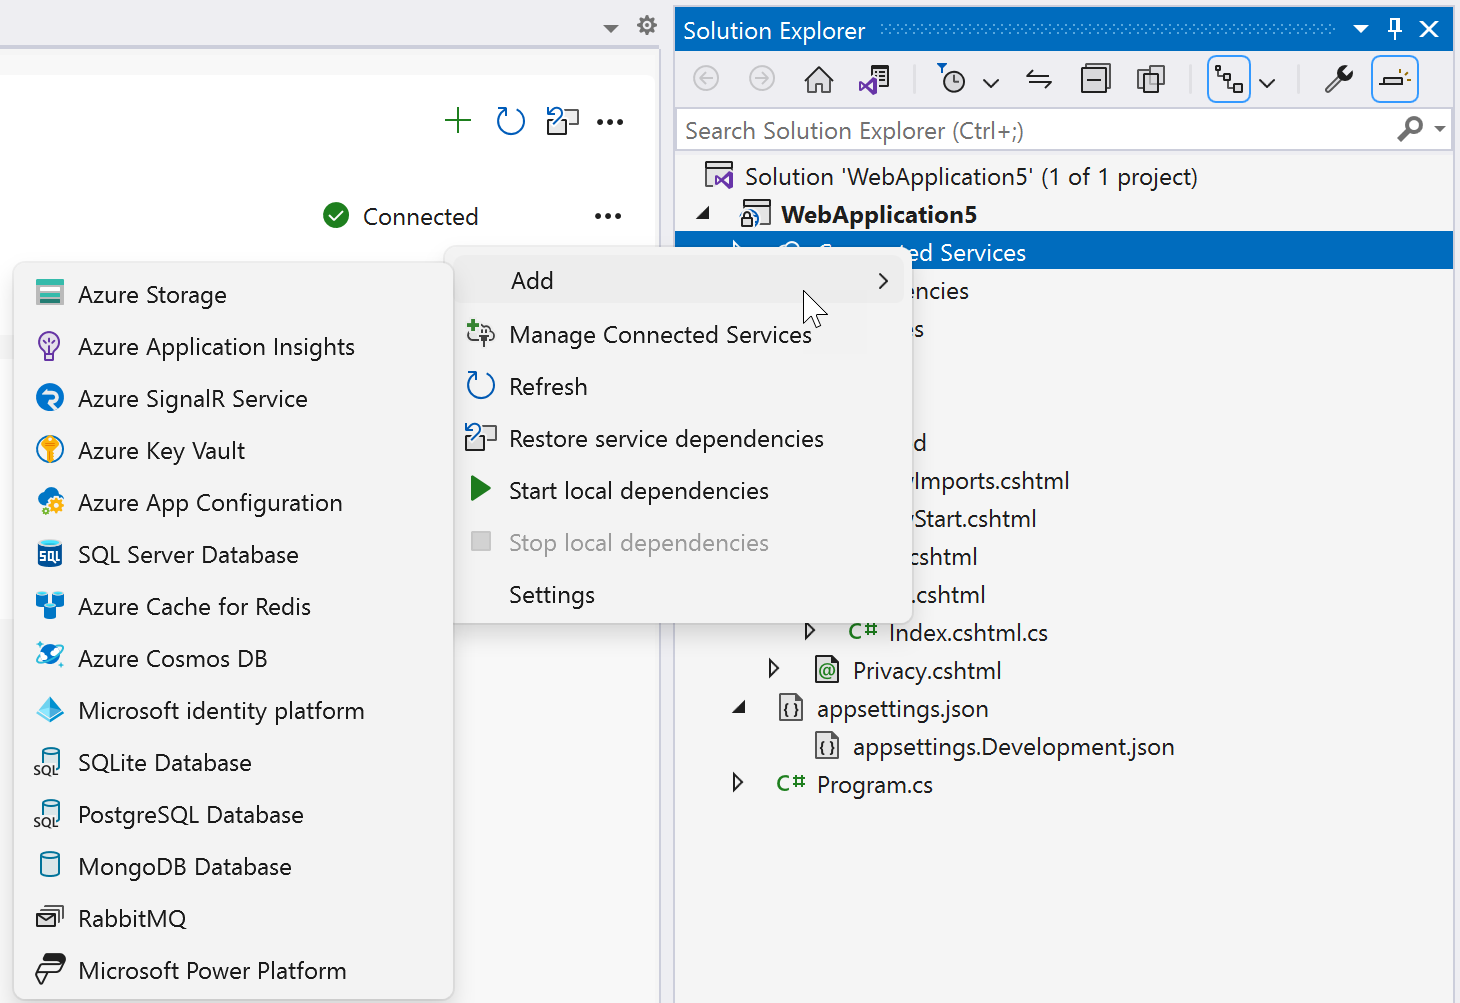
在 [方案總管] 中,於 [已連線的服務] 節點上按一下滑鼠右鍵,然後從捷徑功能表中選取 [新增] 以開啟可用服務的功能表。
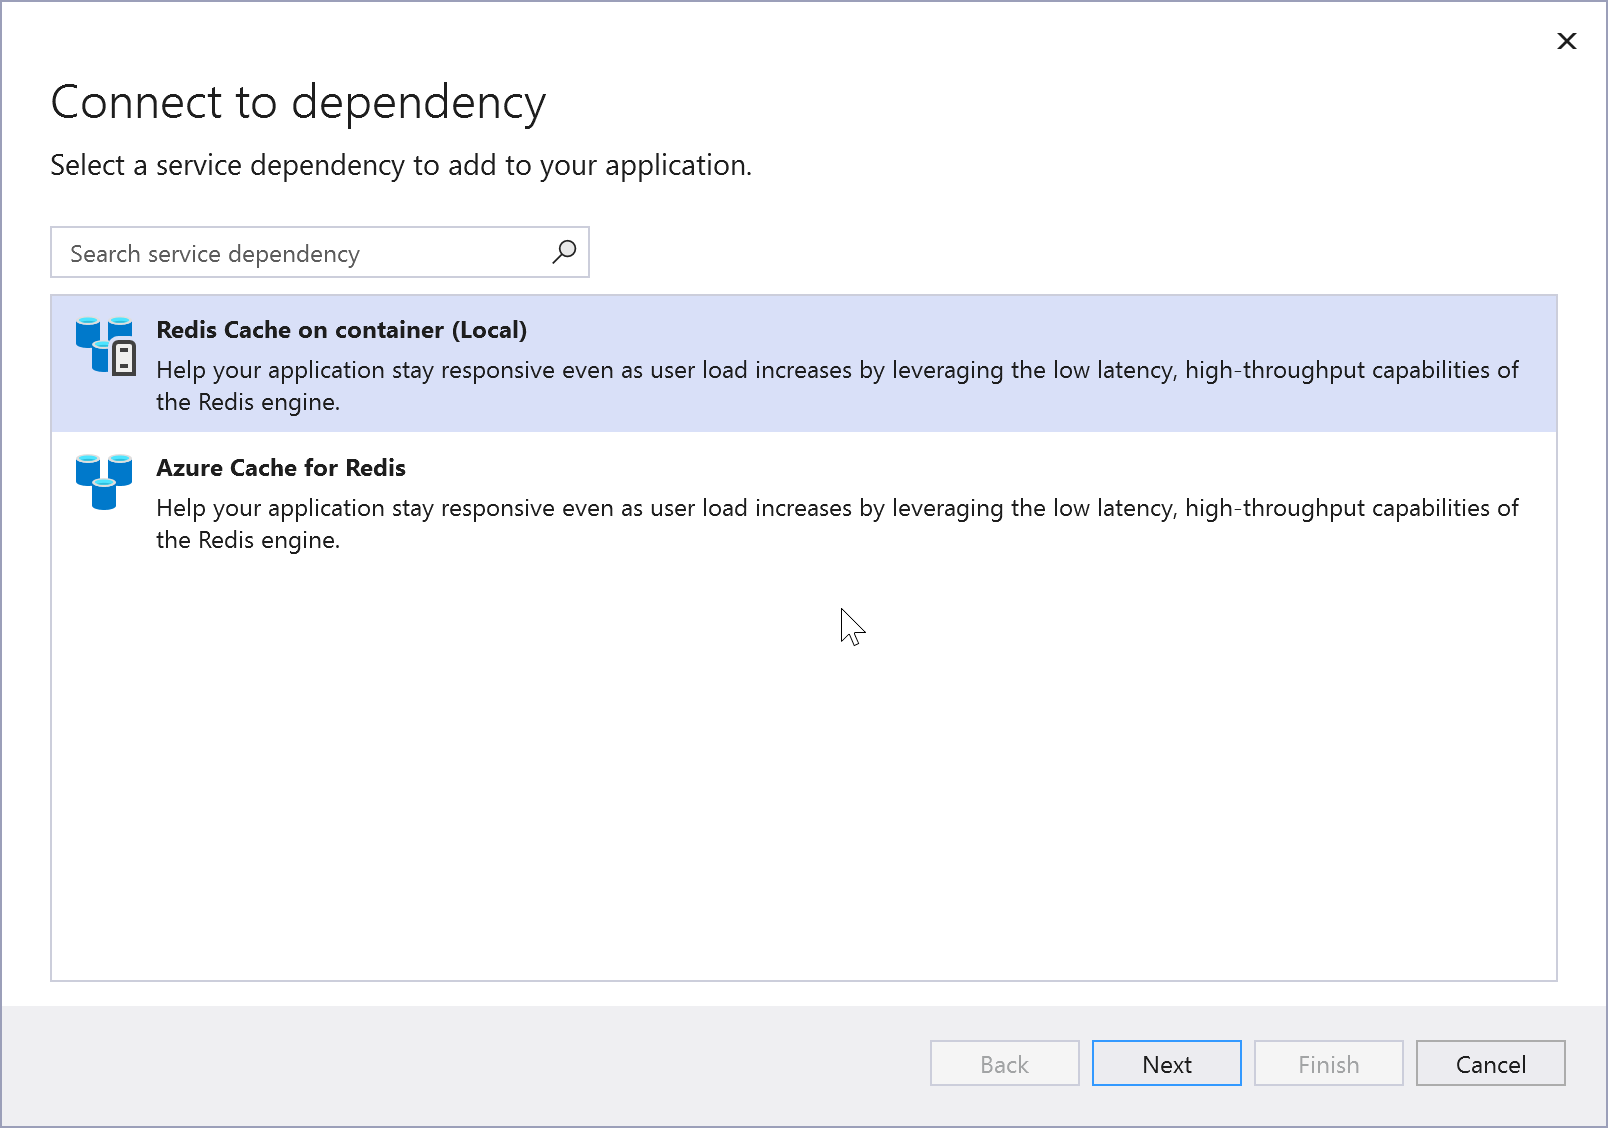
選擇 [Azure Cache for Redis]。 [連線到相依性] 頁面隨即出現。 您應會看到兩個選項:一個用於本機模擬器 (容器上的 Redis 快取 (本機)),另一個選項用於連線到即時 Azure Cache for Redis 服務。 您可以從本機模擬器開始,以降低成本並簡化早期開發。 您可以重複這些步驟並選擇其他選項,稍後移轉至即時服務。
如果您選擇本機 Azure Cache for Redis ,請按一下 [連線到容器上的 Redis 快取] 畫面上的 [下一步]。
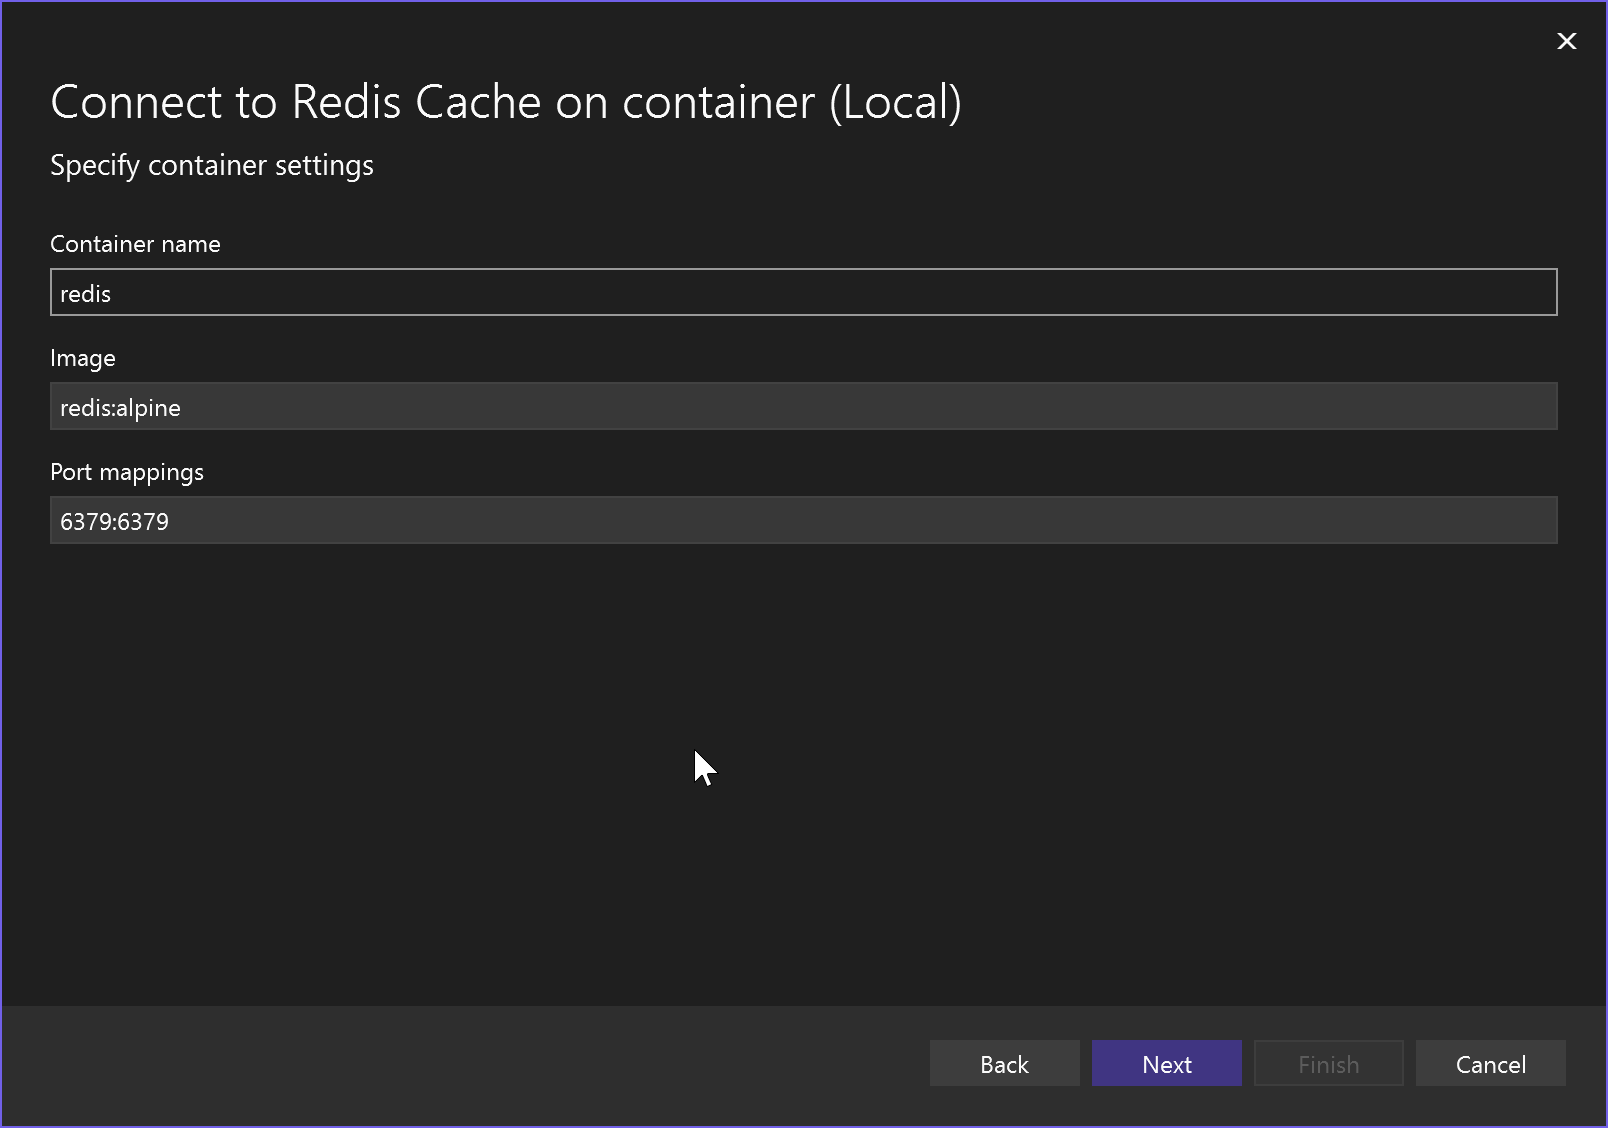
指定 [容器名稱]、[容器映像] 及連接埠對應,或接受預設值,然後按 [下一步] 以查看 [變更摘要] 畫面,其中顯示會對專案進行的變更。 NuGet 套件參考會新增至您的專案,而本機模擬器的連線程式碼會新增至您的專案。
如果您想要連線至 Azure 服務,請繼續下一個步驟,或如果您尚未登入,請先登入您的 Azure 帳戶,再繼續進行。 如果您沒有 Azure 帳戶,您可以註冊免費試用。
若要使用即時服務,請選取 [Azure Cache for Redis]。
如果您尚未登入,請登入您的 Azure 帳戶。 如果您沒有 Azure 帳戶,您可以註冊免費試用。
在 [設定 Azure Cache for Redis] 畫面中,選取現有的 Azure Cache for Redis,然後選取 [下一步]。
如果您需要建立新的元件,請移至下一個步驟。 否則,請跳至步驟 7。
若要建立 Azure Cache for Redis:
選取畫面底部的 [建立新的 Azure Redis Cache]。
填寫 [Azure Cache for Redis:新建] 畫面,然後選取 [建立]。
當 [設定 Azure Cache for Redis] 畫面顯示時,新的快取會出現在清單中。 選取清單中的新資料庫,然後選取 [下一步]。
輸入連接字串名稱,或選擇預設值,然後選擇您要將連接字串儲存在本機秘密檔案中,還是 Azure Key Vault 中。
[變更摘要] 畫面會顯示當您完成程序時,將會對專案進行的所有修改。 如果變更看起來正常,請選擇 [完成]。
在 [方案總管] 中,按兩下 [已連線的服務] 節點,以開啟 [已連線的服務] 索引標籤。=連線會出現在 [服務相依性] 區段底下:
如果您按一下您新增的相依性旁的三個點,您可以看到各種選項,例如 [連線] 以重新開啟精靈並變更連線。 您也可以按一下視窗右上方的三個點,以查看啟動本機相依性、變更設定等選項。
下一步
對於 ASP.NET 應用程式,Azure Cache for Redis 的常見使用案例是快取工作階段狀態或頁面輸出 (HTTP 回應)。 ASP.NET Core 提供這些使用案例的內建服務,當您使用 ASP.NET Core 時,應該改用這些服務。
若要在 ASP.NET 應用程式中快取工作階段狀態,請參閱 ASP.NET 工作階段狀態提供者。
若要在 ASP.NET 應用程式中快取頁面輸出,請參閱 ASP.NET 輸出快取提供者。
相關內容
意見反應
即將登場:在 2024 年,我們將逐步淘汰 GitHub 問題作為內容的意見反應機制,並將它取代為新的意見反應系統。 如需詳細資訊,請參閱:https://aka.ms/ContentUserFeedback。
提交並檢視相關的意見反應