Create a sign-up and sign-in user flow for customers
You can create a simple sign-up and sign-in experience for your customers by adding a user flow to your application. The user flow defines the series of sign-up steps customers follow and the sign-in methods they can use (such as email and password, one-time passcodes, or social accounts from Google or Facebook). You can also collect information from customers during sign-up by selecting from a series of built-in user attributes or adding your own custom attributes.
You can create multiple user flows if you have multiple applications that you want to offer to customers. Or, you can use the same user flow for many applications. However, an application can have only one user flow.
Tip

To try out this feature, go to the Woodgrove Groceries demo and start the “Online retail” use case.
Prerequisites
- A Microsoft Entra external tenant: Before you begin, create your Microsoft Entra external tenant. You can set up a free trial, or you can create a new external tenant in Microsoft Entra ID.
- Email one-time passcode enabled (optional): If you want customers to use their email address and a one-time passcode each time they sign in, make sure Email one-time passcode is enabled at the tenant level (in the Microsoft Entra admin center, navigate to External Identities > All Identity Providers > Email One-time-passcode).
- Custom attributes defined (optional): User attributes are values collected from the user during self-service sign-up. Microsoft Entra ID comes with a built-in set of attributes, but you can define custom attributes to collect during sign-up. Define custom attributes in advance so they're available when you set up your user flow. Or you can create and add them later.
- Identity providers defined (optional): You can set up federation with Google or Facebook in advance, and then select them as sign-in options as you create the user flow.
Create and customize a user flow
Follow these steps to create a user flow a customer can use to sign in or sign up for an application. These steps describe how to add a new user flow, select the attributes you want to collect, and change the order of the attributes on the sign-up page.
To add a new user flow
Sign in to the Microsoft Entra admin center.
If you have access to multiple tenants, use the Settings icon
 in the top menu to switch to your external tenant from the Directories + subscriptions menu.
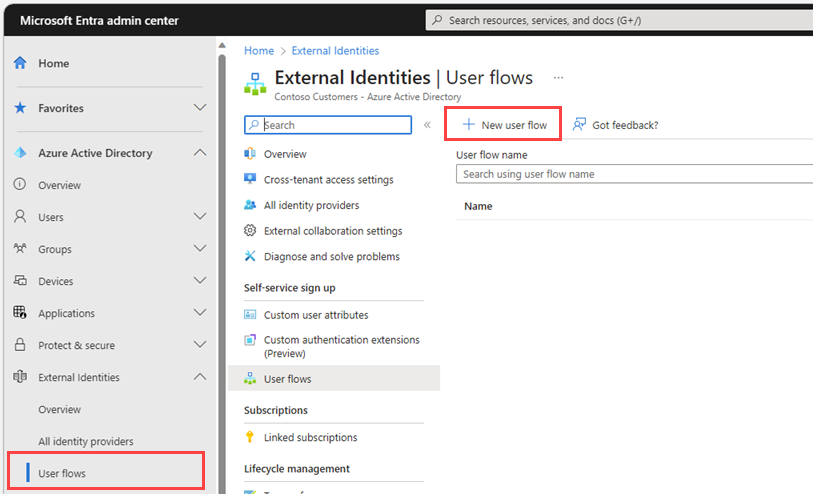
Browse to Identity > External Identities > User flows.
Select New user flow.
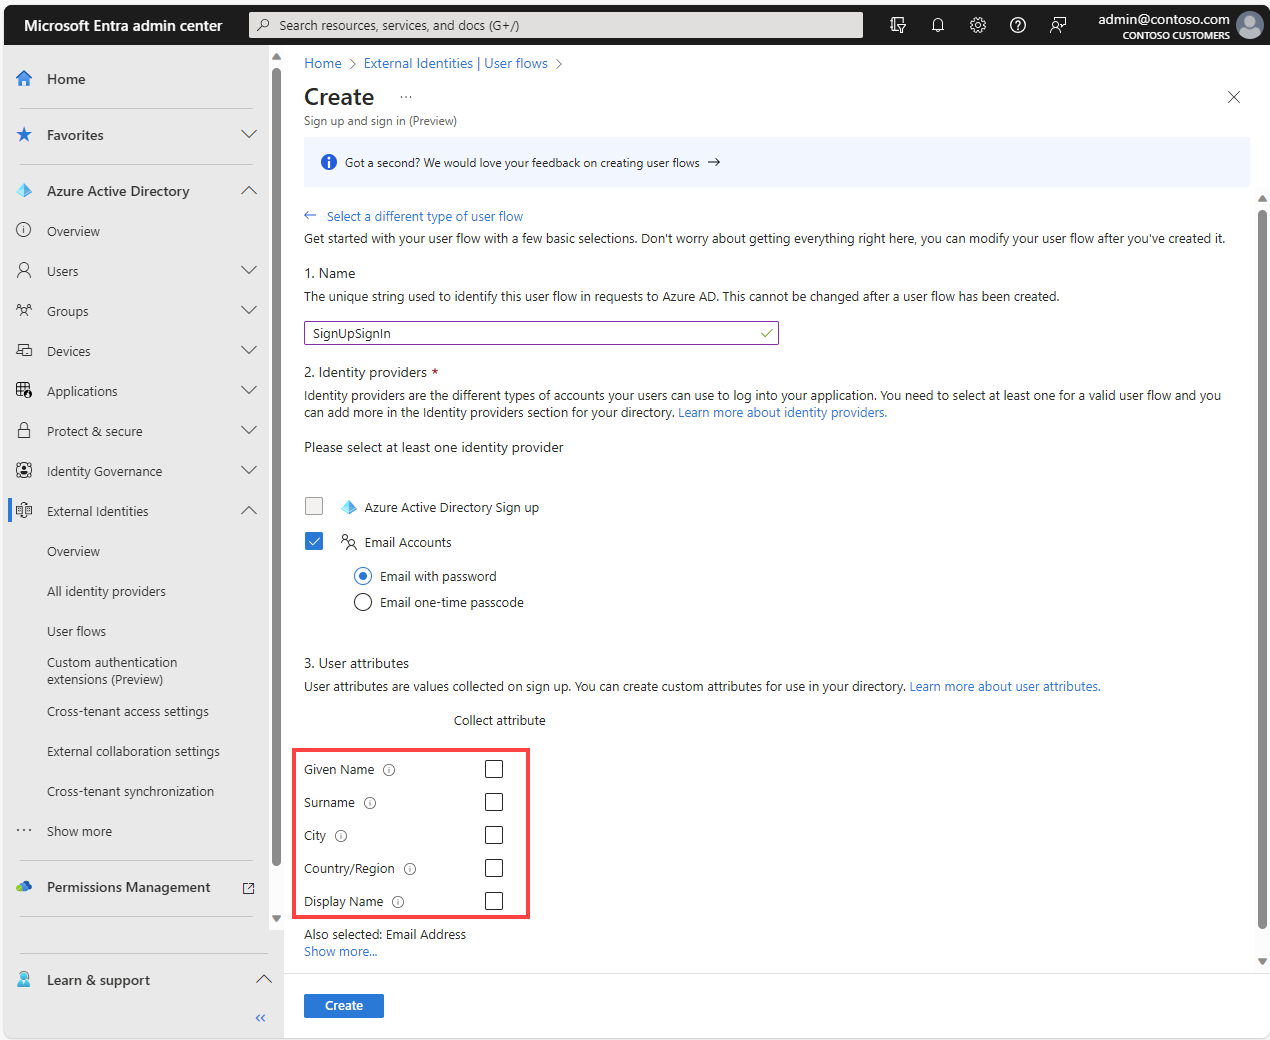
On the Create page, enter a Name for the user flow (for example, "SignUpSignIn").
Under Identity providers, select the Email Accounts check box, and then select one of these options:
Email with password: Allows new users to sign up and sign in using an email address as the sign-in name and a password as their first-factor authentication method. You can also configure options for showing, hiding, or customizing the self-service password reset link on the sign-in page (learn more).
Email one-time passcode: Allows new users to sign up and sign in using an email address as the sign-in name and email one-time passcode as their first-factor authentication method.
Note
The Microsoft Entra ID Sign up option is unavailable because although customers can sign up for a local account using an email from another Microsoft Entra organization, Microsoft Entra federation isn't used to authenticate them. Google and Facebook become available only after you set up federation with them. Learn more about authentication methods and identity providers.

Under User attributes, choose the attributes you want to collect from the user during sign-up.
Select Show more to choose from the full list of attributes, including Job Title, Display Name, and Postal Code.
This list also includes any custom attributes you defined. Select the checkbox next to each attribute you want to collect from the user during sign-up
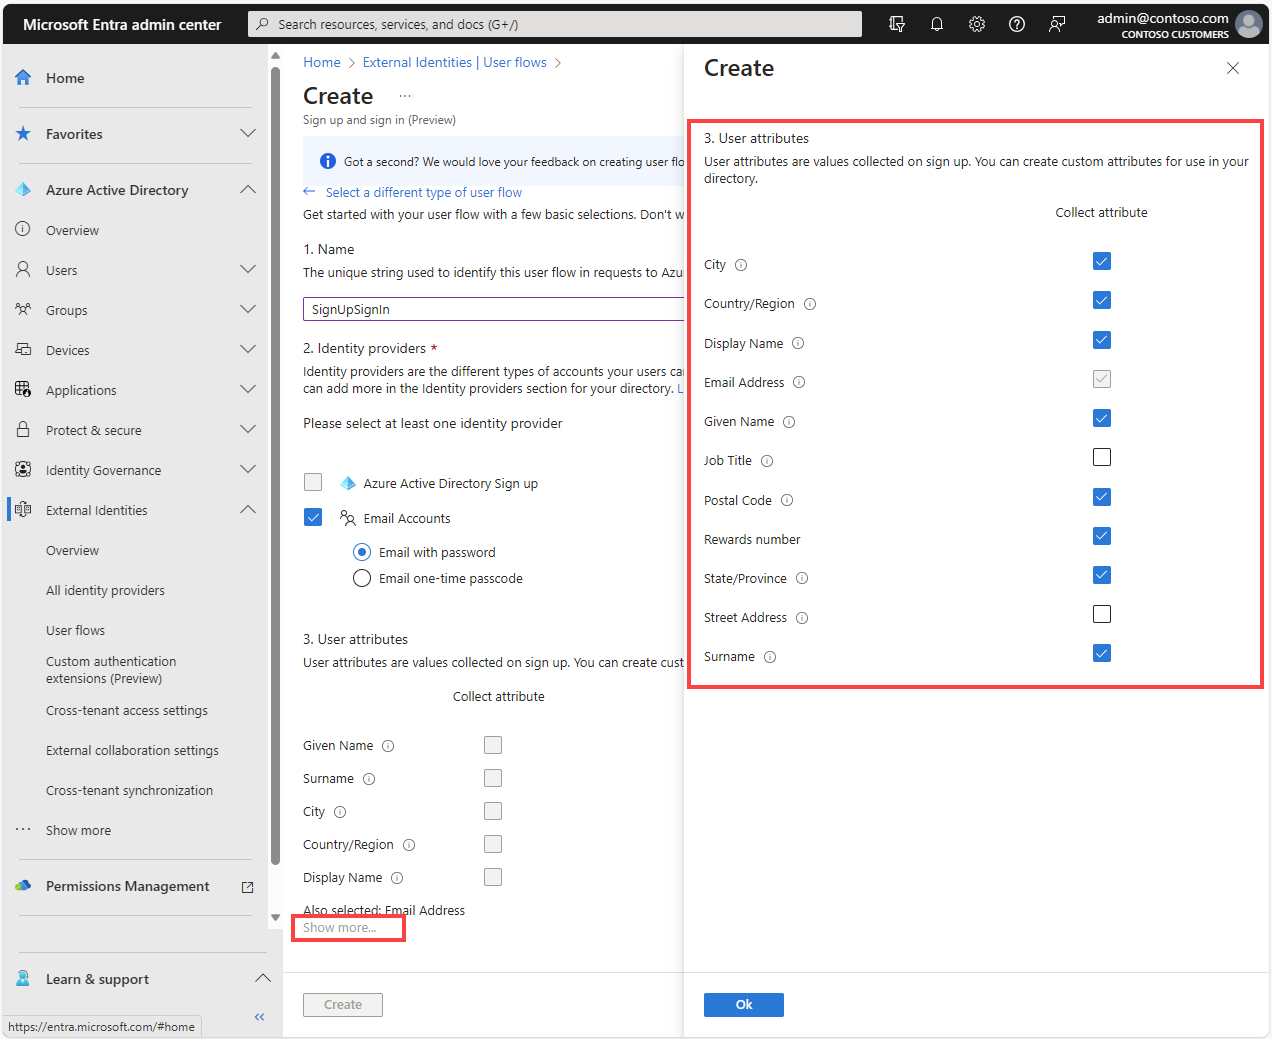
Select OK.
Select Create to create the user flow.


Disable sign-up in a sign-up and sign-in user flow
If you want your customer users to only sign in and not sign up, you can disable the sign-up experience in your user flow by using the Update authenticationEventsFlow API in Microsoft Graph, and updating the onInteractiveAuthFlowStart property > isSignUpAllowed property to false. You need to know the ID of the user flow whose sign-up you want to disable. You can't read the user flow ID from the Microsoft Entra admin center, but you can retrieve it via Microsoft Graph API if you know the app associated with it.
Read the application ID associated with the user flow:
- Browse to Identity > External Identities > User flows.
- From the list, select your user flow.
- In the left menu, under Use, select Applications.
- From the list, under Application (client) ID column, copy the Application (client) ID.
Identify the ID of the user flow whose sign-up you want to disable. To do so, List the user flow associated with the specific application. This is a Microsoft Graph API, which requires you to know the application ID you obtained from the previous step.
Update your user flow to disable sign-up.
Example:
PATCH https://graph.microsoft.com/beta/identity/authenticationEventsFlows/{user-flow-id}Request body
    {
        "@odata.type": "#microsoft.graph.externalUsersSelfServiceSignUpEventsFlow",
        "onInteractiveAuthFlowStart": {
            "@odata.type": "#microsoft.graph.onInteractiveAuthFlowStartExternalUsersSelfServiceSignUp",
            "isSignUpAllowed": "false"
      }
    }
Replace
{user-flow-id}with the user flow ID that you obtained in the previous step. Notice theisSignUpAllowedparameter is set to false. To re-enable sign-up, make a call to the Microsoft Graph API endpoint, but set theisSignUpAllowedparameter to true.
Next steps
Feedback
Coming soon: Throughout 2024 we will be phasing out GitHub Issues as the feedback mechanism for content and replacing it with a new feedback system. For more information see: https://aka.ms/ContentUserFeedback.
Submit and view feedback for