Validate a domain for direct routing
This article describes the process of validating domain name ownership by using the Azure portal.
A fully qualified domain name (FQDN) consists of two parts: host name and domain name. For example, if your session border controller (SBC) name is sbc1.contoso.com, then sbc1 is the host name and contoso.com is the domain name. If an SBC has an FQDN of acs.sbc1.testing.contoso.com, then acs is the host name and sbc1.testing.contoso.com is the domain name.
To use direct routing in Azure Communication Services, you need to validate that you own either the domain part of your SBC FQDN, or entire SBC FQDN. After that, you can configure the SBC FQDN and port number and then create voice routing rules.
When you're verifying the ownership of the SBC FQDN, keep in mind that the *.onmicrosoft.com and *.azure.com domain names aren't supported. For example, if you have two domain names, contoso.com and contoso.onmicrosoft.com, use sbc.contoso.com as the SBC name.
Validating domain part makes sense if you plan to add multiple SBCs from the same domain name space. For example if you're using sbc-eu.contoso.com, sbc-us.contoso.com, and sbc-af.contoso.com you can validate contoso.com domain once and add SBCs from that domain later without extra validation.
Validating entire FQDN is helpful if you're a service provider and don't want to validate your base domain ownership with every customer. For example if you're running SBCs customer1.Azure Communication Services.adatum.biz, customer2.Azure Communication Services.adatum.biz, and customer3.Azure Communication Services.adatum.biz, you don't need to validate acs.adatum.biz for every Communication resource, instead you validate the entire FQDN each time. This option provides more granular security approach.
Add a new domain name
- Open the Azure portal and go to your Communication Services resource.
- On the left pane, under Voice Calling - PSTN, select Direct routing.
- On the Domains tab, select Connect domain.
- Enter the domain part of the SBC FQDN, or entire SBC FQDN.
- Reenter the domain name.
- Select Confirm, and then select Add.

Verify domain ownership
On the Domains tab, select Verify next to the new domain that you created.
The Azure portal generates a value for a TXT record. Add that record to your domain's registrar or DNS hosting provider with the provided value.
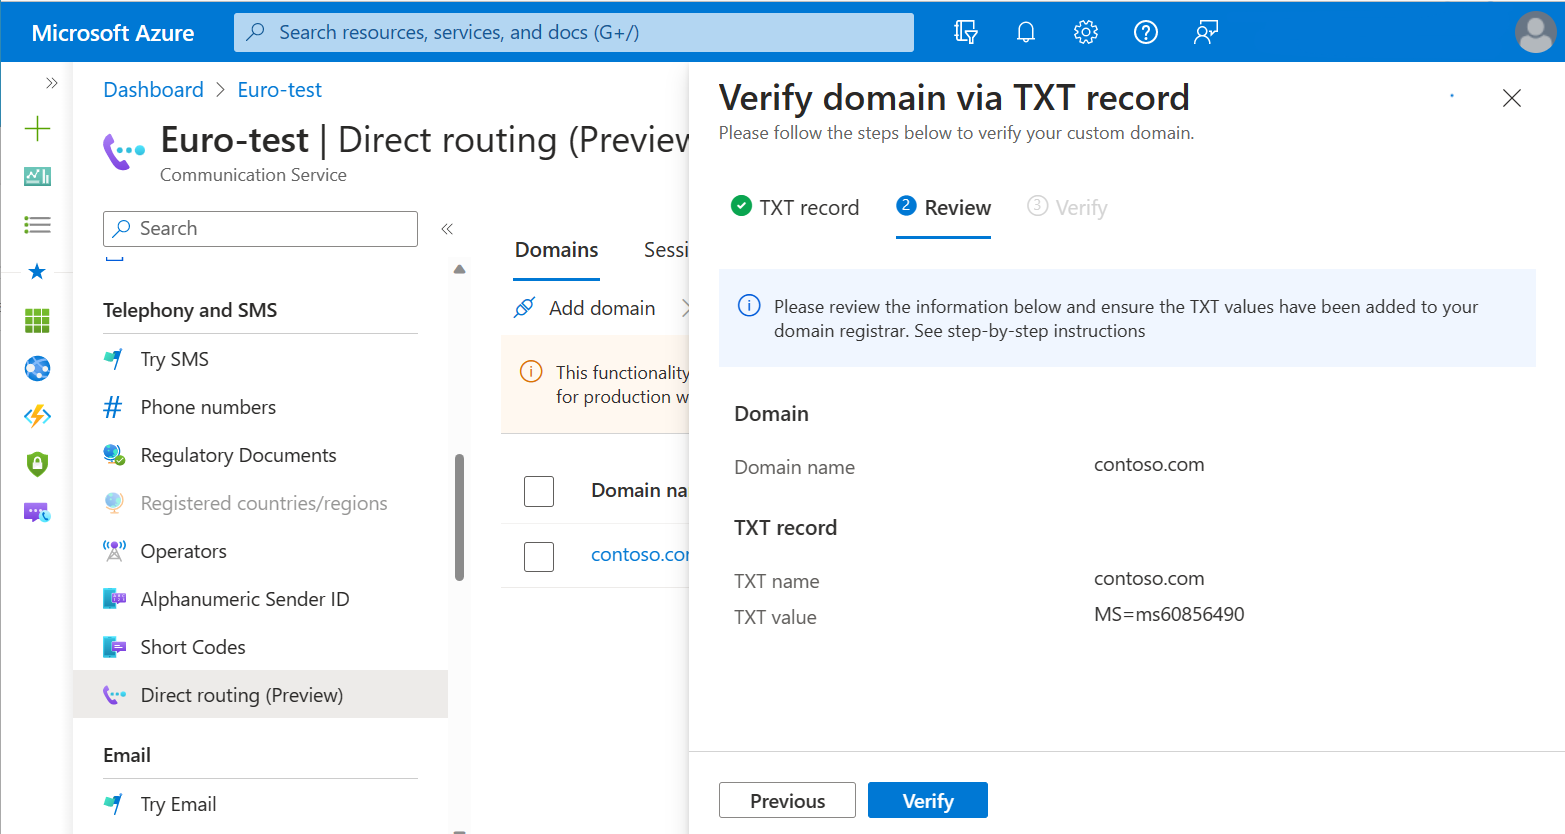
It might take up to 30 minutes for a new DNS record to propagate on the Internet.
Select Next. If you set up everything correctly, Domain status should change to Verified next to the added domain.
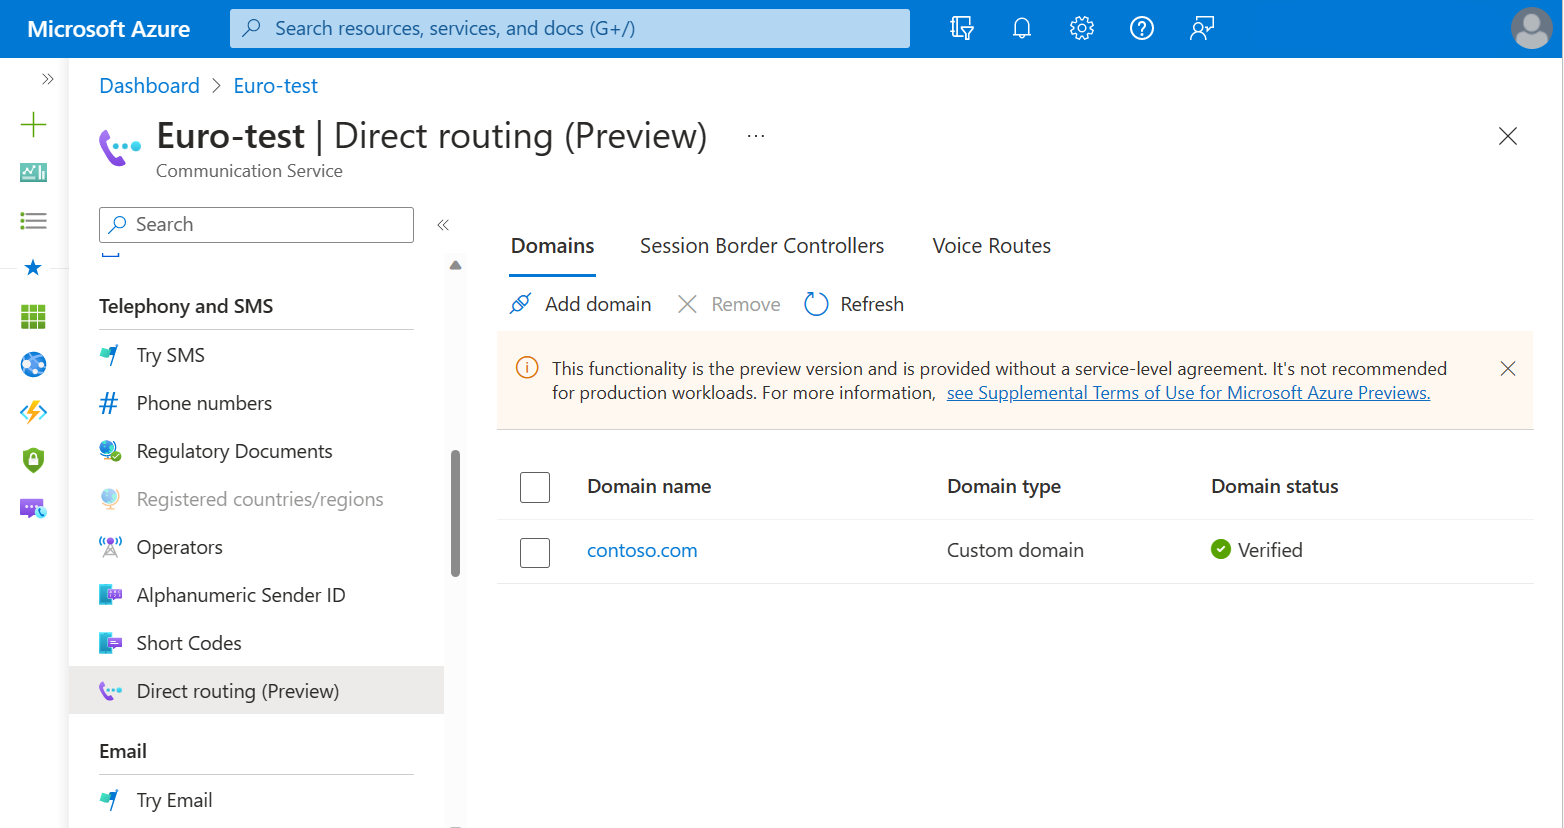


Remove a domain from Azure Communication Services
If you want to remove a domain from your Azure Communication Services direct routing configuration, select the checkbox for a corresponding domain name, and then select Remove.

Next steps
Conceptual documentation
Quickstarts
Feedback
Coming soon: Throughout 2024 we will be phasing out GitHub Issues as the feedback mechanism for content and replacing it with a new feedback system. For more information see: https://aka.ms/ContentUserFeedback.
Submit and view feedback for