Install the Azure Toolkit for IntelliJ
This article shows you how to install the Azure Toolkit for IntelliJ as an IntelliJ IDEA plugin.
There are two options for installing the toolkit. You can install from the Marketplace, or you can download the toolkit release file and install it manually. The following sections describe these options.
Prerequisites
- IntelliJ IDEA, Ultimate or Community edition
- A supported Java Development Kit (JDK). For more information about the JDKs available for use when developing on Azure, see Java support on Azure and Azure Stack.
Install Azure Toolkit for IntelliJ from the Marketplace
Use the following steps to install from the Marketplace:
Launch IntelliJ IDEA.
Select File and then open Settings.
Select Plugins, then use the search box on the Marketplace tab to search for Azure Toolkit.
When Azure Toolkit for IntelliJ by Microsoft is displayed, select it.
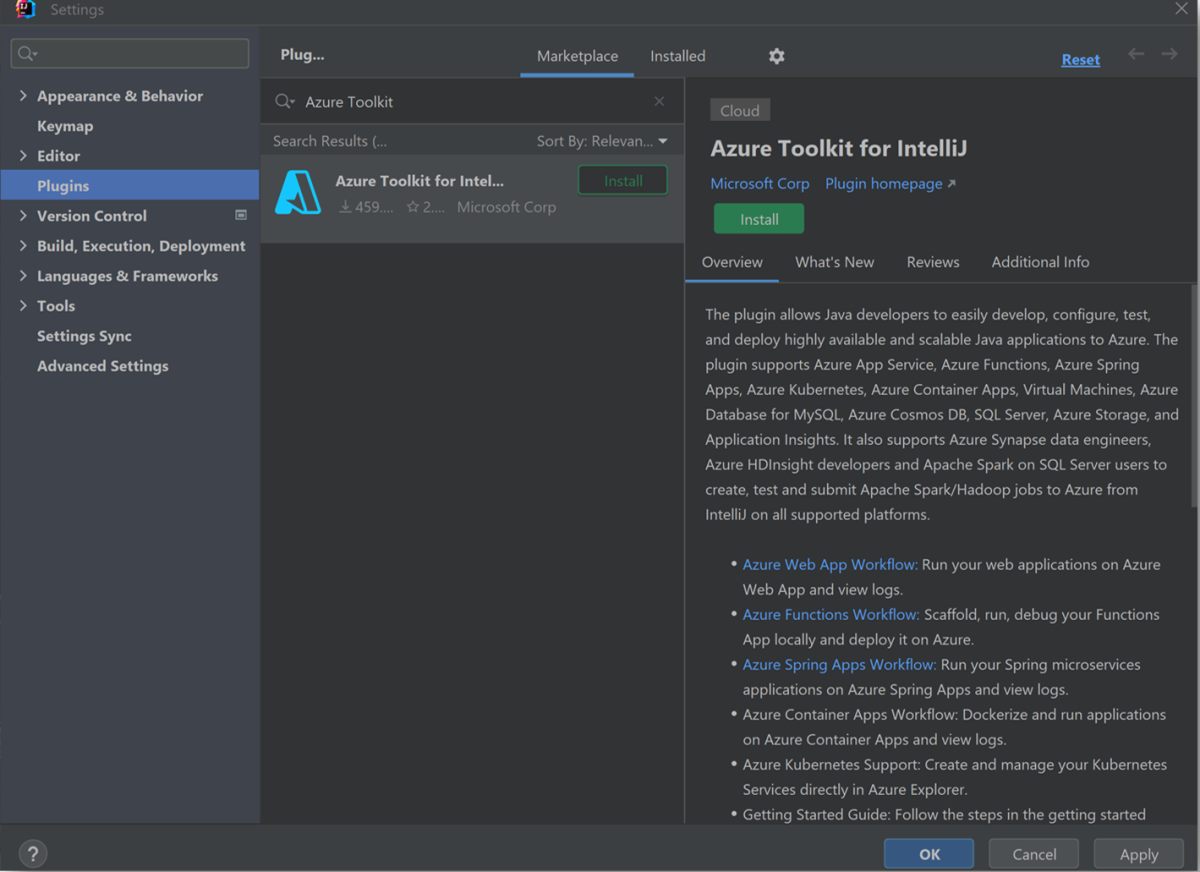
Select Install, then restart your IDE if prompted.

Install Azure Toolkit for IntelliJ from Disk
Use the following steps to manually install new releases as they become available:
Download the released file from the Marketplace page for Azure Toolkit for IntelliJ. Select the version compatible with your IDE.
Launch IntelliJ IDEA.
Select File and then open Settings.
Select Plugins and then select Manage Repositories, Configure Proxy or Install Plugin from Disk (the settings icon).
Select Install Plugin from Disk....
Select the plugin archive file and then select OK.
Select OK to apply the changes and restart your IDE if prompted.
Next steps
After you install the Azure Toolkit as an IDE plugin, sign in with your Azure account to connect the toolkit to that account. For more information, see Sign-in instructions for the Azure Toolkit for IntelliJ.
To report bugs or request new features, create issues on our GitHub repository, or ask questions on Stack Overflow with tag azure-java-tools.
For more information about using Java with Azure, see the following links:
Feedback
Coming soon: Throughout 2024 we will be phasing out GitHub Issues as the feedback mechanism for content and replacing it with a new feedback system. For more information see: https://aka.ms/ContentUserFeedback.
Submit and view feedback for